Summary
This article walks you through the steps that I took to convert a ModusToolbox 2.1 project using the “dot lib” flow into a Modus Toolbox 2.2 project using the “mtb” flow.
Story
I have been working on way way to many different things and not finishing nearly enough things. Oh well. One of the projects that I have been working on is an implementation of a Bluetooth Observer to process iBeacon packets from a Tilt Hydrometer (more on that in a future article). This project was started in Modus Toolbox 2.1. It will continue to work perfectly in ModusToolbox 2.2 as it is 100% backwards compatible, but, I want to use some of the new features of 2.2.
As I discussed in a previous article, there are now two library systems in Modus Toolbox.
- The “mtb” flow – which allows for “shared libraries”
- The “dot lib” flow – which has all libraries embedded into the project.
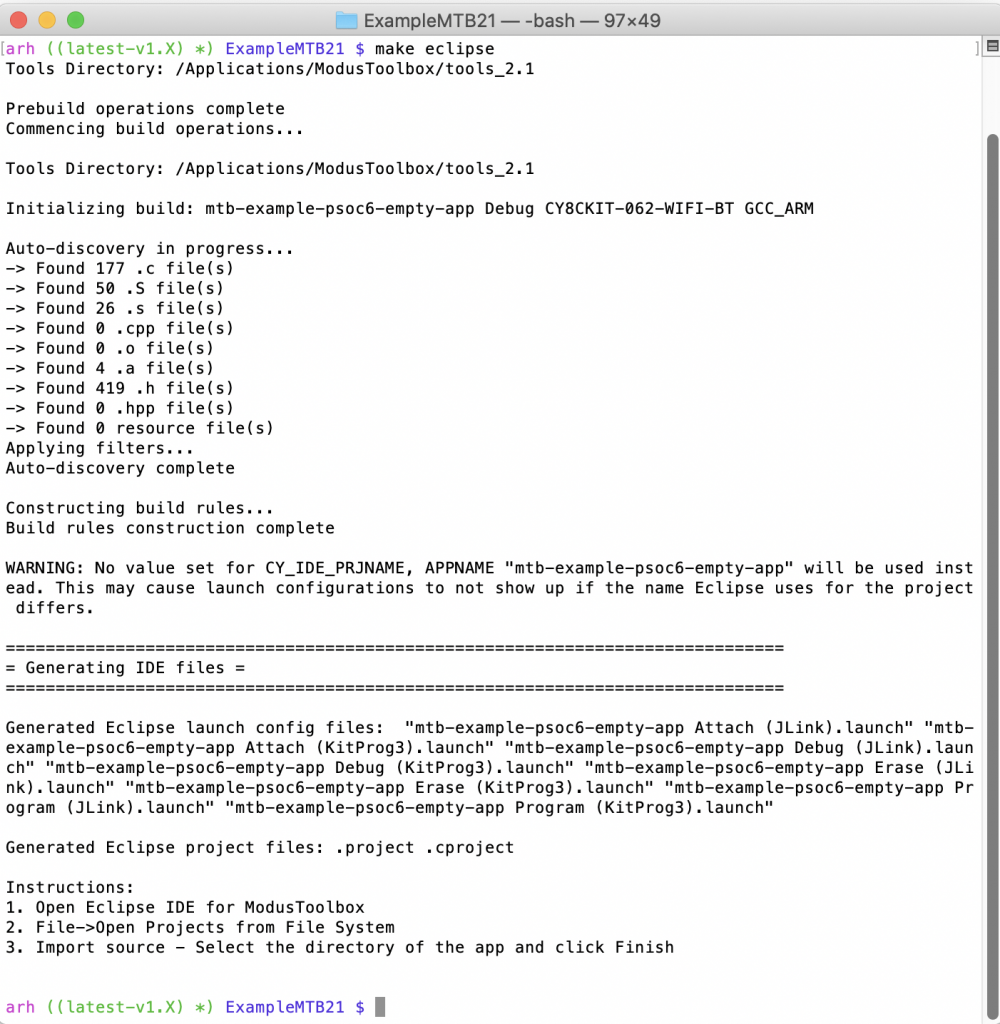
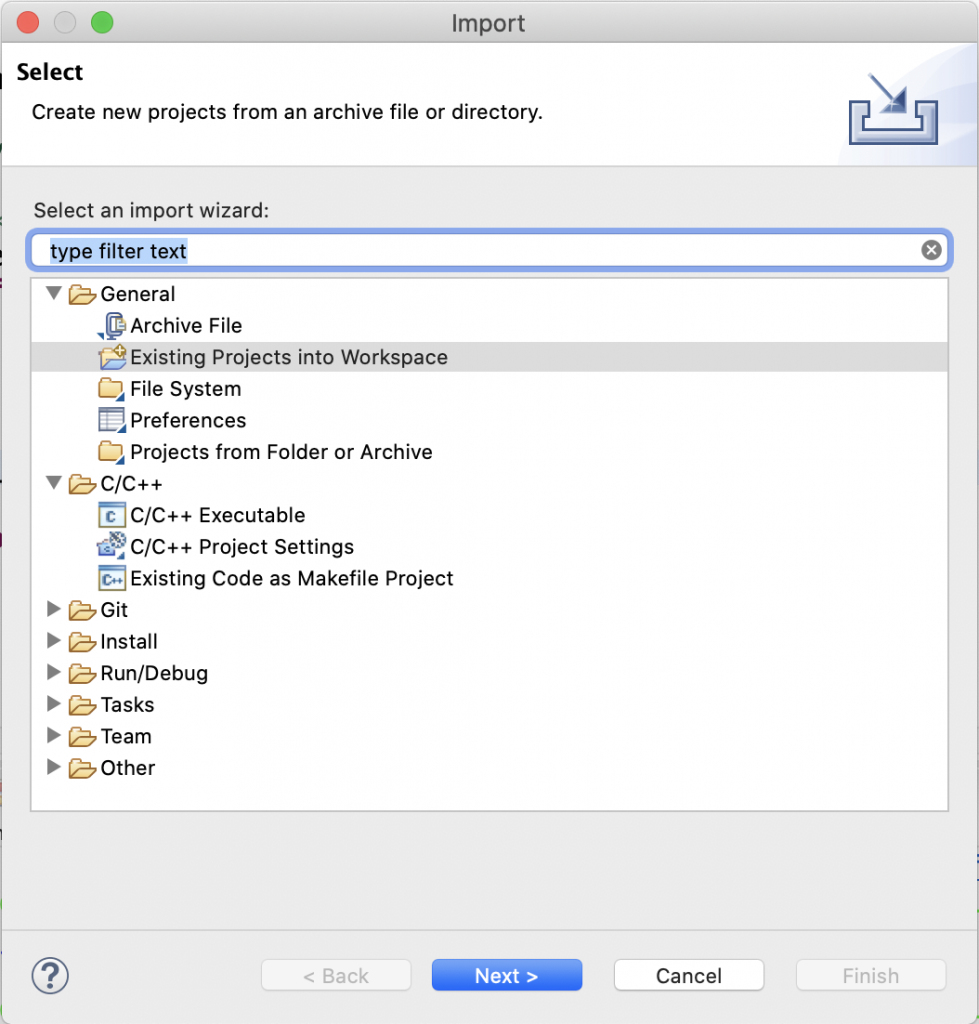
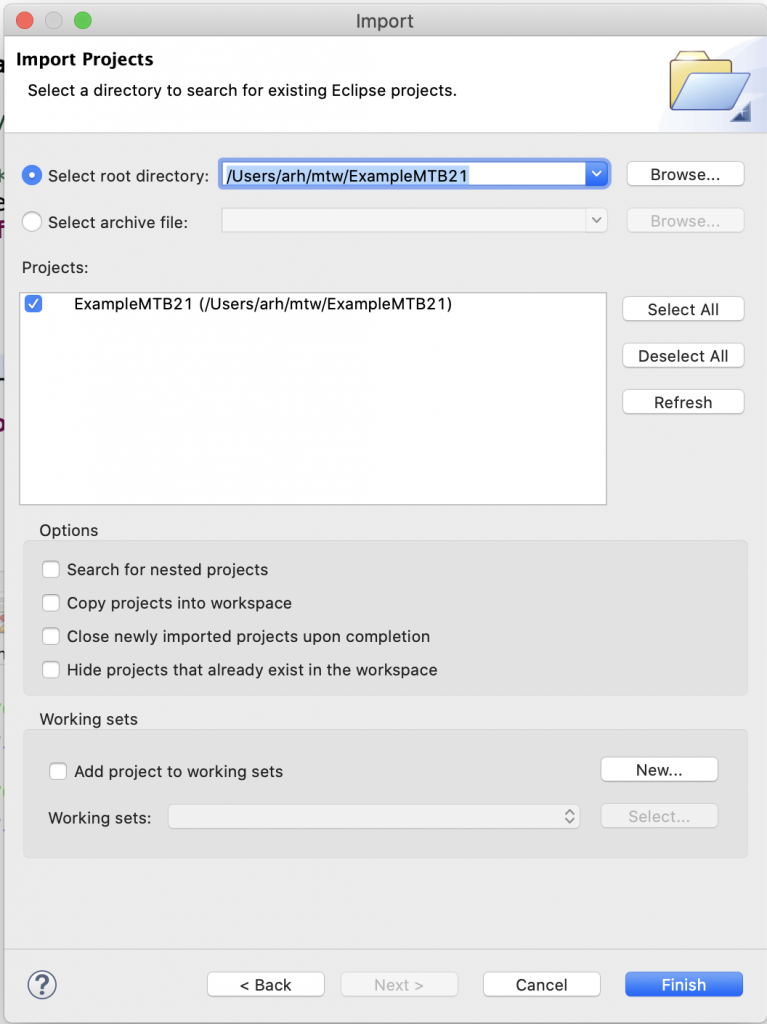
If you want to convert your Modus Toolbox 2.1 project Modus Toolbox 2.2 you can follow a process like this:
- Backup the project into Git
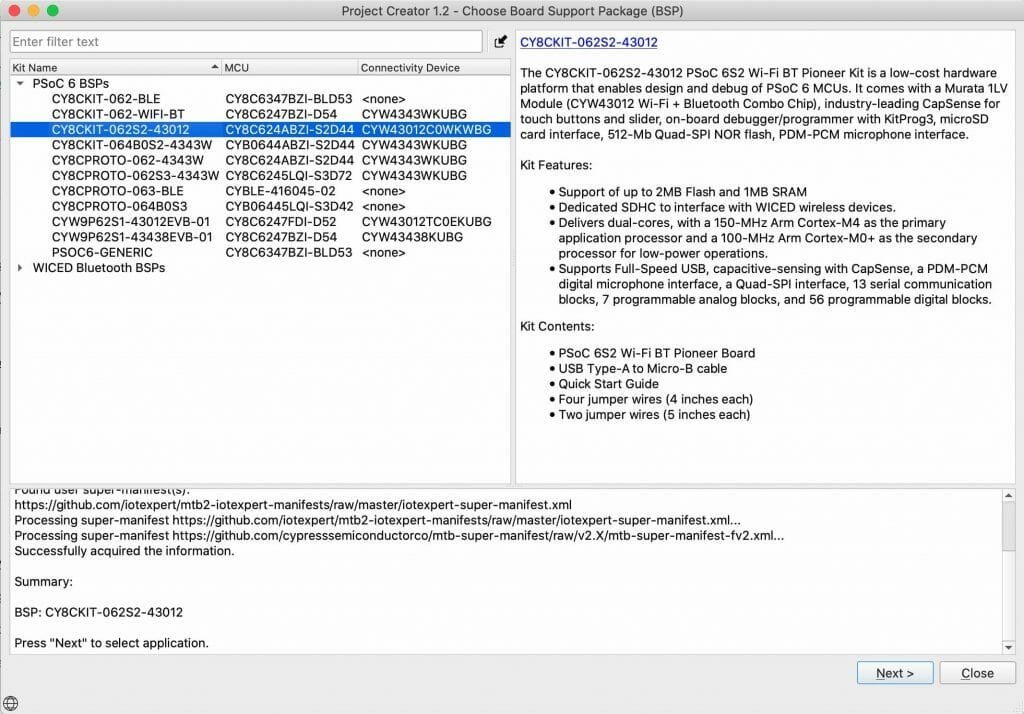
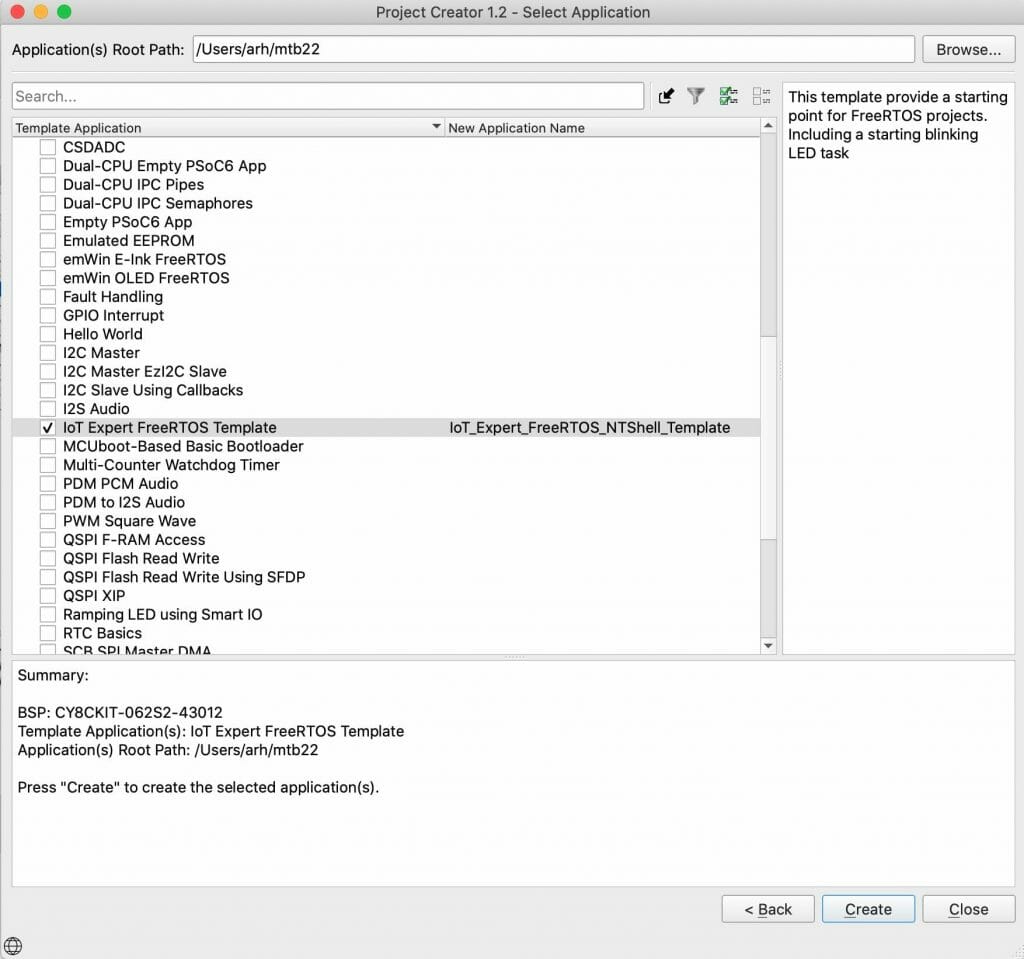
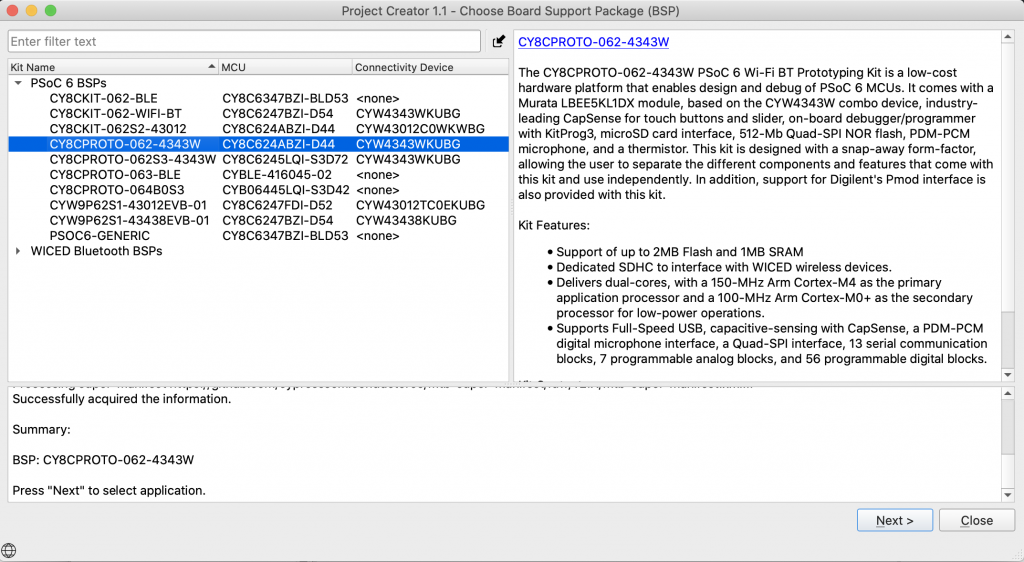
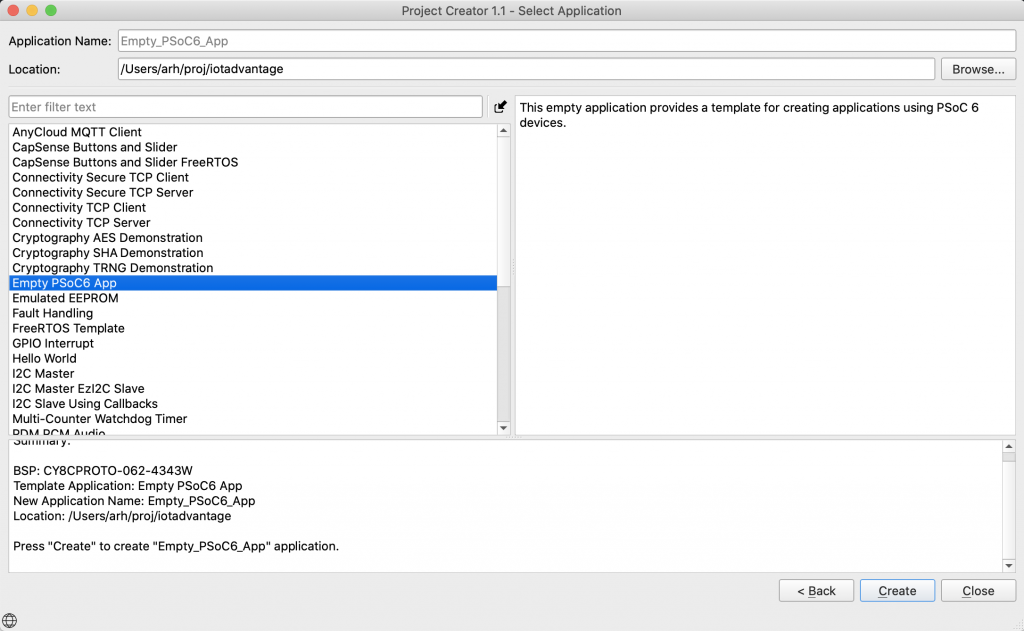
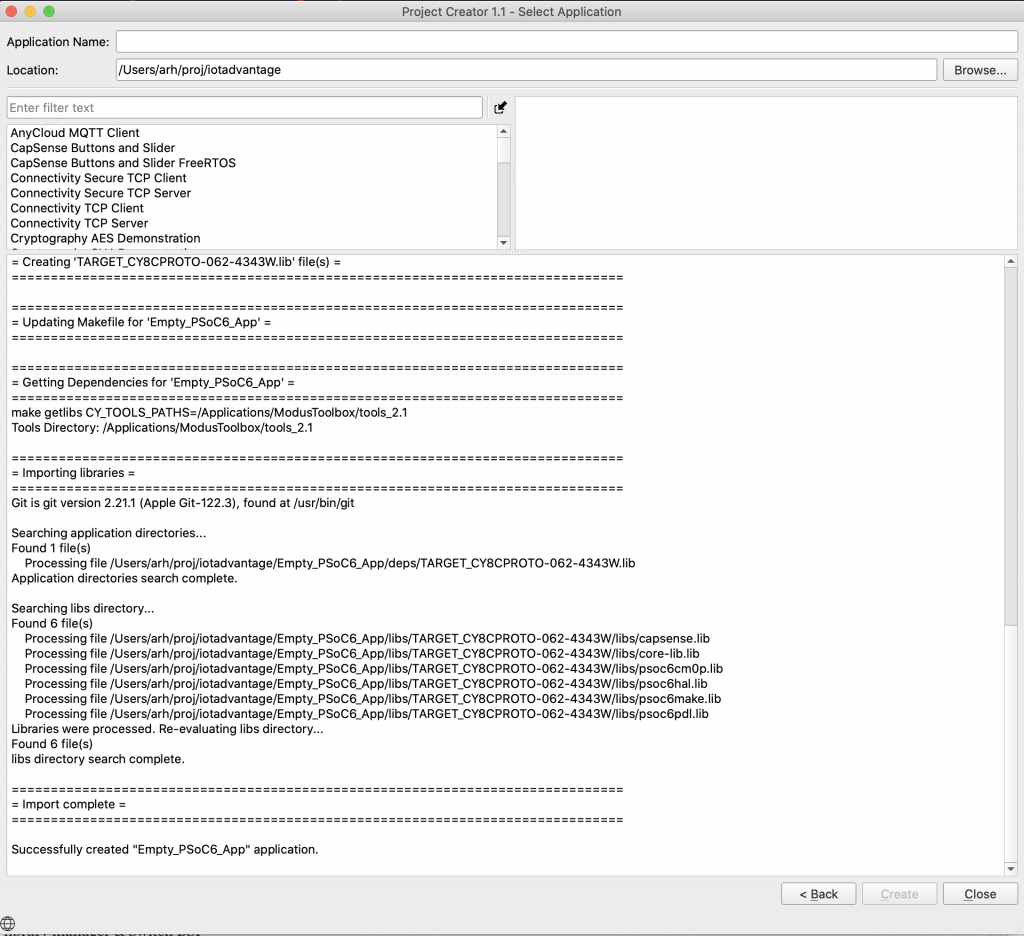
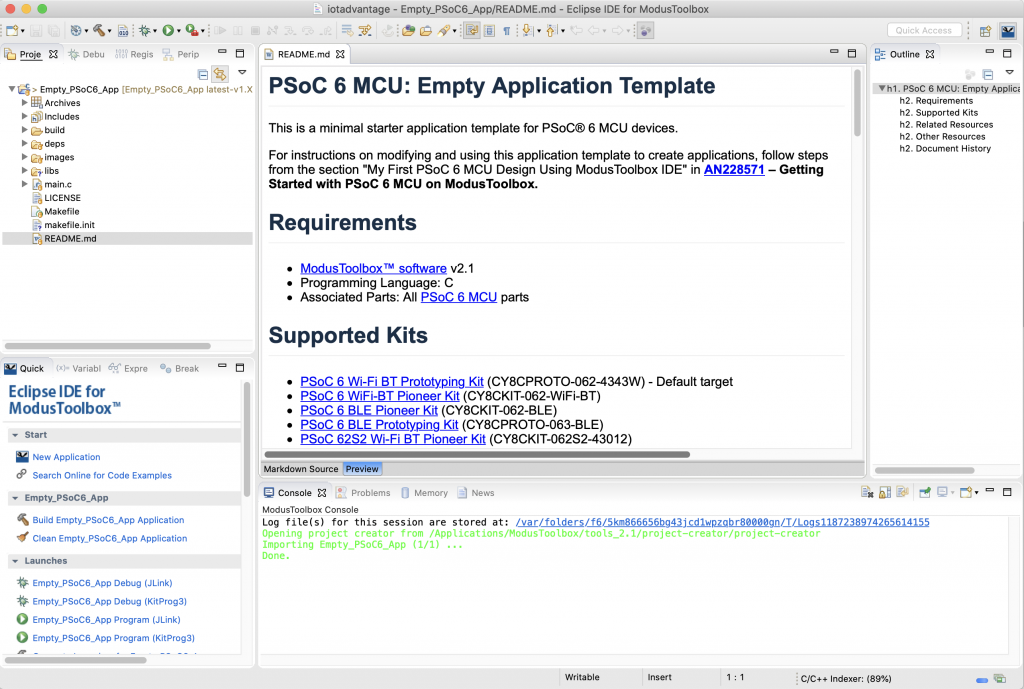
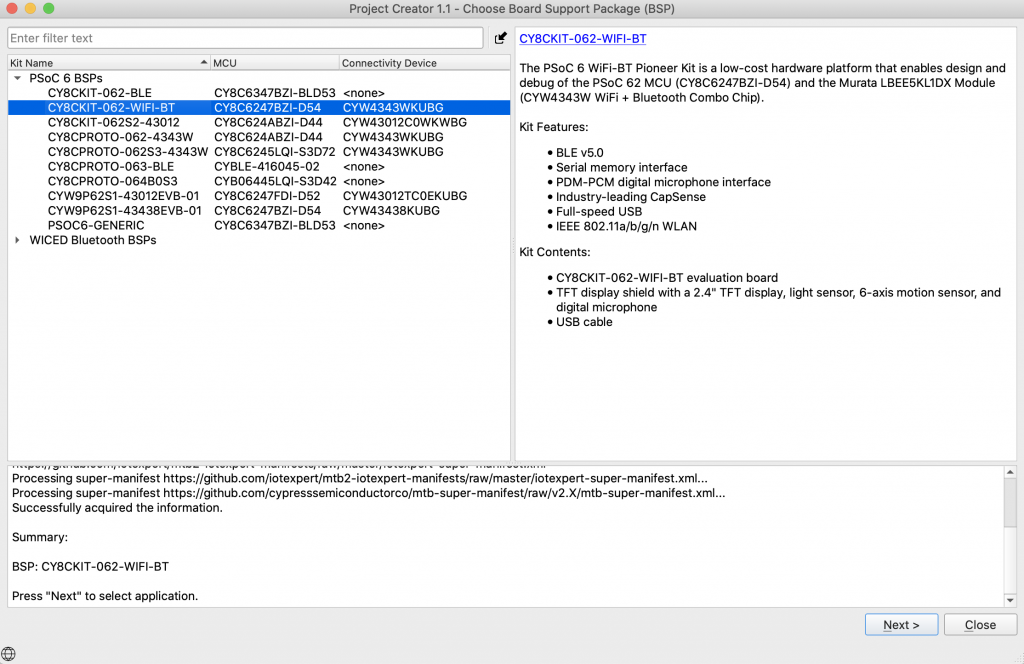
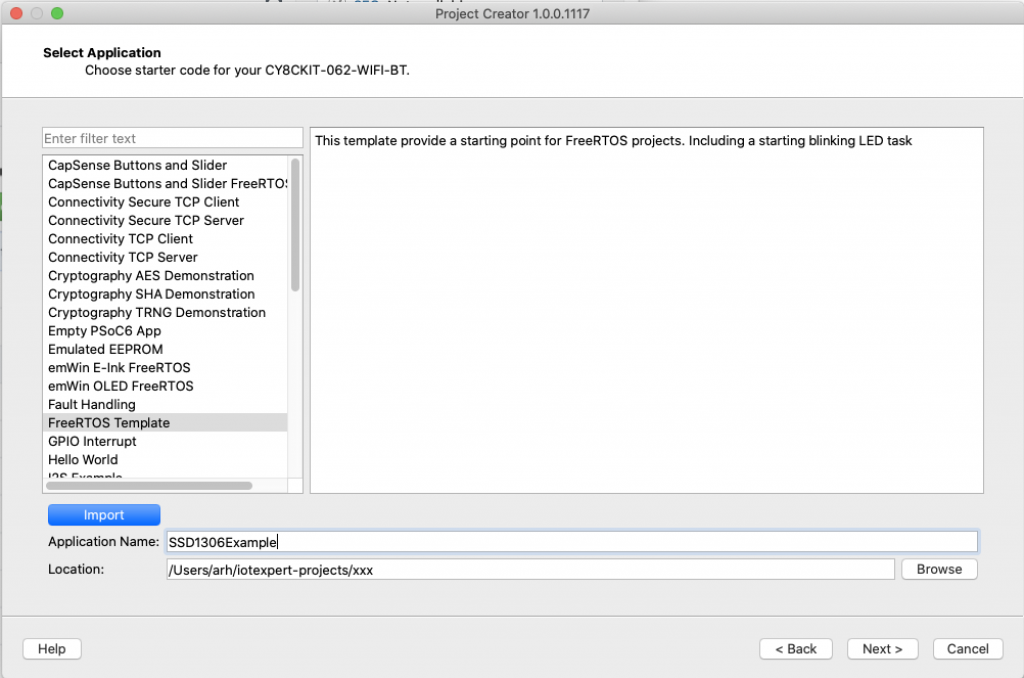
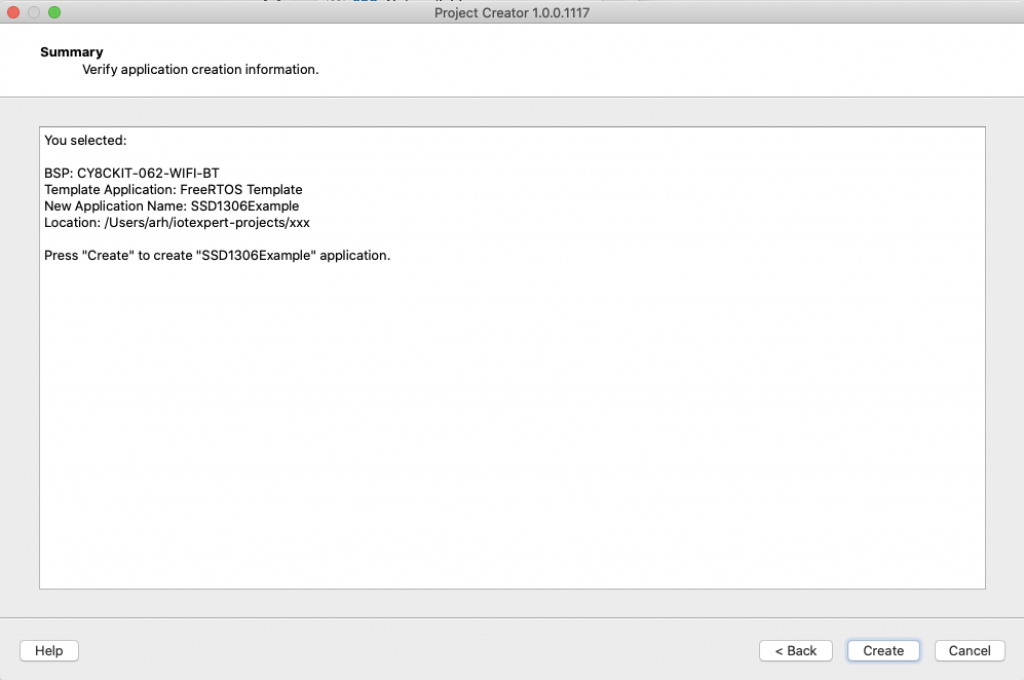
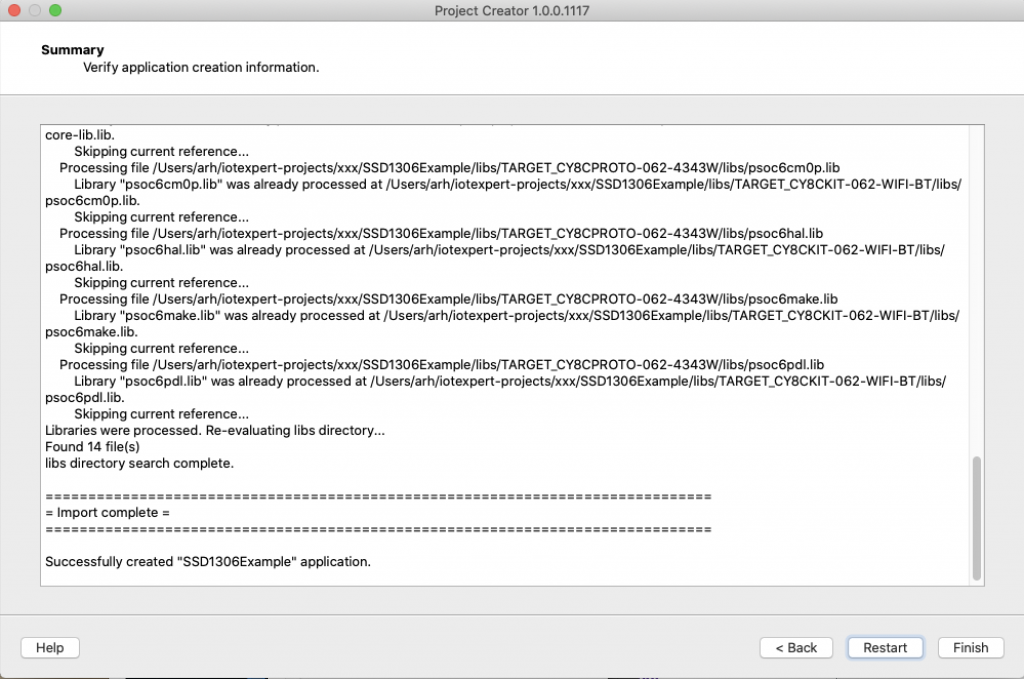
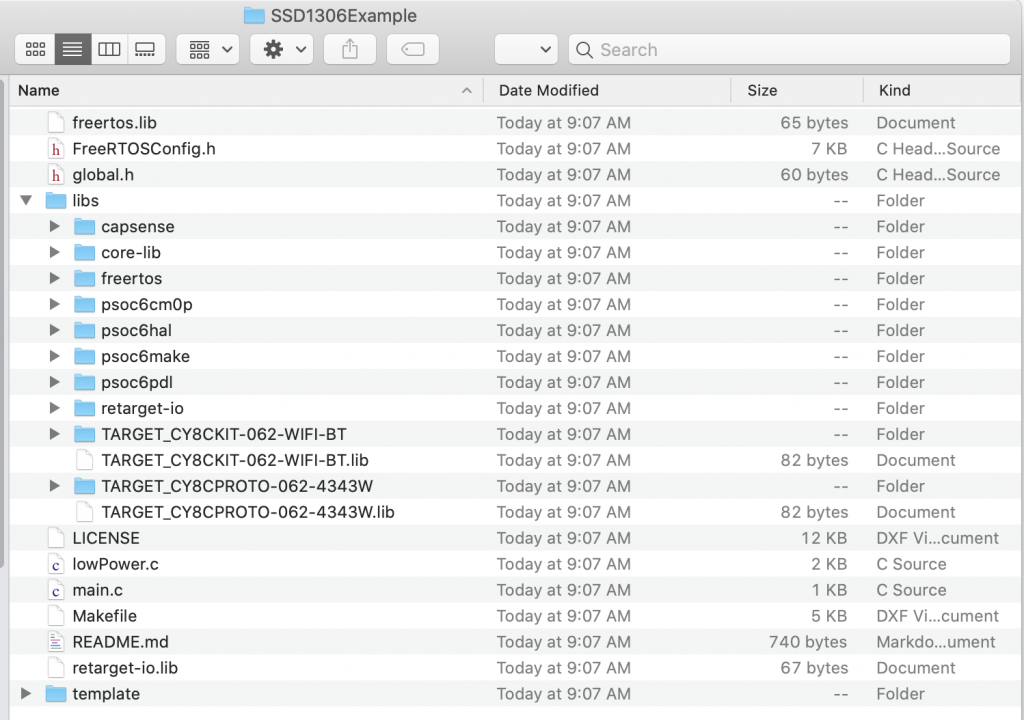
- Create a template Modus Toolbox 2.2 project (so I have a “clean” copy of the Makefile and “mtb” files)
- Fix the Makefile
- Examine and Update the library dependencies
- Test
Backup Everything
Before you torch your perfectly good project you should back it up. I typically use Git. Actually I always use Git. As I wrote this article I realized that I should have tagged the version before I started the updates. To figure out which commit that was I ran a “git log” and then I scrolled through my new commits until I found the last one before the conversion to 2.2. Which requires me to admit that when I left the project a couple of weeks ago there were two files which I hadn’t checked. So I blindly checked them in and then told the truth in my comment.
commit c256b822b2c956b17ec6cb35868e171d71dda0fe (HEAD, tag: mtb2.1)
Author: iotexpert <engineer@iotexpert.com>
Date:   Sat Oct 10 06:47:40 2020 -0400

    updates which I have no idea what they are
Now that I have the right commit, I tagged with with a “mtb 2.1” tag.
arh (master) TiltHydrometer $ git tag -a "mtb2.1" c256b822b2c956b17ec6cb35868e171d71dda0fe
Now I can go back to my 2.1 project by running “git checkout mtb2.1”
Create a Template Project
In order to use the new flow you need to do two things.
- Fix the Makefile
- Change the “dot lib” files to “mtb” files
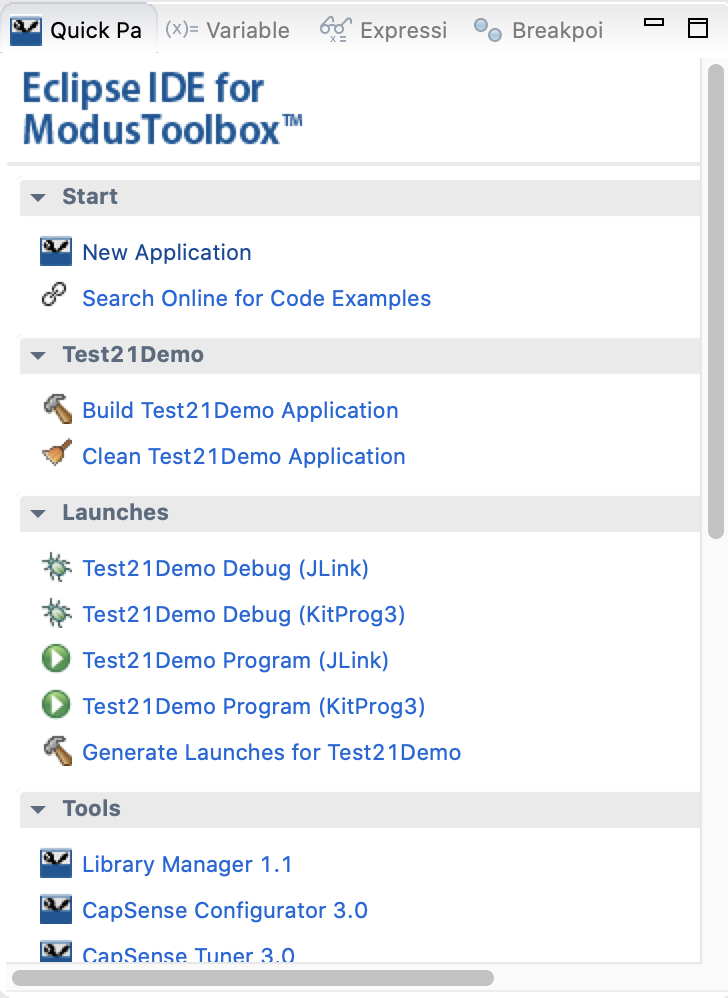
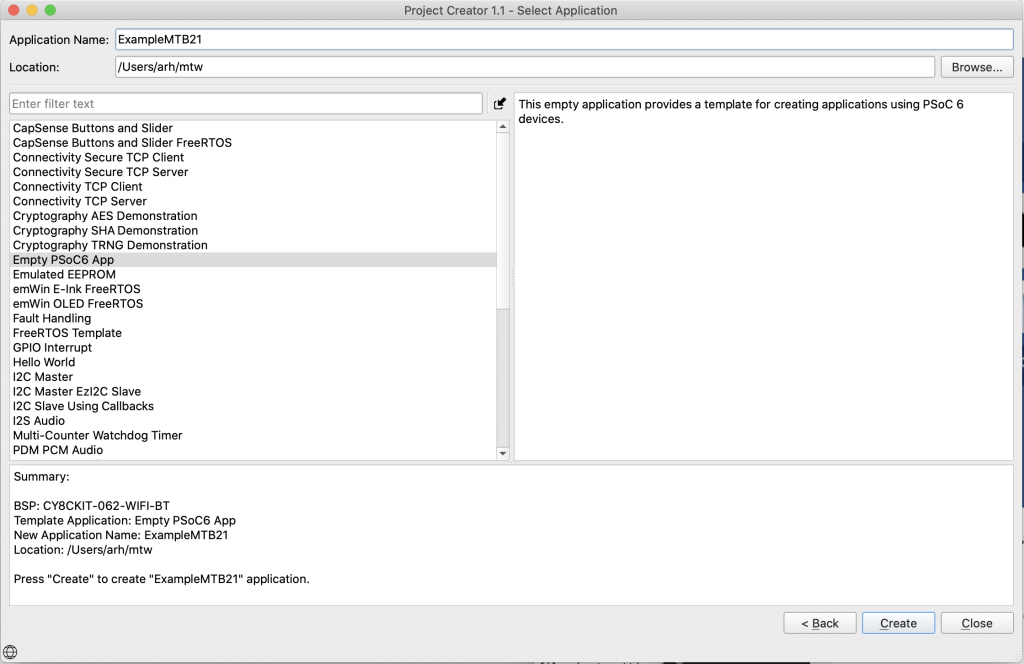
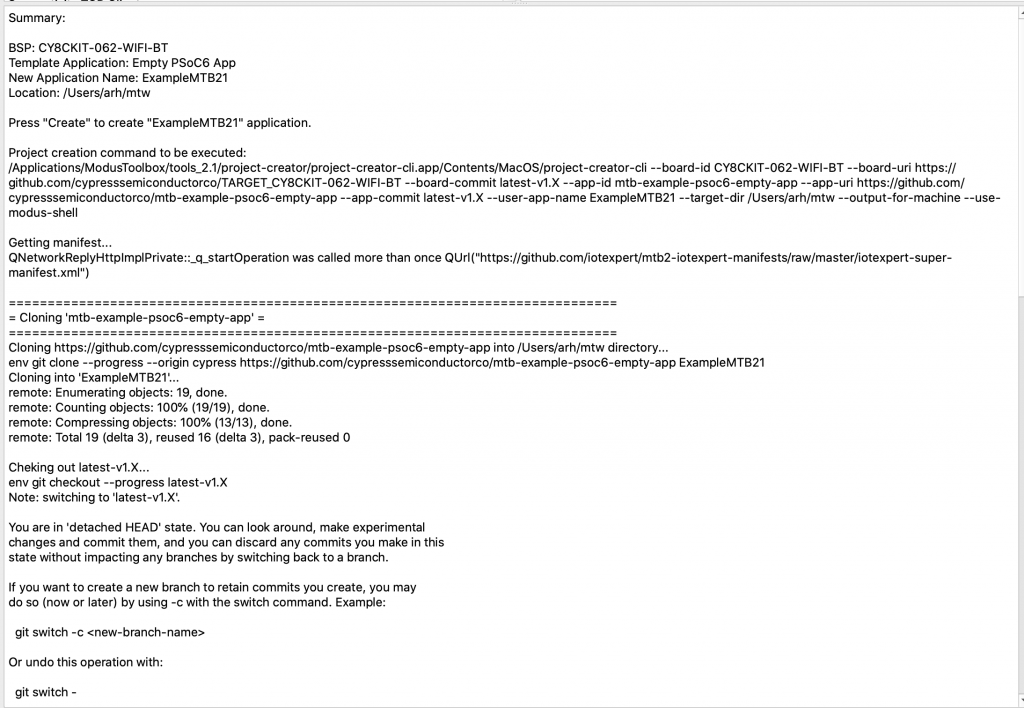
I never can remember the secret incantation to put in either place. So, I create a blank project called “Simple22” to allow me to steal the bits that I want.
Makefile
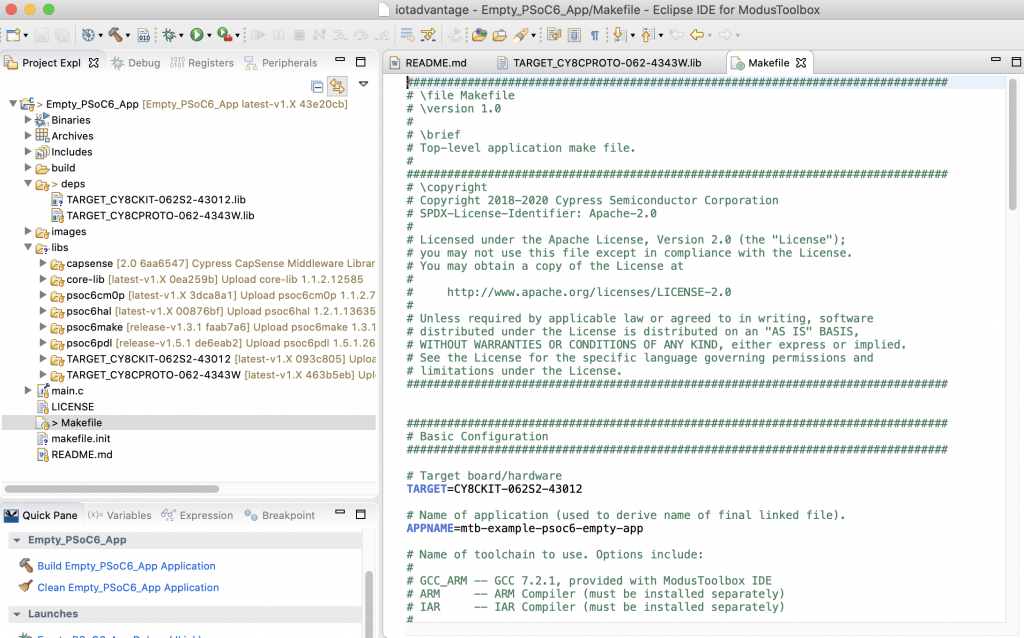
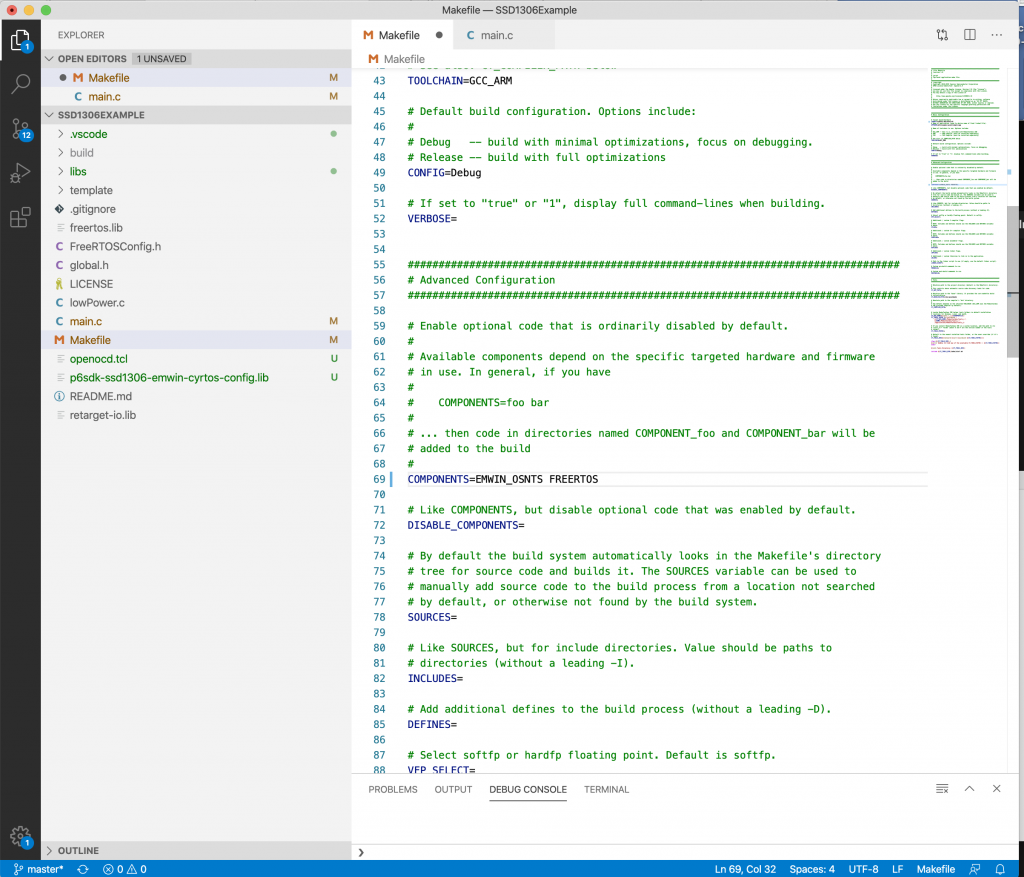
In Modus Toolbox 2.2 we added two new variables to the Makefile which allow you to specify the location of the shared library. First, here is the relevant section of the original 2.1 Makefile
################################################################################
# Paths
################################################################################

# Relative path to the project directory (default is the Makefile's directory).
#
# This controls where automatic source code discovery looks for code.
CY_APP_PATH=

# Relative path to the "base" library. It provides the core makefile build
# infrastructure.
CY_BASELIB_PATH=libs/psoc6make

# Absolute path to the compiler's "bin" directory.
#
# The default depends on the selected TOOLCHAIN (GCC_ARM uses the ModusToolbox
# IDE provided compiler by default).
CY_COMPILER_PATH=
And the new 2.2 Makefile where you can see the two new variables
- CY_GETLIBS_SHARED_PATH=../
- CY_GETLIBS_SHARED_NAME=mtb_shared
################################################################################
# Paths
################################################################################

# Relative path to the project directory (default is the Makefile's directory).
#
# This controls where automatic source code discovery looks for code.
CY_APP_PATH=

# Relative path to the shared repo location.
#
# All .mtb files have the format, <URI>#<COMMIT>#<LOCATION>. If the <LOCATION> field
# begins with $$ASSET_REPO$$, then the repo is deposited in the path specified by
# the CY_GETLIBS_SHARED_PATH variable. The default location is one directory level
# above the current app directory.
# This is used with CY_GETLIBS_SHARED_NAME variable, which specifies the directory name.
CY_GETLIBS_SHARED_PATH=../

# Directory name of the shared repo location.
#
CY_GETLIBS_SHARED_NAME=mtb_shared
Dependencies & Libraries
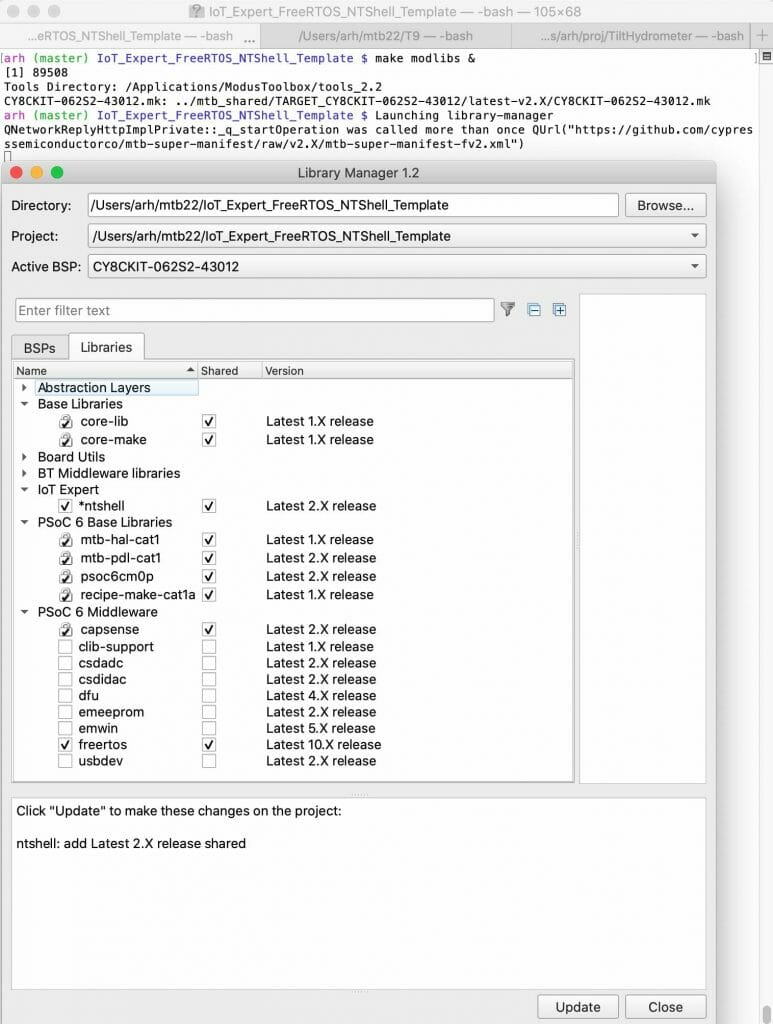
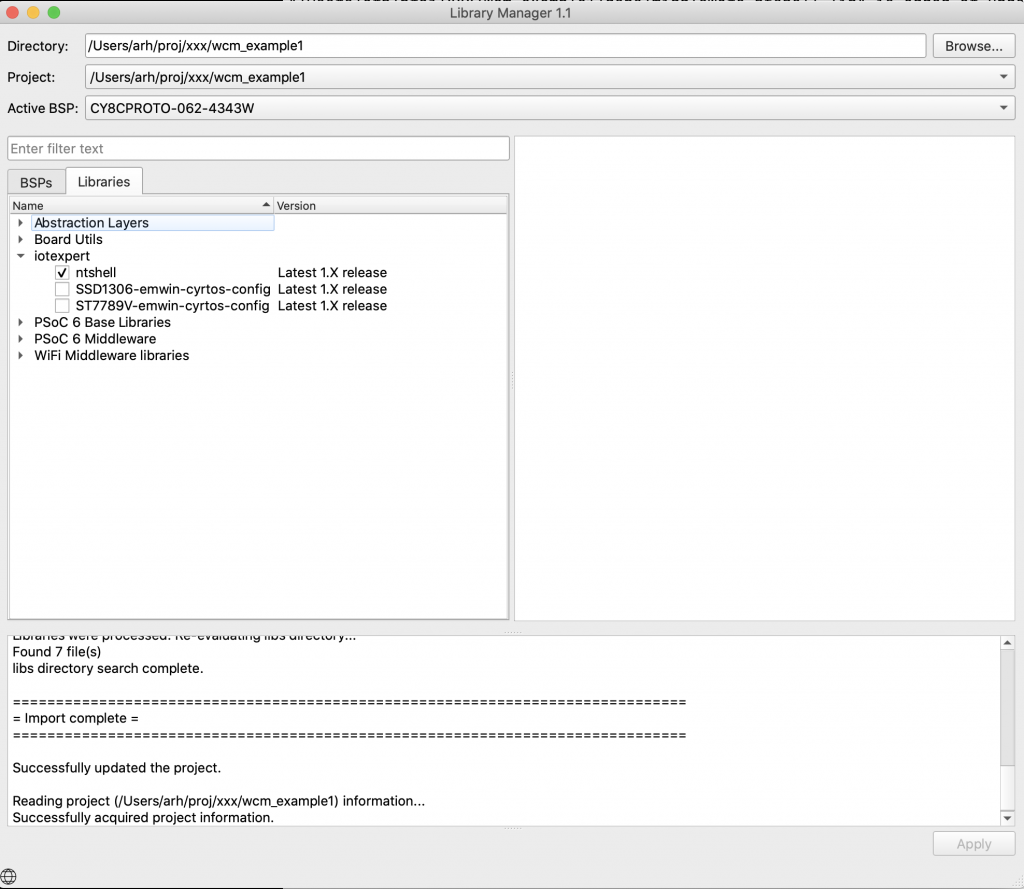
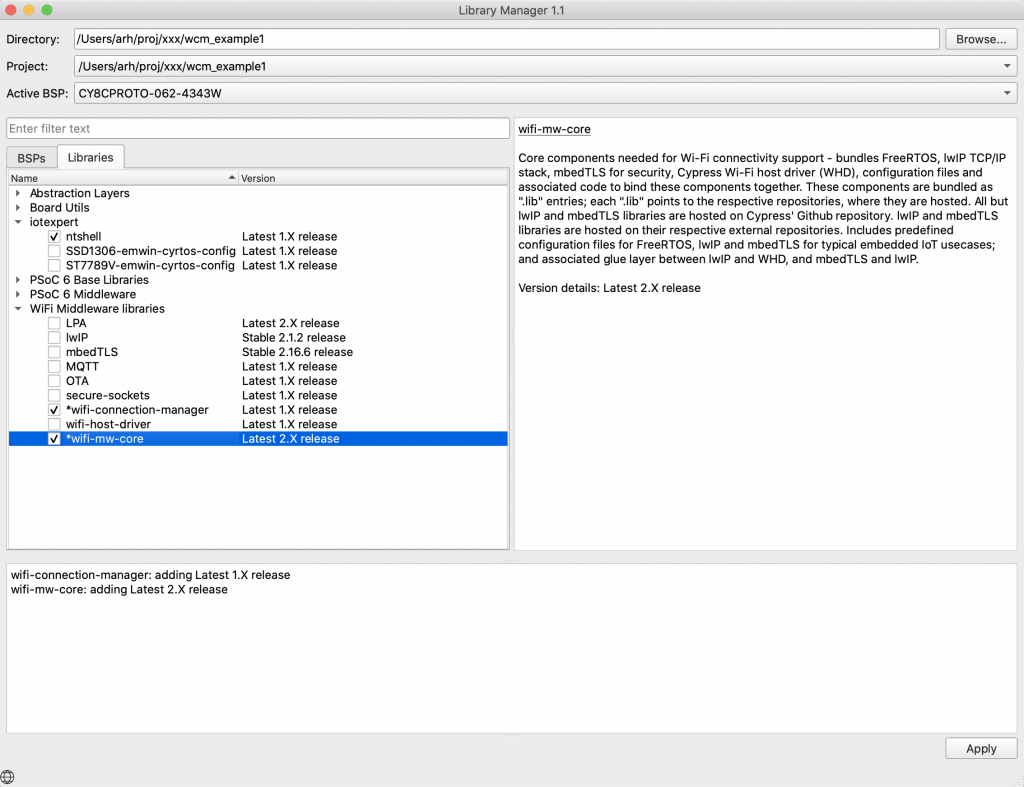
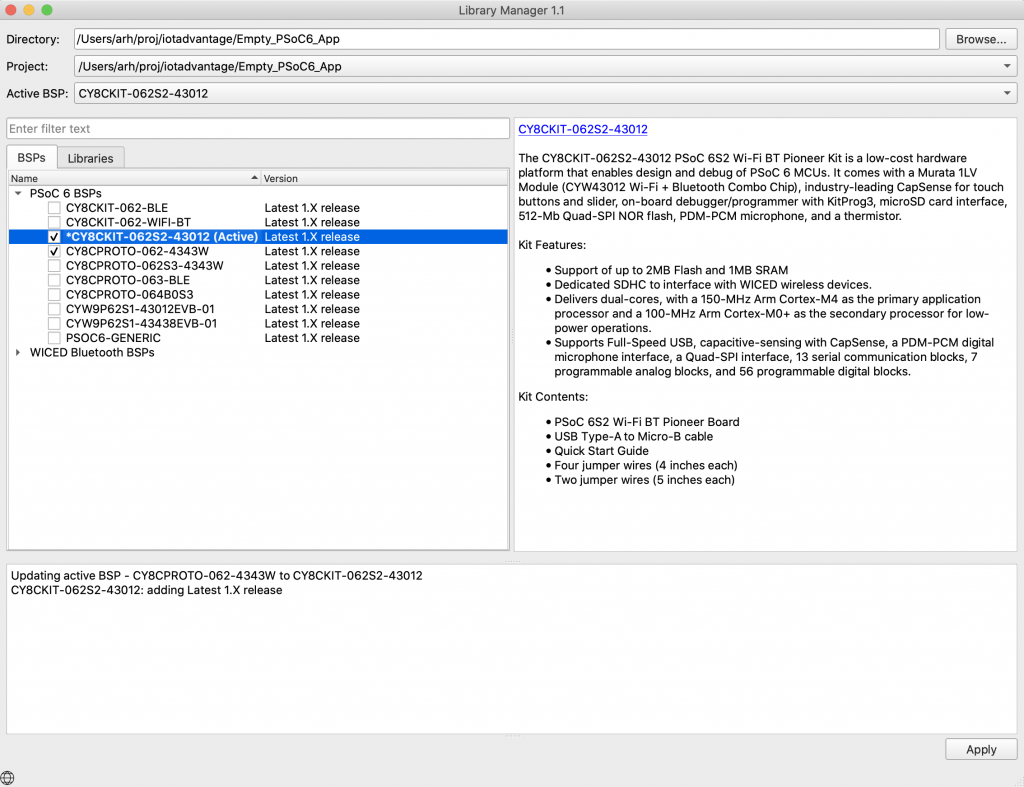
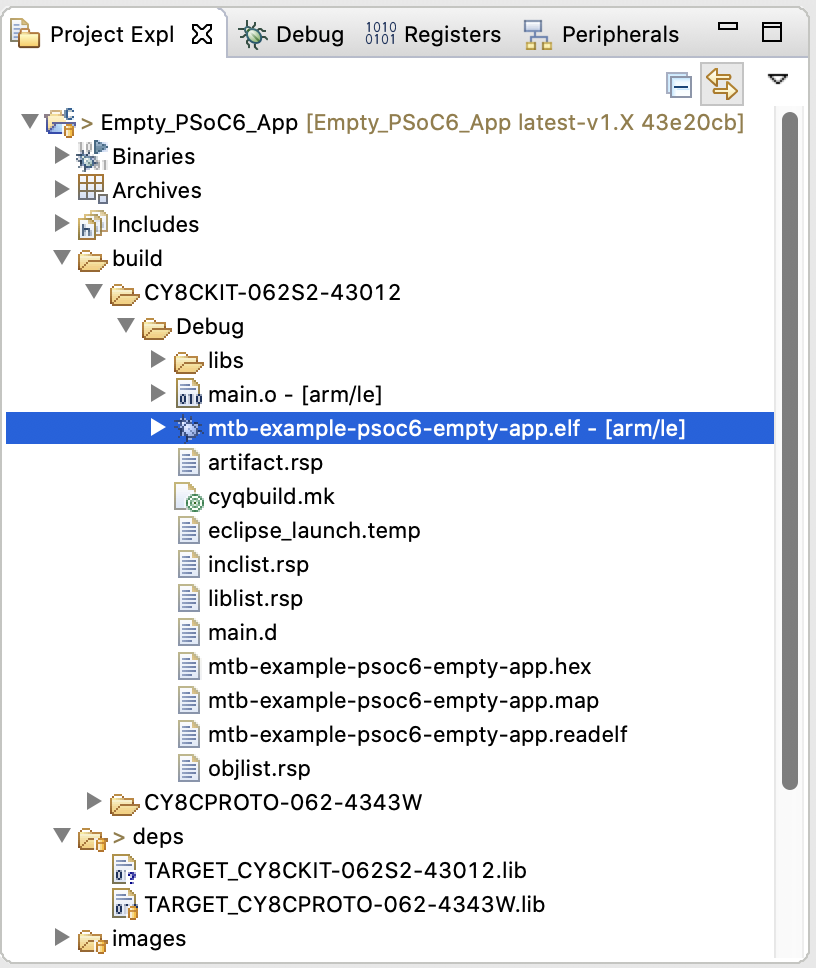
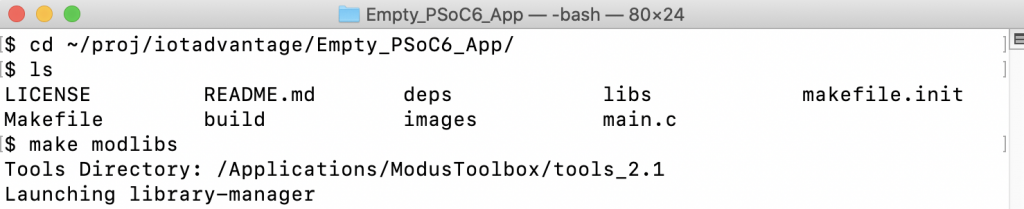
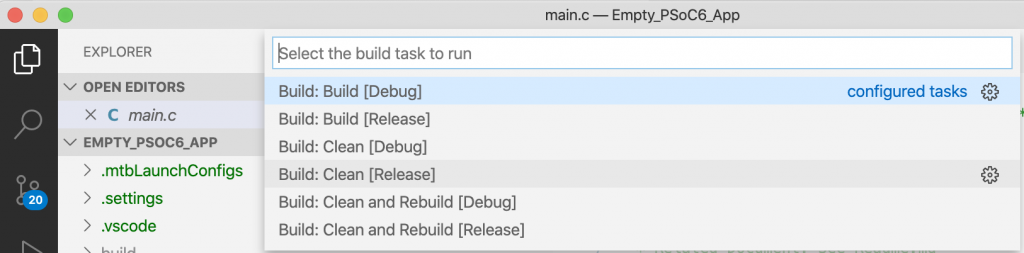
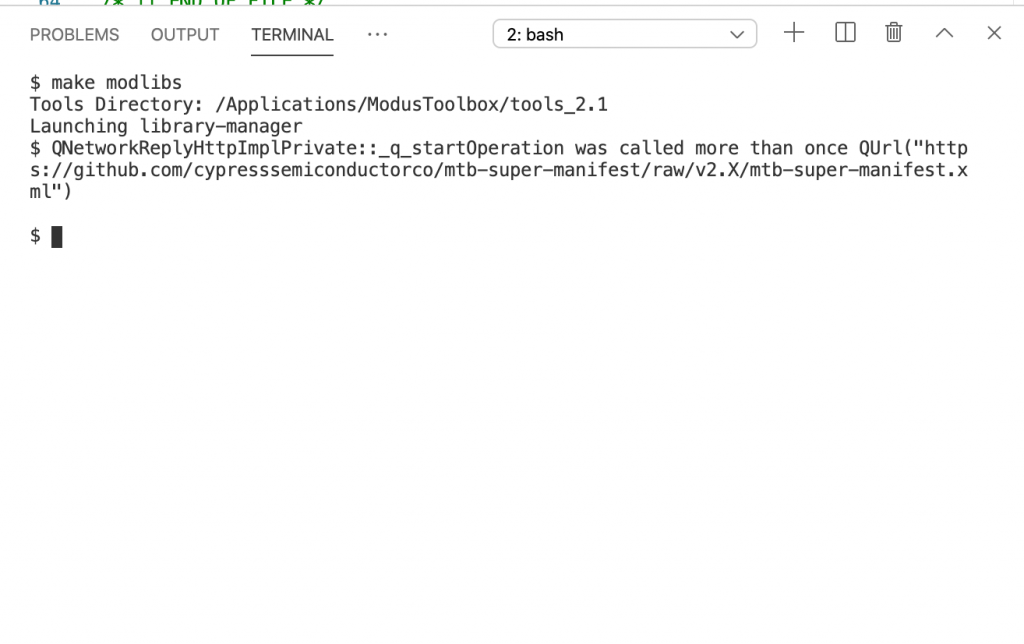
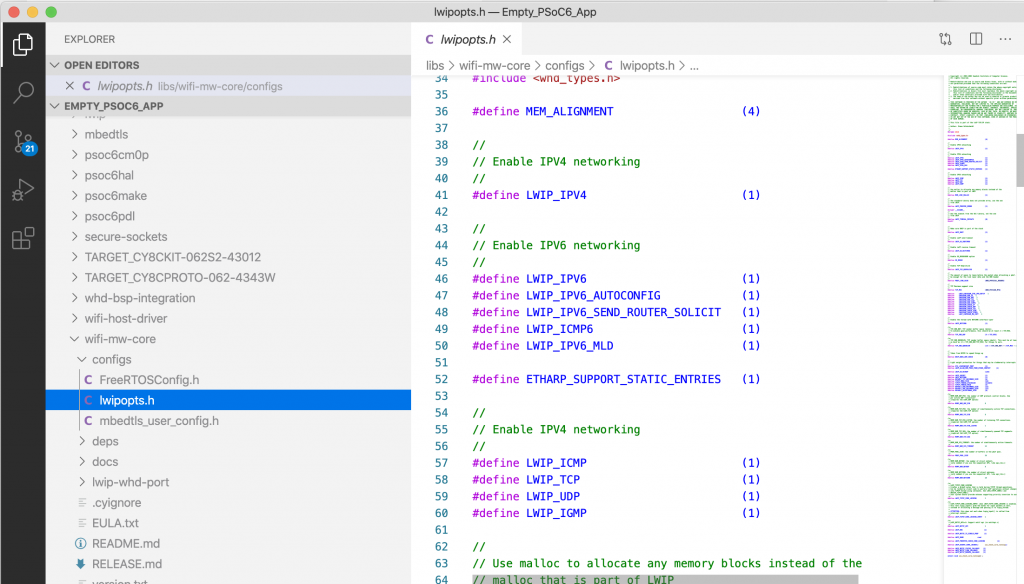
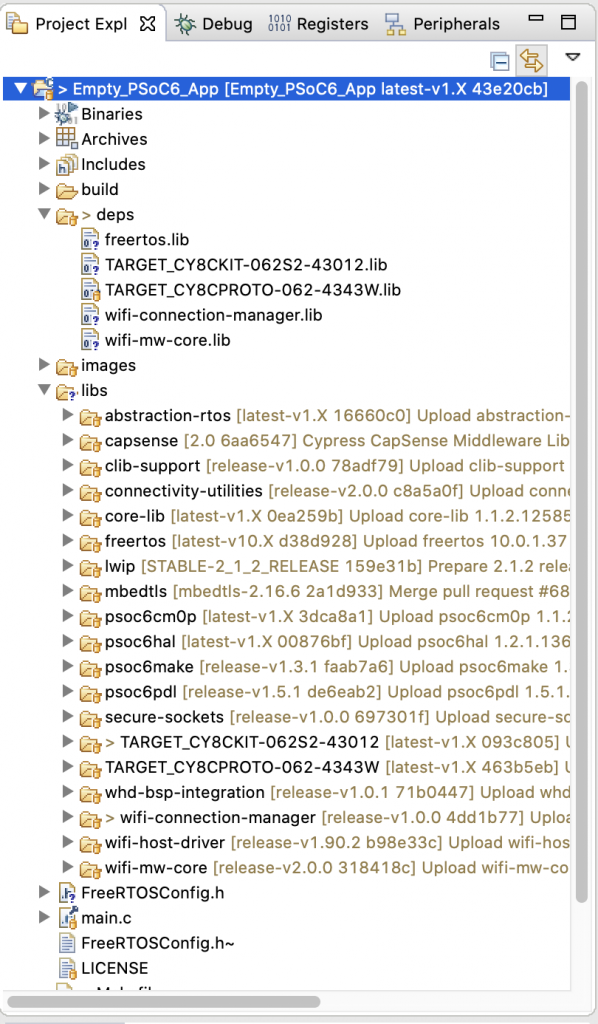
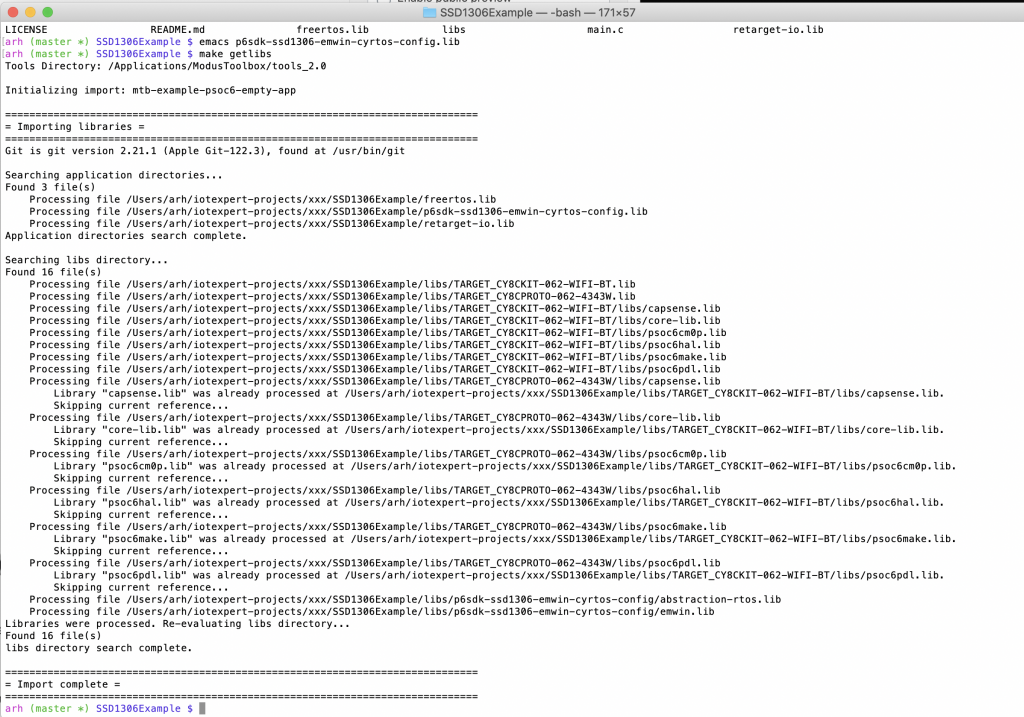
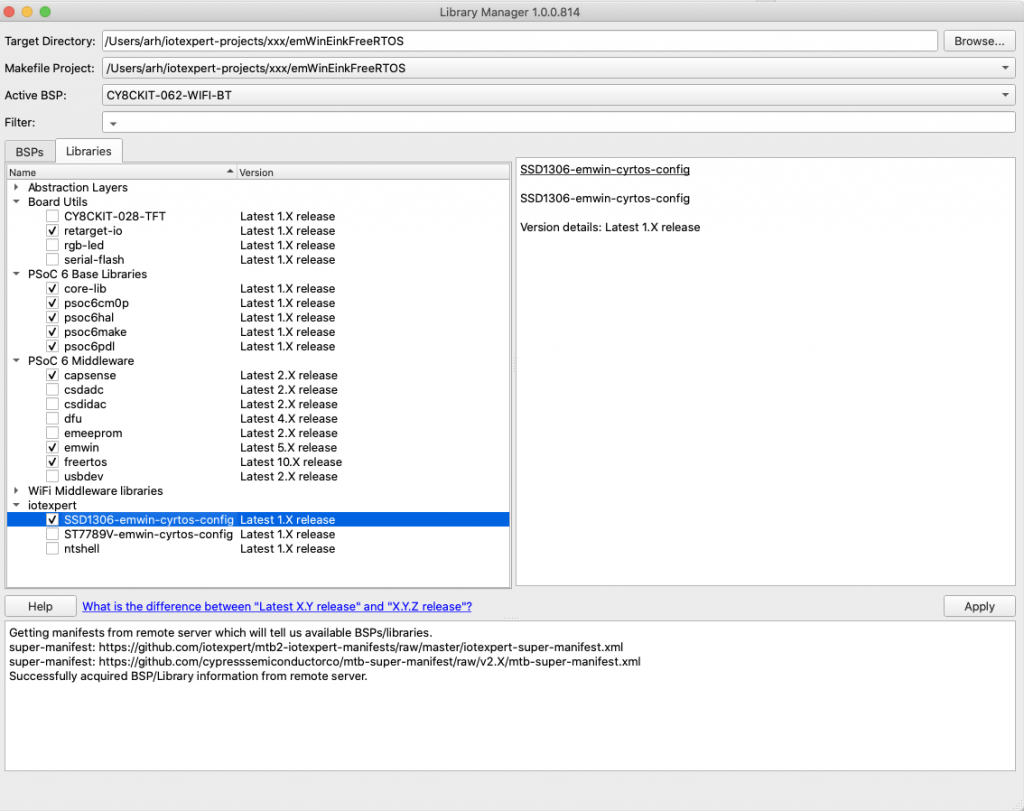
The next thing to do is look at what libraries are in my original project. To do this run the Library manager via “make modlibs”
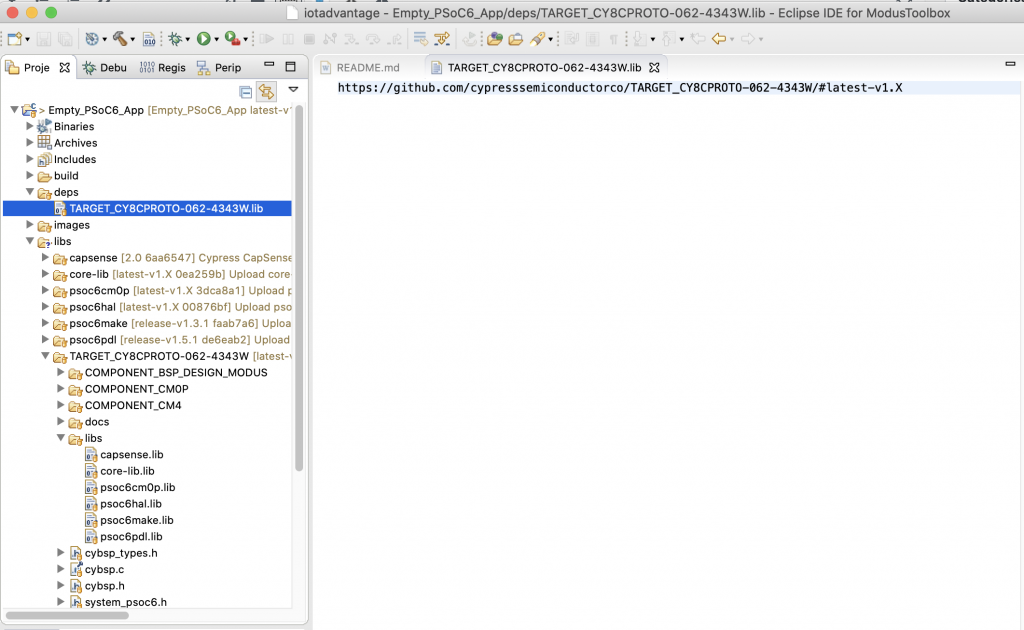
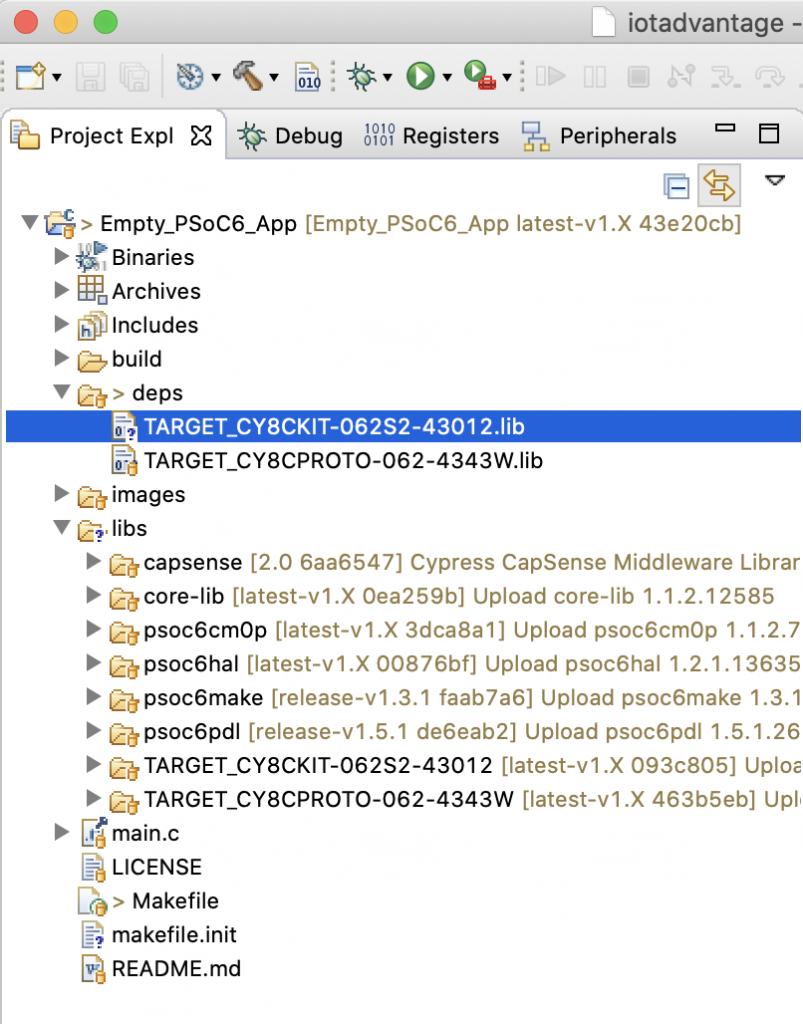
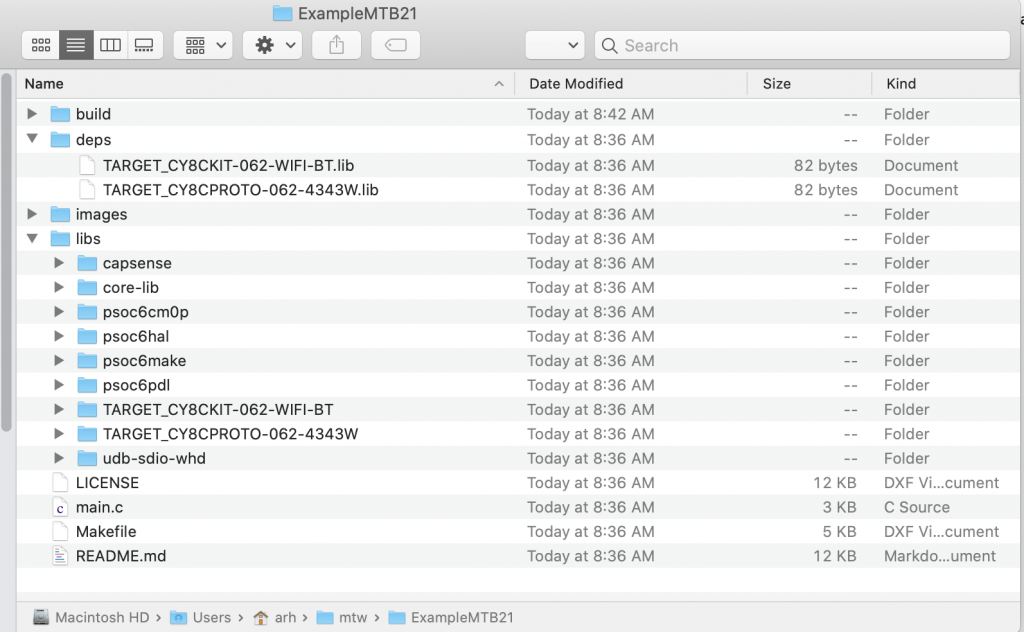
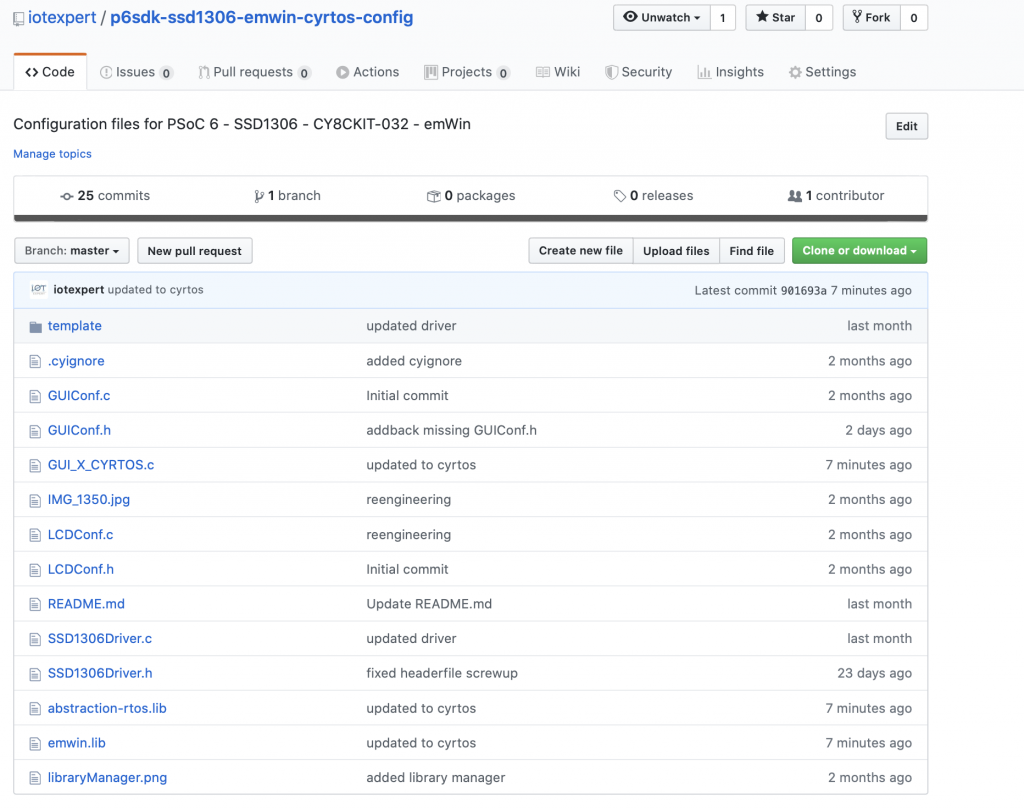
All of these libraries are added to the project by creating “dot Libs” in the “deps” directory. Specifically as I worked on the original project I added the libraries using the library manager, which created a dot lib for each library. Here is a look at the original “deps” directory.
arh (master) TiltHydrometer $ ls deps
CY8CKIT-028-TFT.lib		abstraction-rtos.lib		display-tft-st7789v.lib		middleware-ntshell.lib		sensor-motion-bmi160.lib
TARGET_CY8CKIT-062S2-43012.lib	audio-codec-ak4954a.lib		emwin.lib			retarget-io.lib
TARGET_CY8CPROTO-062-4343W.lib	bluetooth-freertos.lib		freertos.lib			sensor-light.lib
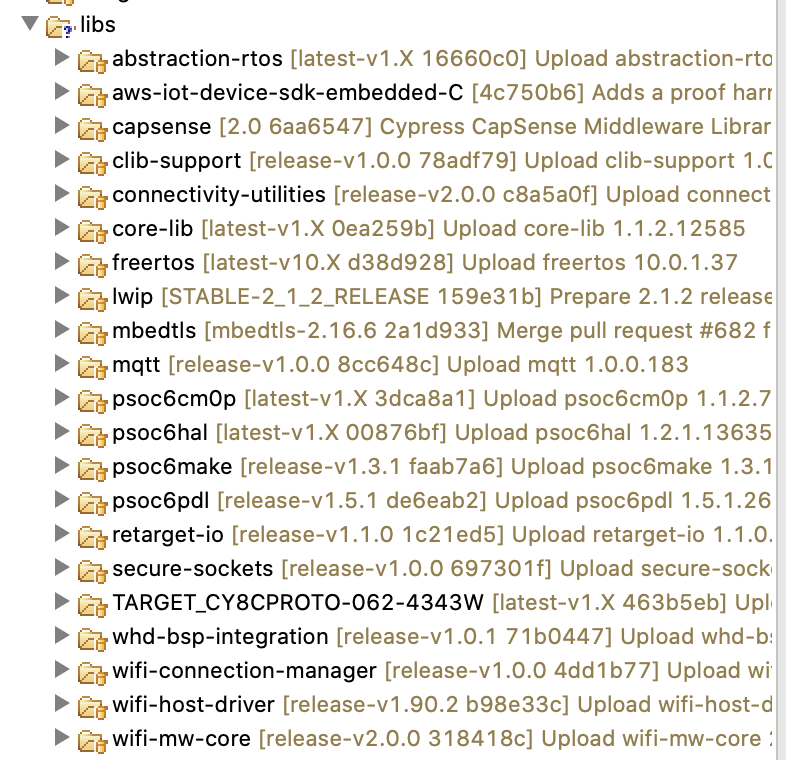
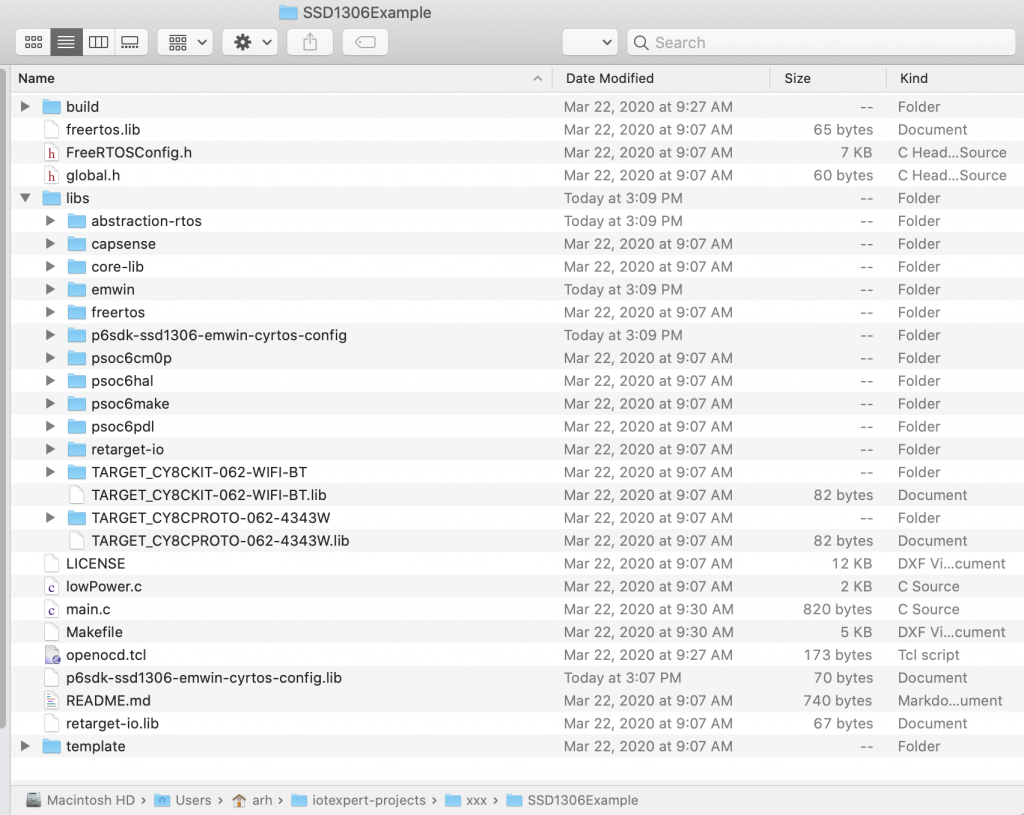
When I did an “update” in Modus Toolbox 2.1 it ran “make depend” which brought in the libraries specified by the the “dot libs” into the “libs” directory. Here it is a listing of the lib directory.
arh (master) TiltHydrometer $ ls libs
TARGET_CY8CKIT-062S2-43012	btstack.mtb			core-lib.mtb			mtb-hal-cat1.mtb		psoc6make
TARGET_CY8CPROTO-062-4343W	capsense			core-make.mtb			mtb-pdl-cat1.mtb		psoc6pdl
abstraction-rtos		capsense.mtb			display-tft-st7789v		mtb.mk				recipe-make-cat1a.mtb
abstraction-rtos.mtb		clib-support			emwin				psoc6cm0p			retarget-io
bluetooth-freertos		clib-support.mtb		freertos			psoc6cm0p.mtb
btstack				core-lib			middleware-ntshell		psoc6hal
arh (master) TiltHydrometer $
Now take the dramatic step of:
- rm deps/*
- rm -rf libs
I decided that the easiest thing to do to create the “mtb” files was to run the library manager. But, with nothing in the deps directory, the library manager doesn’t know what to do.
arh (master *) TiltHydrometer $ make modlibs
Tools Directory: /Applications/ModusToolbox/tools_2.2
/Applications/ModusToolbox/tools_2.2/make/startex.mk:380: *** Build support for the target device not found. Run "make getlibs" to ensure all required build and code dependencies are present..  Stop.
arh (master *) TiltHydrometer $
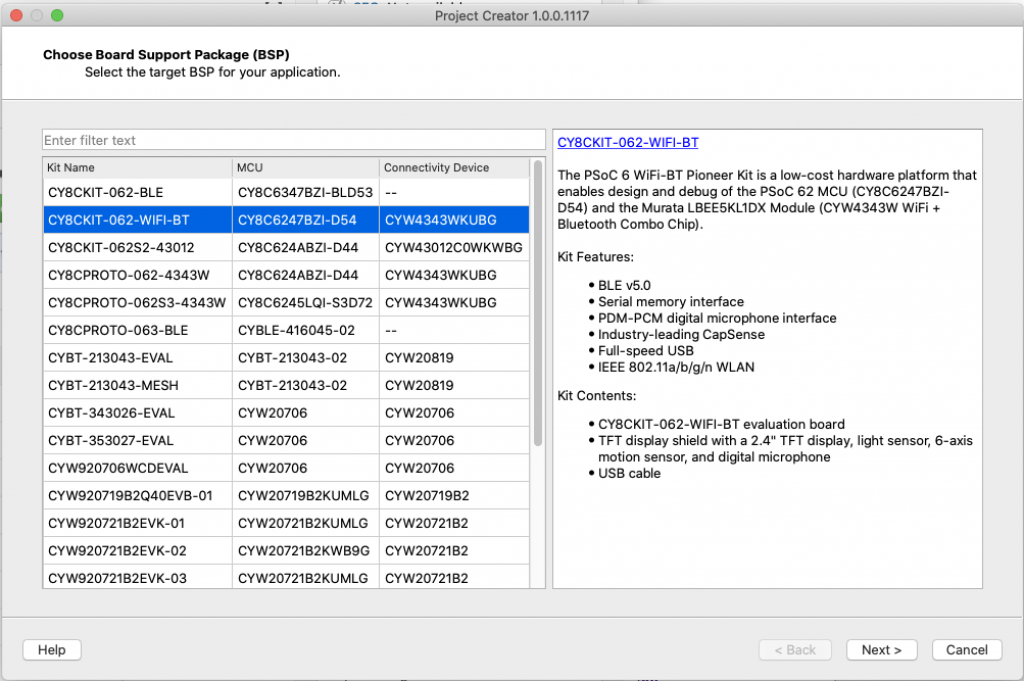
So, I copy the target file from the Simple22 project.
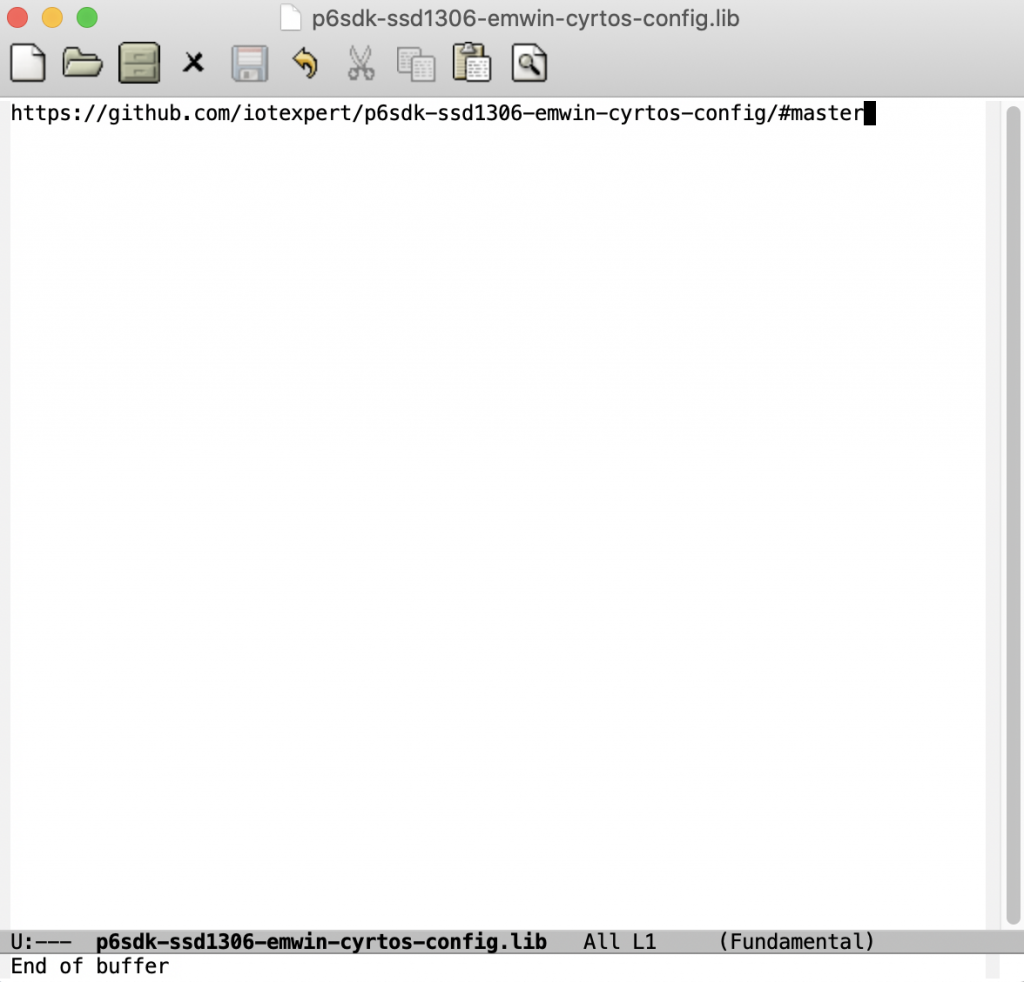
arh (master *) TiltHydrometer $ cp ../Simple22/deps/TARGET_CY8CKIT-062S2-43012.mtb deps
arh (master *) TiltHydrometer $ more deps/TARGET_CY8CKIT-062S2-43012.mtb
https://github.com/cypresssemiconductorco/TARGET_CY8CKIT-062S2-43012#latest-v2.X#$$ASSET_REPO$$/TARGET_CY8CKIT-062S2-43012/latest-v2.X
I was sure that I would be able to run the library manager now. But it gave me the bird. At least it gave me the hint of running “make getlibs” first. Which I do:
arh (master *) TiltHydrometer $ make modlibs
Tools Directory: /Applications/ModusToolbox/tools_2.2
/Applications/ModusToolbox/tools_2.2/make/startex.mk:380: *** Build support for the target device not found. Run "make getlibs" to ensure all required build and code dependencies are present.. Stop.
arh (master *) TiltHydrometer $ make getlibs
Tools Directory: /Applications/ModusToolbox/tools_2.2
==============================================================================
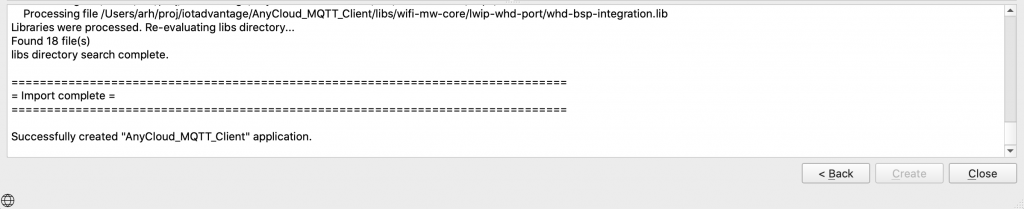
= Importing libraries =
==============================================================================
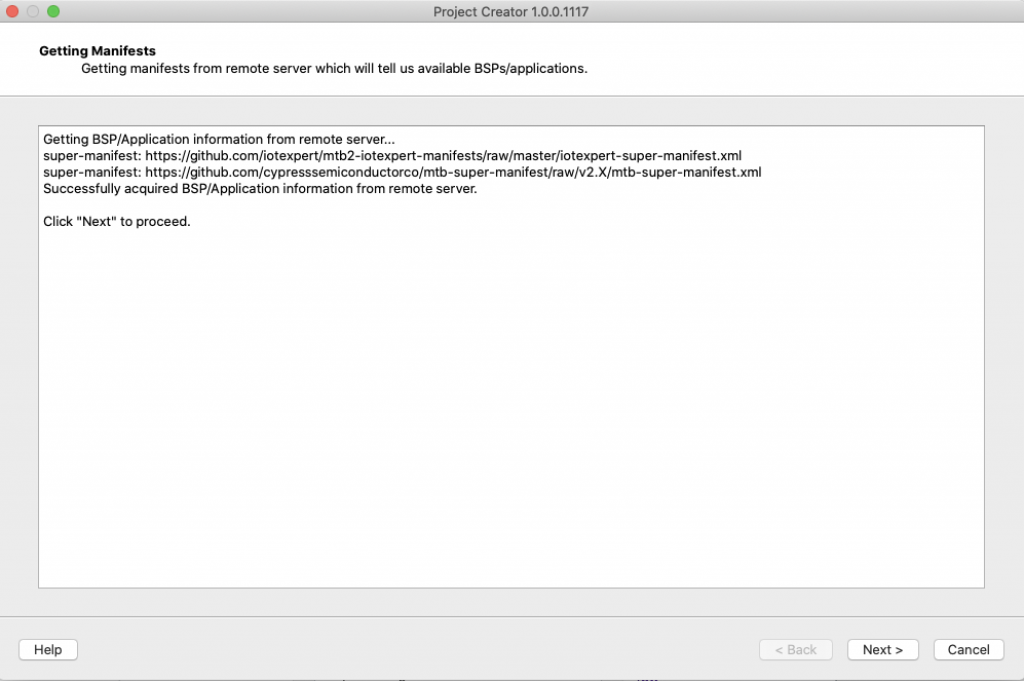
Git is git version 2.24.3 (Apple Git-128), found at /usr/bin/git
Resolving dependencies...
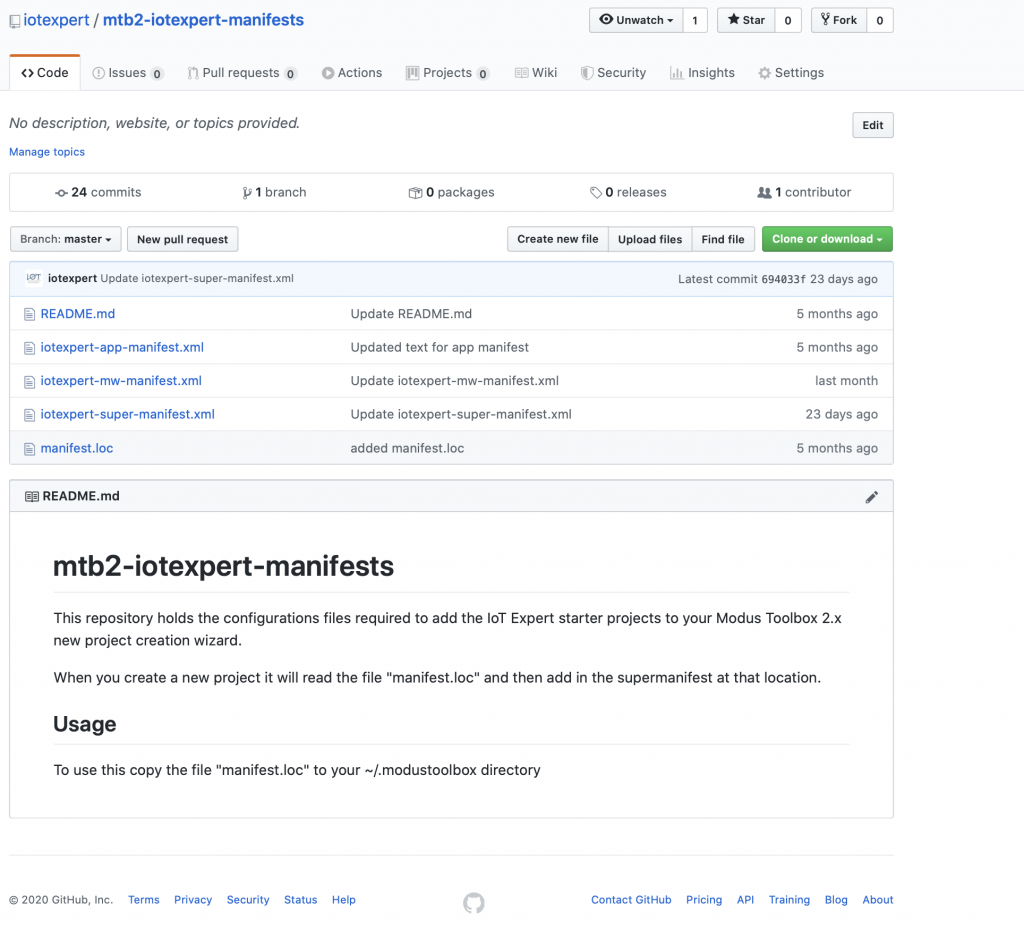
QNetworkReplyHttpImplPrivate::_q_startOperation was called more than once QUrl("https://github.com/iotexpert/mtb2-iotexpert-manifests/raw/master/iotexpert-super-manifest.xml")
/Users/arh/proj/TiltHydrometer/libs/capsense.mtb was added or updated
/Users/arh/proj/TiltHydrometer/libs/core-lib.mtb was added or updated
/Users/arh/proj/TiltHydrometer/libs/core-make.mtb was added or updated
/Users/arh/proj/TiltHydrometer/libs/mtb-hal-cat1.mtb was added or updated
/Users/arh/proj/TiltHydrometer/libs/mtb-pdl-cat1.mtb was added or updated
/Users/arh/proj/TiltHydrometer/libs/psoc6cm0p.mtb was added or updated
/Users/arh/proj/TiltHydrometer/libs/recipe-make-cat1a.mtb was added or updated
Dependencies resolved.
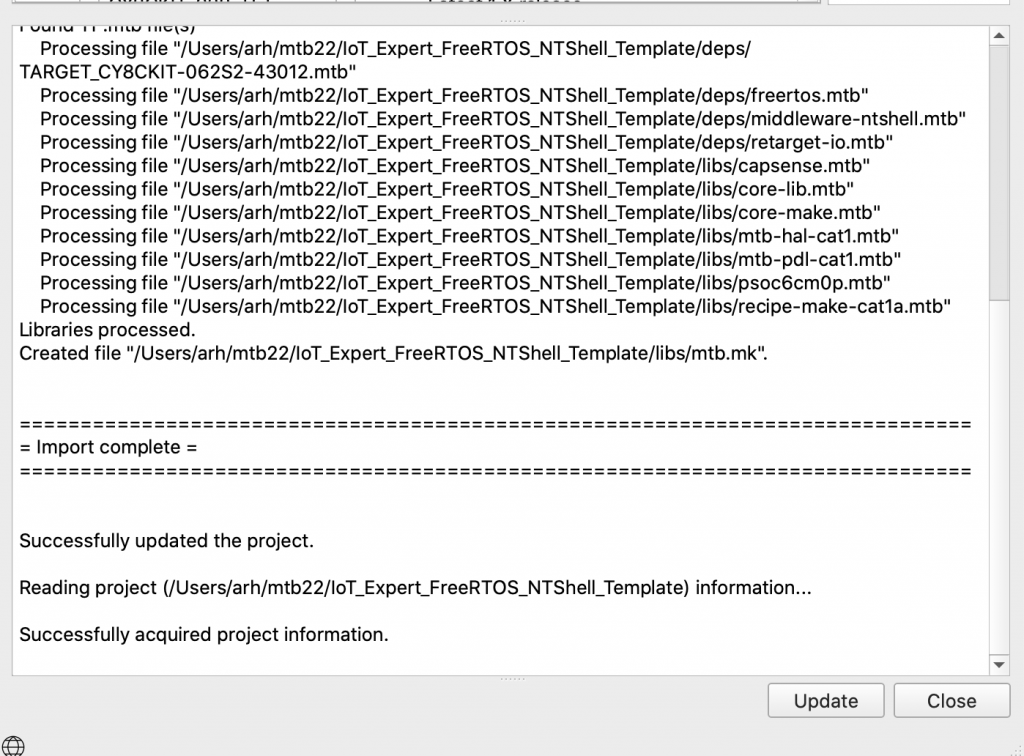
Searching application directory (.mtb)...
Found 8 .mtb file(s)
Processing file "/Users/arh/proj/TiltHydrometer/deps/TARGET_CY8CKIT-062S2-43012.mtb"
Processing file "/Users/arh/proj/TiltHydrometer/libs/capsense.mtb"
Processing file "/Users/arh/proj/TiltHydrometer/libs/core-lib.mtb"
Processing file "/Users/arh/proj/TiltHydrometer/libs/core-make.mtb"
Processing file "/Users/arh/proj/TiltHydrometer/libs/mtb-hal-cat1.mtb"
Processing file "/Users/arh/proj/TiltHydrometer/libs/mtb-pdl-cat1.mtb"
Processing file "/Users/arh/proj/TiltHydrometer/libs/psoc6cm0p.mtb"
Processing file "/Users/arh/proj/TiltHydrometer/libs/recipe-make-cat1a.mtb"
Libraries processed.
Created file "/Users/arh/proj/TiltHydrometer/libs/mtb.mk".
==============================================================================
= Import complete =
==============================================================================
arh (master *) TiltHydrometer $
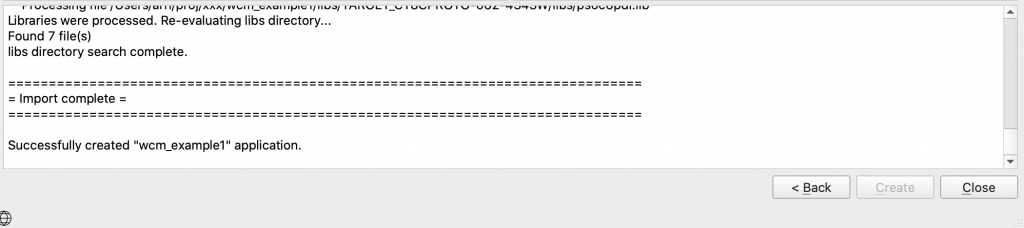
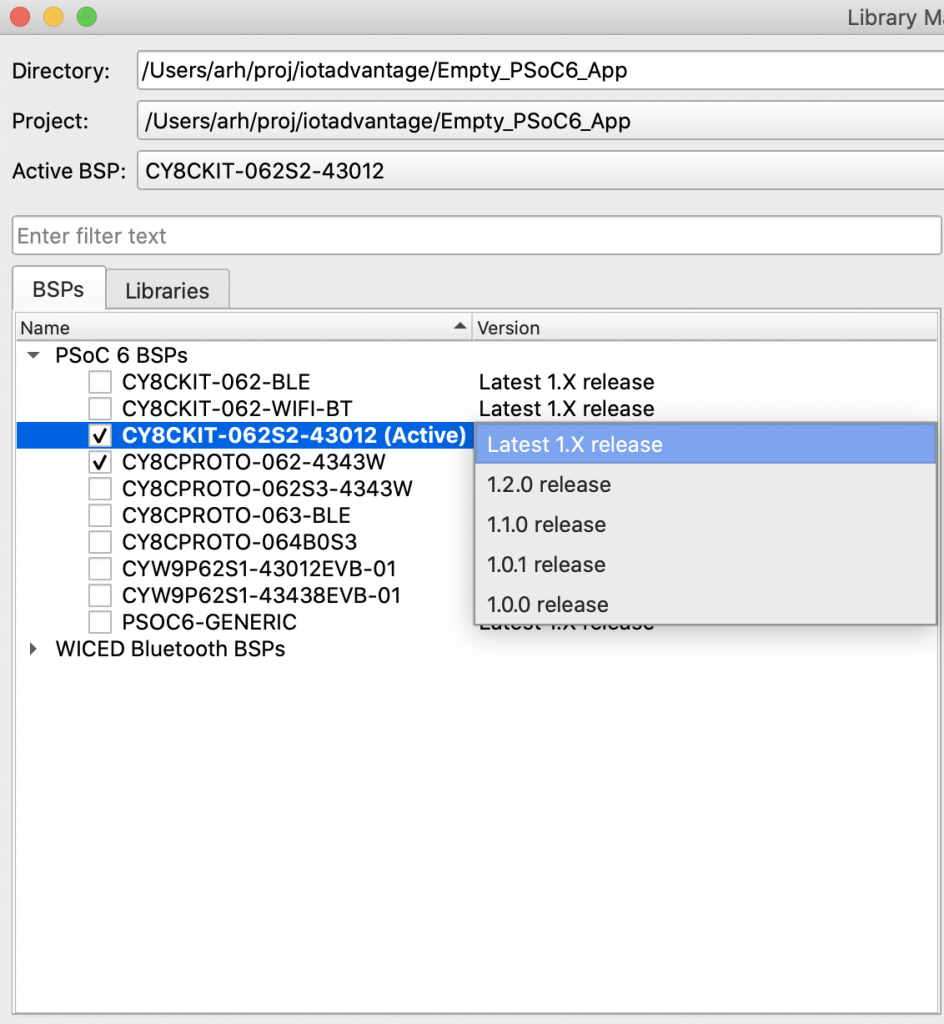
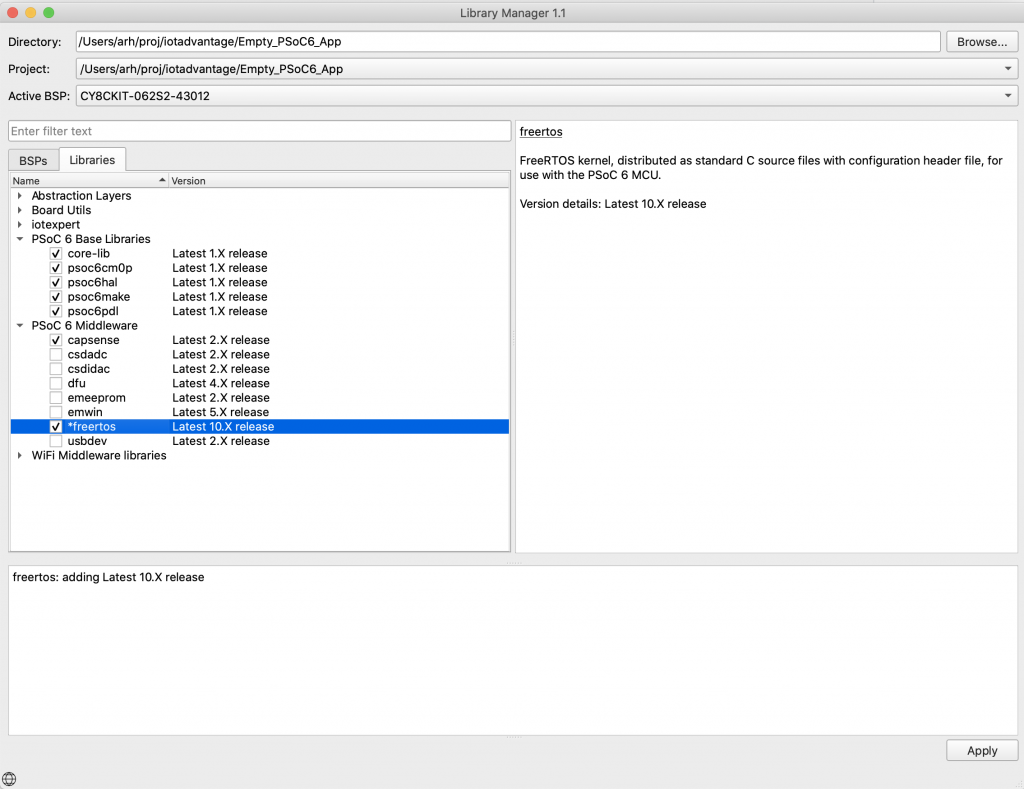
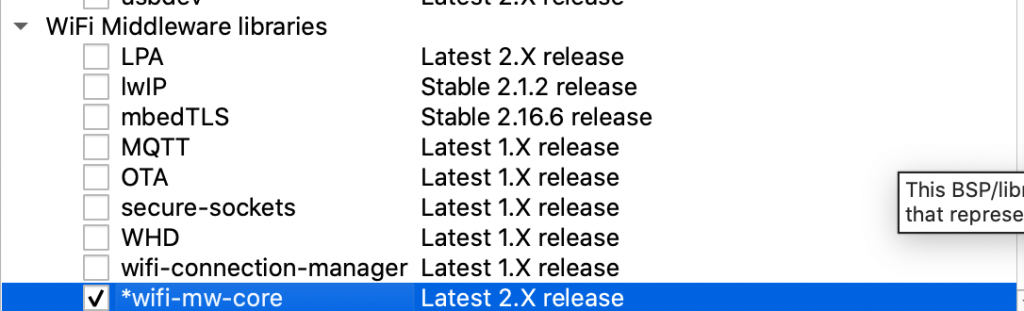
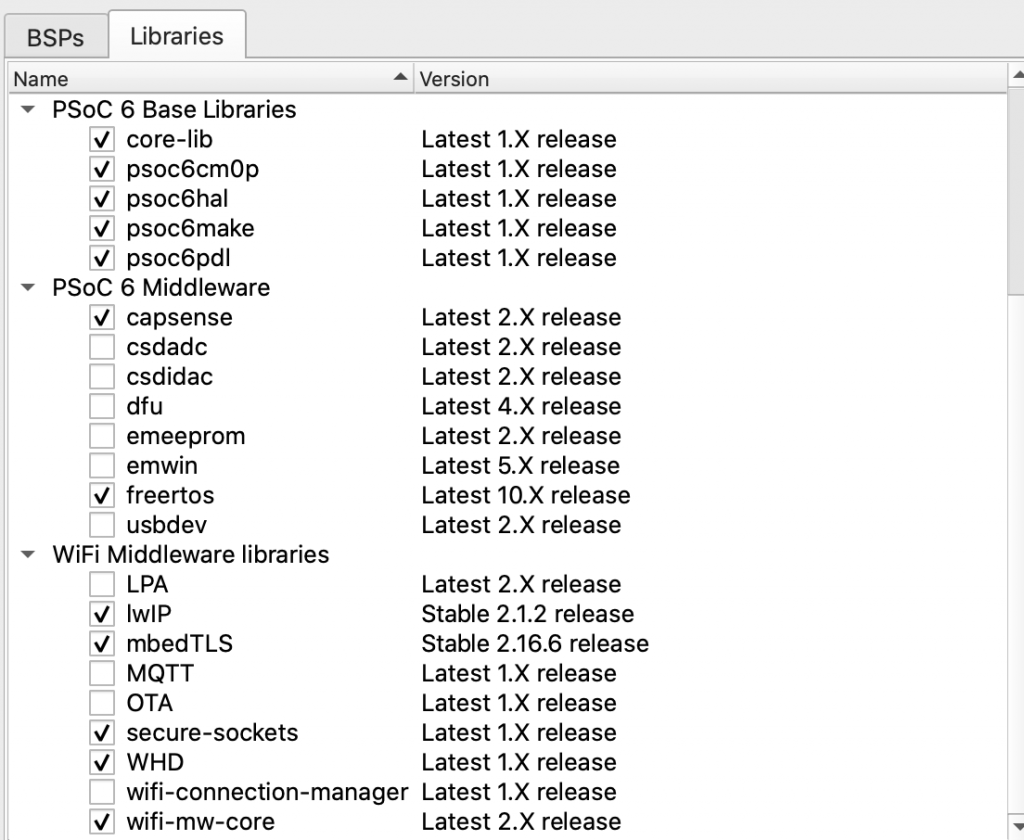
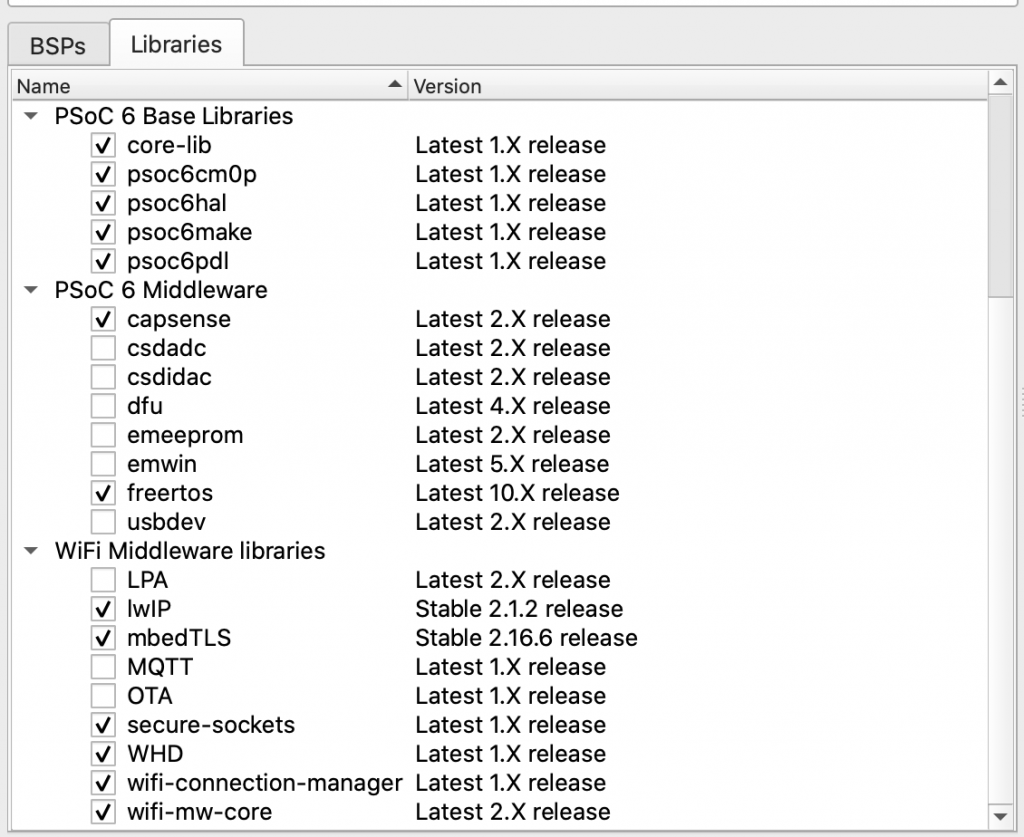
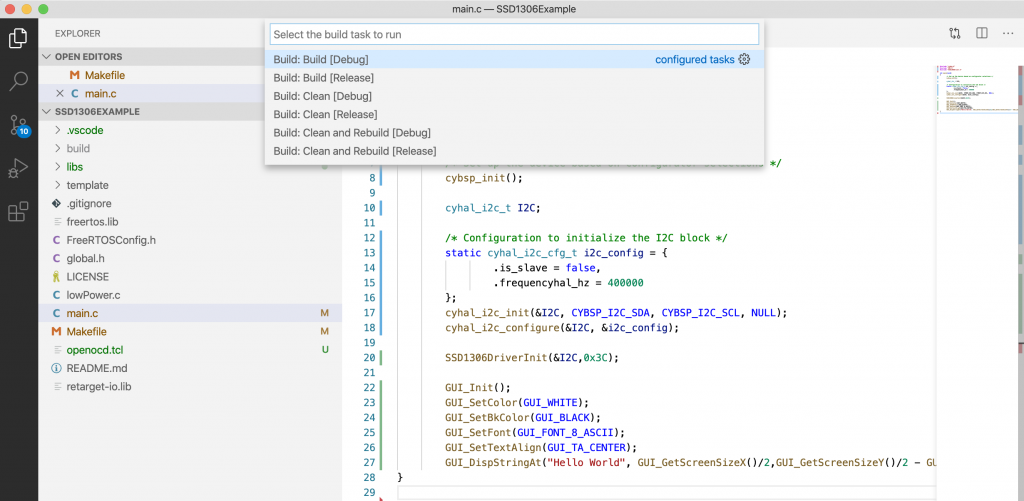
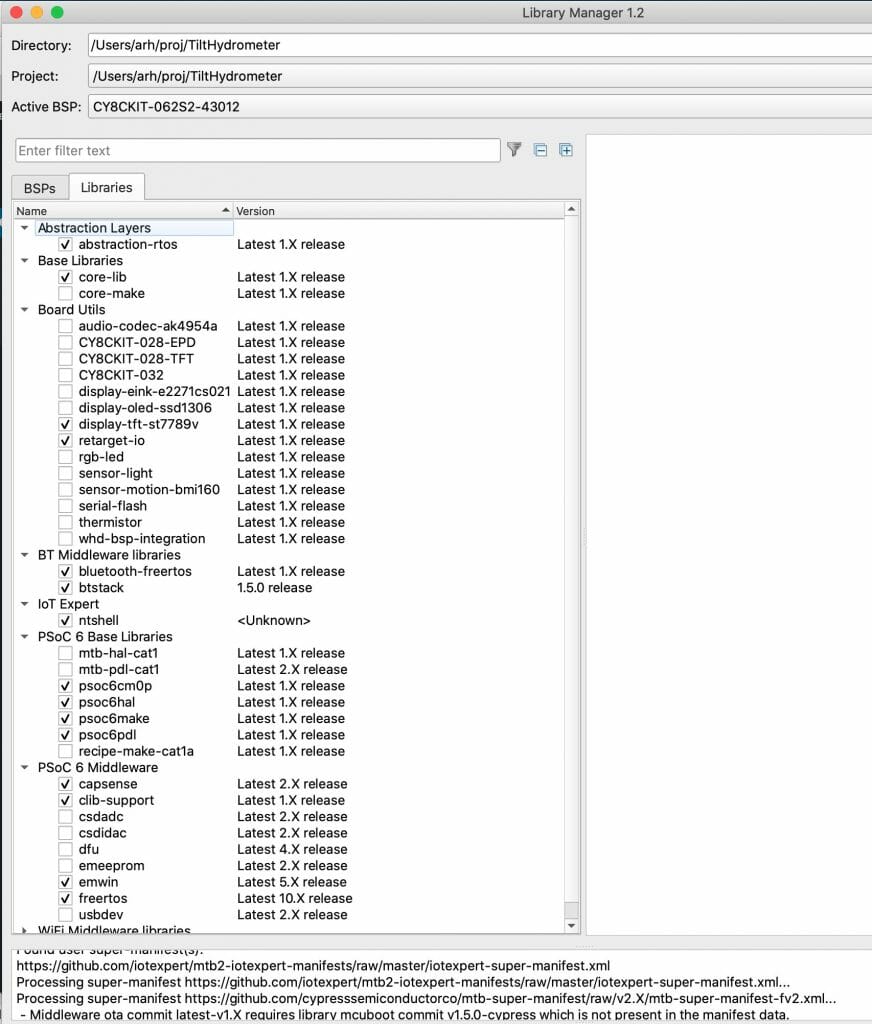
Now when I run “make modlibs” I can click on all of the libraries that I used in my project.
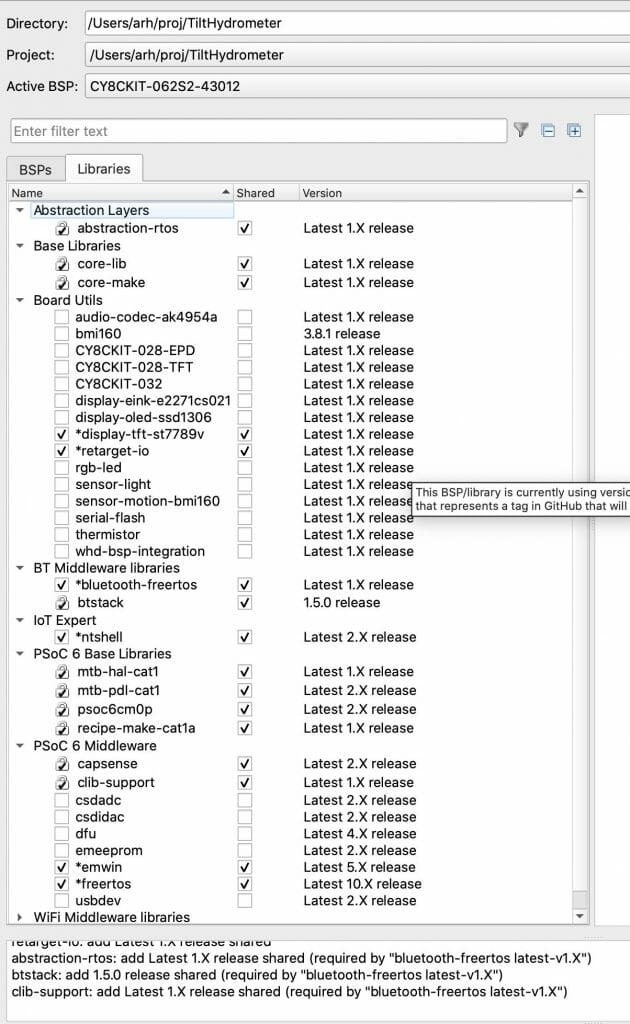
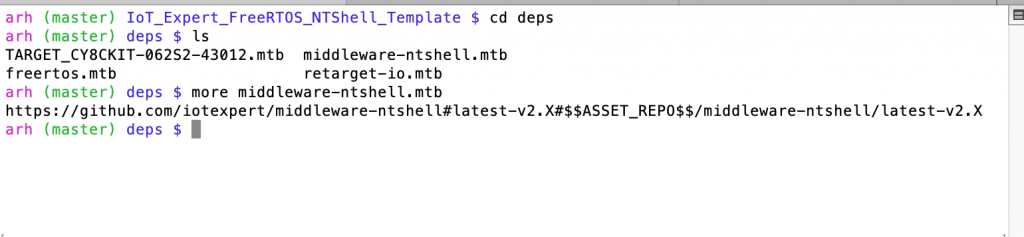
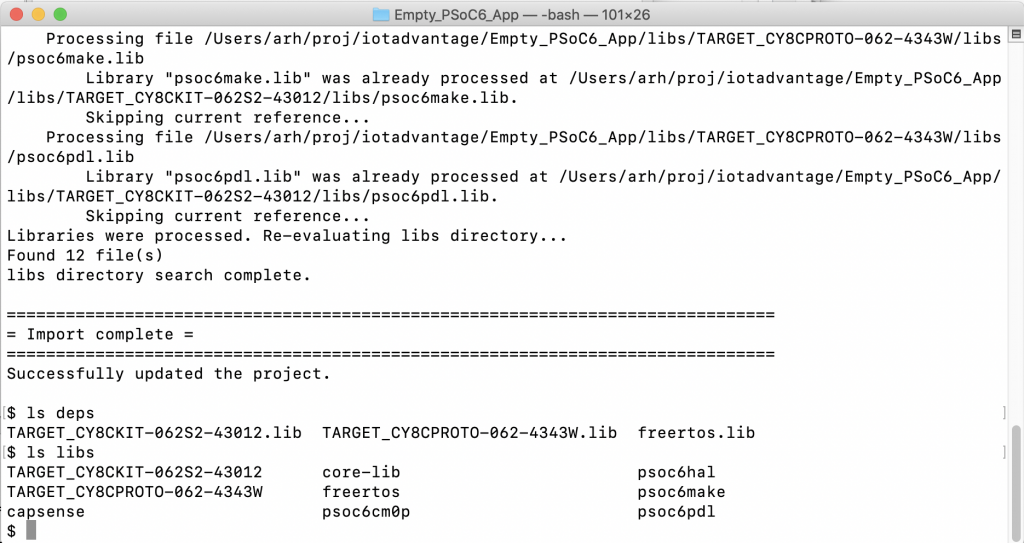
Once I click go. It brings in all of the needed libraries. Look at the “deps” directory now. We are rocking.
arh (master *) TiltHydrometer $ ls deps
TARGET_CY8CKIT-062S2-43012.mtb	display-tft-st7789v.mtb		freertos.mtb			retarget-io.mtb
bluetooth-freertos.mtb		emwin.mtb			middleware-ntshell.mtb
arh (master *) TiltHydrometer $ cat deps/*
https://github.com/cypresssemiconductorco/TARGET_CY8CKIT-062S2-43012#latest-v2.X#$$ASSET_REPO$$/TARGET_CY8CKIT-062S2-43012/latest-v2.X
https://github.com/cypresssemiconductorco/bluetooth-freertos#latest-v1.X#$$ASSET_REPO$$/bluetooth-freertos/latest-v1.X
https://github.com/cypresssemiconductorco/display-tft-st7789v#latest-v1.X#$$ASSET_REPO$$/display-tft-st7789v/latest-v1.X
https://github.com/cypresssemiconductorco/emwin#latest-v5.X#$$ASSET_REPO$$/emwin/latest-v5.X
https://github.com/cypresssemiconductorco/freertos#latest-v10.X#$$ASSET_REPO$$/freertos/latest-v10.X
https://github.com/iotexpert/middleware-ntshell#latest-v2.X#$$ASSET_REPO$$/middleware-ntshell/latest-v2.X
https://github.com/cypresssemiconductorco/retarget-io#latest-v1.X#$$ASSET_REPO$$/retarget-io/latest-v1.X
arh (master *) TiltHydrometer $
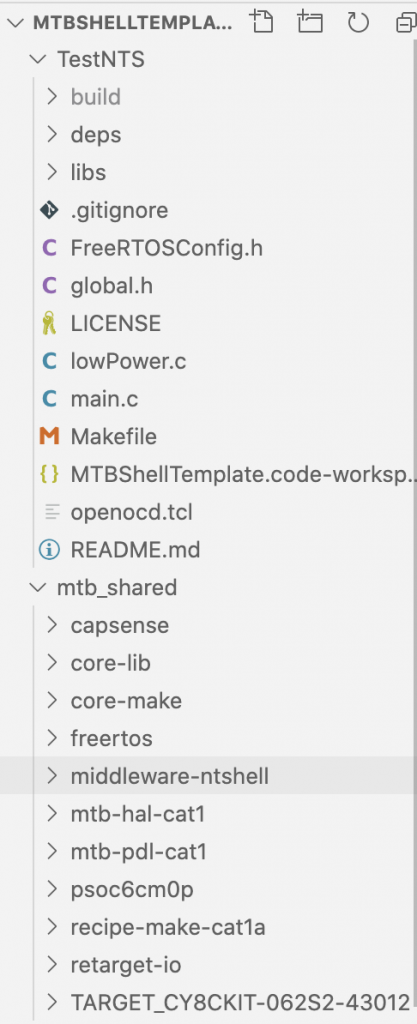
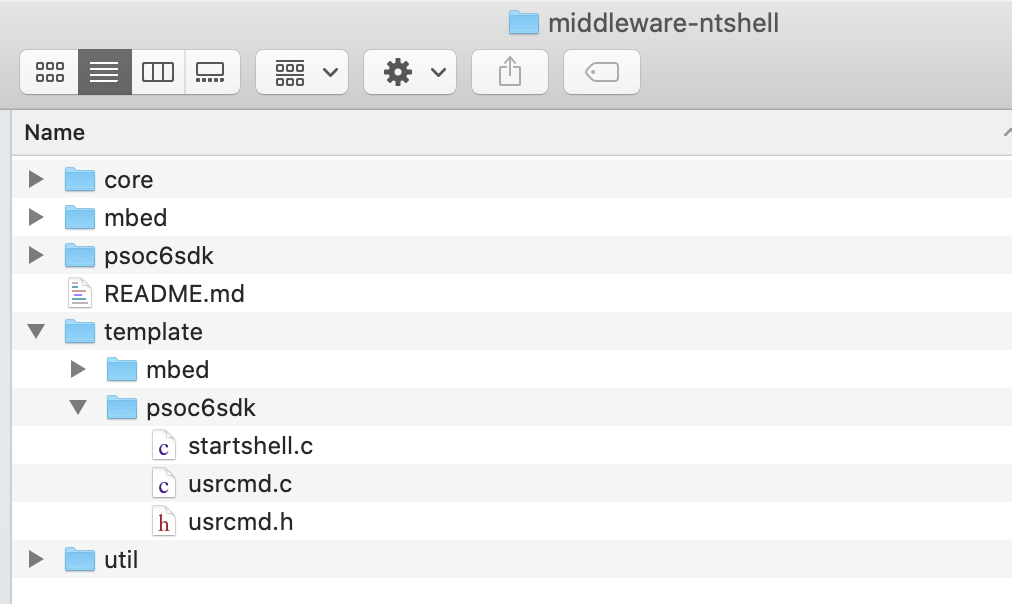
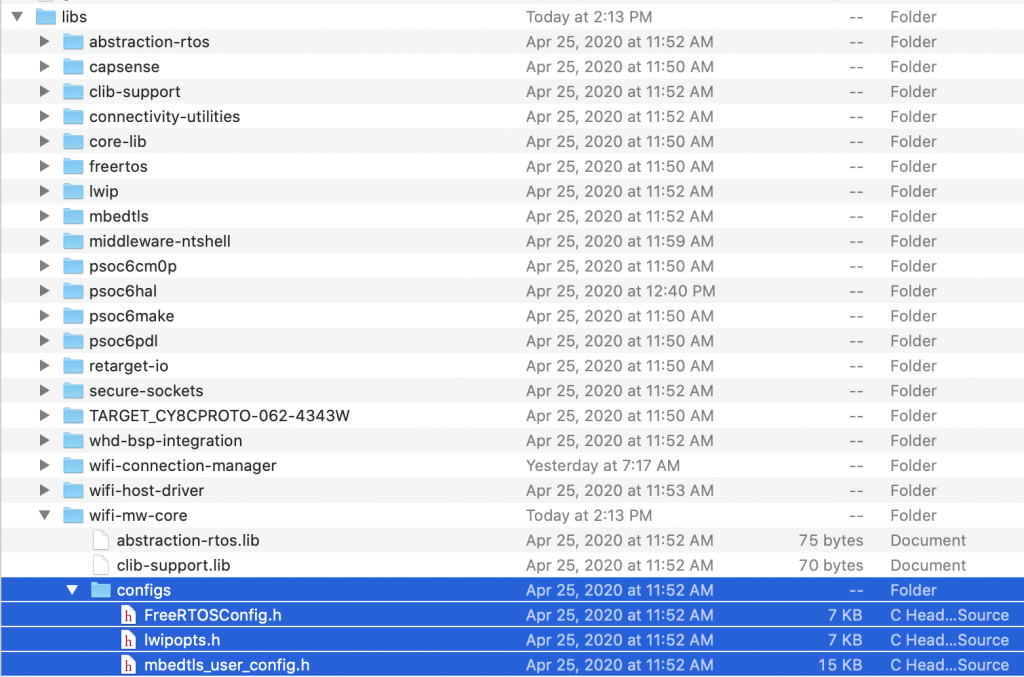
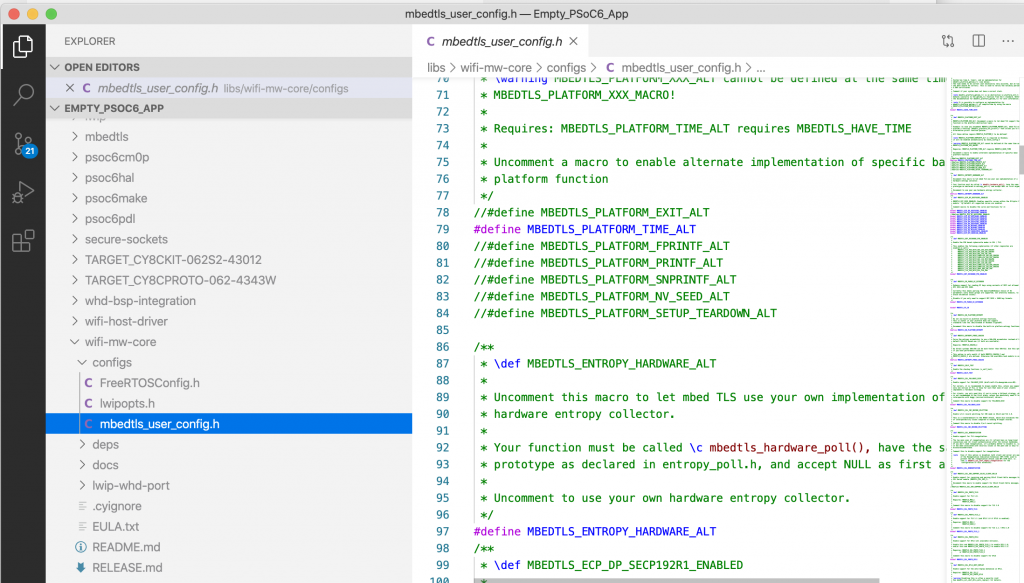
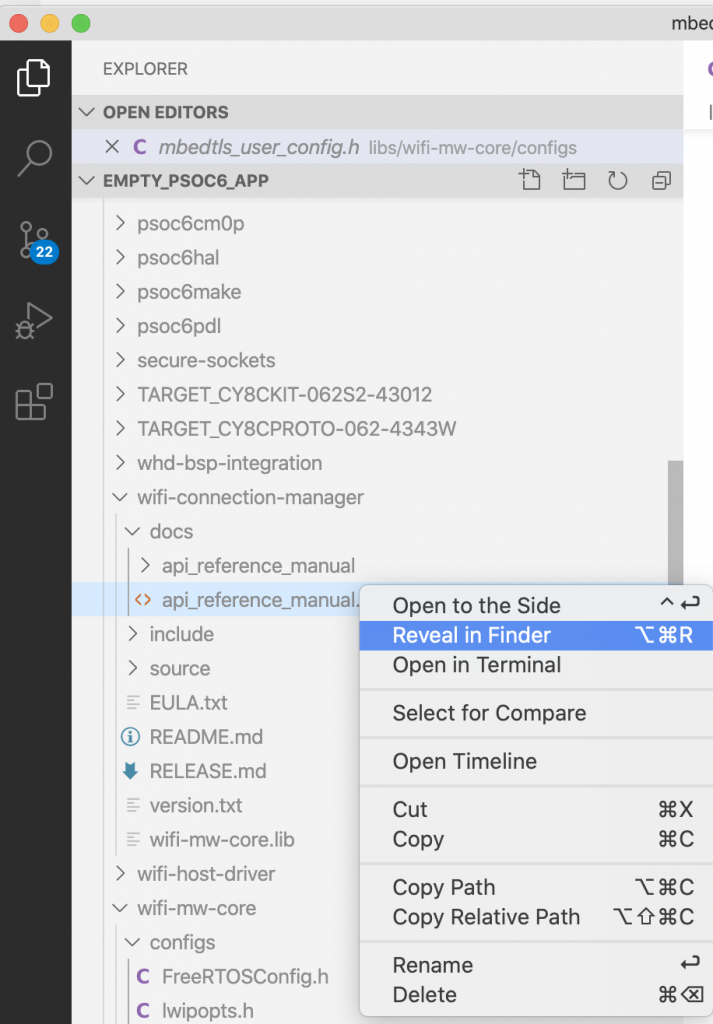
And when I look in the shared library directory which is “../mtb_shared” you can see all of the source files.
arh (master *) TiltHydrometer $ ls ../mtb_shared/
TARGET_CY8CKIT-062S2-43012	capsense			display-tft-st7789v		mtb-hal-cat1			retarget-io
abstraction-rtos		clib-support			emwin				mtb-pdl-cat1
bluetooth-freertos		core-lib			freertos			psoc6cm0p
btstack				core-make			middleware-ntshell		recipe-make-cat1a
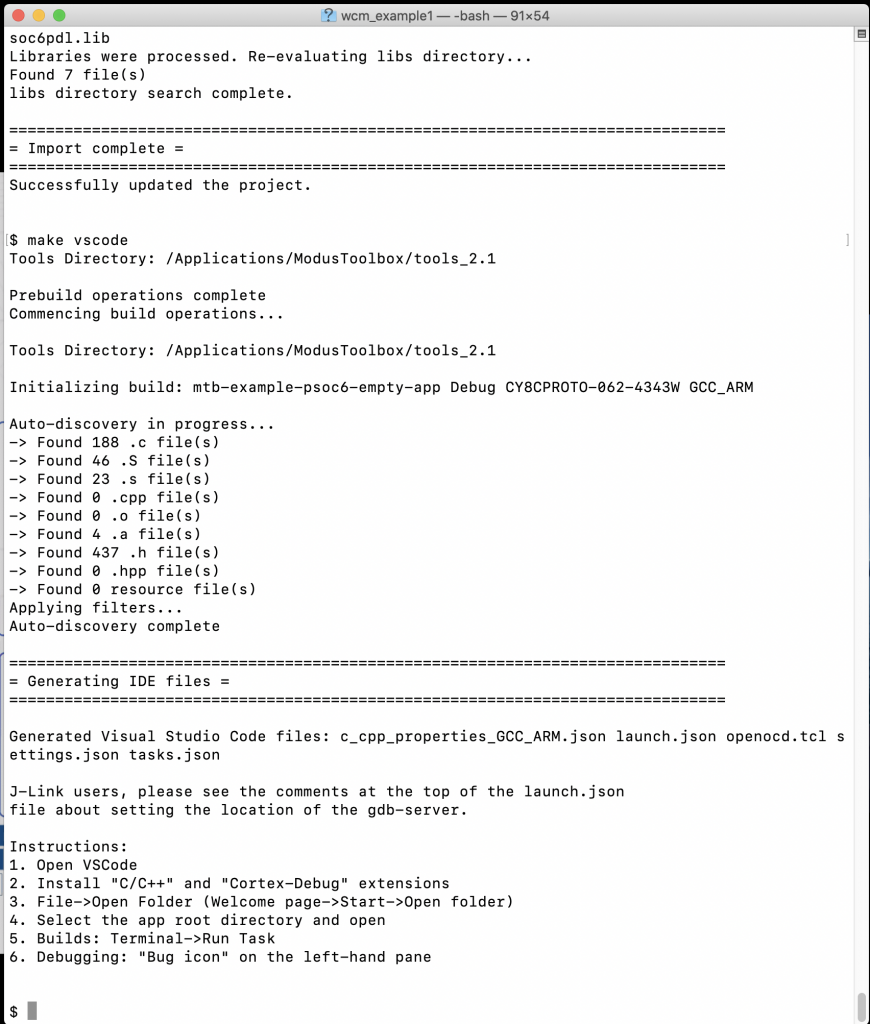
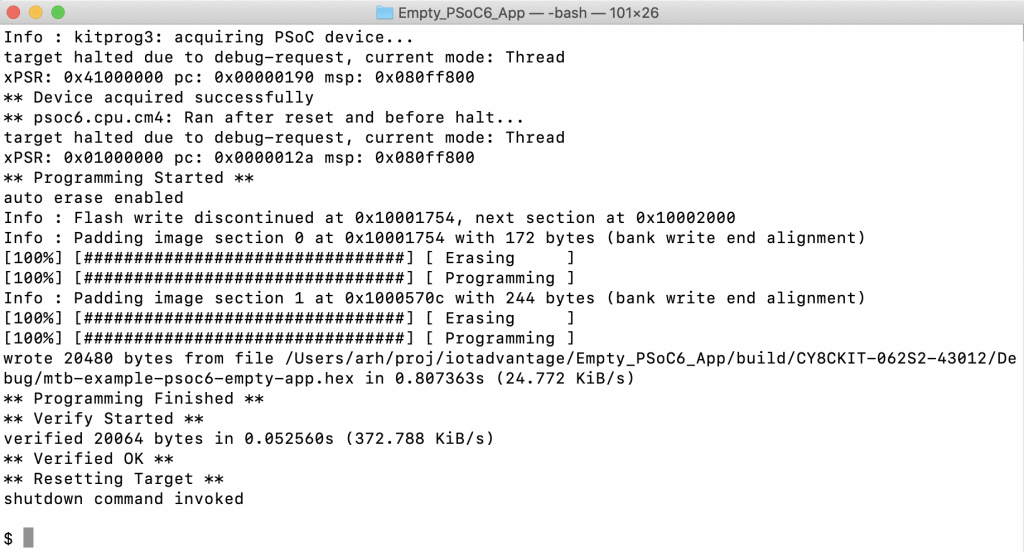
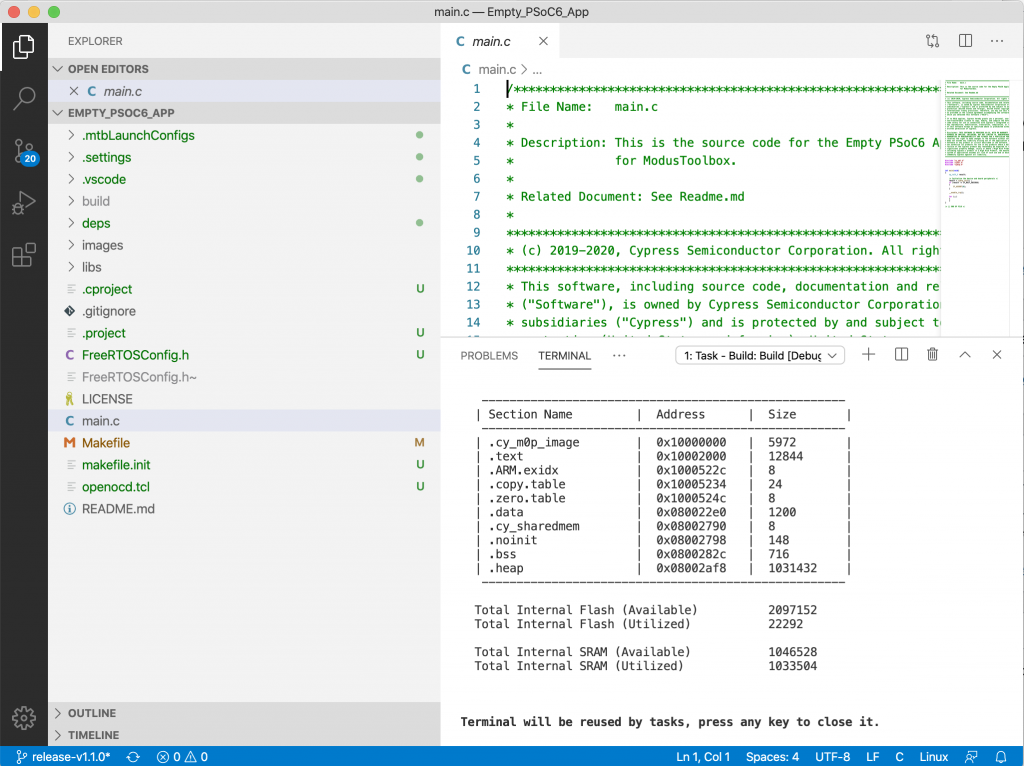
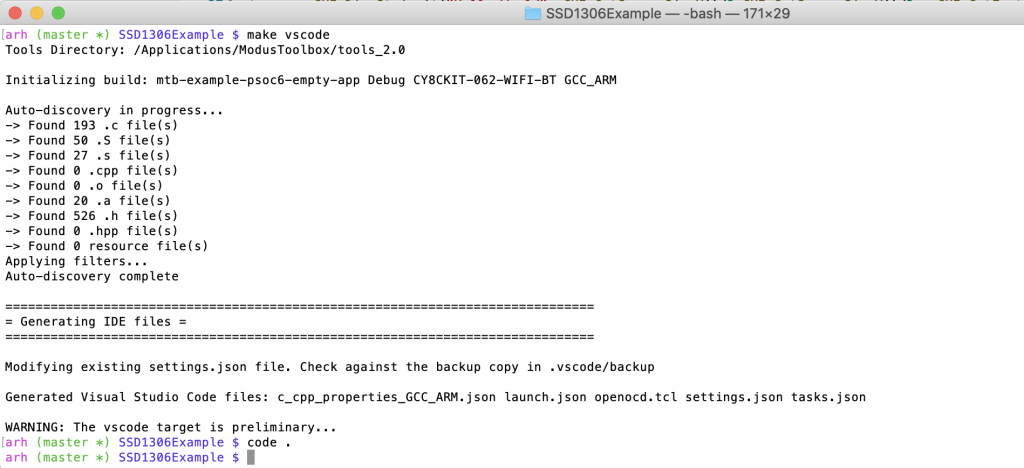
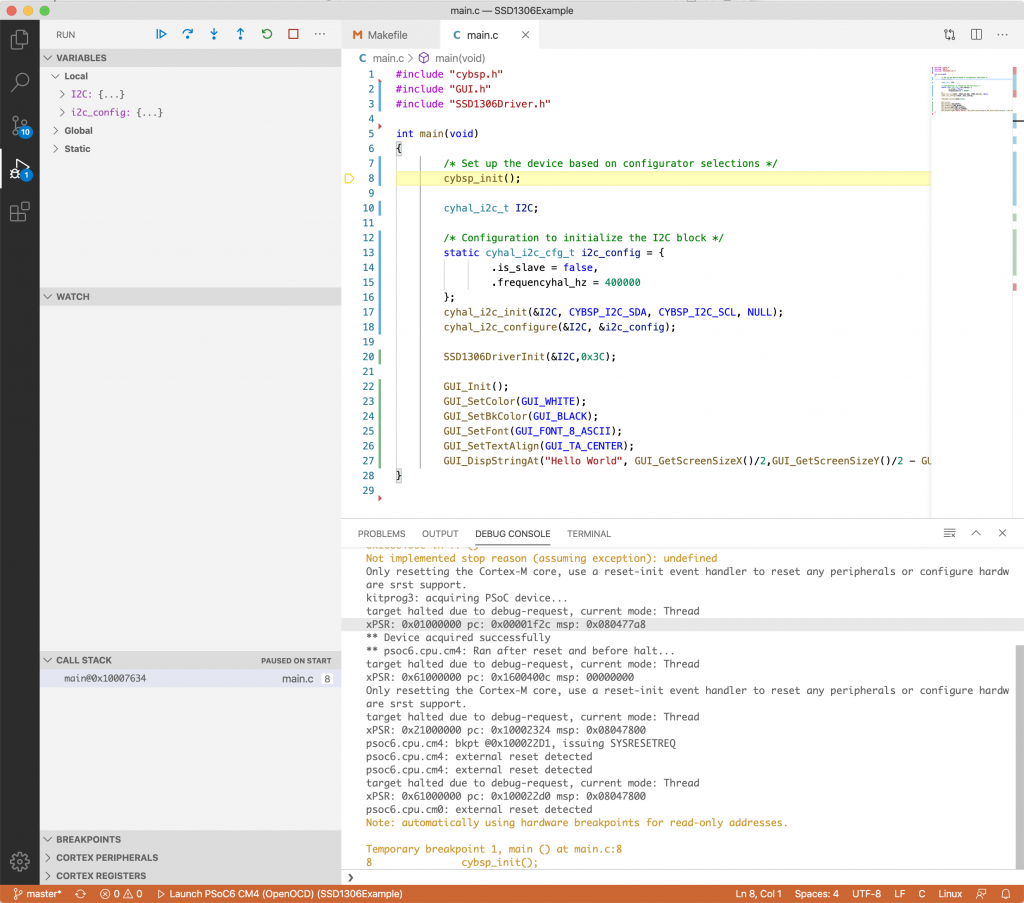
Build and Test
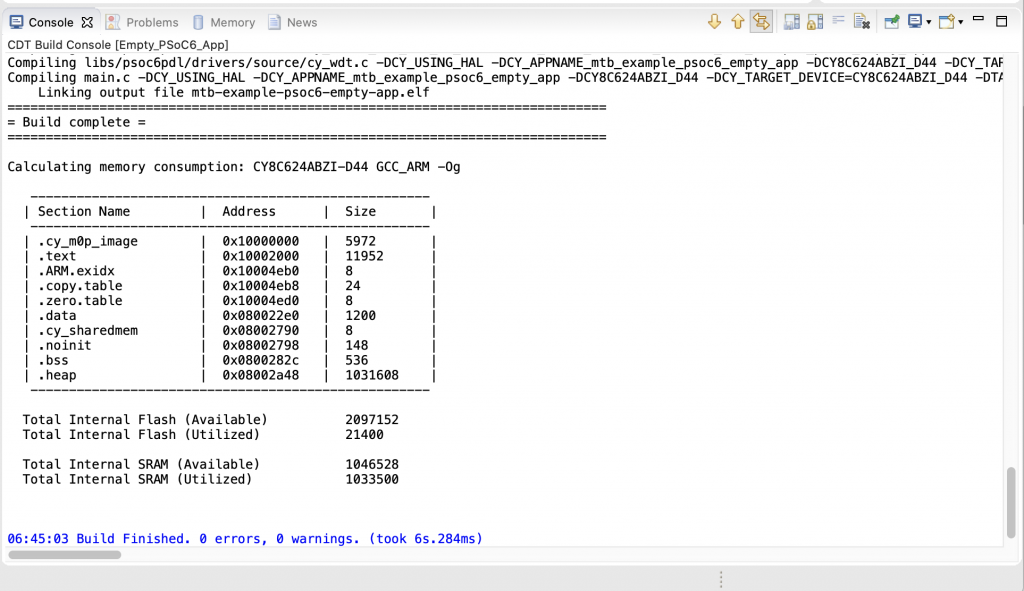
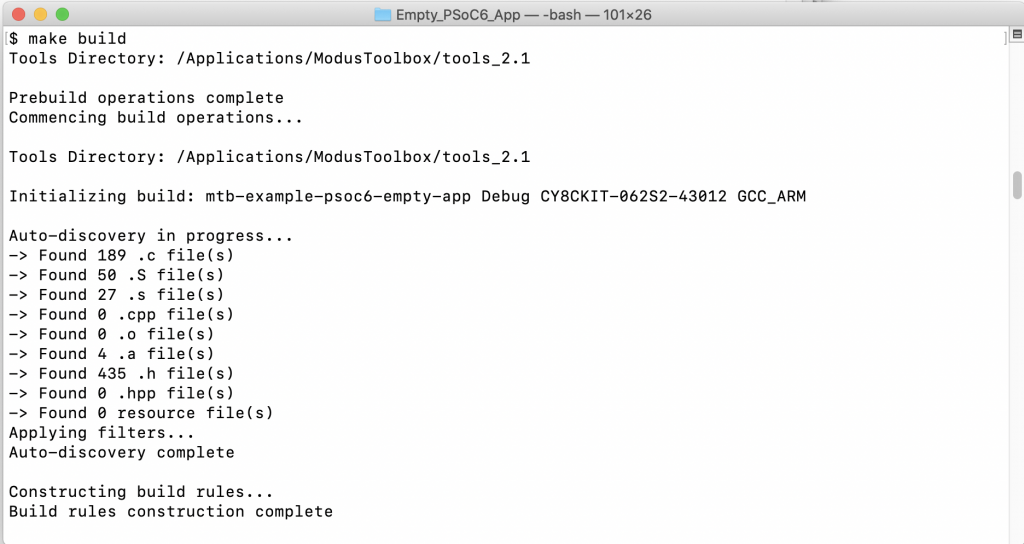
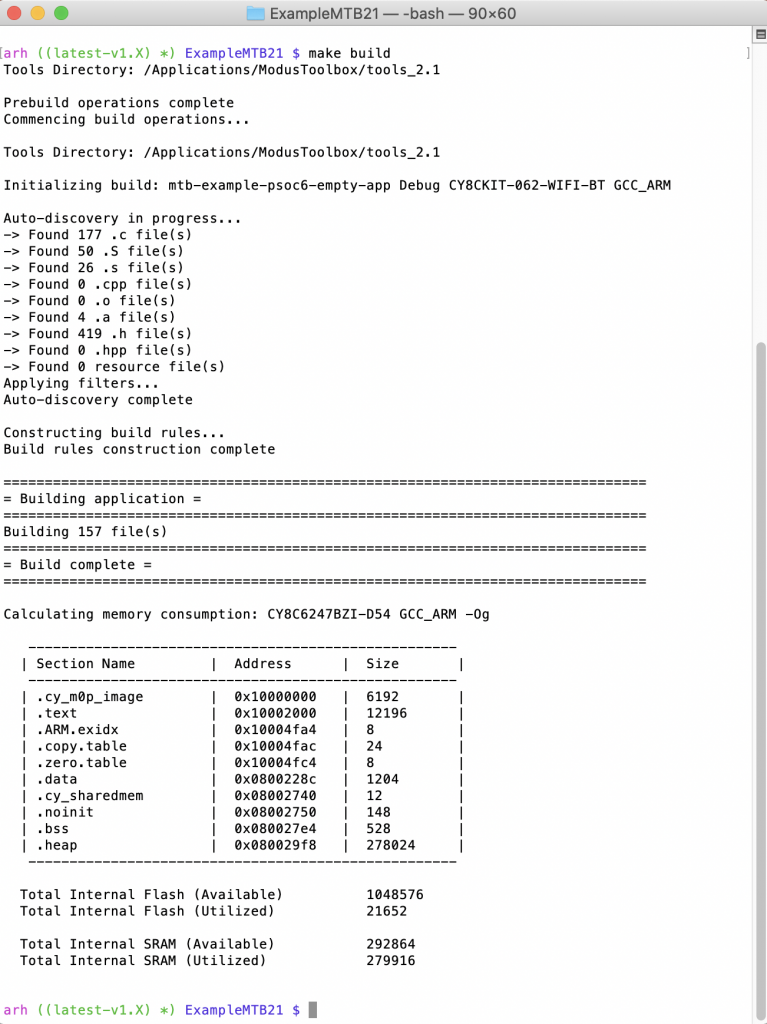
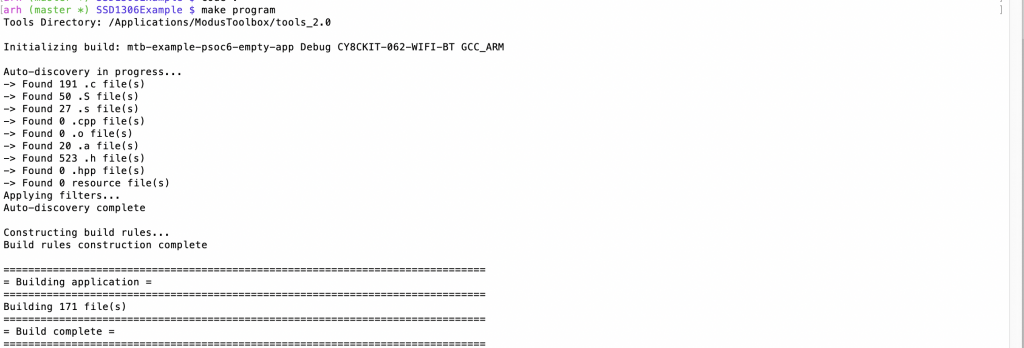
All the libraries are now fixed. So run a “make -j build” and see what we have.
arh (master *) TiltHydrometer $ make -j build
Tools Directory: /Applications/ModusToolbox/tools_2.2
CY8CKIT-062S2-43012.mk: ../mtb_shared/TARGET_CY8CKIT-062S2-43012/latest-v2.X/CY8CKIT-062S2-43012.mk
Prebuild operations complete
Commencing build operations...
Tools Directory: /Applications/ModusToolbox/tools_2.2
CY8CKIT-062S2-43012.mk: ../mtb_shared/TARGET_CY8CKIT-062S2-43012/latest-v2.X/CY8CKIT-062S2-43012.mk
Initializing build: mtb-example-psoc6-empty-app Debug CY8CKIT-062S2-43012 GCC_ARM
Auto-discovery in progress...
-> Found 237 .c file(s)
-> Found 46 .S file(s)
-> Found 23 .s file(s)
-> Found 0 .cpp file(s)
-> Found 0 .o file(s)
-> Found 38 .a file(s)
-> Found 665 .h file(s)
-> Found 0 .hpp file(s)
-> Found 0 resource file(s)
Applying filters...
Auto-discovery complete
Constructing build rules...
Build rules construction complete
==============================================================================
= Building application =
==============================================================================
Generating compilation database file...
-> ./build/compile_commands.json
Compilation database file generation complete
Building 218 file(s)
Compiling app file app_bt_cfg.c
Compiling app file bluetoothManager.c
Compiling app file capsenseManager.c
.... a bunch of compile messages deleted....
Compiling ext file cy_wdt.c
Compiling ext file psoc6_01_cm0p_sleep.c
Compiling ext file psoc6_02_cm0p_sleep.c
Compiling ext file psoc6_03_cm0p_sleep.c
Compiling ext file psoc6_04_cm0p_sleep.c
Compiling ext file cy_retarget_io.c
Linking output file mtb-example-psoc6-empty-app.elf
==============================================================================
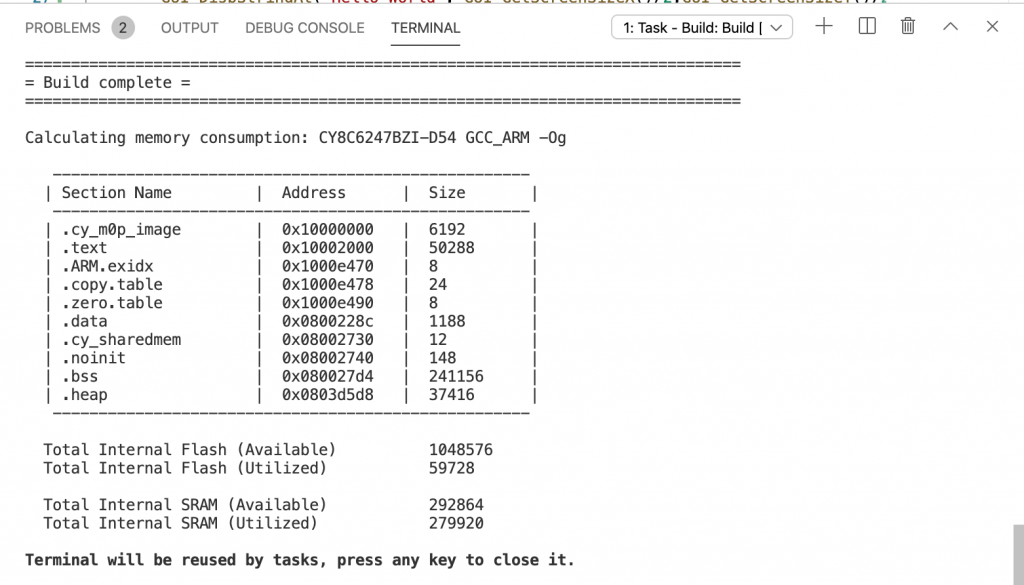
= Build complete =
==============================================================================
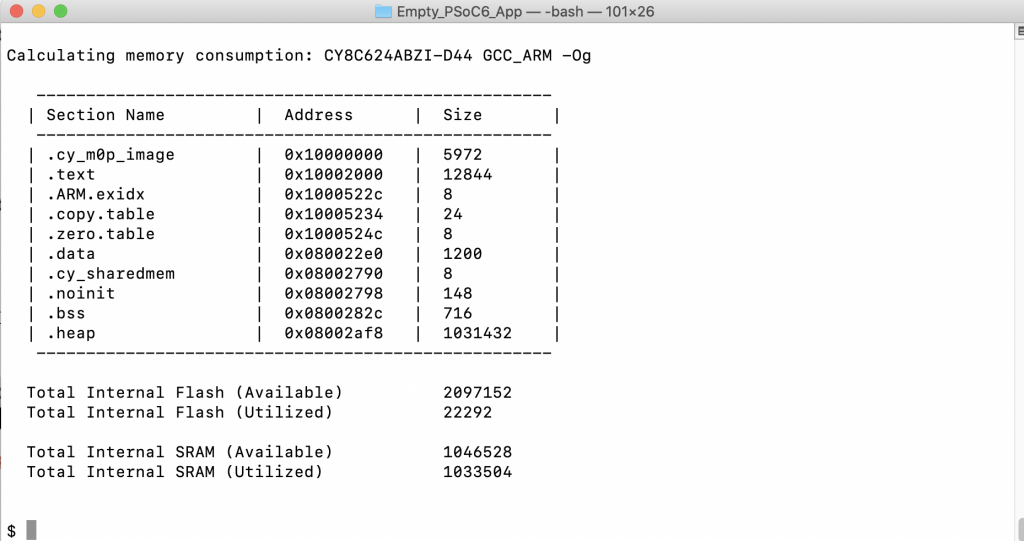
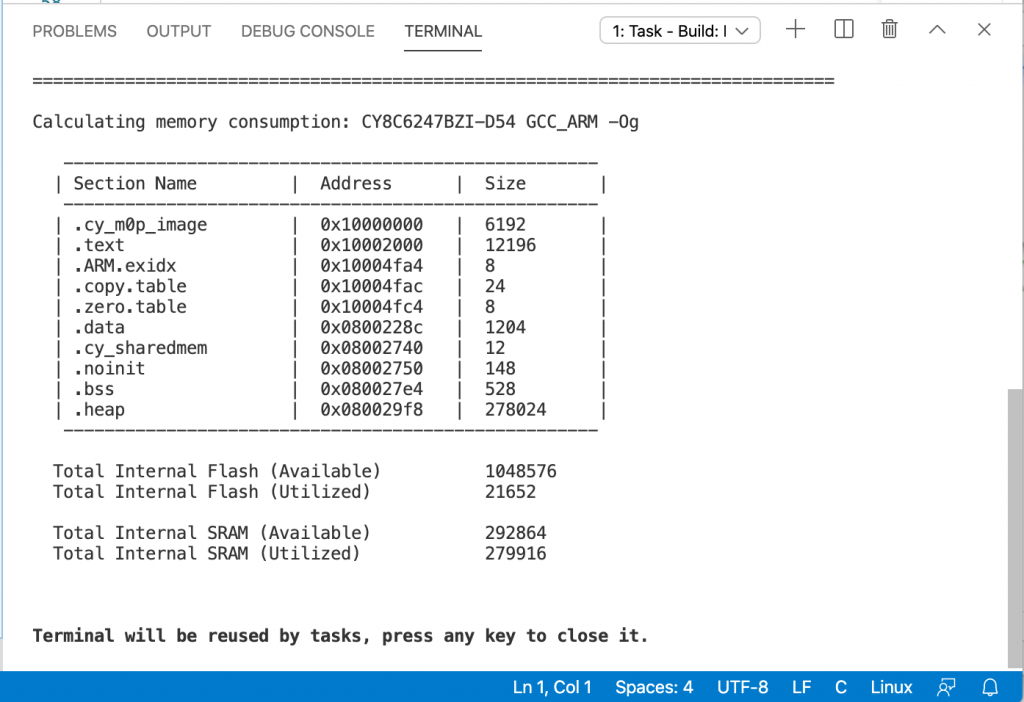
Calculating memory consumption: CY8C624ABZI-S2D44 GCC_ARM -Og
----------------------------------------------------
| Section Name | Address | Size |
----------------------------------------------------
| .cy_m0p_image | 0x10000000 | 6044 |
| .text | 0x10002000 | 322616 |
| .ARM.exidx | 0x10050c38 | 8 |
| .copy.table | 0x10050c40 | 24 |
| .zero.table | 0x10050c58 | 8 |
| .data | 0x080022e0 | 2544 |
| .cy_sharedmem | 0x08002cd0 | 8 |
| .noinit | 0x08002cd8 | 148 |
| .bss | 0x08002d70 | 40048 |
| .heap | 0x0800c9e0 | 990752 |
----------------------------------------------------
Total Internal Flash (Available) 2097152
Total Internal Flash (Utilized) 333408
Total Internal SRAM (Available) 1046528
Total Internal SRAM (Utilized with heap) 1033500
arh (master *) TiltHydrometer $
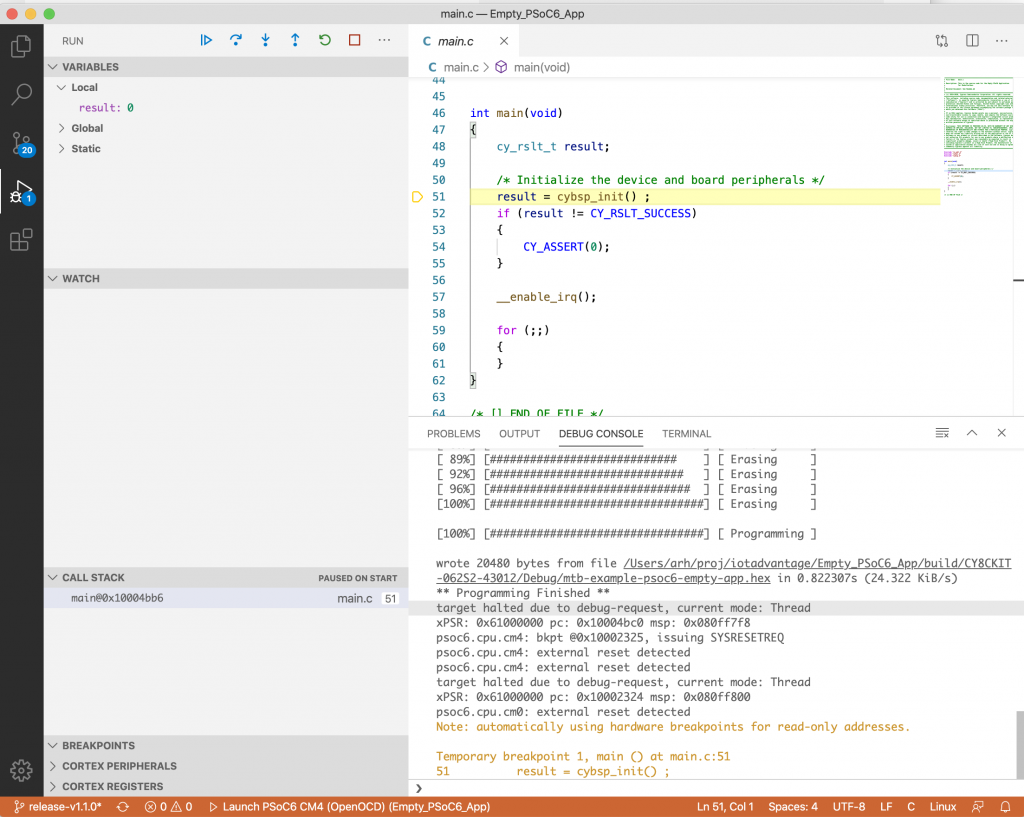
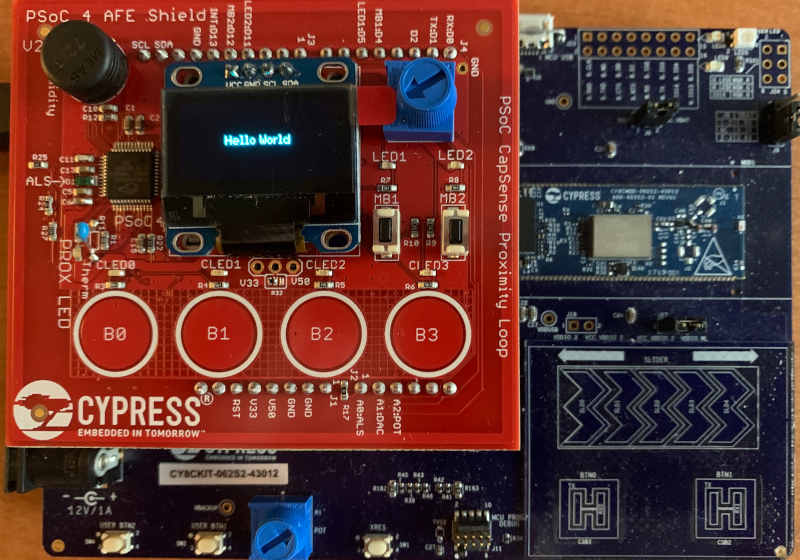
A functioning project. Sweet!