Summary
In this article I will walk you through creating a library for ModusToolbox 2.0 that will glue the Cypress RTOS Abstraction layer, emWin, the SSD1306 and the PSoC 6 together. In the end, the library will become available in the Modus Toolbox Library Manager by creating a Super Manifest file.
NOTE: This blog was originally written about the Modus Toolbox 2.0 library scheme. With the release of Modus Toolbox 2.2 this scheme was changed and this blog is now obsolete! Instead, you can use the Infineon display-oled-ssd1306 library.
The Story
I like using the Segger emWin graphics library. And, I have always hated getting the “glue” into my project that makes the library work. The glue includes the configuration files for emWin plus the hardware driver functions to talk to the SSD1306 screen. I have always thought that it would be really nice to have a simple library scheme – yes I know that there are lots of schemes out there but I wanted one that was neatly integrated into our tools. Well, with ModusToolbox 2.0 my wish was granted.
In ModusToolbox 2.0 if you create a file called “someLibraryName.lib” that contains a URL to a GitHub (or Git) repository, the make system will know how to bring that library into your project. The make target “getlibs” does exactly that. And, once it is on your computer in your project the Modus Toolbox make system will know how to include it as part of your project.
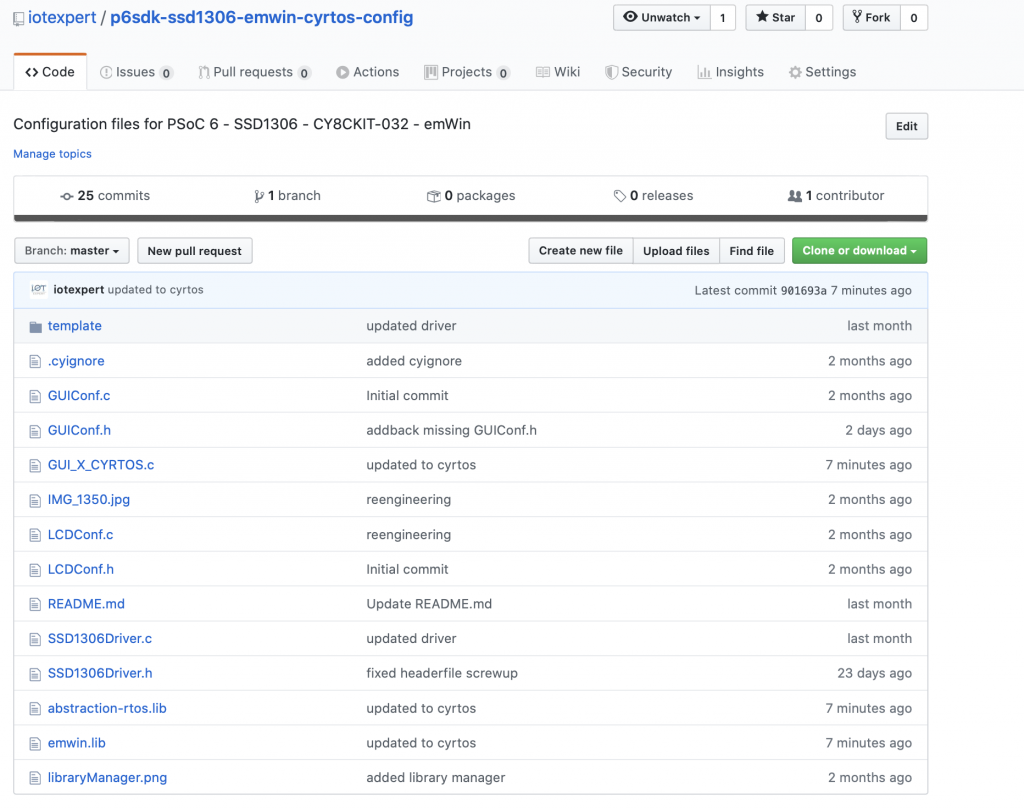
For this article I will create a library called “p6sdk-ssd1306-emWin-freerots-config” which will contain:
| Files | Purpose |
|---|---|
| GUIConf.h | Configures emWins abilities, fonts etc. |
| GUIConf.c | Defines & Assigns RAM for the GUI,initializes the font |
| GUI_X_CYRTOS.c | Makes a connection between emWin and Cypress RTOS abstraction for things like timing, semaphore etc. |
| LCDConf.h | A blank file |
| LCDConf.c | Functions to configure screen,connect the emWin APIs to the I2C write functions, configures the display driver |
| SSD1306Driver.h | Functions prototypes to initialize the I2C and read/write the I2C |
| SSD1306Driver.c | Initialize the SSD1305 driver, write commands, write data, write datastream functions which are called by the LCDConf.c functions |
| template | A directory (which is not compiled) that contains template c files for use as an example |
SSD1306 Driver
In order to glue the hardware to the emWin library you need to provide functions that
- Initialize the driver – (Tell it what I2C hardware and I2C address the display is connected to)
- Write data/command bytes and streams
- Read data streams (which it actually never does)
The SSD1306Driver.h provides a public interface for these functions which are used in the LCDConf.c file.
#ifndef SSD1306_DRIVER_H
#define SSD1306_DRIVER_H
#include "cyhal.h"


void SSD1306DriverInit(cyhal_i2c_t *obj,uint8_t oledAddress);


void          SSD1306_WriteCommandByte(unsigned char c);
void          SSD1306_WriteDataByte(unsigned char c);
void          SSD1306_WriteDataStream(unsigned char * pData, int NumBytes);
void          SSD1306_ReadDataStream(unsigned char * pData, int NumBytes);

#endif
The first part of SSD1306Driver.c makes a pointer to and Cypress HAL I2C object. In the initialization code, it connects the provided I2C object and the static pointer. The purpose of this is to allow the application developer to use the I2C for other devices on the bus, in other words the I2C bus is shared. On most of my screens the I2C address is 0x3C, so I let the user not provide an I2C address. Probably in hindsight I should have just made them always provide an I2C address.
#include "SSD1306Driver.h"
#include "GUI.h"
#include "cyhal.h"
#include "cybsp.h"
#include <stdlib.h>

/*********************************************************************
*
*       Defines: Configuration
*
**********************************************************************
  Needs to be adapted to custom hardware.
*/
/* I2C port to communicate with the OLED display controller */
static cyhal_i2c_t *I2C=0;

/* I2C slave address, Command and Data byte prefixes for the display controller */
#define OLED_CONTROL_BYTE_CMD       (0x00)
#define OLED_CONTROL_BYTE_DATA      (0x40)
static uint8_t OLED_I2C_ADDRESS     =    (0x3C);

void SSD1306DriverInit(cyhal_i2c_t *obj,uint8_t oledAddress)

{
	CY_ASSERT(obj);
	I2C=obj;
	if(oledAddress)
		OLED_I2C_ADDRESS = oledAddress;
}
In order for emWin to update a display it needs to be able to write data to the display via “commands” and “data” writes. However, it doesn’t know anything about the fact that these displays are typically attached via I2C. The function SSD1306_WriteCommandByte uses the Cypress HAL master write API to send a command byte to the display. This function is called by emWin via the configuration in LCDConf.c
void SSD1306_WriteCommandByte(unsigned char c)
{
    uint8_t buff[2];

    /* The first byte of the buffer tells the display that the following byte
        is a command */
    buff[0] = OLED_CONTROL_BYTE_CMD;
    buff[1] = (char)c;

    /* Write the buffer to display controller */
    cyhal_i2c_master_write(I2C, OLED_I2C_ADDRESS, buff, 2, 0, true);
}
And the write data byte function works exactly the same way as the write command byte, except it send a different first byte.
void SSD1306_WriteDataByte(unsigned char c)
{
	uint8_t buff[2];

    /* First byte of the buffer tells the display controller that the following byte
        is a data byte */
    buff[0] = OLED_CONTROL_BYTE_DATA;
    buff[1] = c;

    /* Write the buffer to display controller */
    cyhal_i2c_master_write(I2C, OLED_I2C_ADDRESS, buff, 2, 0, true);
}
emWin Configuration Files
I have written extensively about how to configure emWin and specifically how to setup the files for the SSD1306. You can see the articles here. So, I am not going to describe those files in detail except to say that the ones that you need are GUIConf.h/.c, LCDConf.h/.c and GUI_X_CYRTOS.c. The only changes from the previous configurations of LCDConf.c is to hookup the APIs we defined in the previous section.
    PortAPI.pfWrite8_A0  = SSD1306_WriteCommandByte;
    PortAPI.pfWrite8_A1  = SSD1306_WriteDataByte;
    PortAPI.pfWriteM8_A1 = SSD1306_WriteDataStream;
GitHub
I checked in all of these files into GitHub at git@github.com:iotexpert/p6sdk-ssd1306-emwin-cyrtos-config.git Now they can be used as a Modus Toolbox library.
Test Library
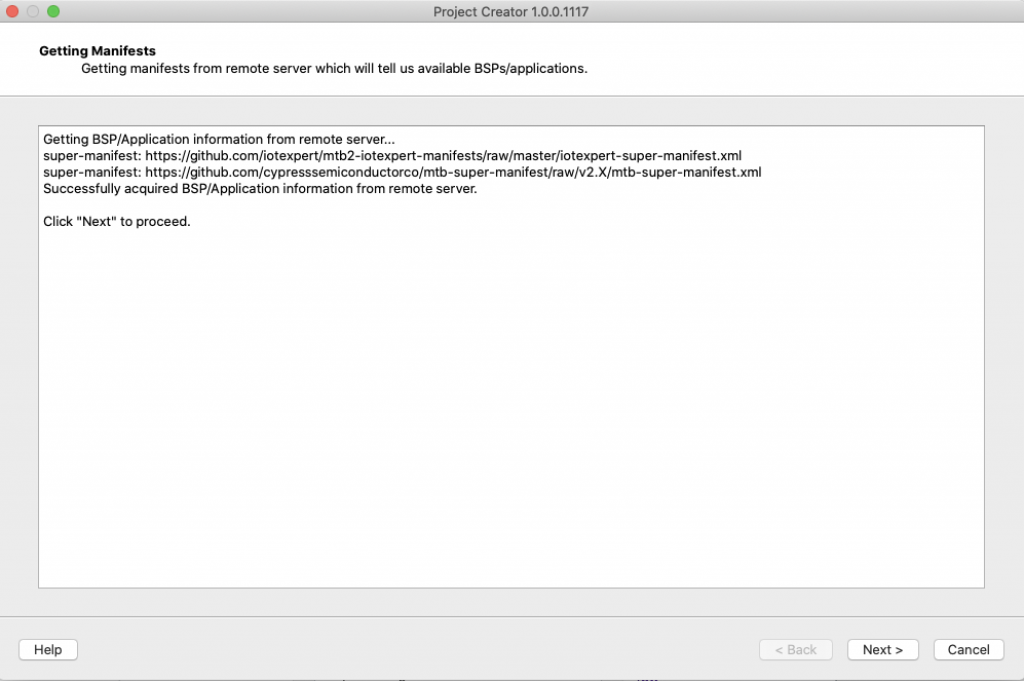
Lets build a test project. Start by creating new project. Notice that I am not using the built in project creator, but a standalone project creator which does not require Eclipse. This is automatically installed for you as part of the Modus Toolbox installation (so, if you are one of the legions of people who don’t like Eclipse you don’t have to use it). Run it from the start menu.
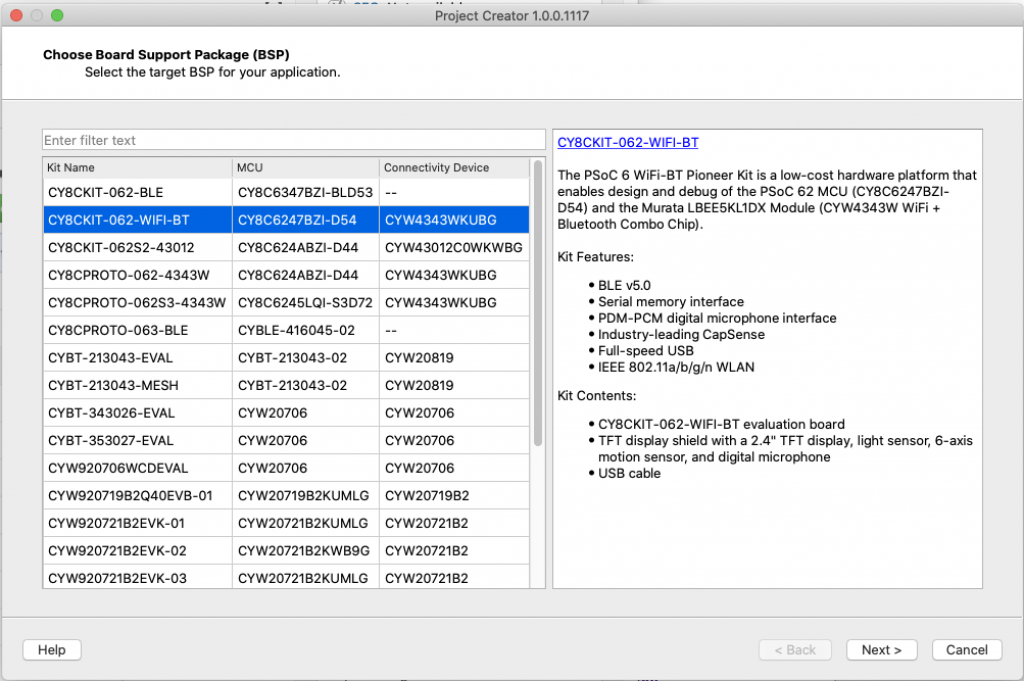
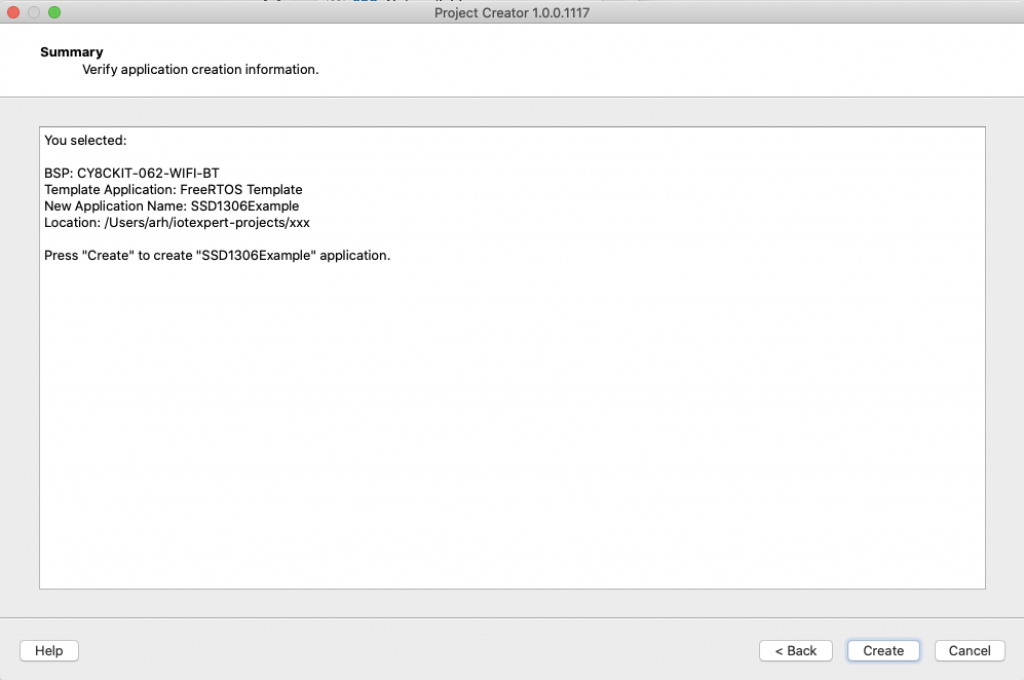
For this demo I will use the CY8CKIT-062-WiFi-Bt kit… but this works on all of of our PSoC 6 kits with Arduino headers.
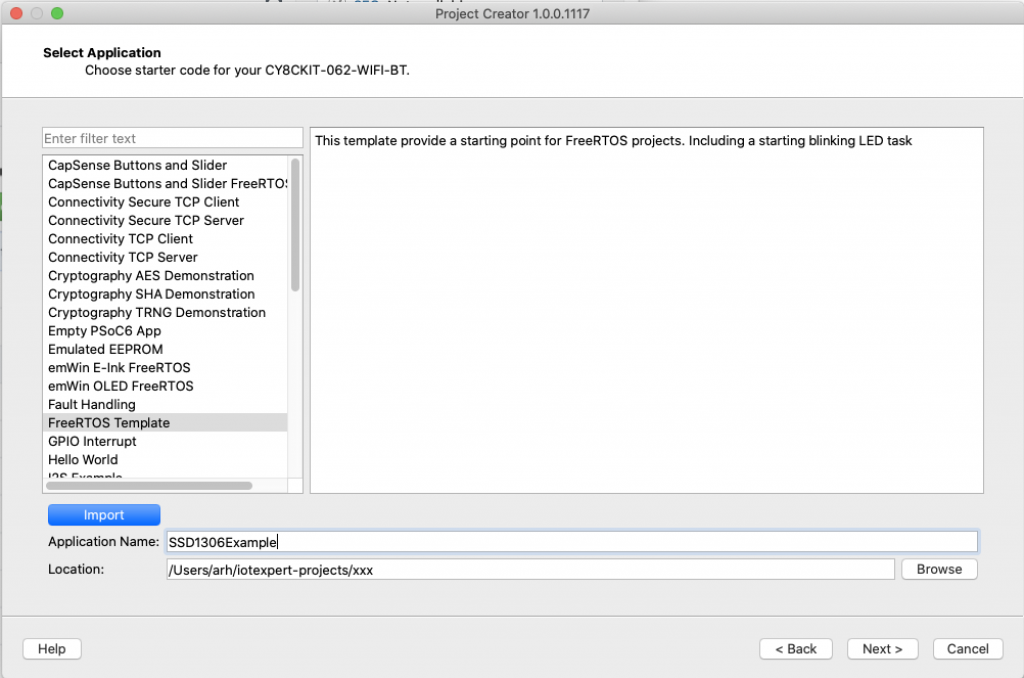
I start using the IoT Expert FreeRTOS template. And I store the project in the directory “~/iotexpert-projects/xxx”. A long time ago I started using directories named “xxx” to mean that I can “rm -rf xxx” and I never store anything that matters in those files/directories. Give the project a name then press next.
Now you have everything setup. So click “Create”
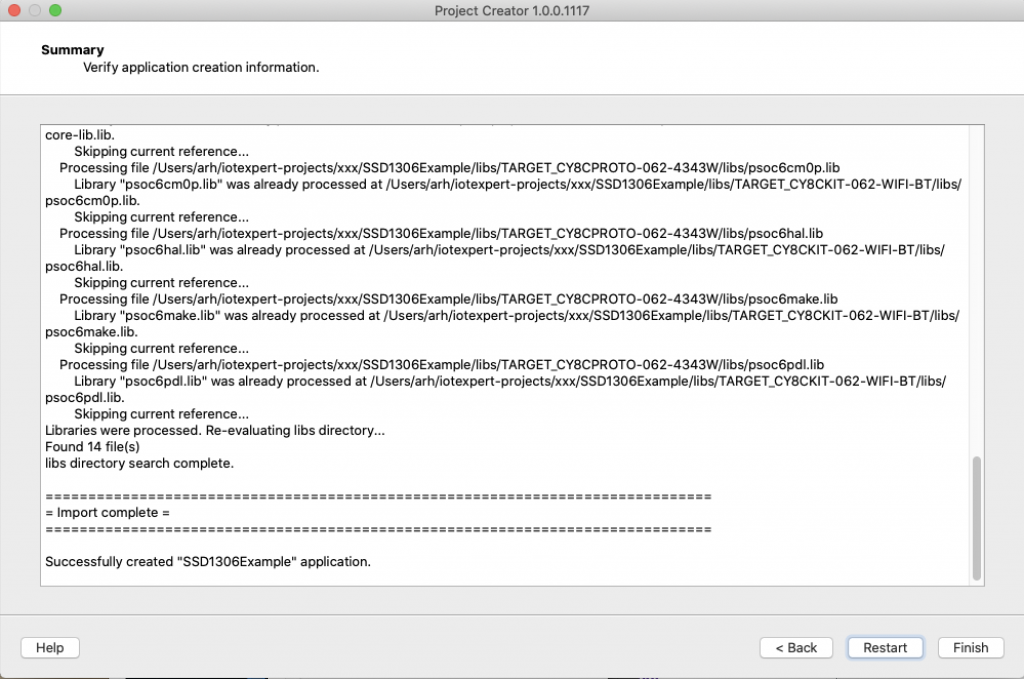
And our software will do its thing.
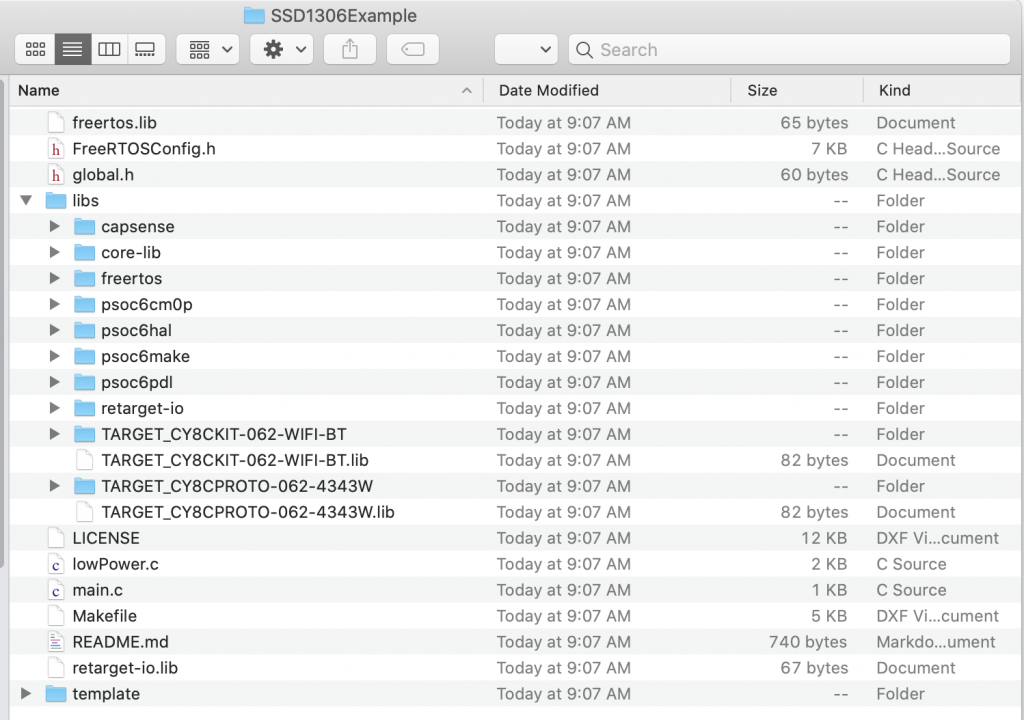
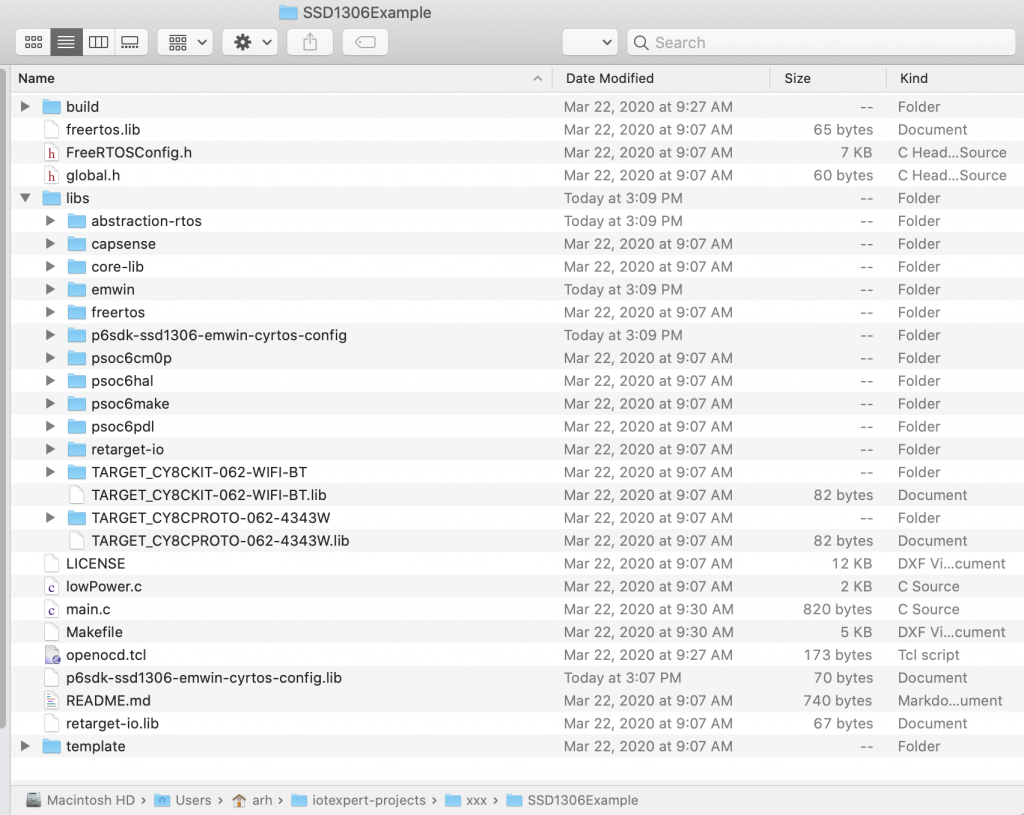
Now if I look in the directory, I will have a complete project.
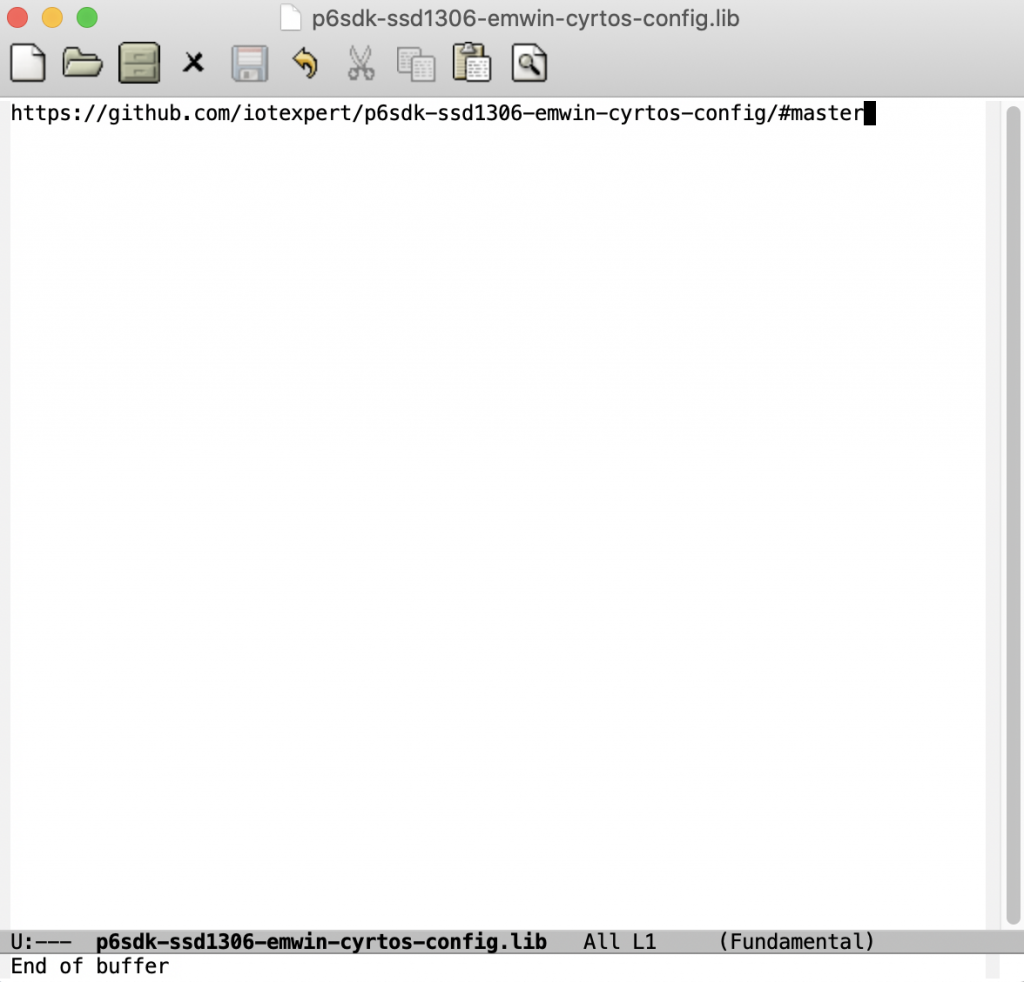
Now lets manually add the .lib for the p6sdk-ssd1306-emWin-cyrtos-config. You can use whatever editor you want, but it’s emacs for me.

Enter the URL for the library. Then put a “/”. Then a branch.
Now that the file is updated you can run “make getlibs” which will search for all of the “.lib” files. Then make sure those libraries are part of your project.
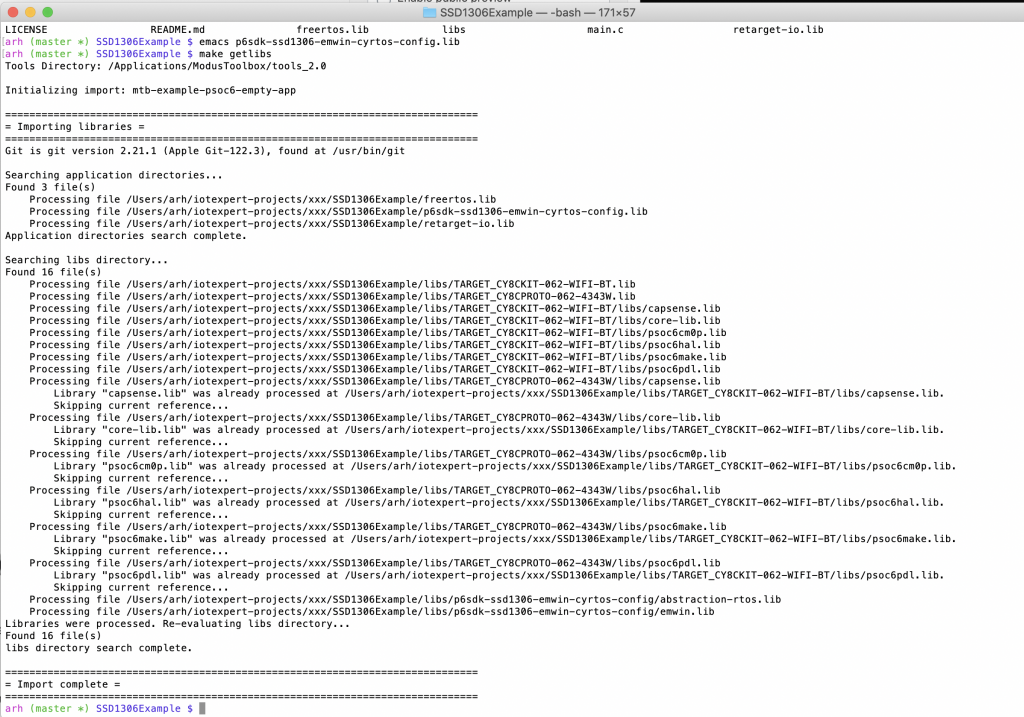
After the make getlibs is run you can see that the p6sdk-ssd1306-emWin-cyrtos-config directory is in your libs directory, with all of the stuff you need.
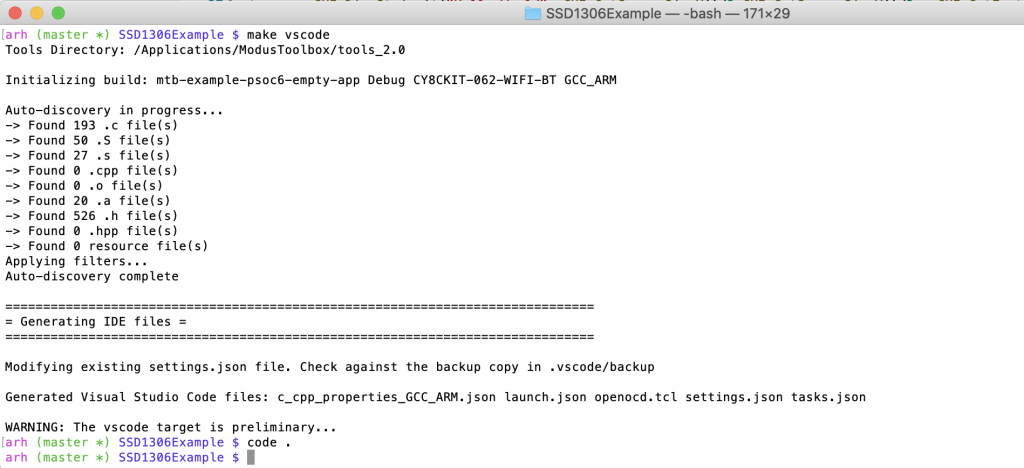
The next step is to edit your main. I like to use vscode. If you run “make vscode” our build system will create a vscode project for you. You can start vscode by running “code .”
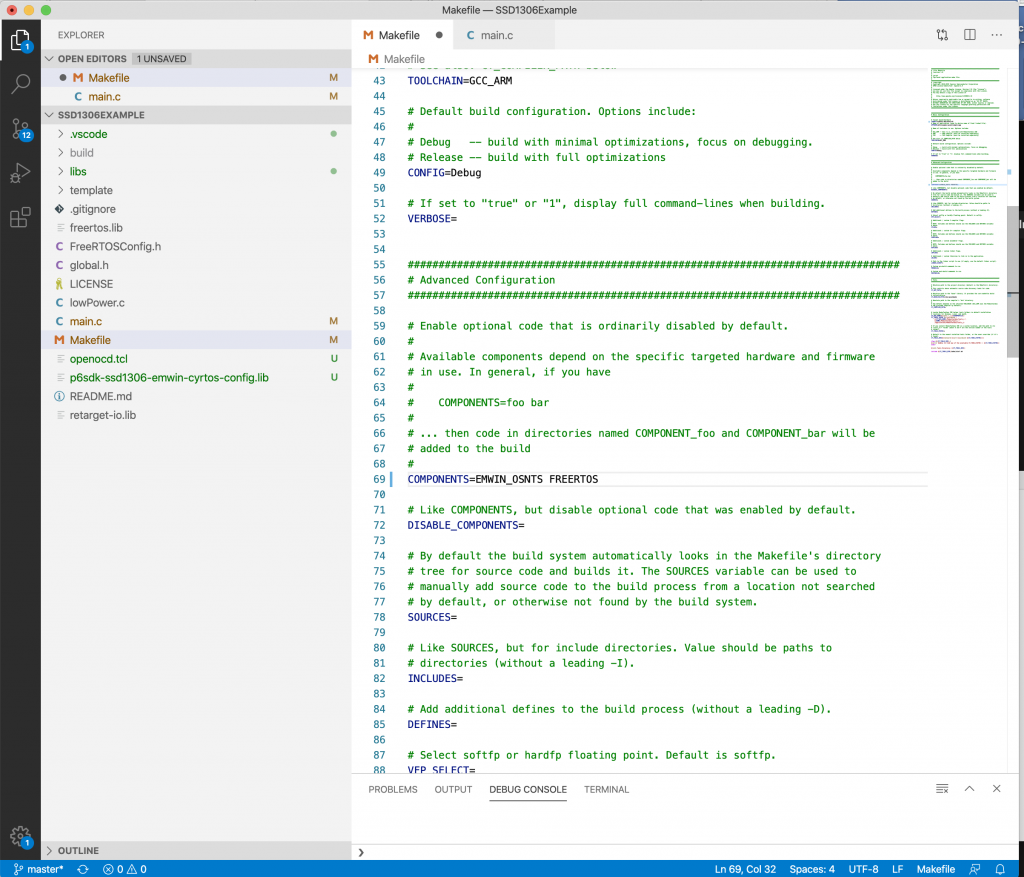
Before the emWin library work you will need to add the EMWIN_OSNTS and FREERTOS components to your Makefile.
COMPONENTS=EMWIN_OSNTS FREERTOS
Here is what it looks like in vscode
Now, write the your main.c code to display a little message.
#include "cybsp.h"
#include "GUI.h"
#include "SSD1306Driver.h"
int main(void)
{
/* Set up the device based on configurator selections */
cybsp_init();
cyhal_i2c_t I2C;
/* Configuration to initialize the I2C block */
static cyhal_i2c_cfg_t i2c_config = {
.is_slave = false,
.frequencyhal_hz = 400000
};
cyhal_i2c_init(&I2C, CYBSP_I2C_SDA, CYBSP_I2C_SCL, NULL);
cyhal_i2c_configure(&I2C, &i2c_config);
SSD1306DriverInit(&I2C,0x3C);
GUI_Init();
GUI_SetColor(GUI_WHITE);
GUI_SetBkColor(GUI_BLACK);
GUI_SetFont(GUI_FONT_8_ASCII);
GUI_SetTextAlign(GUI_TA_CENTER);
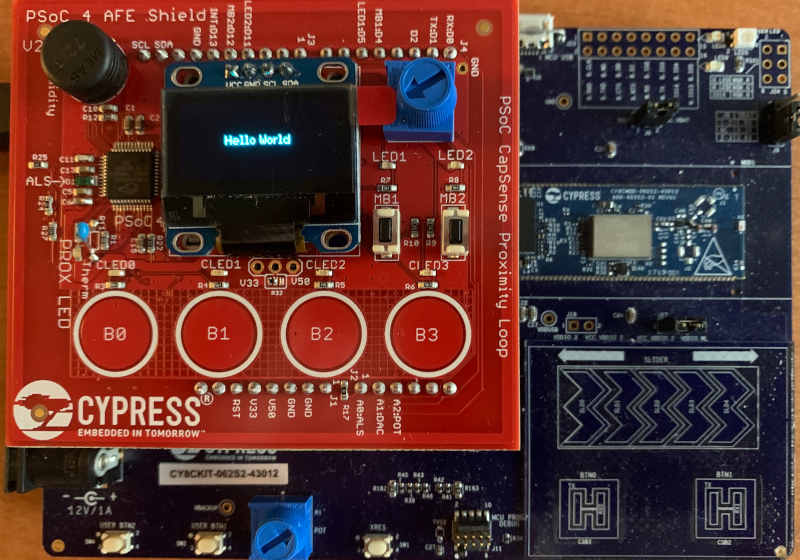
GUI_DispStringAt("Hello World", GUI_GetScreenSizeX()/2,GUI_GetScreenSizeY()/2 - GUI_GetFontSizeY()/2);
}
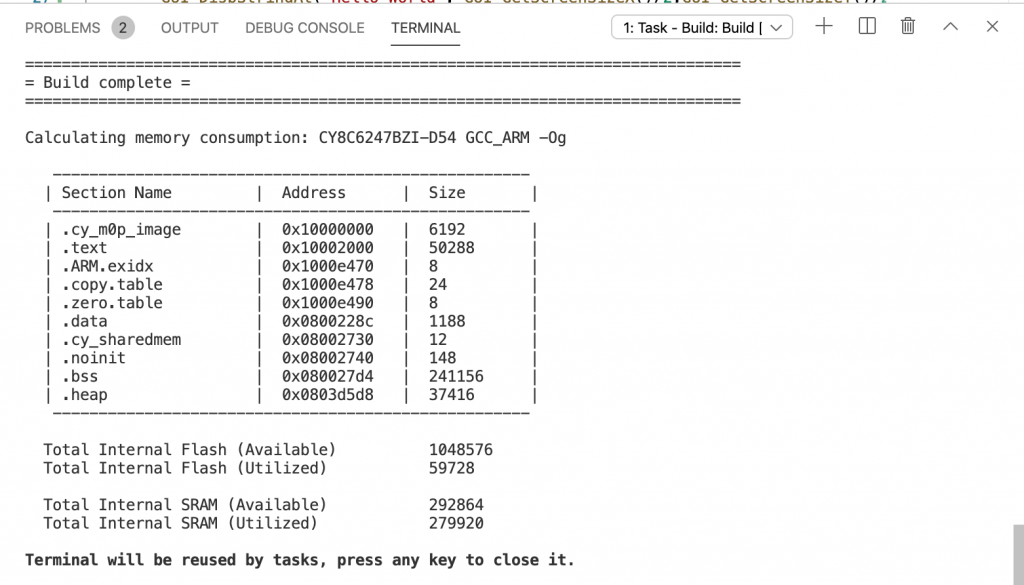
You can build your project by running “Build” from vscode or your can built it on the command line with “make build”
After building you should have output like this:
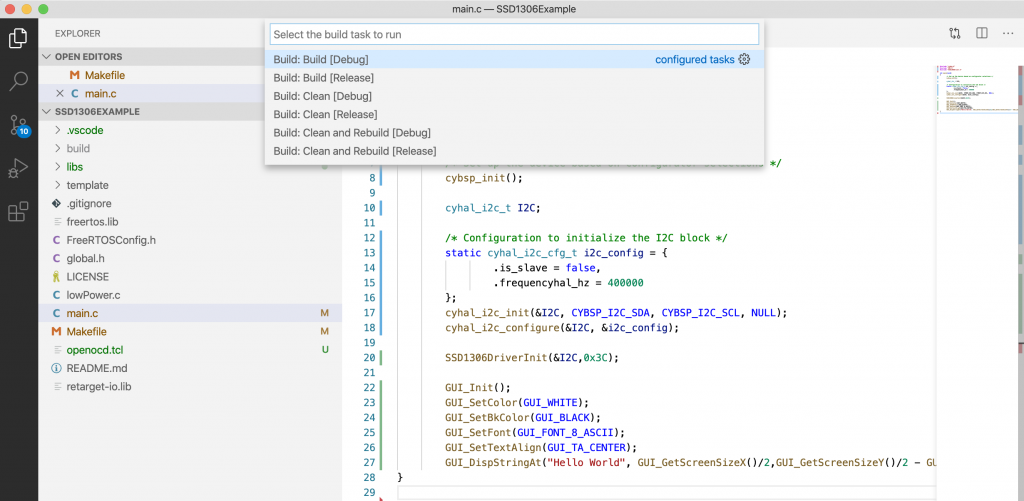
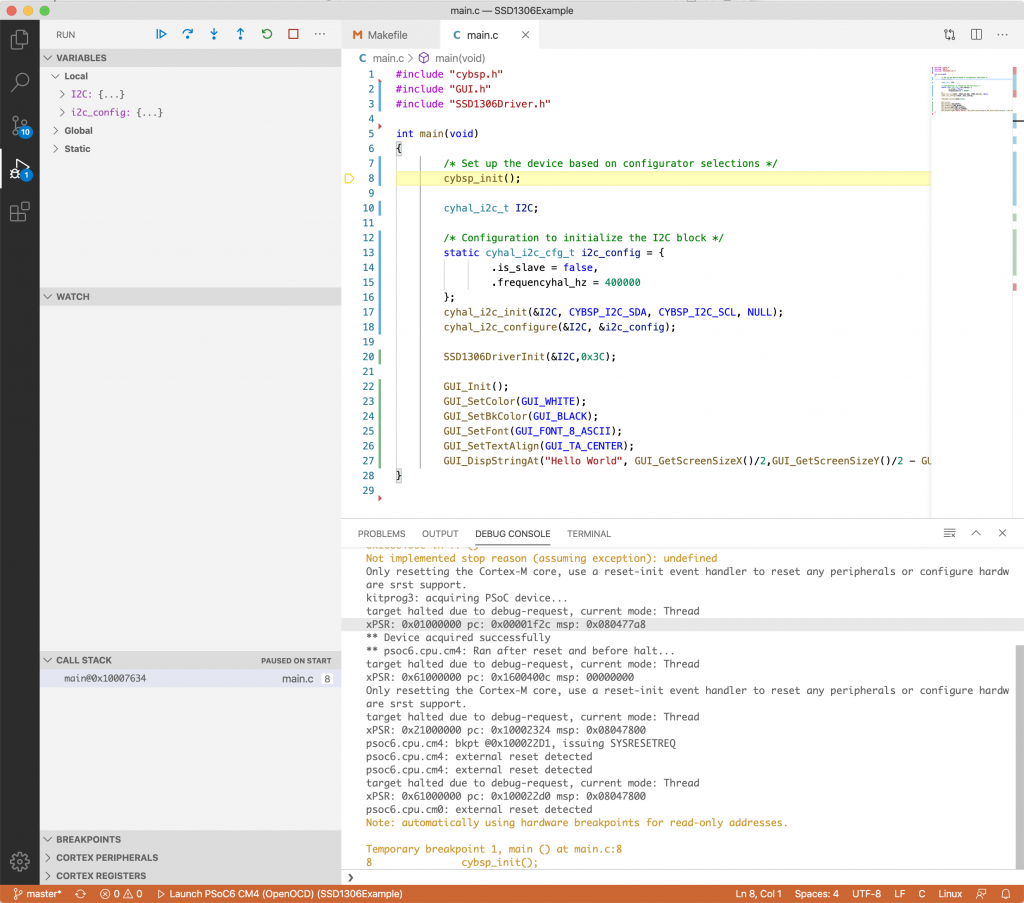
You can program by Pressing selecting or by pressing F5 or selecting “Run->Start Debugging”

Now you can press the play button and you are off to the races
Or on the command line you can program with “make program”
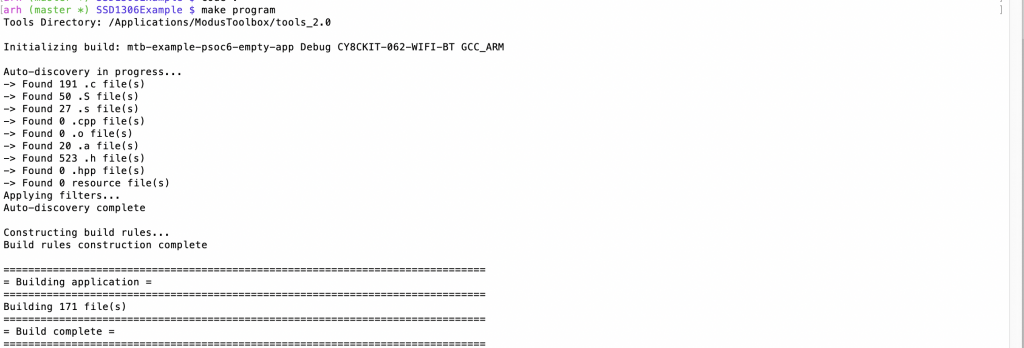
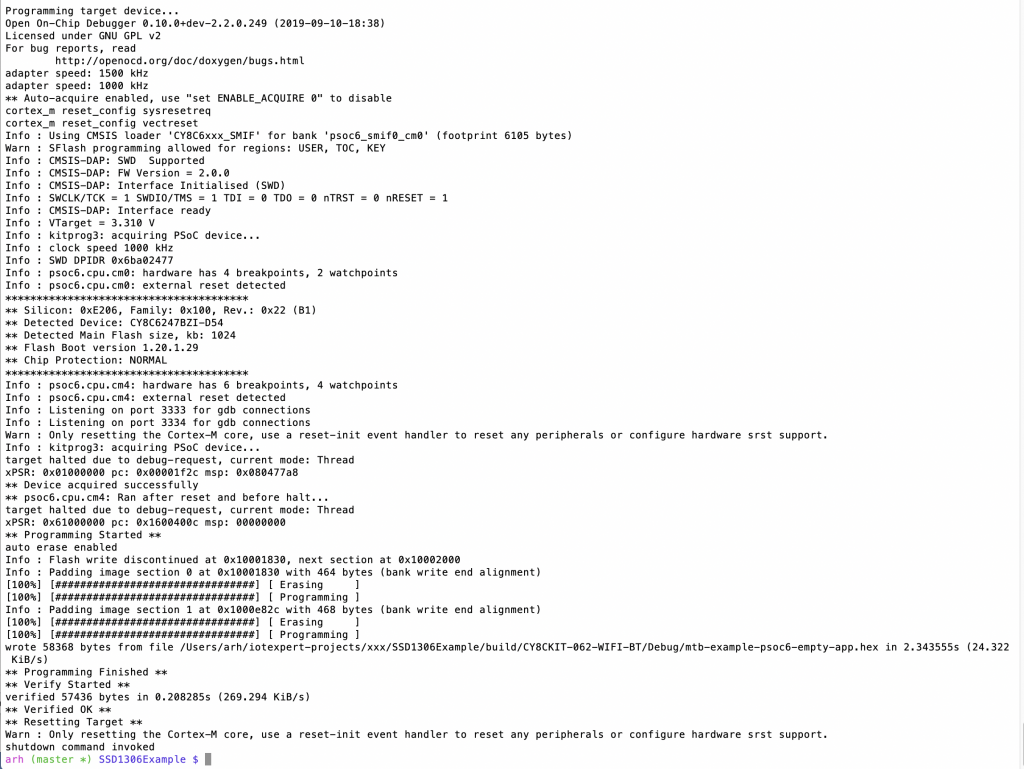
OK. Looks like the library works!
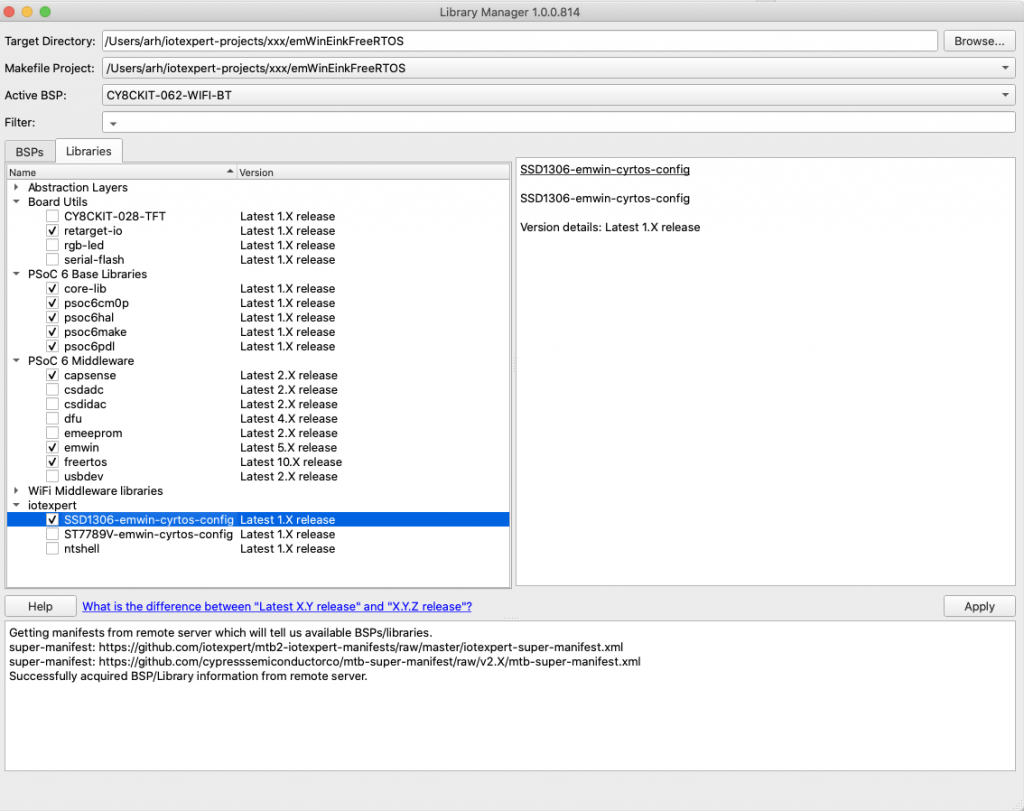
Updating the IoT Expert MTB2 Manifests
I showed you how to manually add a library to your project. But what if you want to have the library you built show up in the Library manager? In the picture below you can see that is exactly what I did by adding a new category called “iotexpert”
To make this work you need a “Super Manifest” which is just a XML file that contains URLs references to your custom Application Templates manifest file(s), Middleware manifests file(s), and BSP manifest file(s). A “manifest” file is just an XML file with a list of URLs to Git Repos and some meta data.
In words you need:
- A file in your home directory called ~/.modustoolbox/manifest.loc which contains a URL for your cusom super manifest file
- A super manifest file that optionally contains a references to your application templates manifest file(s)
- And/Or contains a reference to your middleware manifest file(s)
- And/Or contains a reference to your board support manifest(s)
I start by creating the manifest.loc file to refer to a specific file on GitHub. “https://github.com/iotexpert/mtb2-iotexpert-manifests/raw/master/iotexpert-super-manifest.xml”. Notice that it is stored in “.modustoolbo” which is a directory that starts with a “.” which is a PITA on Windows. The only way I know how to edit/create this is by using the “modus shell” (which we provided as part of the Modus Toolbox installation. Here is a screenshot from my Mac. Notice that I use the GitHub URL mechanism to get to the “raw” file.

In my SuperManifest file I create references to the
- board-manifest-list (of which I have none)
- app-manifest-list which links to my application template manifest
- middleware-manifest which links to my middleware manifest file
Notice that both of these files are on the same GitHub repository.
<super-manifest>
  <board-manifest-list>
  </board-manifest-list>

  <app-manifest-list>
    <app-manifest>
      <uri>https://github.com/iotexpert/mtb2-iotexpert-manifests/raw/master/iotexpert-app-manifest.xml</uri>
      </app-manifest>
   </app-manifest-list>
  <board-manifest-list>
  </board-manifest-list>
  <middleware-manifest-list>
    <middleware-manifest>
      <uri>https://github.com/iotexpert/mtb2-iotexpert-manifests/raw/master/iotexpert-mw-manifest.xml</uri>
    </middleware-manifest>
  </middleware-manifest-list>
</super-manifest>
Then if you look at the actual middleware manifest you will see that I have two (currently) middleware repositories
- (The NTSHell) https://github.com/iotexpert/middleware-ntshell
- (The SSD1306 Middleware in this article) https://github.com/iotexpert/p6sdk-ssd1306-emWin-cyrtos-config
The rest of the XML is meta data which specifies how the middleware is presented by the library manager.
<middleware>
  <middleware>
    <name>ntshell</name>
    <id>ntshell</id>
    <uri>https://github.com/iotexpert/middleware-ntshell</uri>
    <desc>NT Shell</desc>
    <category>iotexpert</category>
    <req_capabilities>psoc6</req_capabilities>
    <versions>
      <version>
        <num>Latest 1.X release</num>
        <commit>master</commit>
        <desc>Latest 1.X release</desc>
      </version>
    </versions>
  </middleware>
  <middleware>
    <name>SSD1306-emwin-cyrtos-config</name>
    <id>SSD1306-emwin-cyrtos-config</id>
    <uri>https://github.com/iotexpert/p6sdk-ssd1306-emwin-cyrtos-config</uri>
    <desc>SSD1306-emwin-cyrtos-config</desc>
    <category>iotexpert</category>
    <req_capabilities>psoc6</req_capabilities>
    <versions>
      <version>
        <num>Latest 1.X release</num>
        <commit>master</commit>
        <desc>Latest 1.X release</desc>
      </version>
    </versions>
  </middleware>
</middleware>
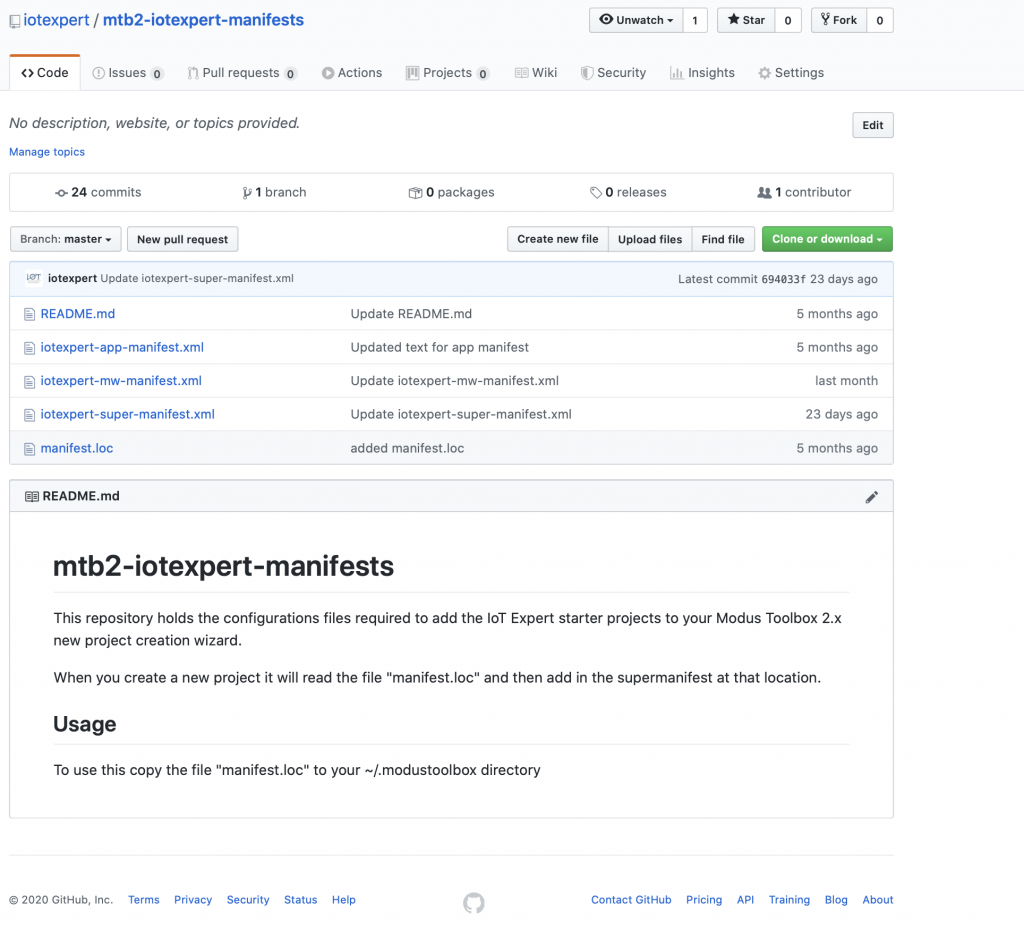
You can see that my GitHub repository contains
- iotexpert-super-manifest.xml – amazingly enough the super manifest
- iotexpert-mw-manifest.xml – my middleware manifest file
- iotexpert-app-manifest.xml – my application template manifest file
Now if you look at the bottom of the library manager you will see that when it starts up it read the Cypress Super Manifest file, as well as the IoT Expert Super Manifest.

To be clear. If you add my “manifest.loc” file to your ~/.modustoolbox directory you will access to all of my libraries.

No comment yet, add your voice below!