Summary
We have finally reached the end of the AnyCloud Bluetooth Advertising Scanner. In this article I will add the ability to sort the database. In addition I will add the ability to purge a device. And finally, truly finally, a bit of commentary.
Story
I originally built this program to help me learn about the AnyCloud Bluetooth SDK. Well, originally I built this functionality to try to find and talk to a specific device (in an upcoming series). The problem is that there are so many devices at my house that are blasting out so much data it is hard to see what I am looking for. What I realized would help is add the ability to sort the devices from newest to oldest. In addition I noticed that occasionally my database would fill up… and it would be nice to purge out old entries. So that is what we are going to do.
There are
| Article | Topic |
|---|---|
| AnyCloud Bluetooth Advertising Scanner (Part 1) | Introduction to AnyCloud Bluetooth Advertising |
| AnyCloud Bluetooth Advertising Scanner (Part 2) | Creating an AnyCloud Bluetooth project |
| AnyCloud Bluetooth Advertising Scanner (Part 3) | Adding Observing functionality to the project |
| AnyCloud Bluetooth Utilities Library | A set of APIs for enhancement of the AnyCloud Library |
| AnyCloud Bluetooth Advertising Scanner (Part 4) | Adding a command line to the scanner |
| AnyCloud Bluetooth Advertising Scanner (Part 5) | Adding a history database to the scanner |
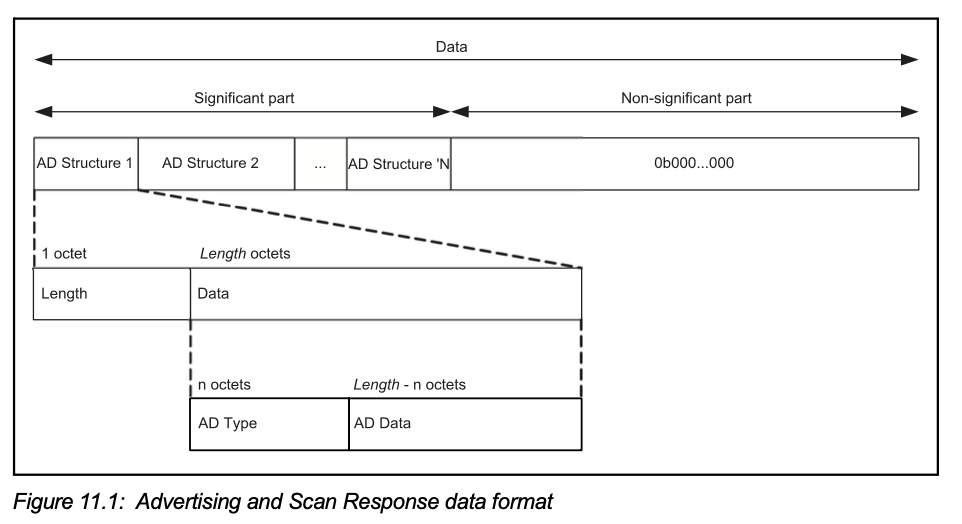
| AnyCloud Bluetooth Advertising Scanner (Part 6) | Decoding advertising packets |
| AnyCloud Bluetooth Advertising Scanner (Part 7) | Adding recording commands to the command line |
| AnyCloud Bluetooth Advertising Scanner (Part 8) | Adding filtering to the scanner |
| AnyCloud Bluetooth Advertising Scanner (Part 9) | Improve the print and add packet age |
| AnyCloud Bluetooth Advertising Scanner (Part 10) | Sort the database |
All of the code can be found at git@github.com:iotexpert/AnyCloudBLEScanner.git and https://github.com/iotexpert/AnyCloudBLEScanner.git
There are git tags in place starting at part 5 so that you can look at just that version of the code. "git tag" to list the tags. And "git checkout part6" to look at the part 6 version of the code.
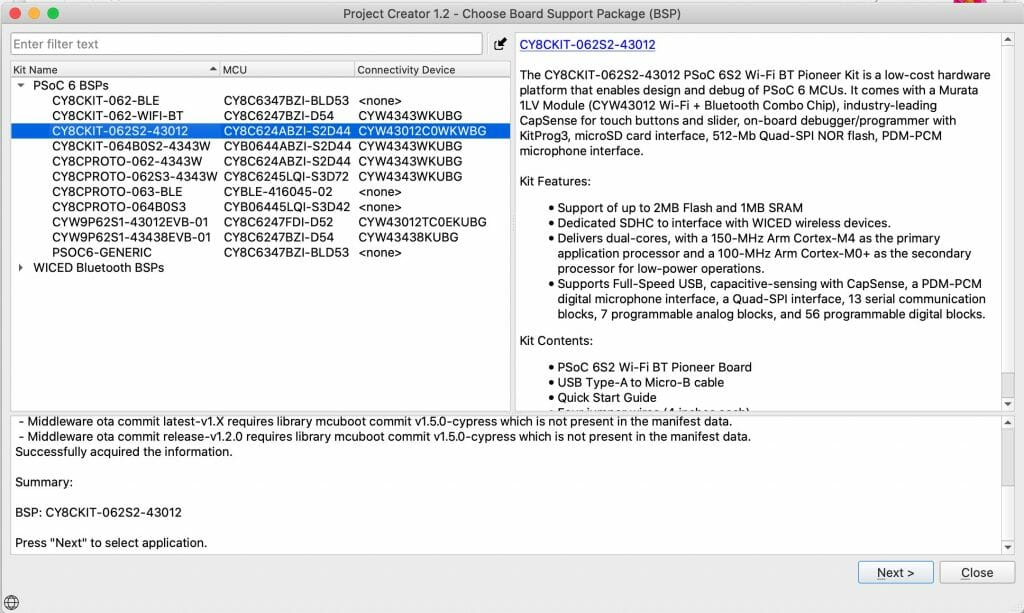
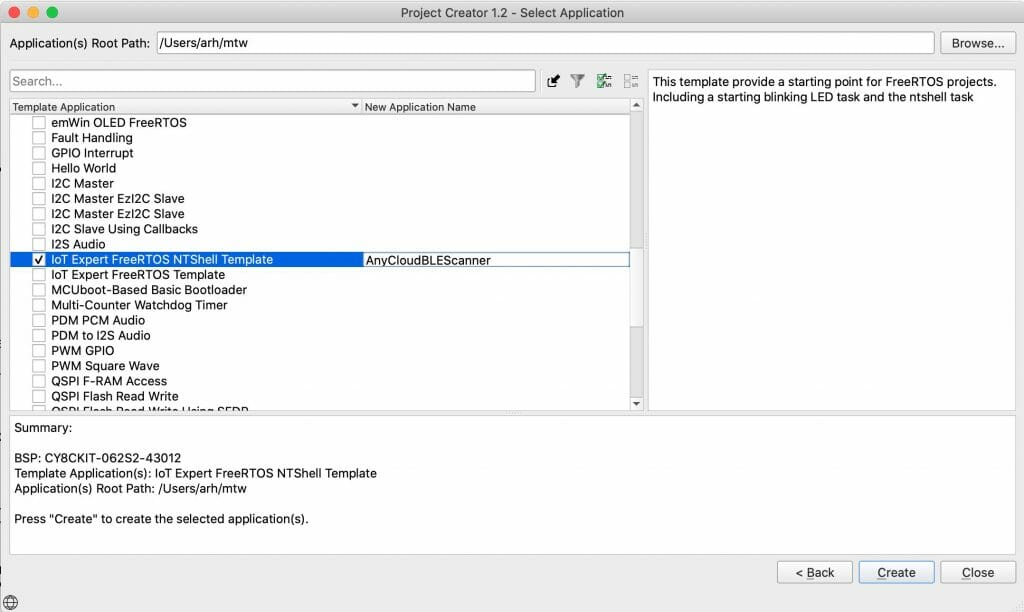
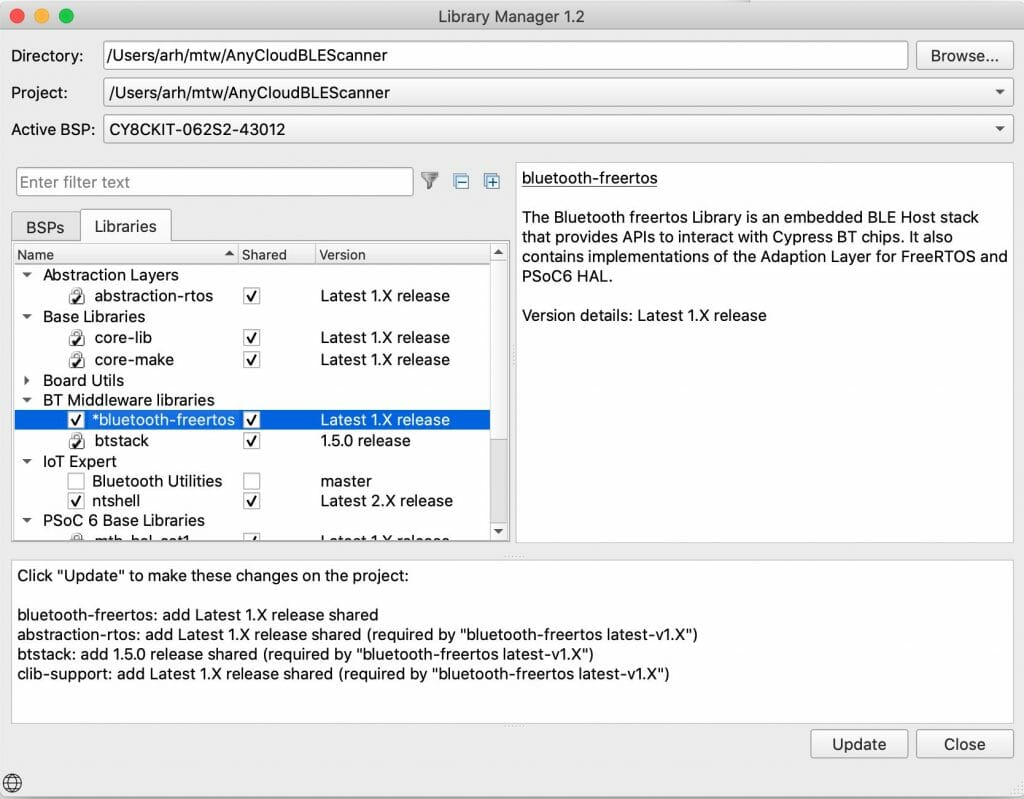
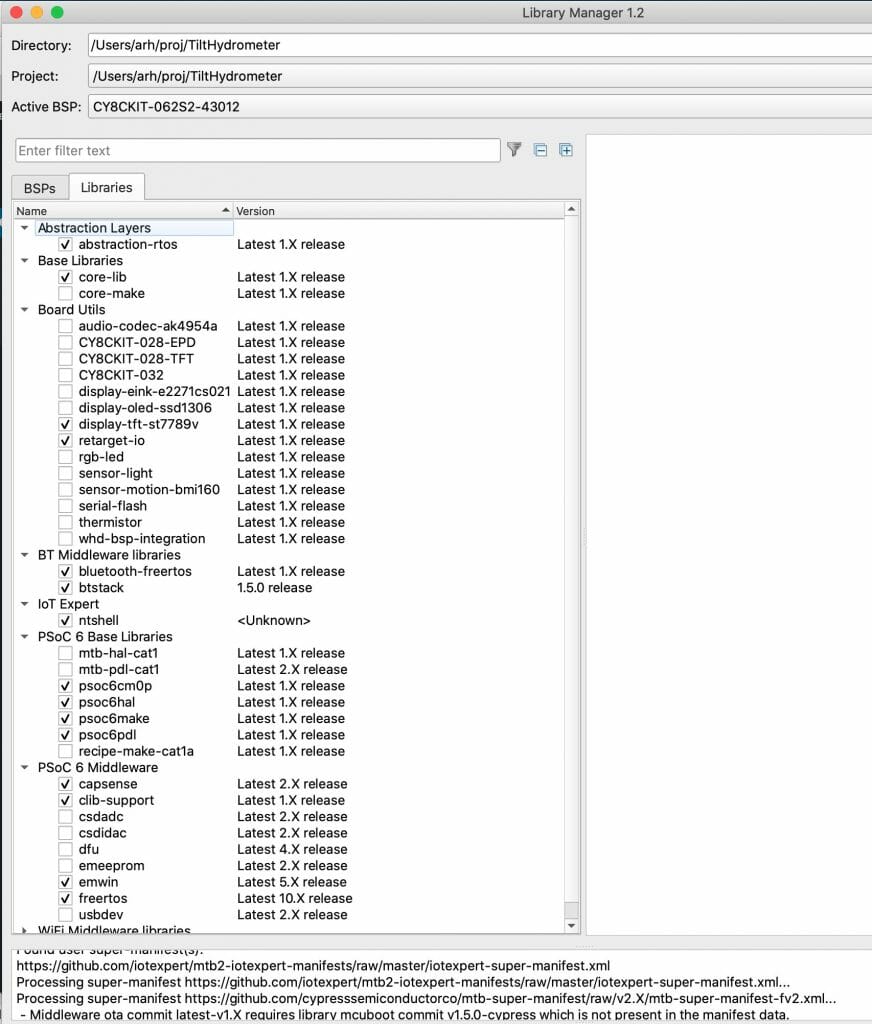
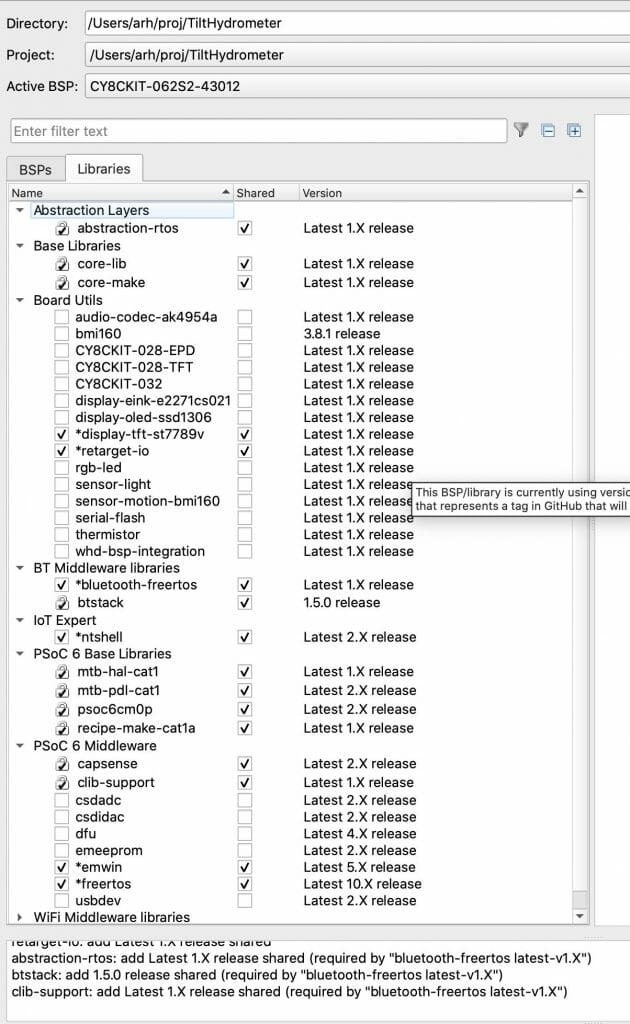
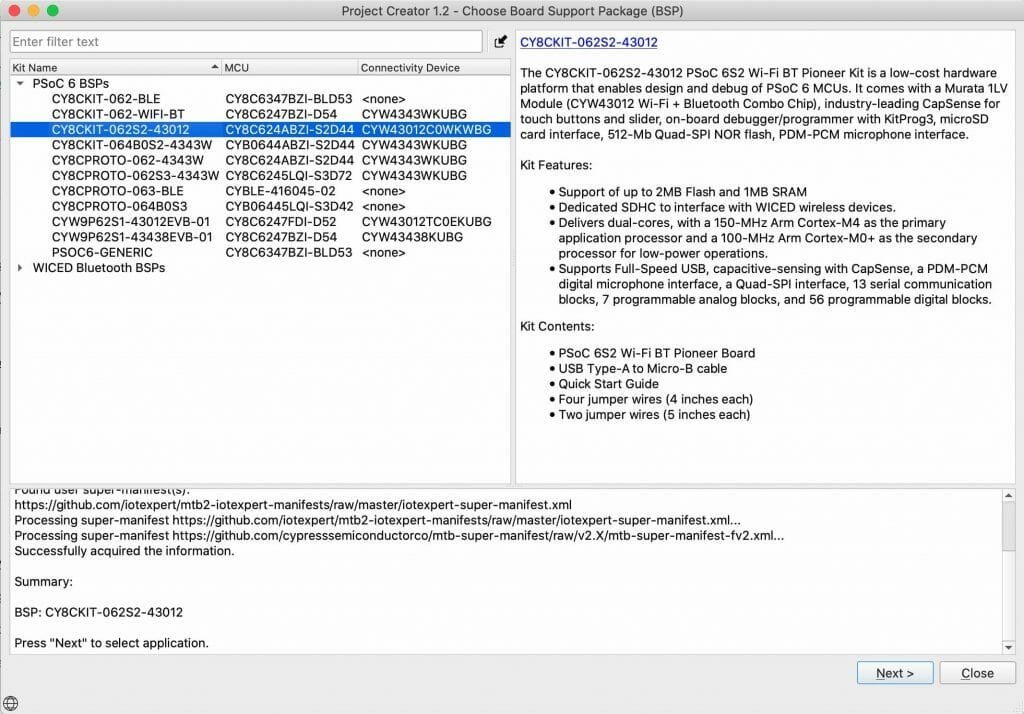
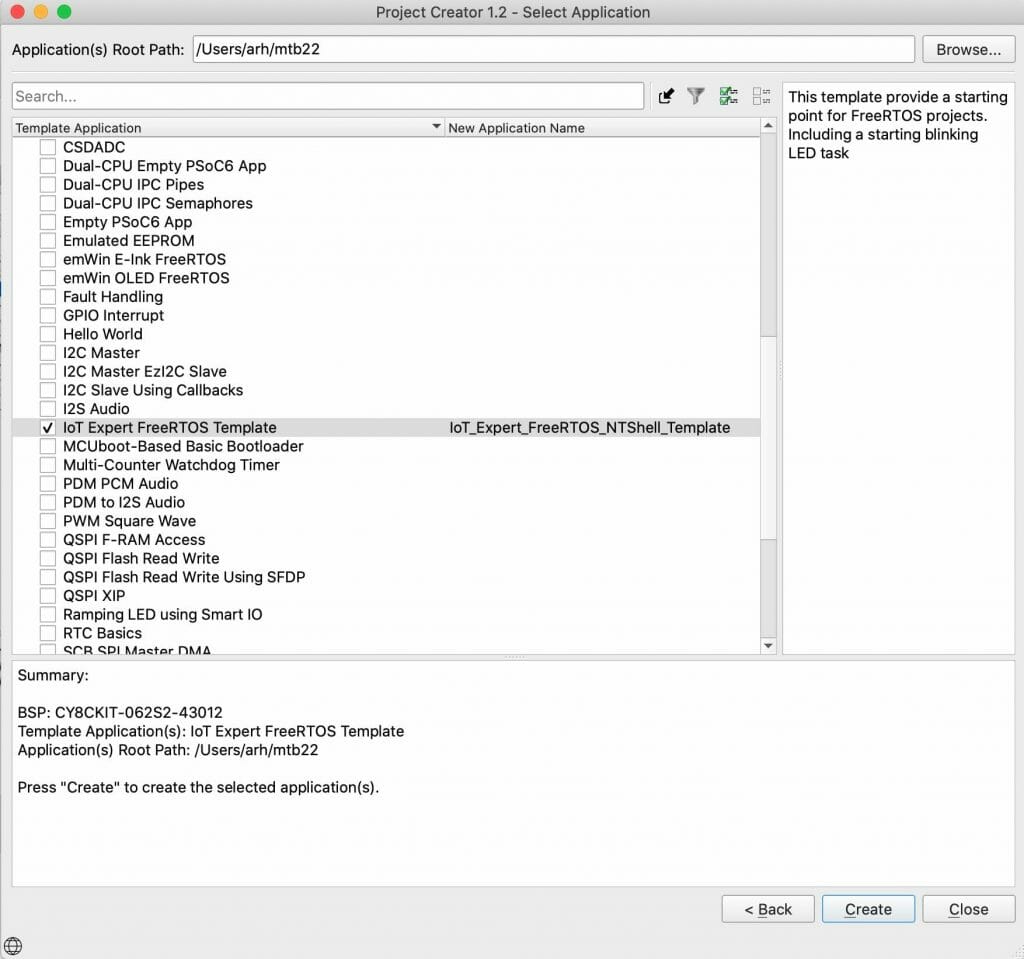
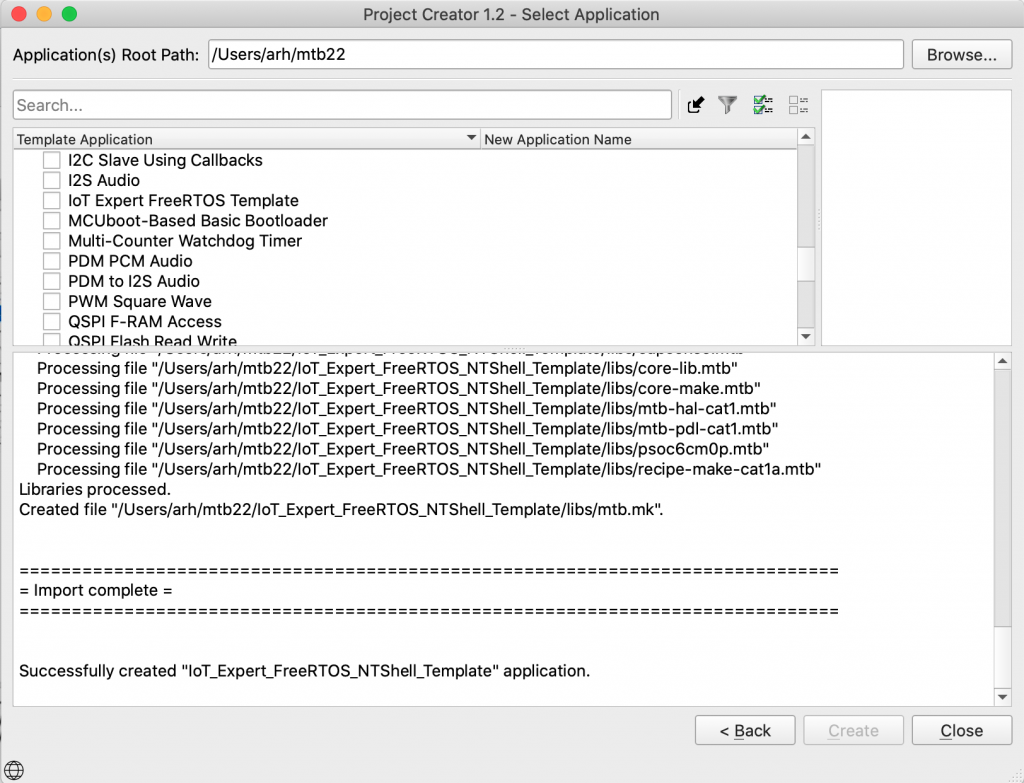
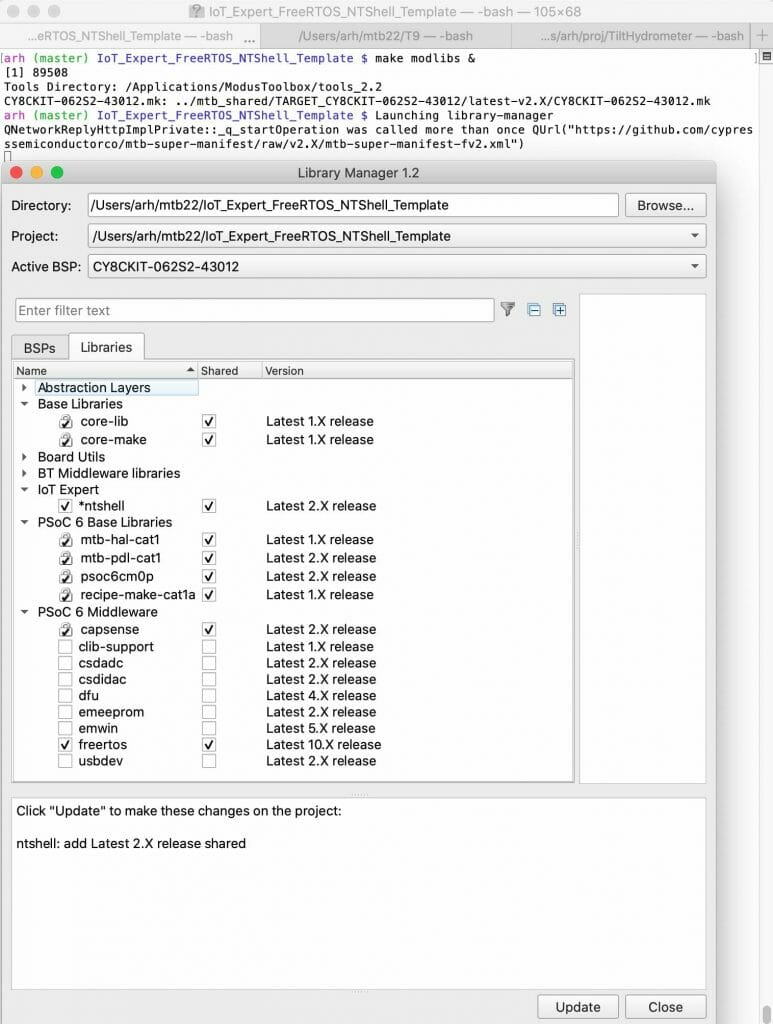
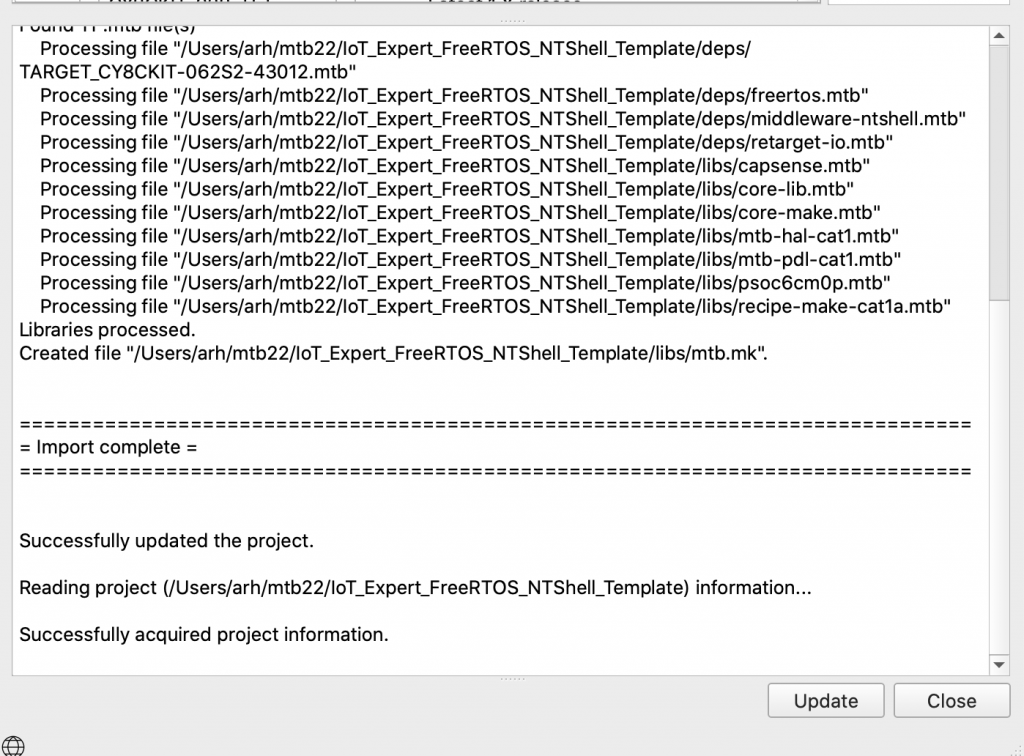
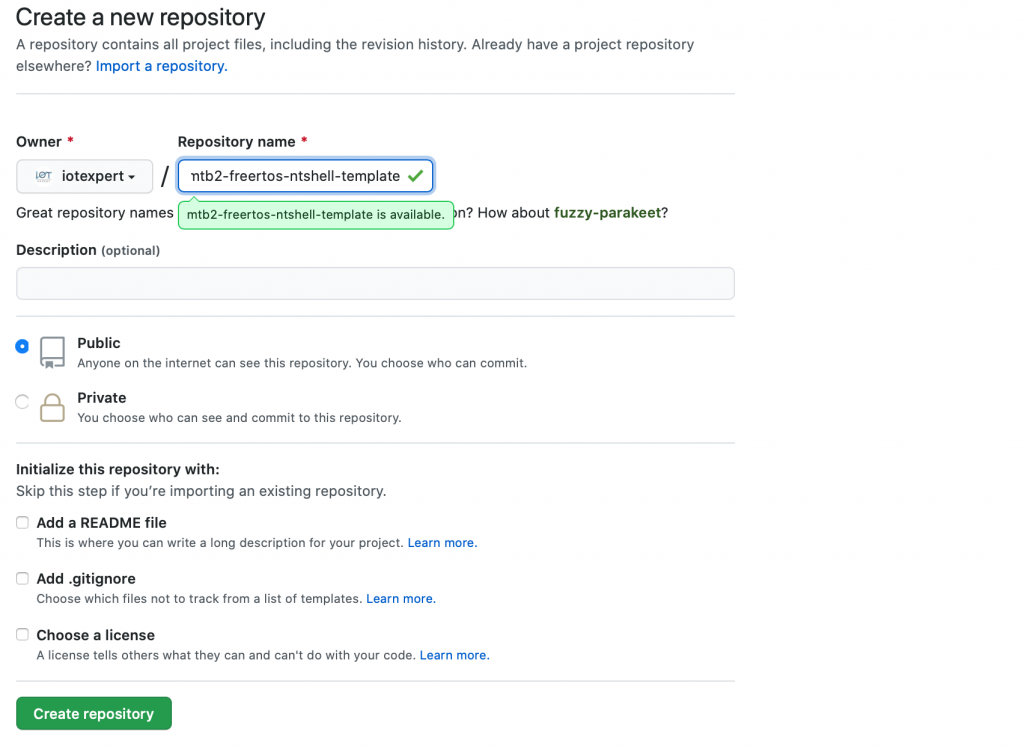
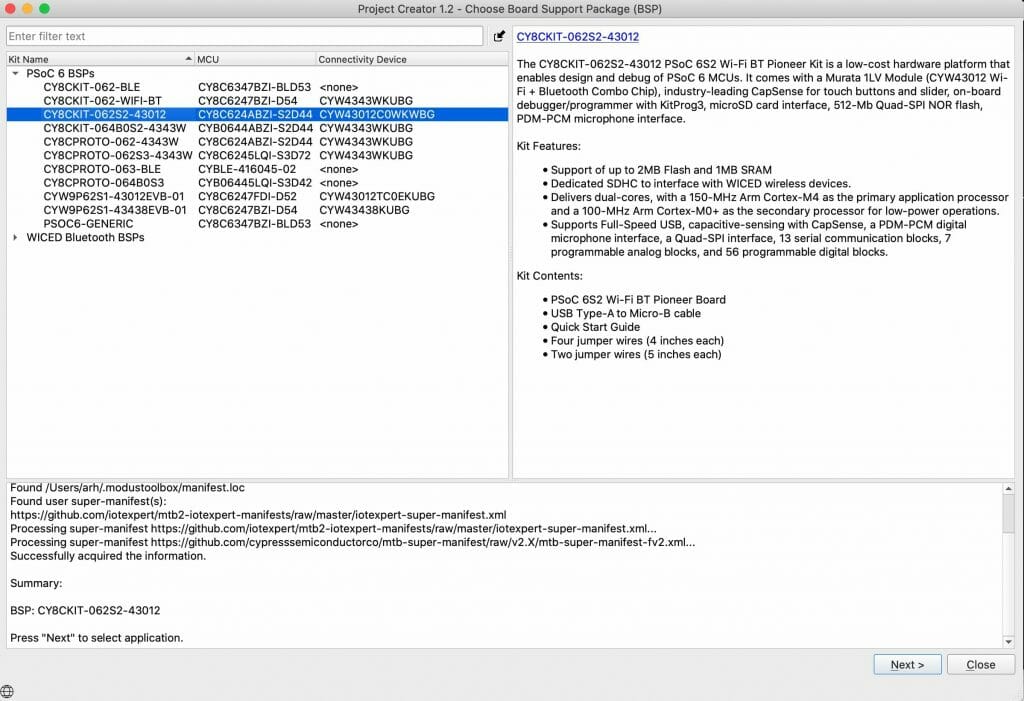
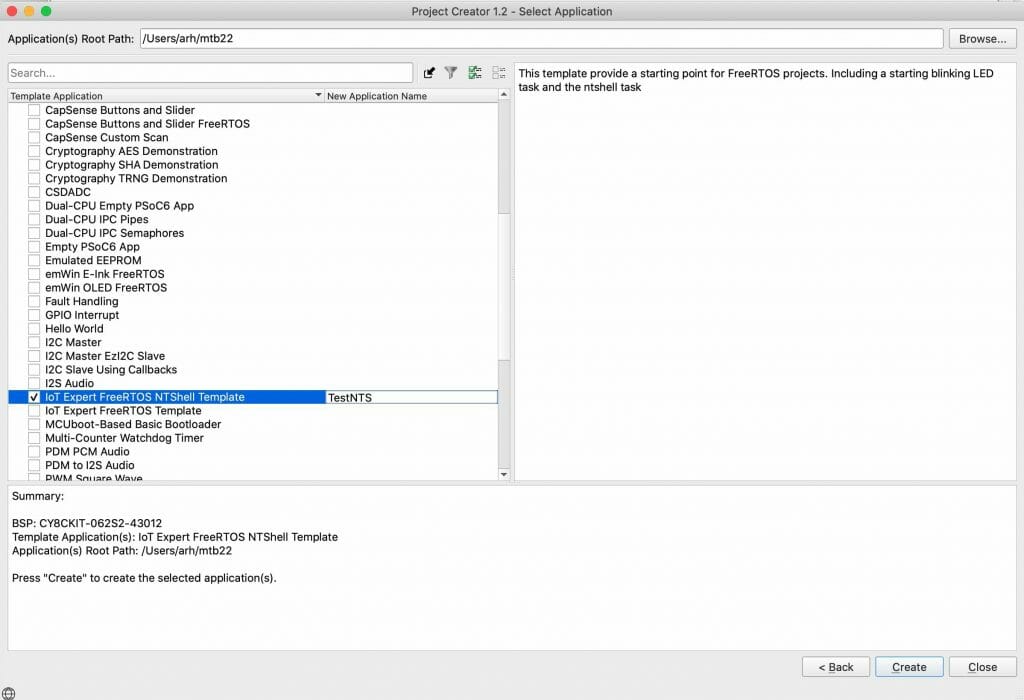
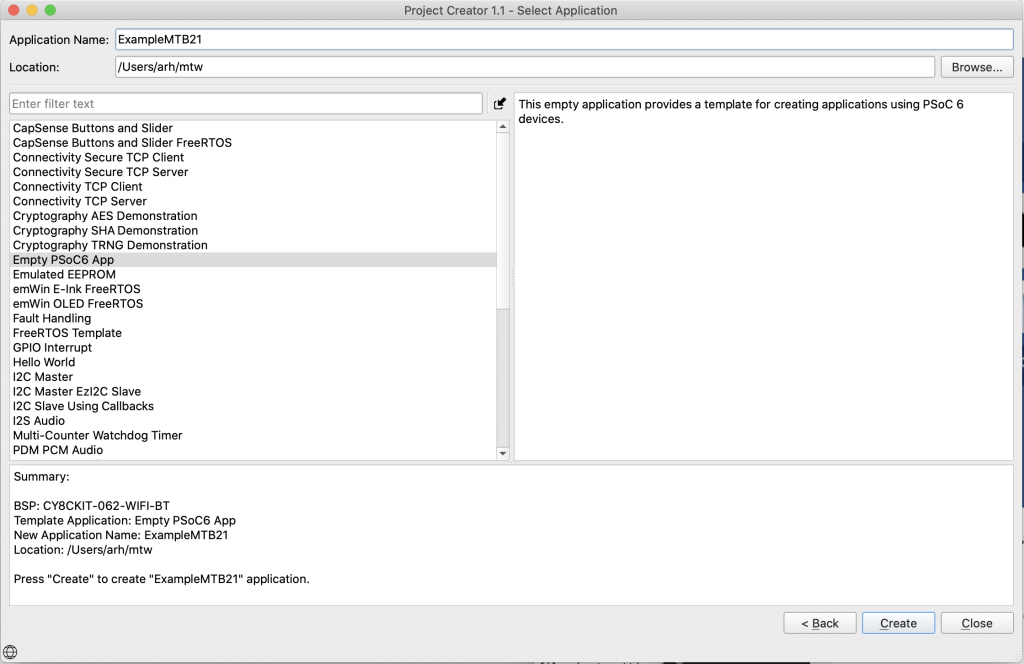
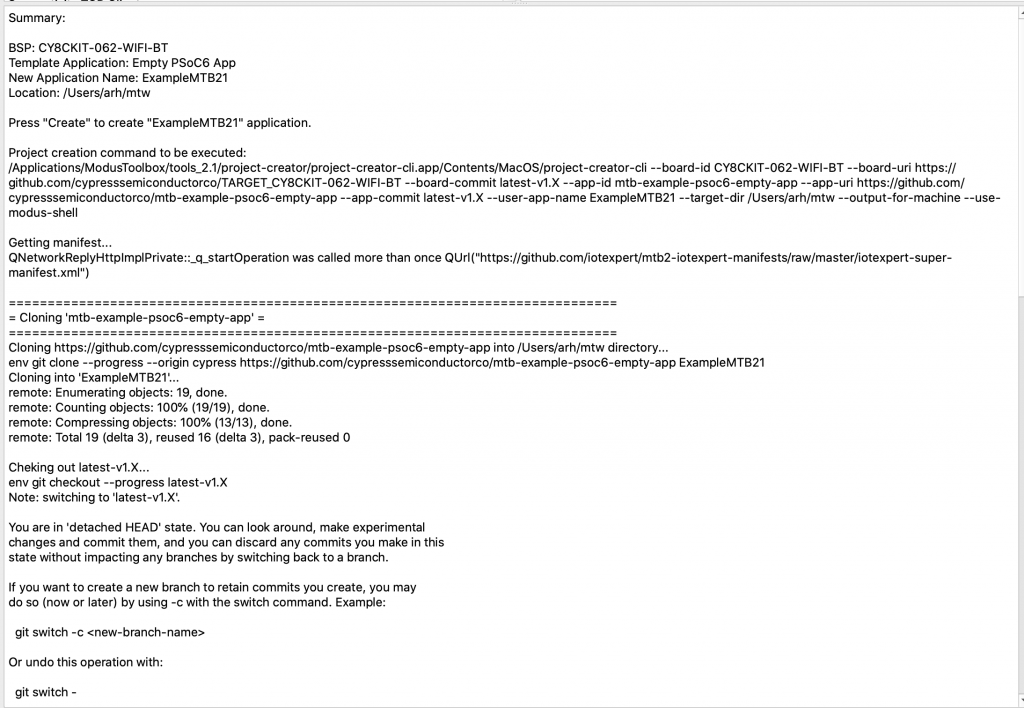
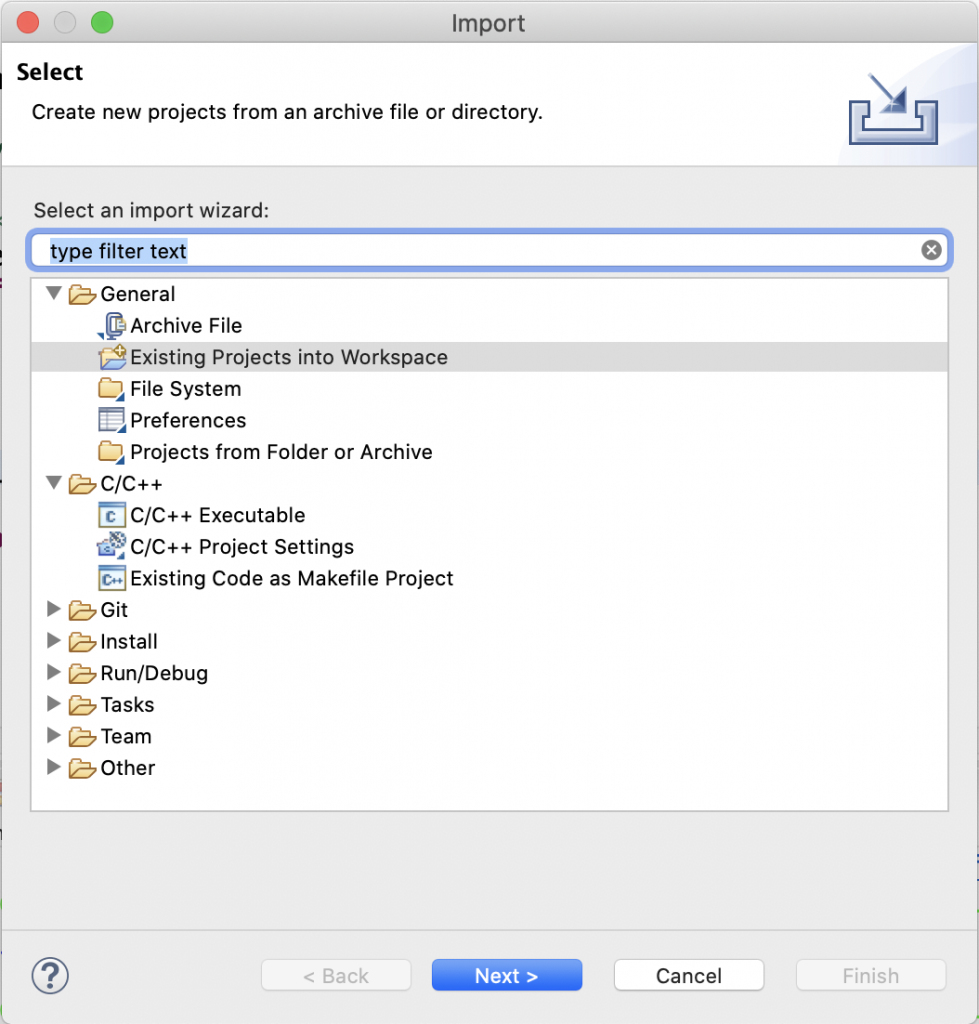
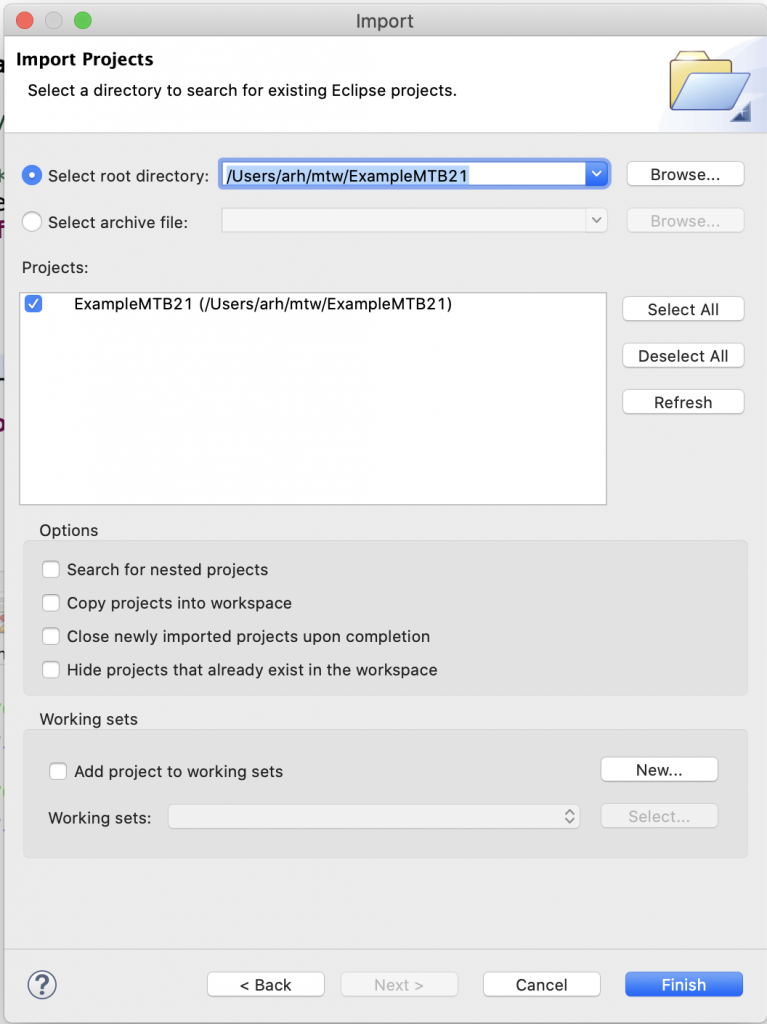
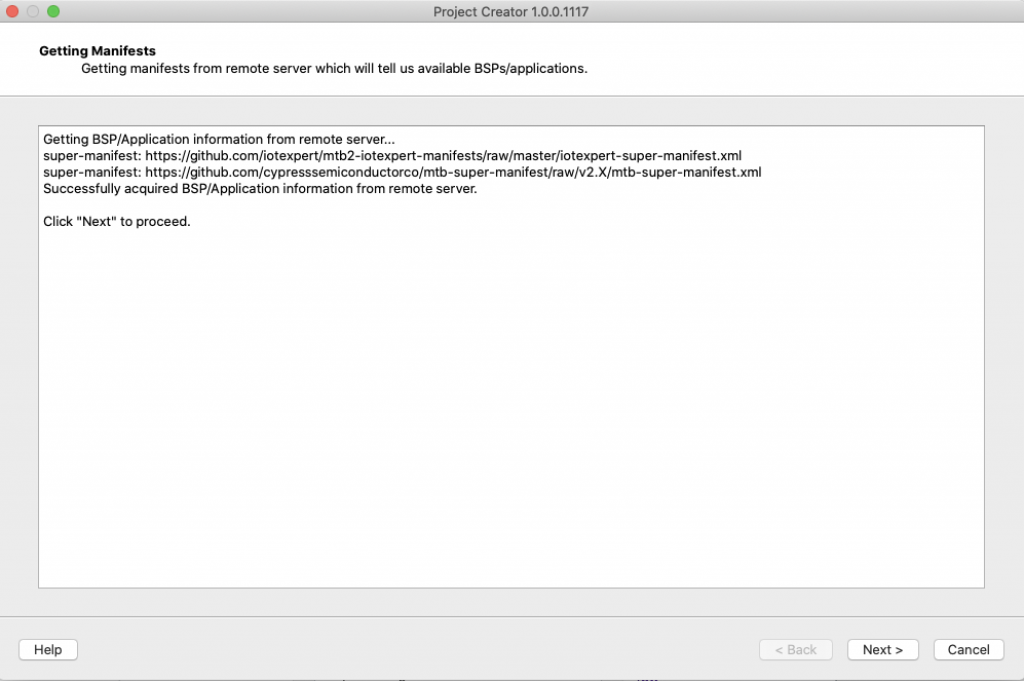
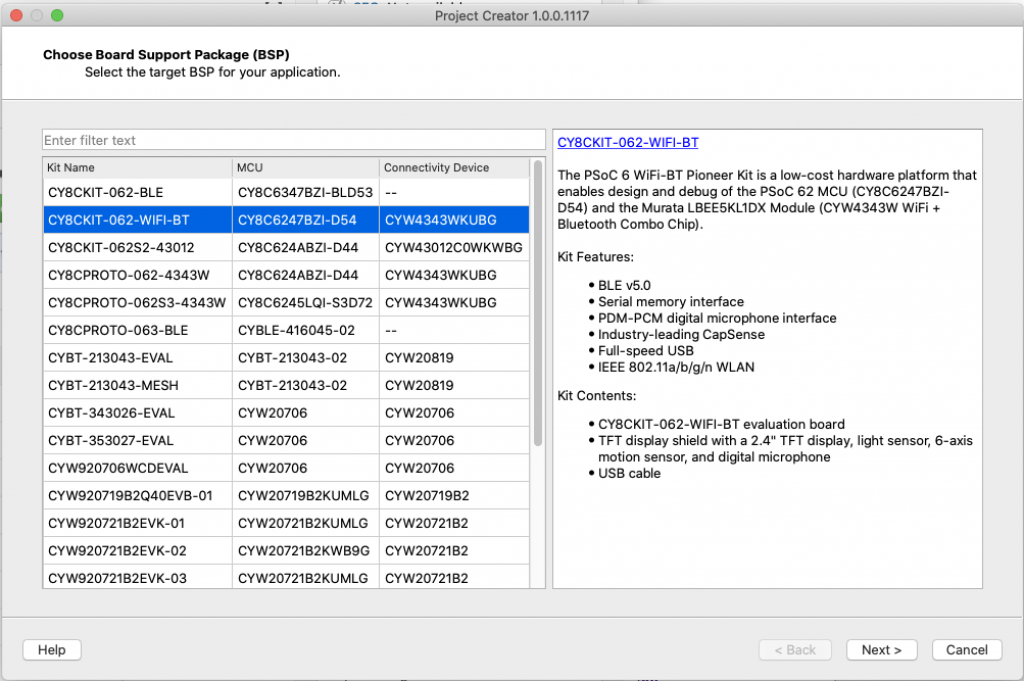
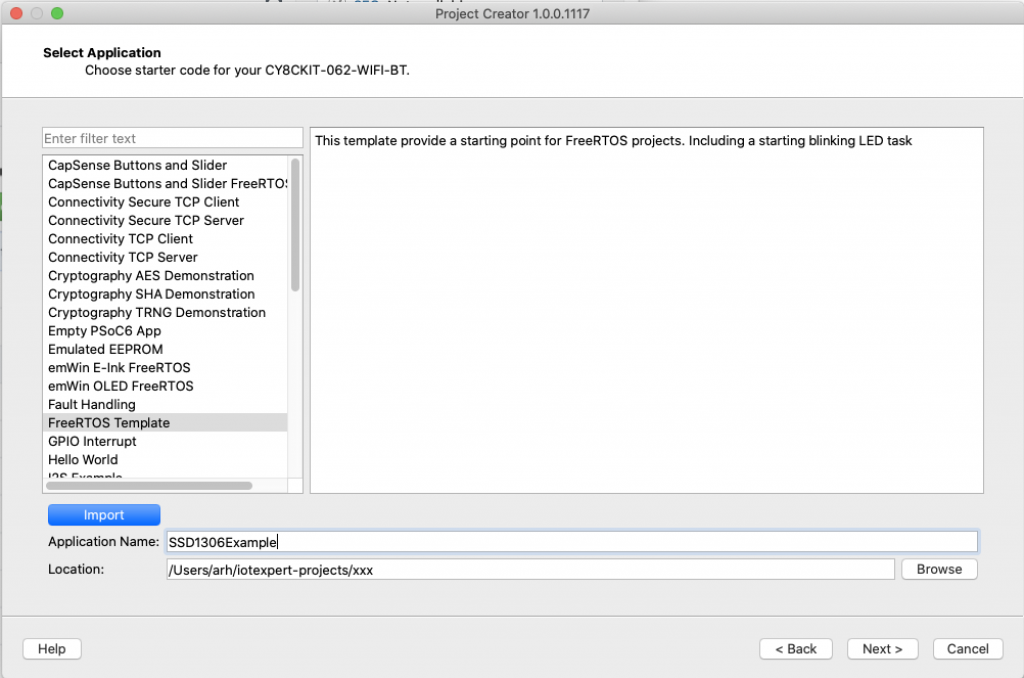
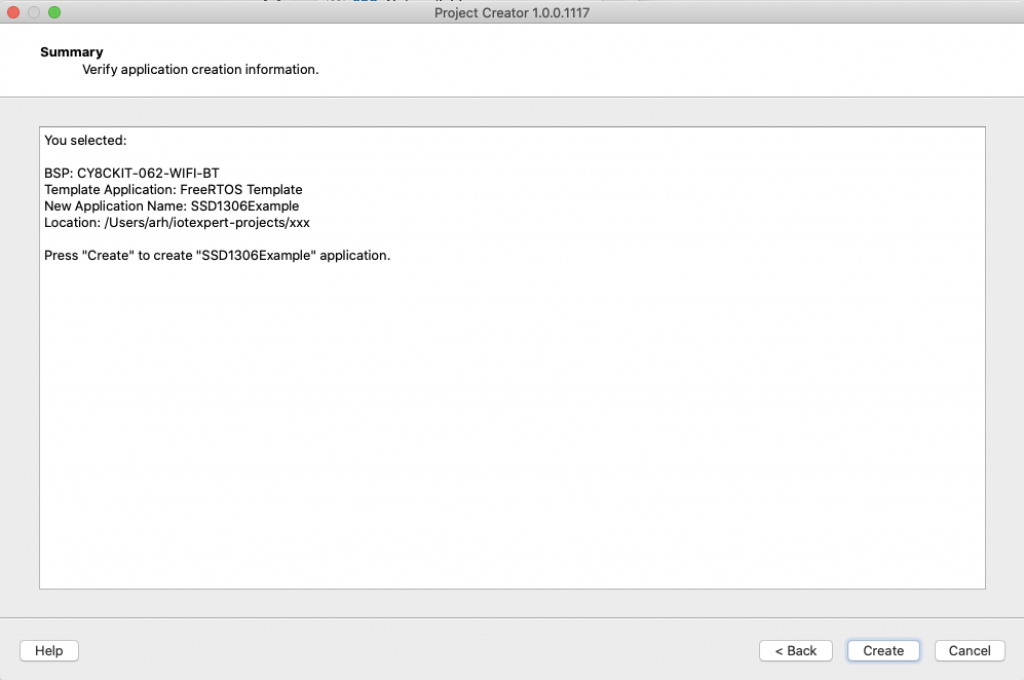
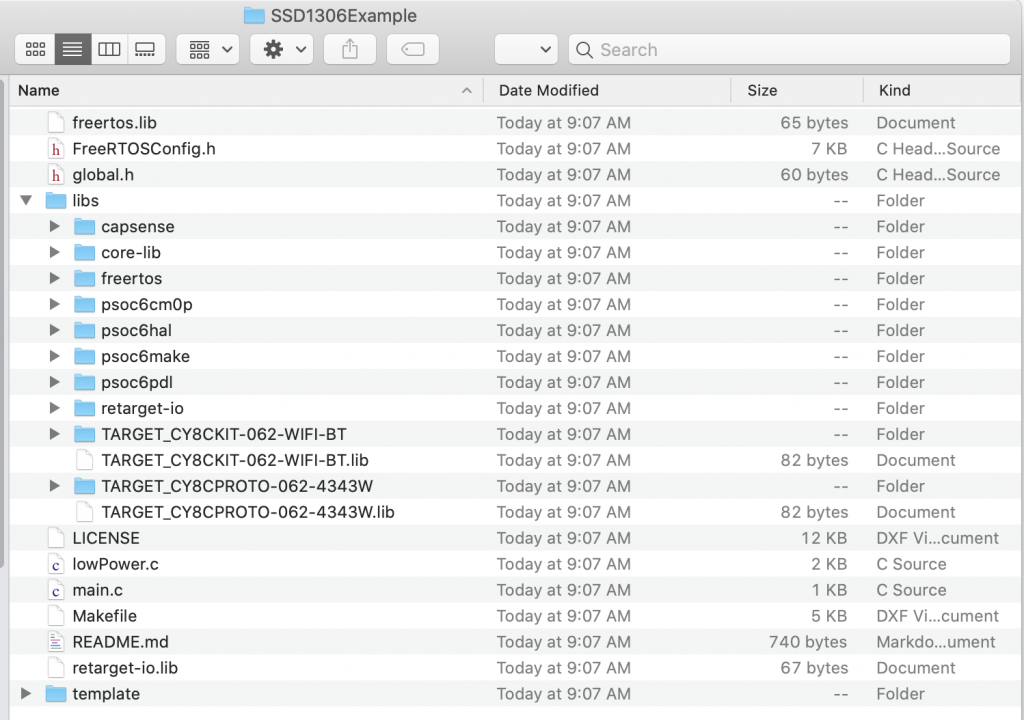
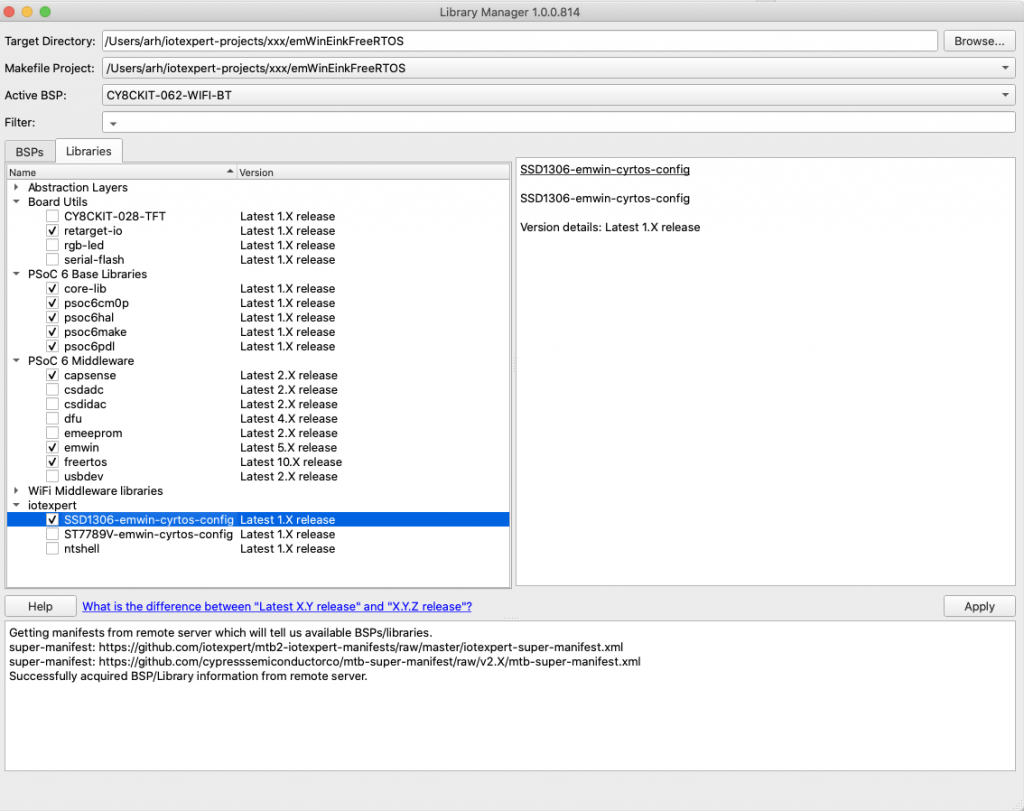
You can also create a new project with this is a template if you have the IoT Expert Manifest Files installed
Fix the Database Data Structure
You might remember that the database was built as an array of structures. This mean that any moving around of the data would be a require a replacement of the whole structure.
static adb_adv_t adb_database[ADB_MAX_SIZE];
To fix this problem I moved the database to a an array of pointers.
static adb_adv_t *adb_database[ADB_MAX_SIZE];
To support this, when I see a new device I malloc a block of memory to hold the actual structure.
    // If it is NOT found && you have room
    if(entry == -1)
    {
        adb_database[adb_db_count] = malloc(sizeof(adb_adv_t));
Then I had to fix all of the references to the structure. And there were a bunch (actually 43 of them). But the replacement was pretty simple
adb_database[…].xxx is replaced by adb_database[…]-> …. here are the three different cases
case 1: adb_database[adb_db_count].

case 2: adb_database[entry].

case 1: adb_database[i].

That was actually way less painful that I thought it was going to be. Probably what would actually be best is a library of these data structures with an API that would not have changed when the key changed, but that I suppose, is for another day.
Add Two New Commands
Now I add the sort and purge commands to my command list.
typedef enum {
    ADB_ADD,
    ADB_PRINT_RAW,
    ADB_PRINT_DECODE,
    ADB_WATCH,
    ADB_ERASE,
    ADB_RECORD,
    ADB_FILTER,
    ADB_SORT,
    ADB_PURGE,
} adb_cmd_t;
Create the Sort Functionality
To sort, I will use the c-standard library function qsort. It requires a function that compares two entries a/b and returns
- a negative number of a<b
- 0 if a=b
- a positive number if a>b
Here is the function. Hey Hassane you like those pointers?
static int adb_sort_cmpfunc(const void * a, const void * b)
{
    adb_adv_t *p1 = *((adb_adv_t **)a);
    adb_adv_t *p2 = *((adb_adv_t **)b);

    return p2->lastSeen - p1->lastSeen;
}
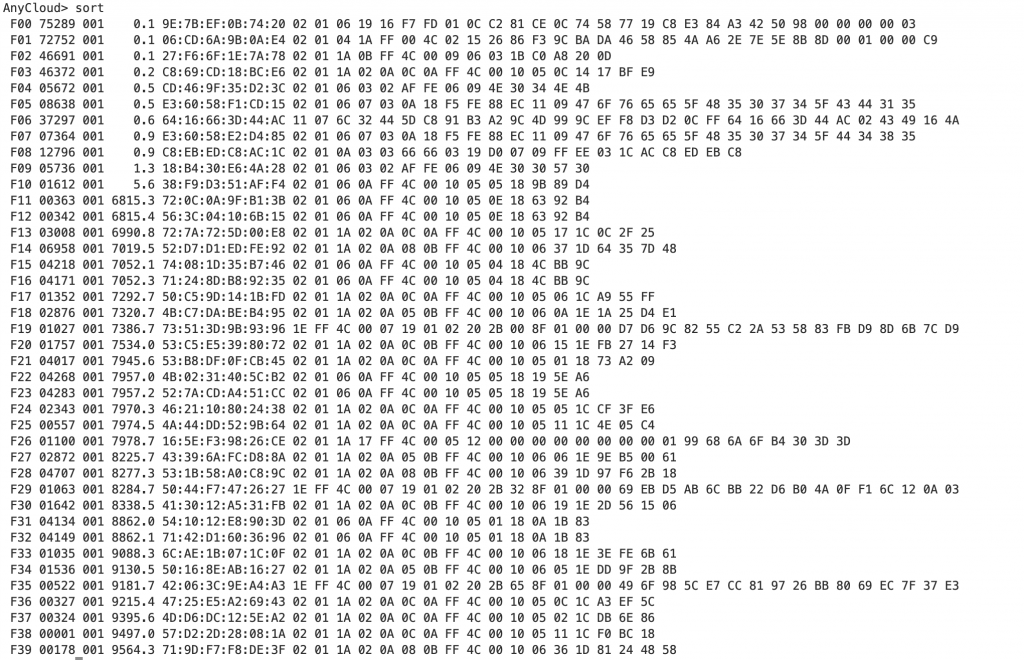
The sort is actually really simple now. Just a call to sort (then I decided to print out the table)
                case ADB_SORT:
                    qsort(adb_database, adb_db_count, sizeof(adb_adv_t *), adb_sort_cmpfunc);
                    adb_db_print(ADB_PRINT_METHOD_BYTES,true,-1);
                break;
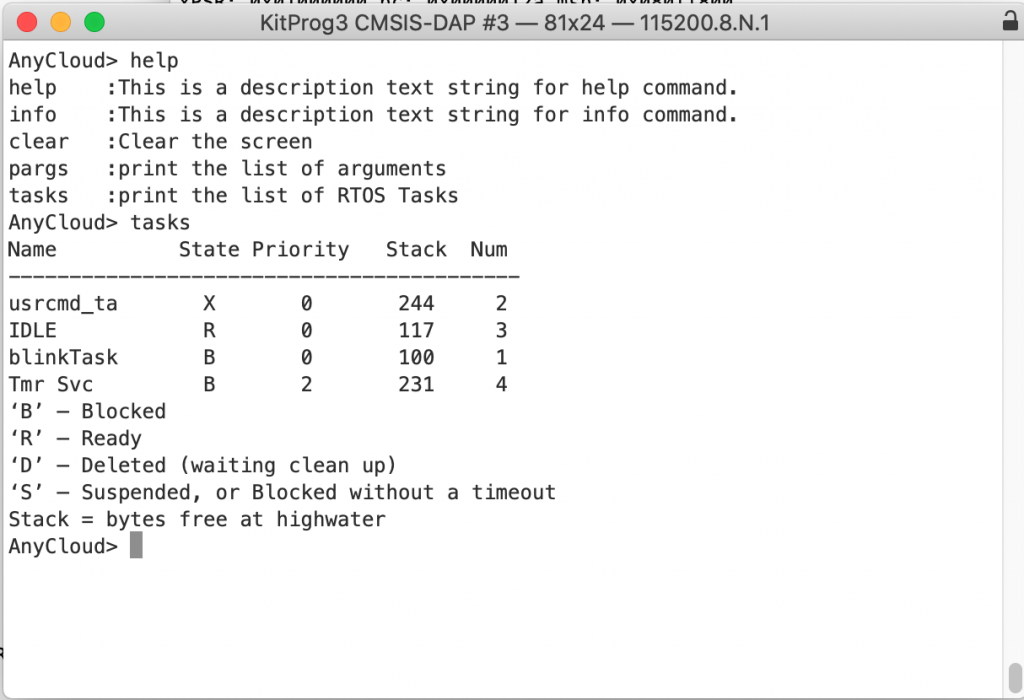
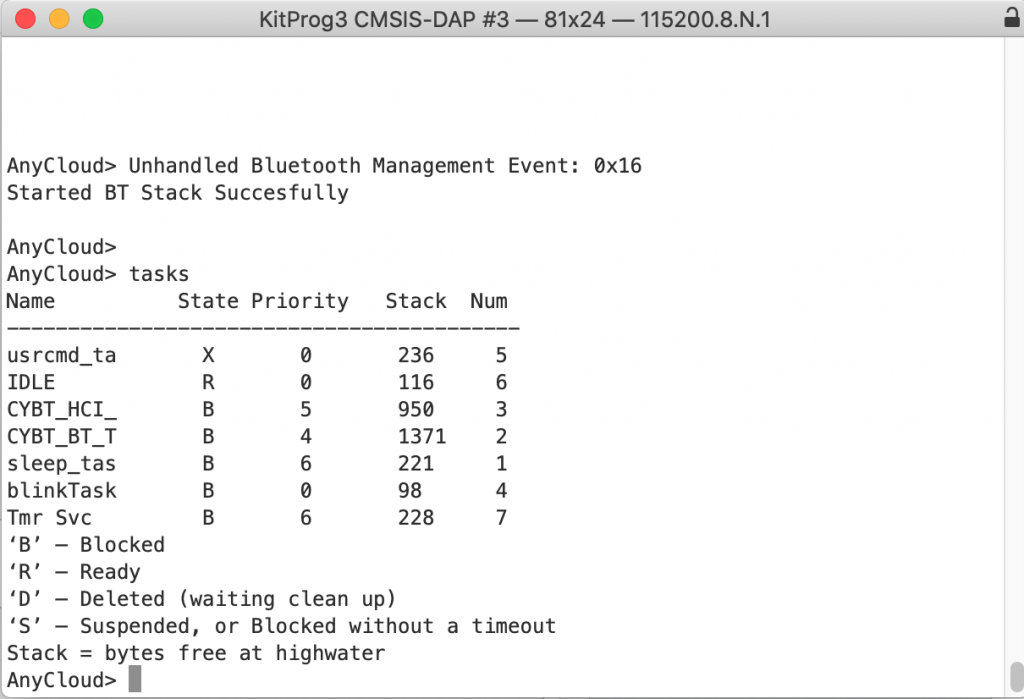
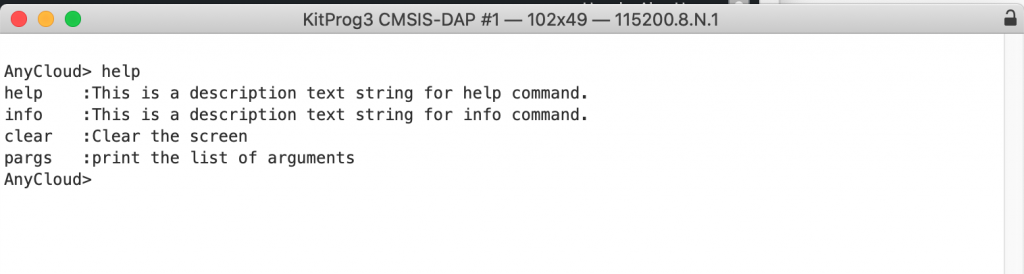
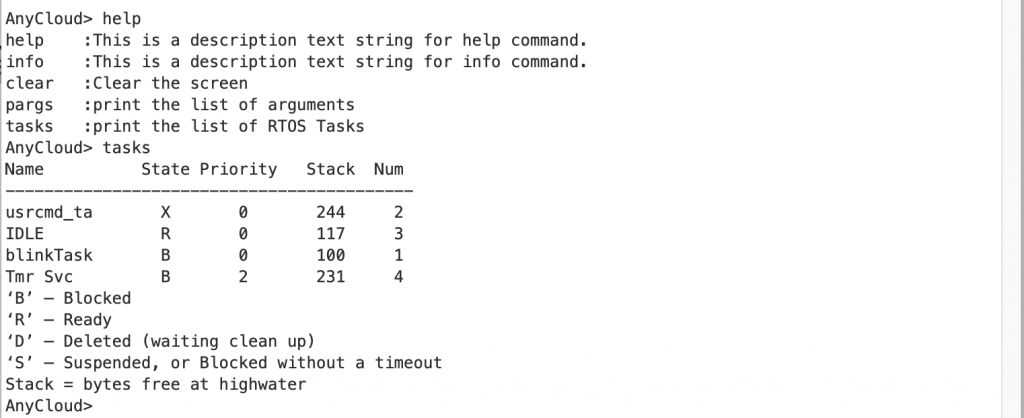
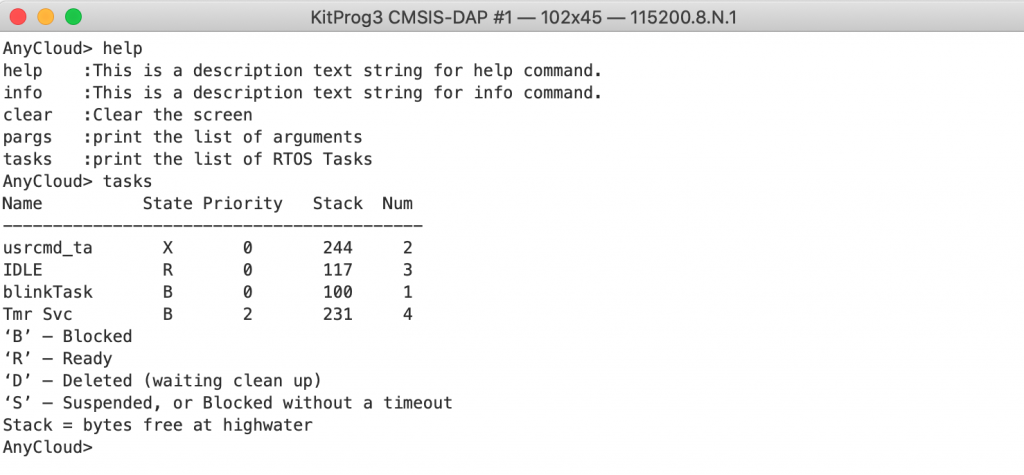
Now instead of this….
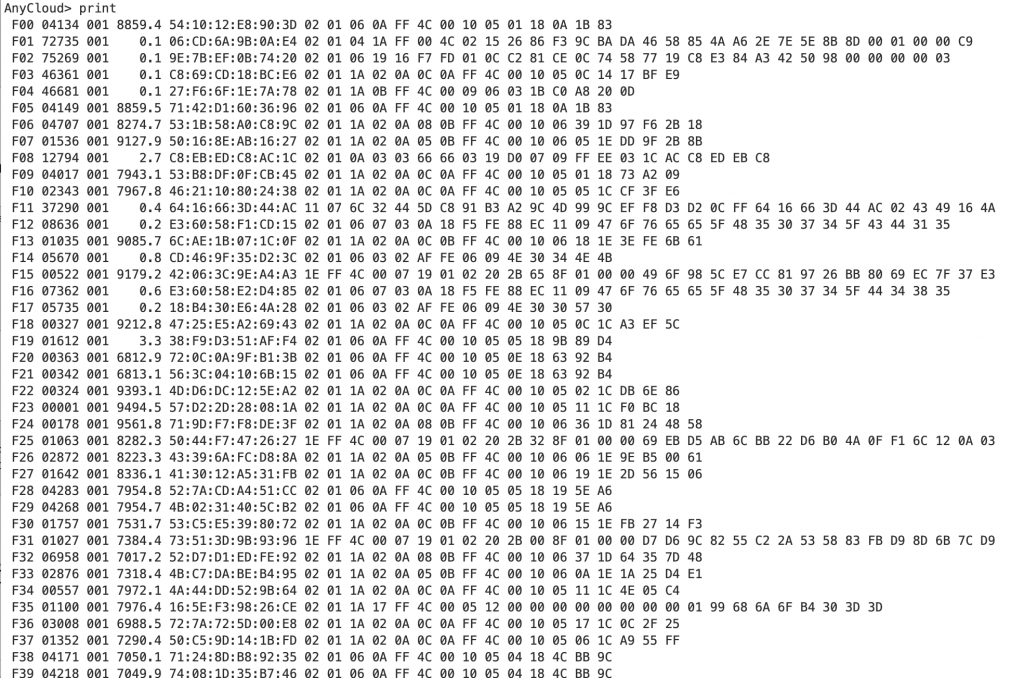
I get this…
Create the Purge Functionality
The purge function needs to do two things
- Free all of the memory from an entry
- Move the pointers so that the “purged” entry is gone.
First I erase all of the data in the linked list with the adb_eraseEntry function.
Then I free the head of the list
Then I free the actual structure
Then I move all of the pointers to squeeze the able.
static void adb_purgeEntry(int entry)
{

    adb_eraseEntry(entry);
    free(adb_database[entry]->list);
    free(adb_database[entry]->result);
    free(adb_database[entry]);
    adb_db_count -= 1;
    for(int i=entry;i<adb_db_count;i++)
    {
        adb_database[i] = adb_database[i+1];
    }
}
And you need to add the actual command.
                case ADB_PURGE:
                    if((int)msg.data0<0 || (int)msg.data0>=adb_db_count)
                    {
                        printf("Purge error %d\n",(int)msg.data0);
                        break;
                    }
                    adb_purgeEntry((int)msg.data0);
                break;
The End & Commentary
I would like to add and maybe will one day:
- A connect function with a GATT browser
- A smarter way to deal with the fact that device change addresses
Finally a couple of comments about this
- You might notice that I don’t check very many possible errors. I do this in the interest of simpler to read code. This is a tradeoff that I make for “teaching” code. I hope that you understand that if you want to do something like this in a real product that you need to be much more careful.
- I don’t have unit testing. This falls into the same category as the error checking. Really this is a bad idea as code without unit testing is obsolete the second it comes out of your fingers. But, it is easier to read.
- I don’t have many comments. This is something that my colleagues bitch about all of the time with me. And I know that it must be a personality defect.
- I use malloc/free all over the place. This is a religious war. You can make a static allocation scheme, but it would be really complicated in this case. I personally think that the tradeoff of using a battle worn and tested malloc/free is totally worthwhile against the complexity of custom static memory allocation schemes.