Years ago, when I did the first install of a Raspberry Pi (RPi), this whole thing was quite painful, however at this point the installation process is well documented. In addition adafruit.com has a nice tutorial about making the I2C work here.
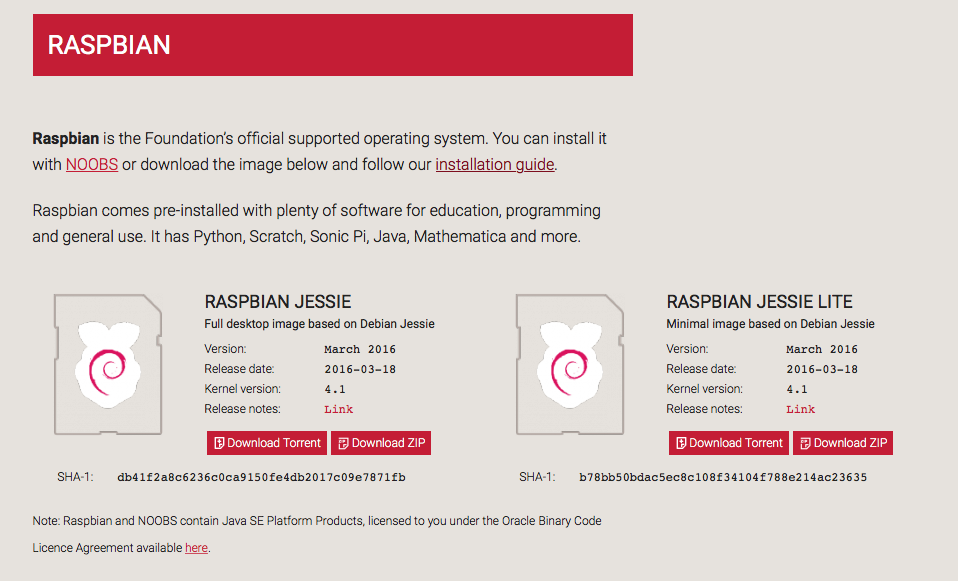
To start the process download the Raspbian image from it from here.
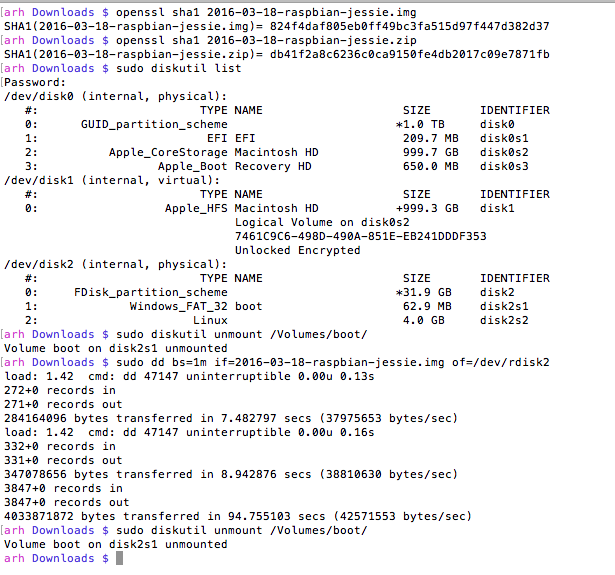
Because I talked so much about security in this post, I thought that I had better check the cryptographic hash. So, I run
- openssl sha1 2016-03-18-raspbian-jessie.img
And I get:
SHA1(2016-03-18-raspbian-jessie.img)= 824f4daf805eb0ff49bc3fa515d97f447d382d37
which definitely didn’t match the signature, so now what? Is this a hack? It turns out that my Mac “helps” you by unzipping the file. The cryptographic hash of a file and a zip of that file are different. If you download the zip and run the hash you will get:
SHA1(2016-03-18-raspbian-jessie.zip)= db41f2a8c6236c0ca9150fe4db2017c09e7871fb
OK. They match. Good. The next step is to write the image to the flash card. To do this
- Insert the card (into your Mac)
- See what disks are mounted
- Unmount the volume (if you already had something on the card)
- Write the image onto the flash card. In the instructions on the Raspberry Pi site there is some confusion about if you should use /dev/rdiskx or /dev/diskx. Thats simple, you should use the “r” version. “r” stands for raw and is unbuffered and as such is much faster to write. Even with the raw device it still takes a few minutes. While it is writing you can press “ctrl-t” and it will give you a status (which I did twice during the write process)
- Unmount the disk
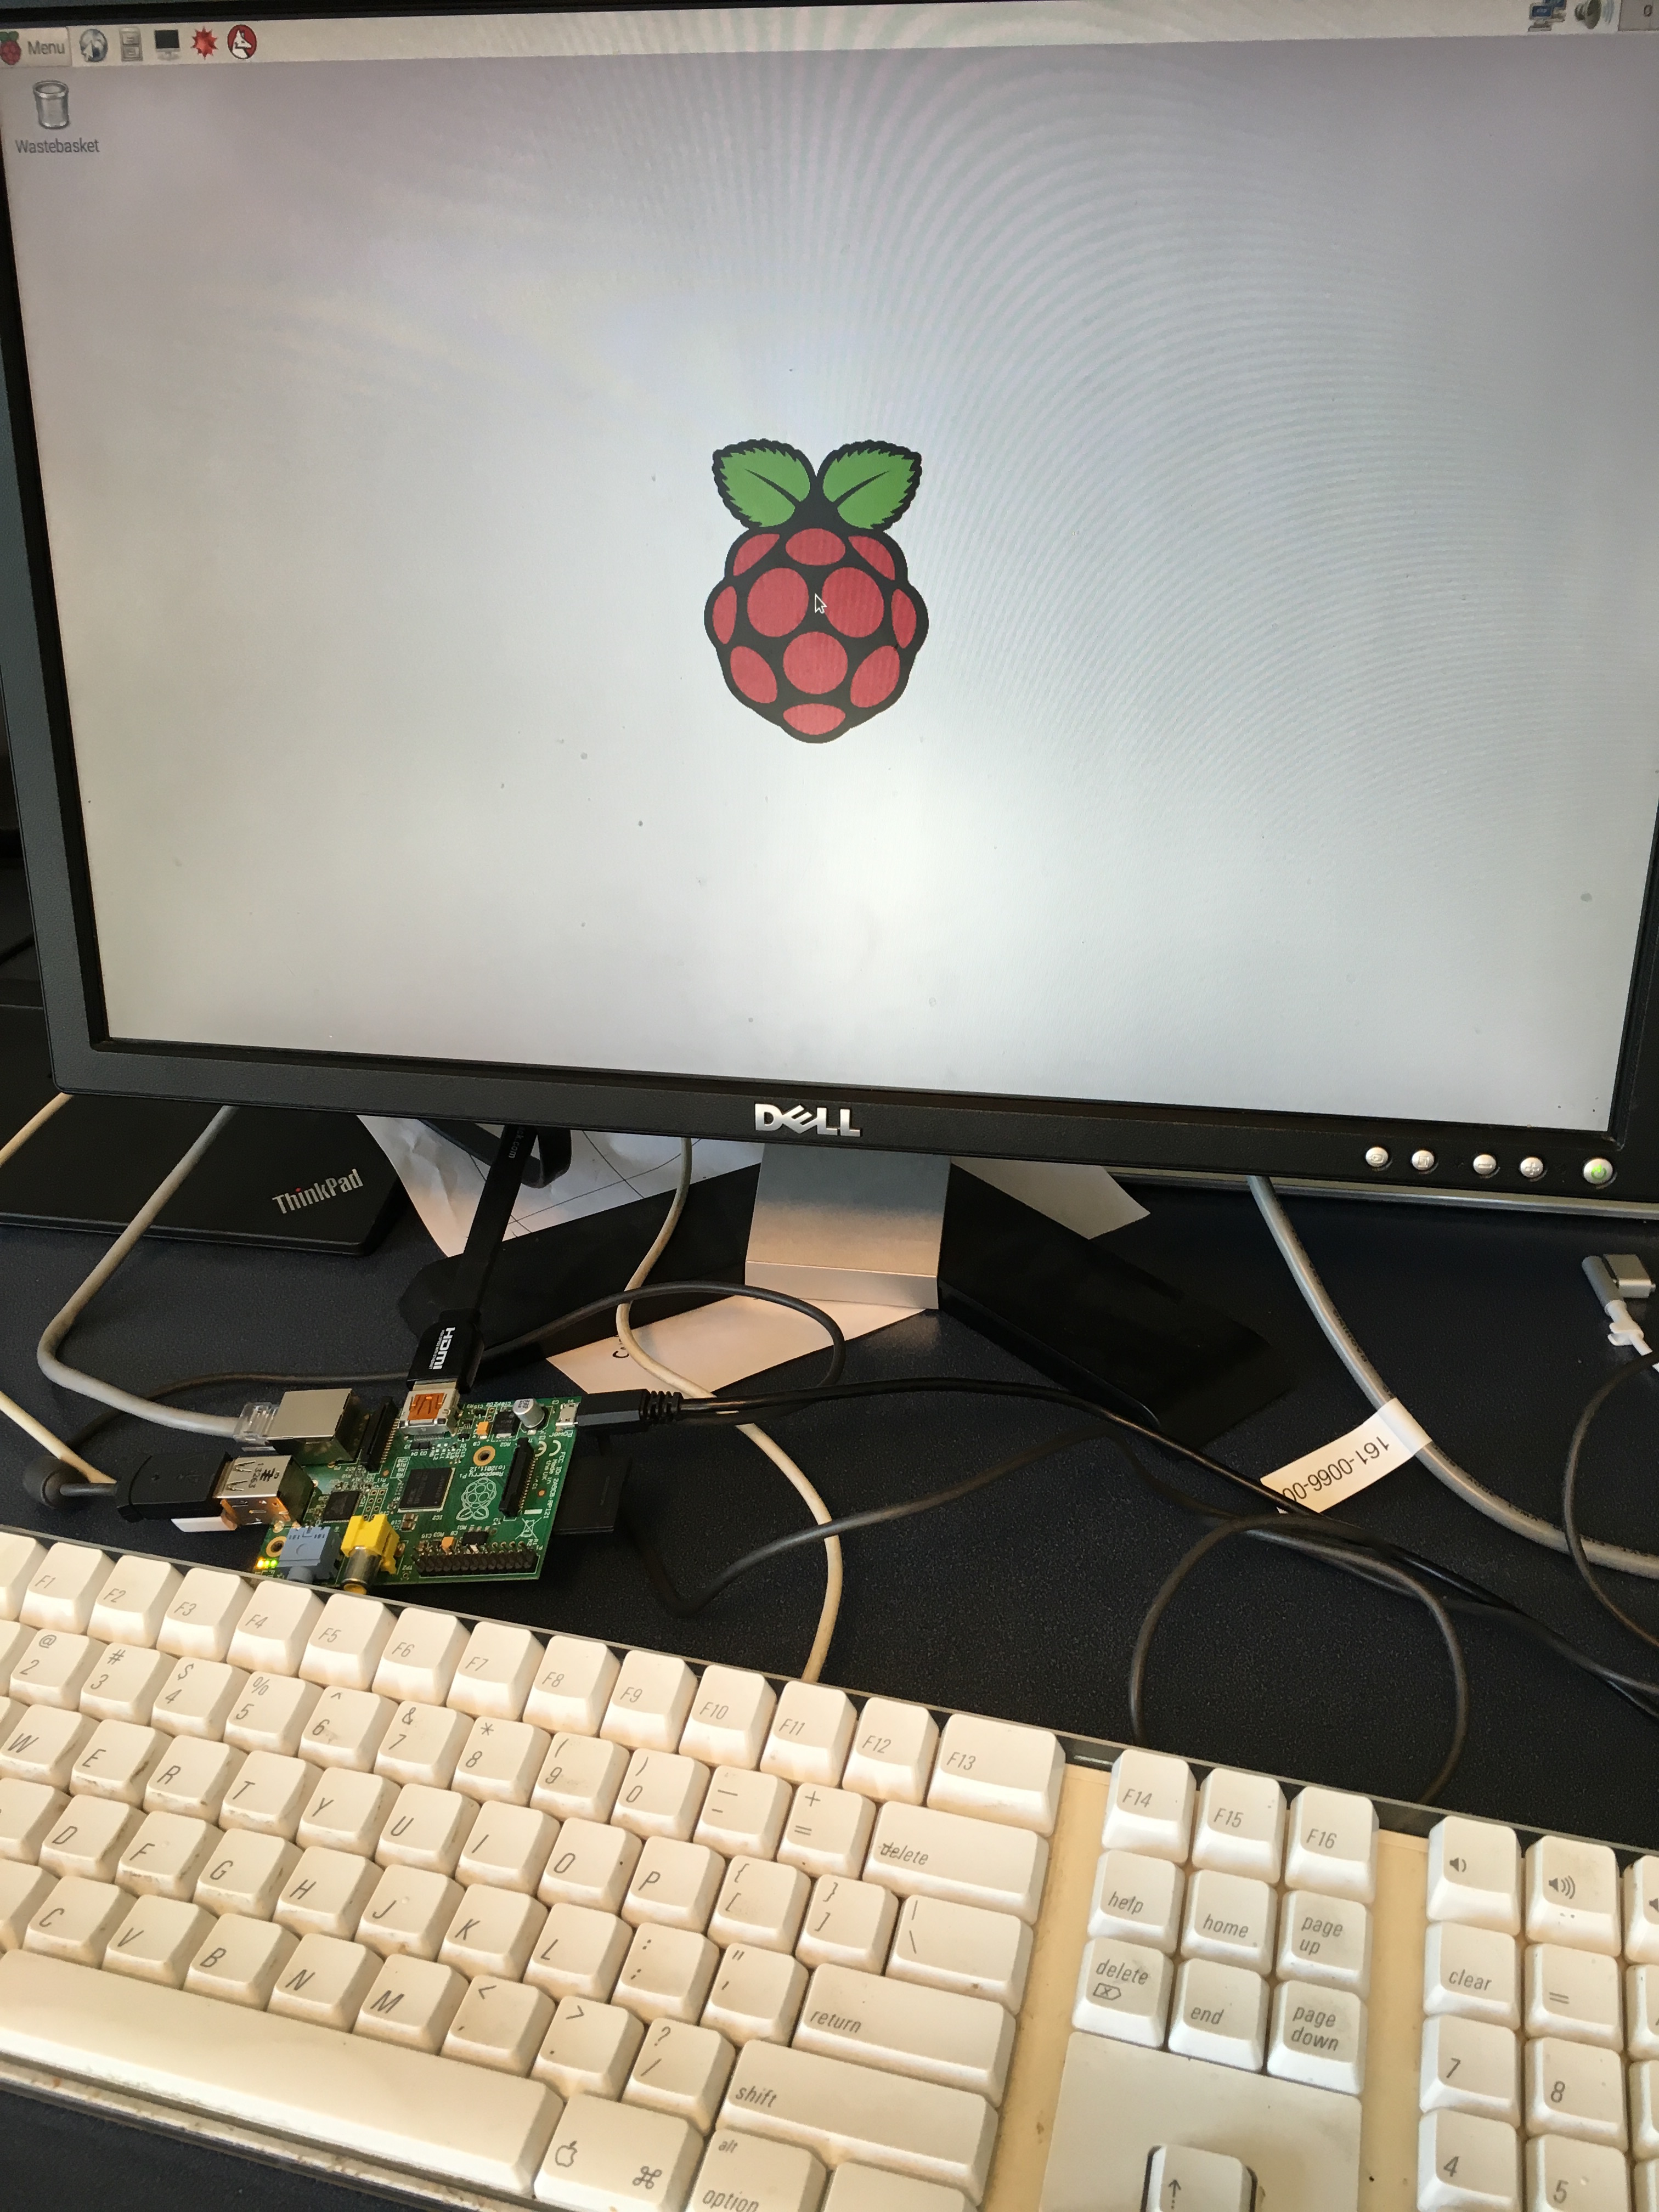
Now that you have a bootable flash disk your next step is to insert the card into your RPi, attach a keyboard, the network cable and a screen. Then boot it. After a few minutes you should see:
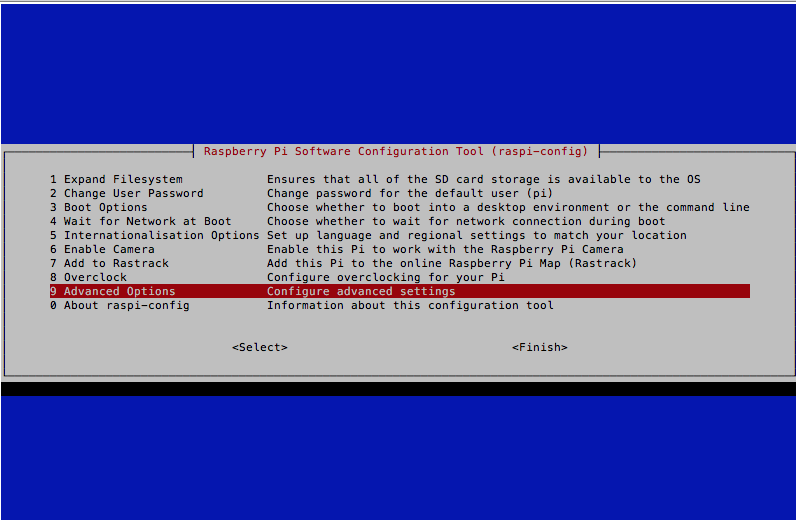
The first thing that needs to be done is to change the password and expand the filesystem. To do this run “sudo rapsi-config” then select
- [Option 1] Expand Filesystem
- [Option 2] Change User Password
I prefer to interact with the RPi using secure shell from my Mac. To do this I need to know what IP address was assigned by my DHCP server. So, start a terminal on the Pi and type:
- ifconfig (find the ip address and the ethernet mac address)
Once I know the ethernet mac address I can configure my DHCP to always give this Raspberry Pi the same IP address. You can read more about this in the “Creek Network” post. For now I will assign the RPi the address 192.168.15.82 and I will add that address to the /etc/hosts file on my Mac so I can refer to it by the name “iotexpertrpi”
Now that all of the networking is setup, reboot. As I have configured the IP address I can now log in using secure shell and start the configuration process.
- [from the Mac] ssh pi@iotexpertpi (you will need to type the password which is “raspberry”)
- [on the pi] mkdir .ssh
- [on the pi] chmod 700 .ssh
- [on the pi] exit
- [from the Mac] cd ~/.ssh
- [from the Mac] scp id_rsa.pub pi@iotexpertpi:.ssh/authorized_keys (you will need to type the password)
Then, to test SSH I will exit and log back in. After the secure shell is going I need turn on the stuff in the configuration that enables I2C.
- [on the pi] sudo apt-get install i2c-tools
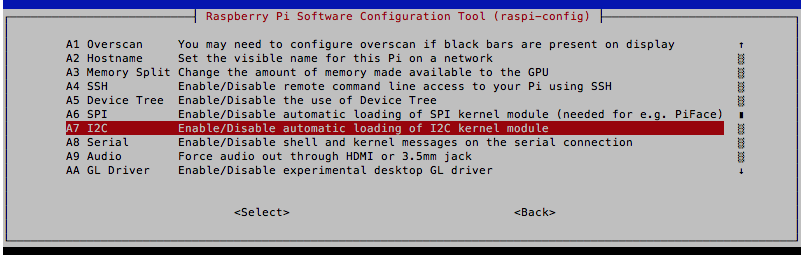
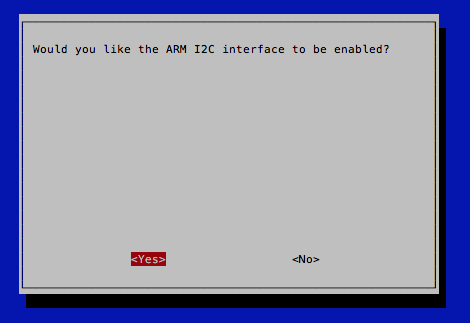
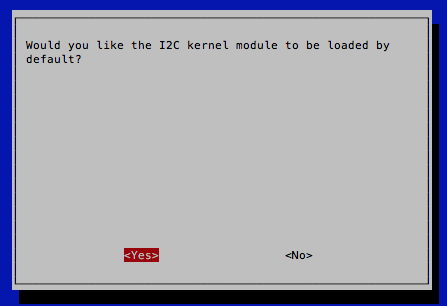
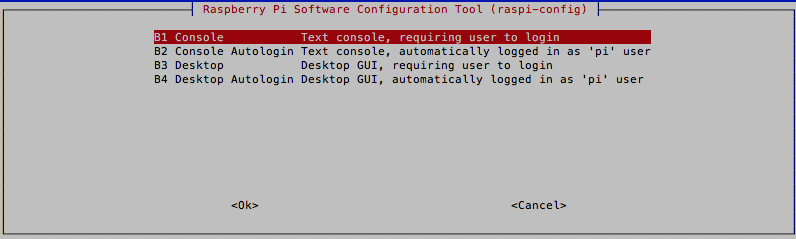
In order for the I2C work you also need to enable the kernel drivers for I2C. To do this run “[on the pi] sudo raspi-config”
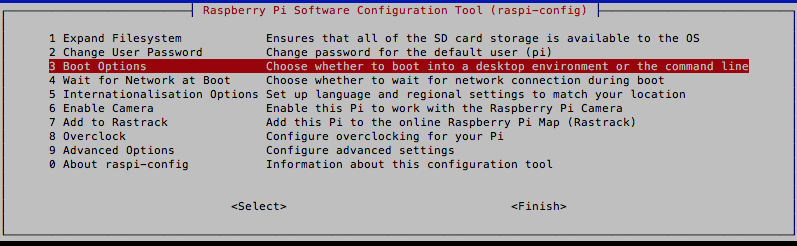
After I2C is setup I will change the RPi to not start X-Windows.
After all of that, reboot the RPi and see if things are working.
- [on the Mac] ssh pi@iotexpertpi
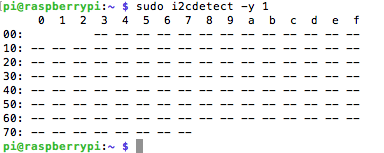
- [on the pi] i2cdetect -y 1 (the 1 means bus 1. On the Broadcom chip there are 2 IC Masters which they have labeled 0 and 1. Apparently they did not connect Master 0 to anything)
This is good. I can “search” all of the addresses. Basically the RPi tries to write each address. If it gets an “ack” then it will indicate that on the chart with a number. In the picture below you can see that there are no I2C devices attached to the bus.
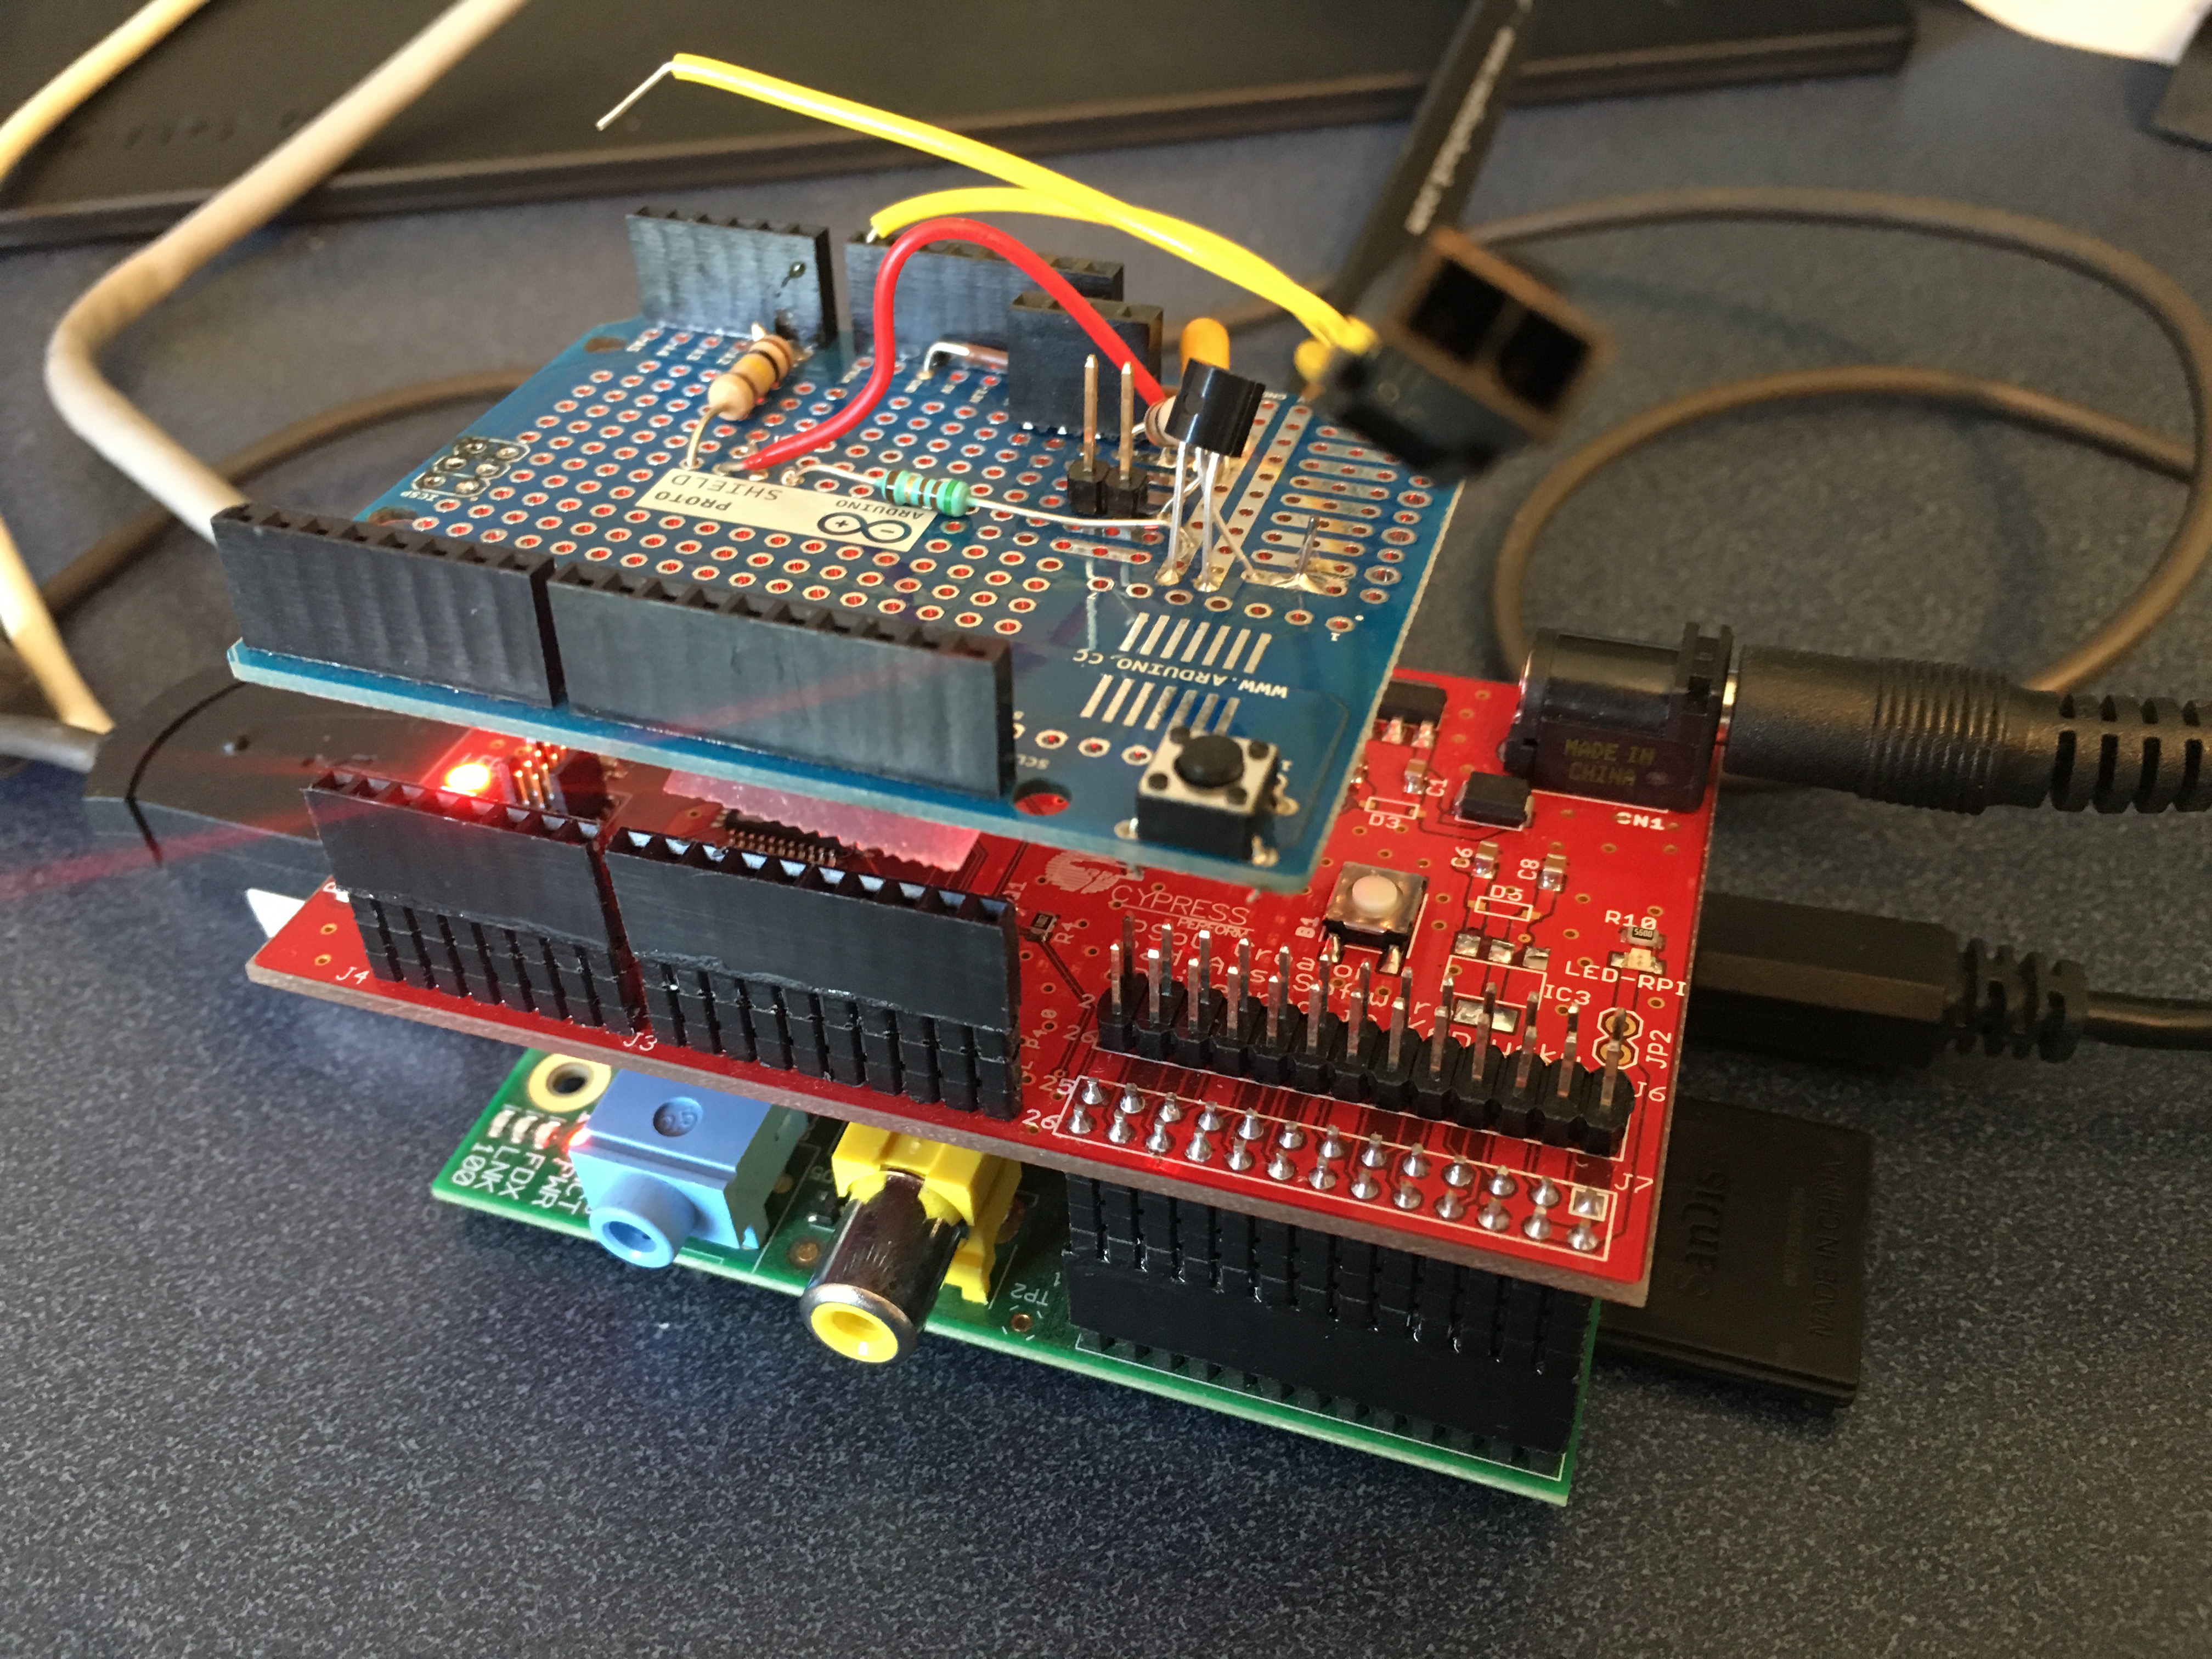
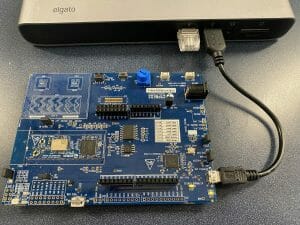
Everything looks good. Halt the RPi then attach the CYPI board and reboot.
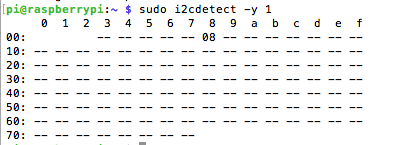
Now, when I log back in and run “i2cdetect -y 1” lookey there, the CYPI “ACKs” on address 08.
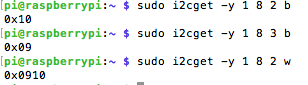
If you remember in this post I talked about the I2C register structure of my Creek Firmware. In the two bytes starting at location 2, is a 16-bit integer of the temperature times 100 (I just noticed the error in my comment, bad Alan). Here is the register structure:

In I2C tools, the command “i2cget” can read bytes or words from an I2C Slave. Are things working? Run “i2cget -y 1 8 2 b” and “i2cget -y 1 8 2 b” and I get 0x10 and 0x09 or 0x0910 (remember that the data is stored little endian) which is 2310 in decimal or 23.1 degrees C. That makes sense. What is a bit confusing is when I read a whole word by changing the “b” to “w” it gives it to me correctly because it ASSUMES little endian, so be careful if your slave device doesnt store thing little endian.
Everything seems like it is working. In the next posts I will discuss the installation of the MySql, Tomcat and the rest of the server software.
Index
Description
The Creek: IOT for the Elkhorn Creek
Introduction
The Creek: Solution Architecture 1.0
Overall architecture
The Creek: Creek Board 1.1
Eagle layout of the board
The Creek: Creek Board 1.0 – RCCA
A discussion of the errors in the 1.0 board
The Creek: CYPI, a Raspberry Pi to Arduino Bridge
PSoC4 <--> Raspberry Pi Bridge Board
The Creek: PSoC4 Creator Schematic and Firmware
Firmware to interface with the temperature and pressure sensors
The Creek: Testing the Firmware
Using tools to verify that the PSoC 4 Firmware is working correctly
The Creek: Testing the Bootloader
Make sure that you can load new firmware into the PSoC
The Creek: Software Architecture
All of the Raspberry Pi software connections
The Creek: Install MySql
Instruction to configure MySql
The Creek: Install Tomcat
Instruction to configure Tomcat JSP Server
The Creek: Data Collection Java (Part 1)
The Java program that reads the I2C and saves it in the database
The Creek: Data Collection Java (Part 2)
The Java program that reads the I2C and saves it in the database
The Creek: Create the Chart with JFreeChart
Using open source Java charting software to create plots of the Creek Depth
The Creek: Flood Event Data Processor
A batch program to create analyze the database and create a table of flood events
The Creek: Flood Event Web Page
A batch program to create the flood event web page
The Creek: Creek Server 1.1
Updates to all of the back off server programs to integrate charts
The Creek: JSP Web Page for www.elkhorn-creek.org
The JSP program to make the table and display the website
The Creek: Raspberry Pi Clock Stretching
Sorting out a bug in the system having to do with the Broadcomm Raspberry Pi Master not functioning well with clock stretching
The Creek: Creek Server 1.2
Caching the web pages to make them faster

No comment yet, add your voice below!