In the previous posts I described the main application firmware and the bootloader firmware. In this post I will take you through the process of verifying that it all works. In order to do this I need to:
- Test the bootloader (verify that I can bootload)
- Test the main application firmware (the subject of the next post)
- Verify the pressure sensor
- Verify the temperature sensor
- Verify the I2C communication
Testing Bootloader
Cypress makes a cool programming tool called the MiniProg-3 which we also call CY8CKIT-002. The MP3 is a multi purpose tool that can be use to:
- Program and debug Cypress PSoC chips
- Bridge USB <-> I2C (which I will use to test the firmware)
- Bridge USB <-> JTAG
- Bridge USB <-> ISSP
First, I will program the bootloader firmware using PSoC Creator connected via USB to a MP3. In the photograph below you can see:
- Mini Prog 3
- The CYPI Bridge Board with the PSoC 4
- The 10-pin ARM programming header (which is attached to the grey cable from the MP3)
- The blue blinking LED. (after I programmed the board the LED started blinking. In this picture I caught it on)
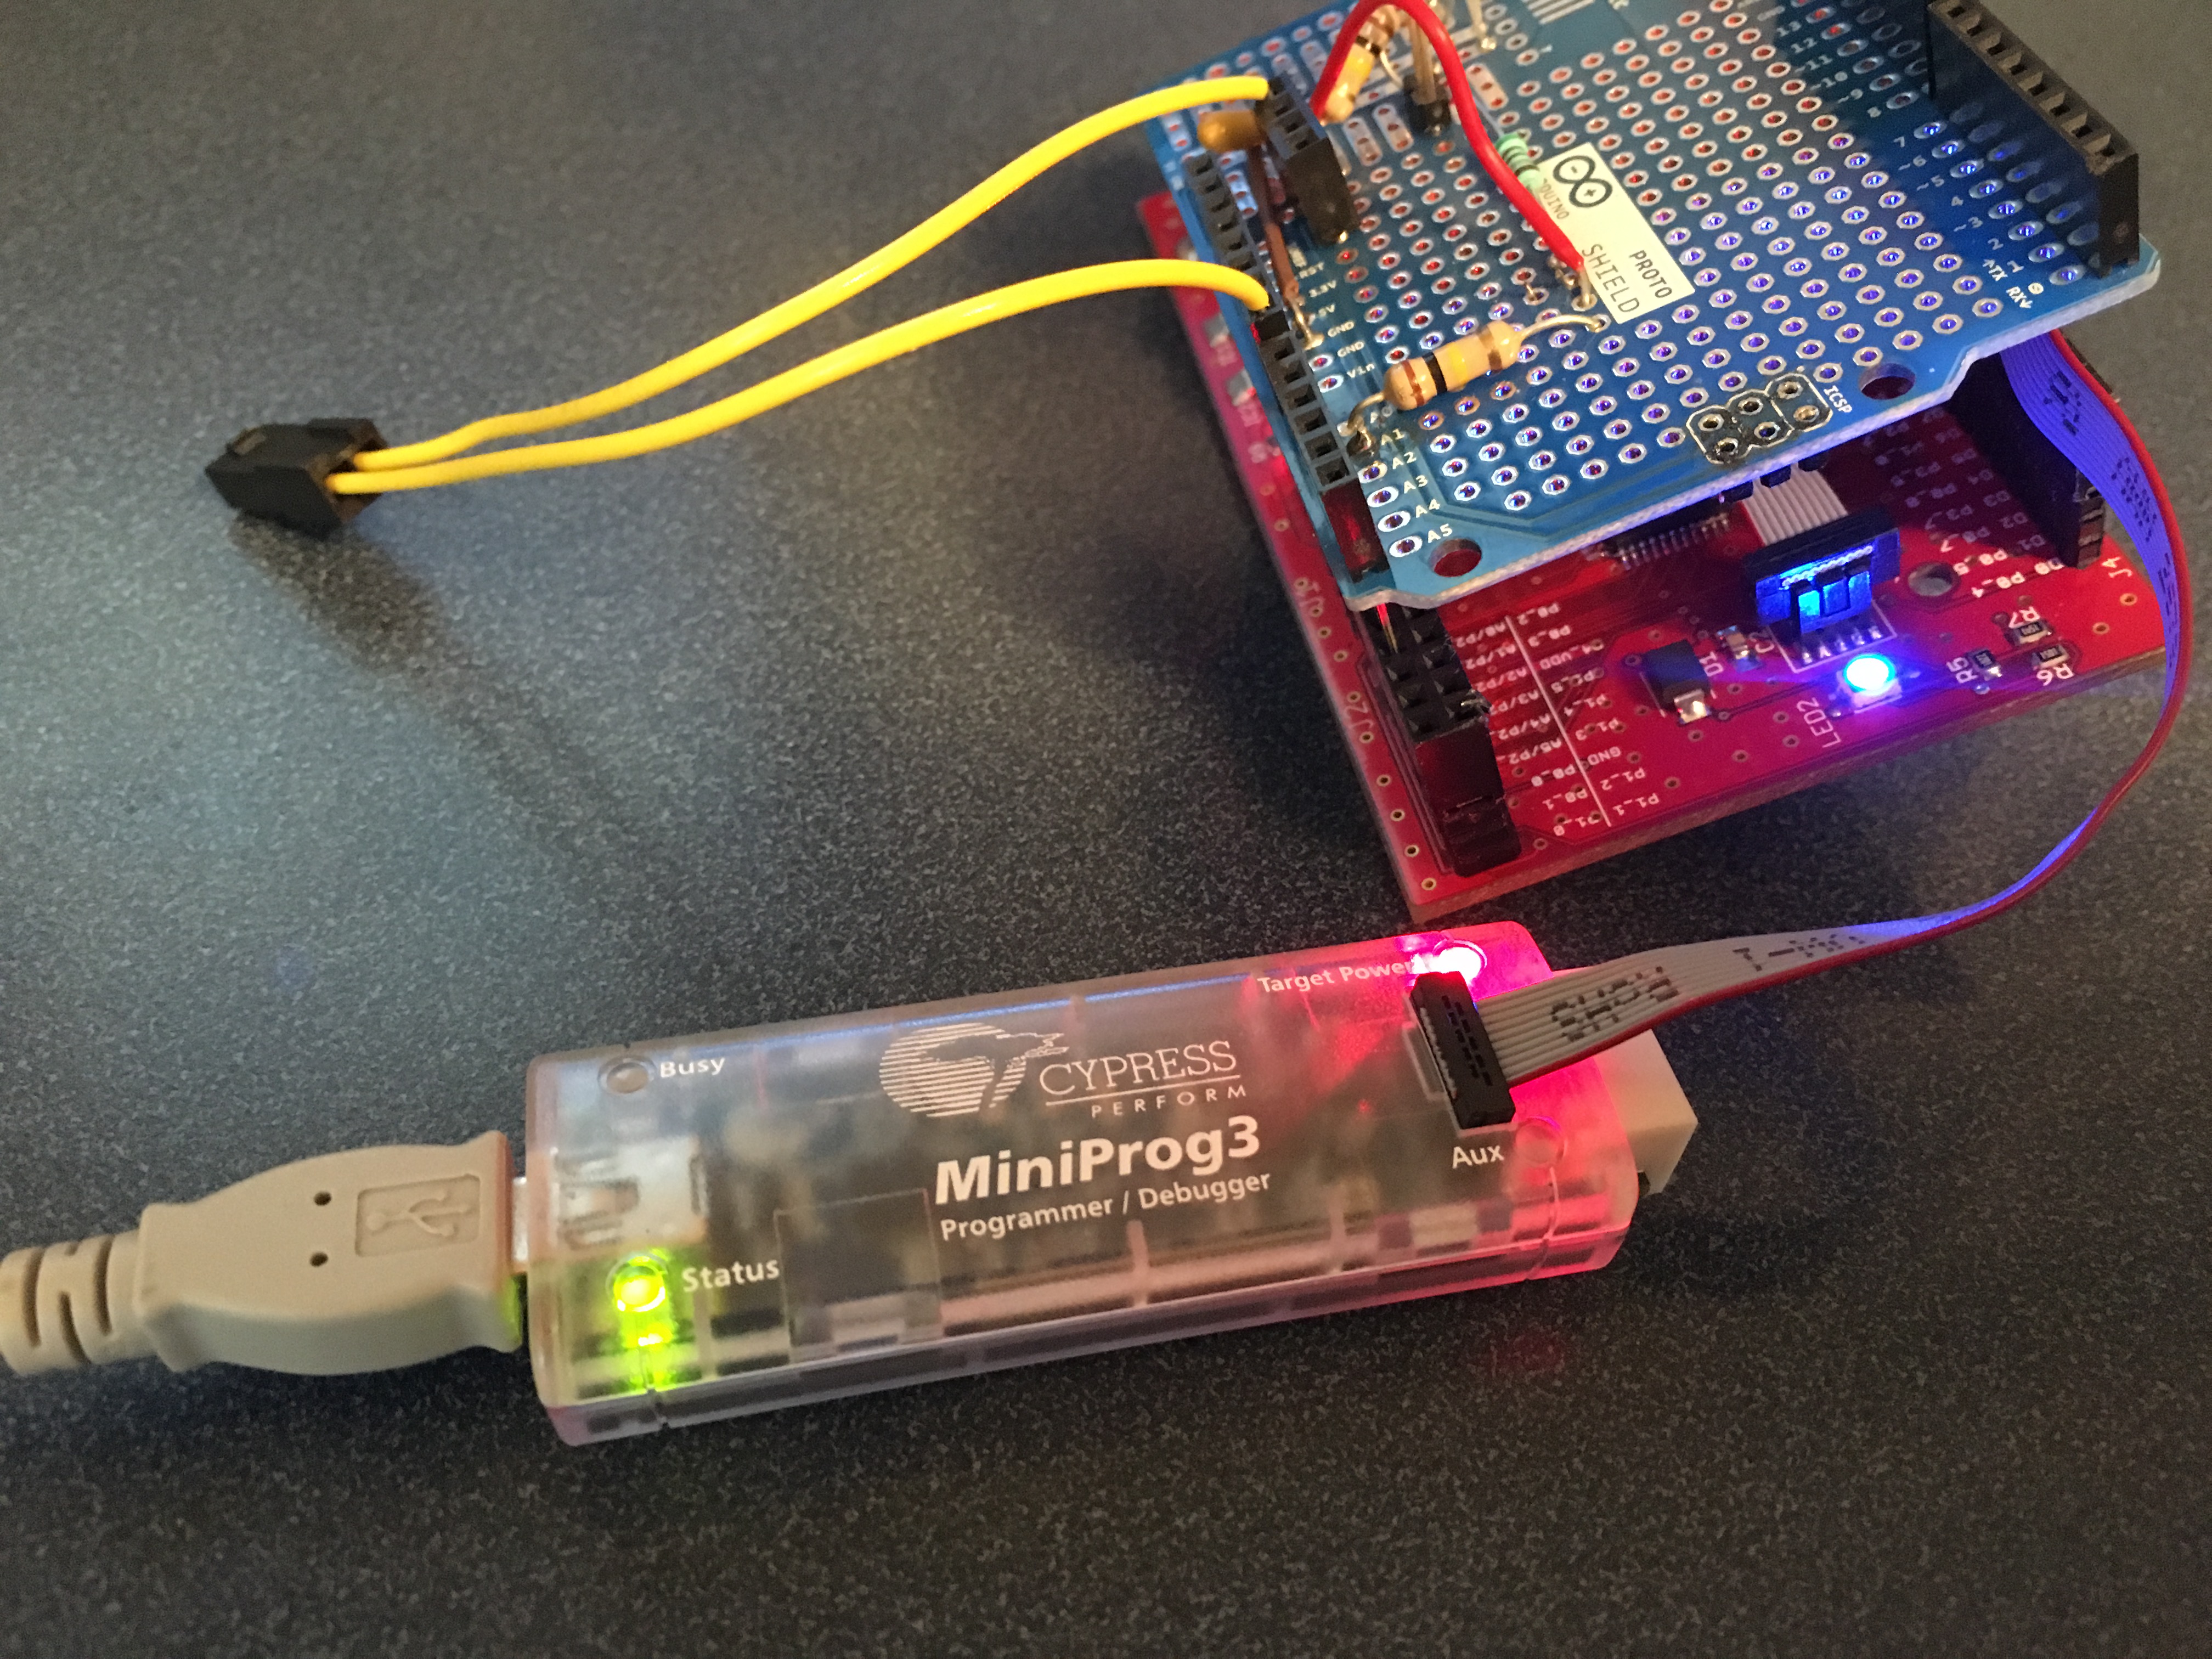
At this point it appears that the bootloader is programmed into PSoC4 as the LED is blinking. In this case I only programmed the bootloader, so there is no application firmware to jump to, so the chip will just keep running the bootloader until the power goes off.
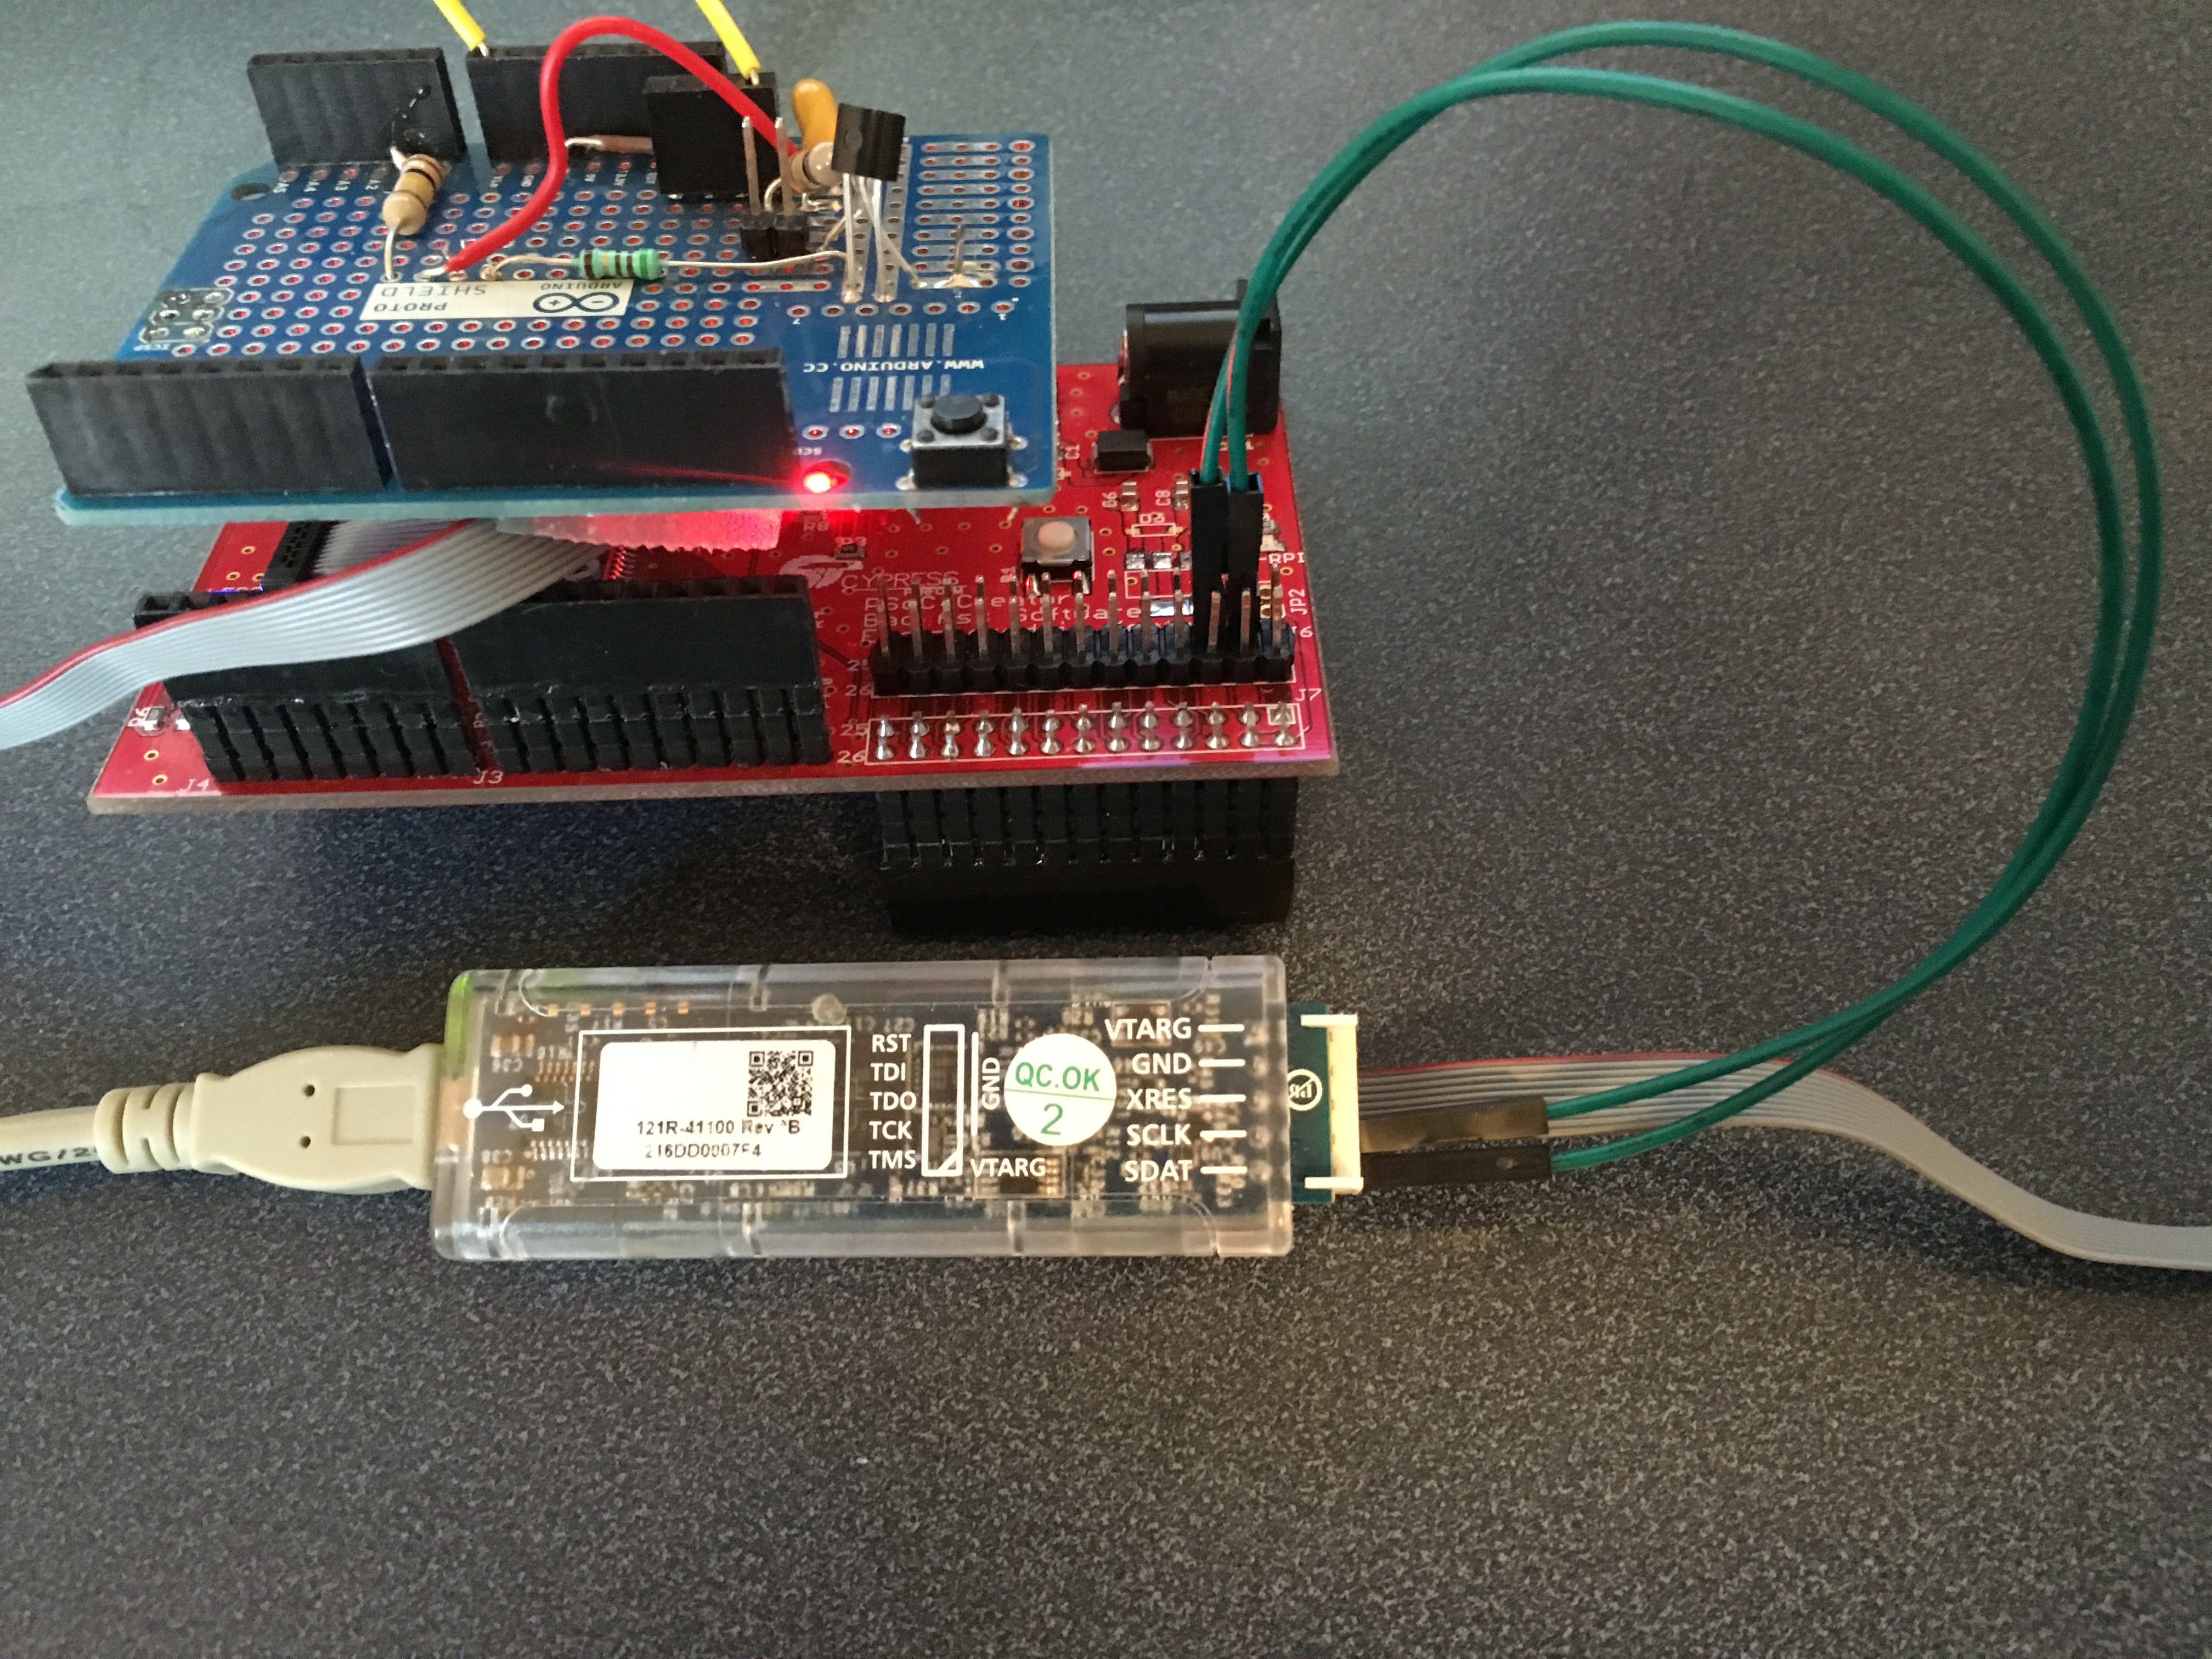
Next, I need to attach another MP3 acting in the role of a USB <–> I2C bridge. The MP3 will emulate the Raspberry Pi which will be used in the production system, but for now it is easier to test without the added complexity of the RPi. I am using one MP3 just as a power source for the CYPI board (I could have just plugged in a wall wart). You can see that I have two wires, one for SDA and one for SCL connected to the correct RPi/CYPI pin. The other side of the wires are sticking into the correct female connectors on the header of the MP3 (right next to each other at the bottom).
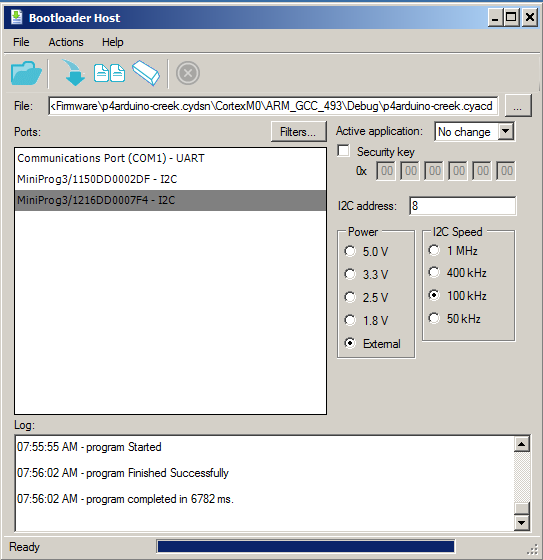
Then I start the bootloader host which is a program that can read CYACD files (which is just a format of a hex file) and send it out over I2C (or UART) using the bootloading protocol. First, I select the correct CYACD file from the directory where PSoC Creator put it. Then I click the download button.
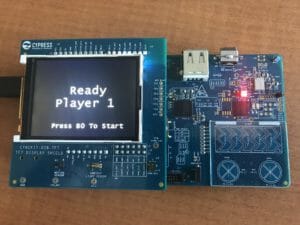
A few seconds after the boot loading is finished, the blinking blue led turns off and a blinking red led starts. This indicates that the main application firmware is running. To verify that the bootloader still works I press the reset switch on the board and the blue led starts blinking for 10 seconds before jumping back into the application firmware. Good. The bootloader and application firmware work together correctly.
In the next post I will show you how to use the Bridge Control Panel to verify that the firmware is working correctly.
| Index | Description |
|---|---|
| The Creek: IOT for the Elkhorn Creek | Introduction |
| The Creek: Solution Architecture 1.0 | Overall architecture |
| The Creek: Creek Board 1.1 | Eagle layout of the board |
| The Creek: Creek Board 1.0 – RCCA | A discussion of the errors in the 1.0 board |
| The Creek: CYPI, a Raspberry Pi to Arduino Bridge | PSoC4 <--> Raspberry Pi Bridge Board |
| The Creek: PSoC4 Creator Schematic and Firmware | Firmware to interface with the temperature and pressure sensors |
| The Creek: Testing the Firmware | Using tools to verify that the PSoC 4 Firmware is working correctly |
| The Creek: Testing the Bootloader | Make sure that you can load new firmware into the PSoC |
| The Creek: Software Architecture | All of the Raspberry Pi software connections |
| The Creek: Install MySql | Instruction to configure MySql |
| The Creek: Install Tomcat | Instruction to configure Tomcat JSP Server |
| The Creek: Data Collection Java (Part 1) | The Java program that reads the I2C and saves it in the database |
| The Creek: Data Collection Java (Part 2) | The Java program that reads the I2C and saves it in the database |
| The Creek: Create the Chart with JFreeChart | Using open source Java charting software to create plots of the Creek Depth |
| The Creek: Flood Event Data Processor | A batch program to create analyze the database and create a table of flood events |
| The Creek: Flood Event Web Page | A batch program to create the flood event web page |
| The Creek: Creek Server 1.1 | Updates to all of the back off server programs to integrate charts |
| The Creek: JSP Web Page for www.elkhorn-creek.org | The JSP program to make the table and display the website |
| The Creek: Raspberry Pi Clock Stretching | Sorting out a bug in the system having to do with the Broadcomm Raspberry Pi Master not functioning well with clock stretching |
| The Creek: Creek Server 1.2 | Caching the web pages to make them faster |
No comment yet, add your voice below!