One of the most important Cypress distributors is Arrow Electronics. Recently, I have been talking with our inside people about using Arrow to supply chips for use in a Maker style PSoC project. Moreover, I will be speaking at Maker Faire NYC in October, and I would like to have a Maker project to show there. But what project?
In the (incomplete) series about Physics Lab I introduced you to my friend Billy and his non-profit company Newton’s Attic. He teaches Physics and Engineering classes to Middle School and High School kids. In one of the classes (called Pinball Wizard) taught at Newton’s Attic the kids build a Pinball machine which they take home. Here are a couple of pictures:
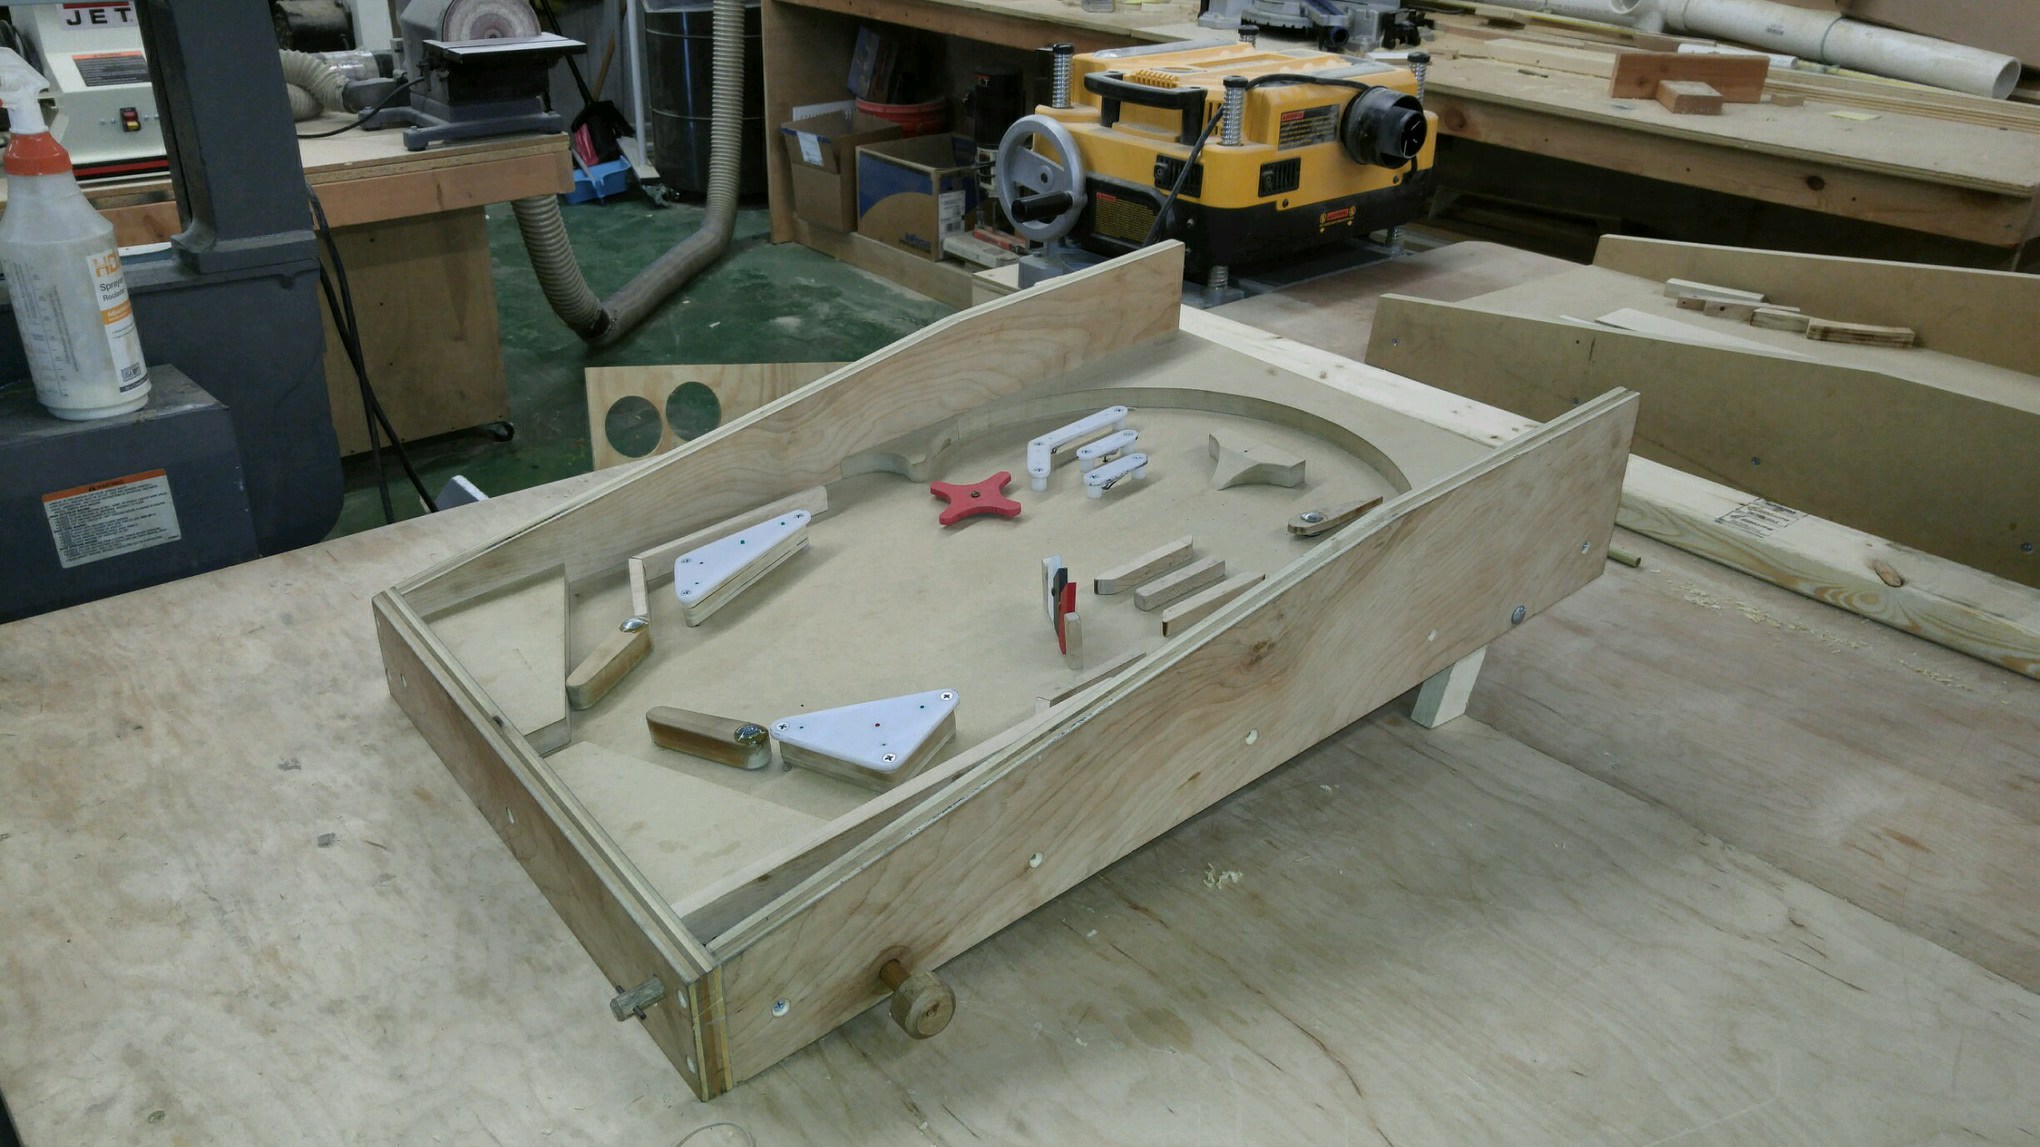
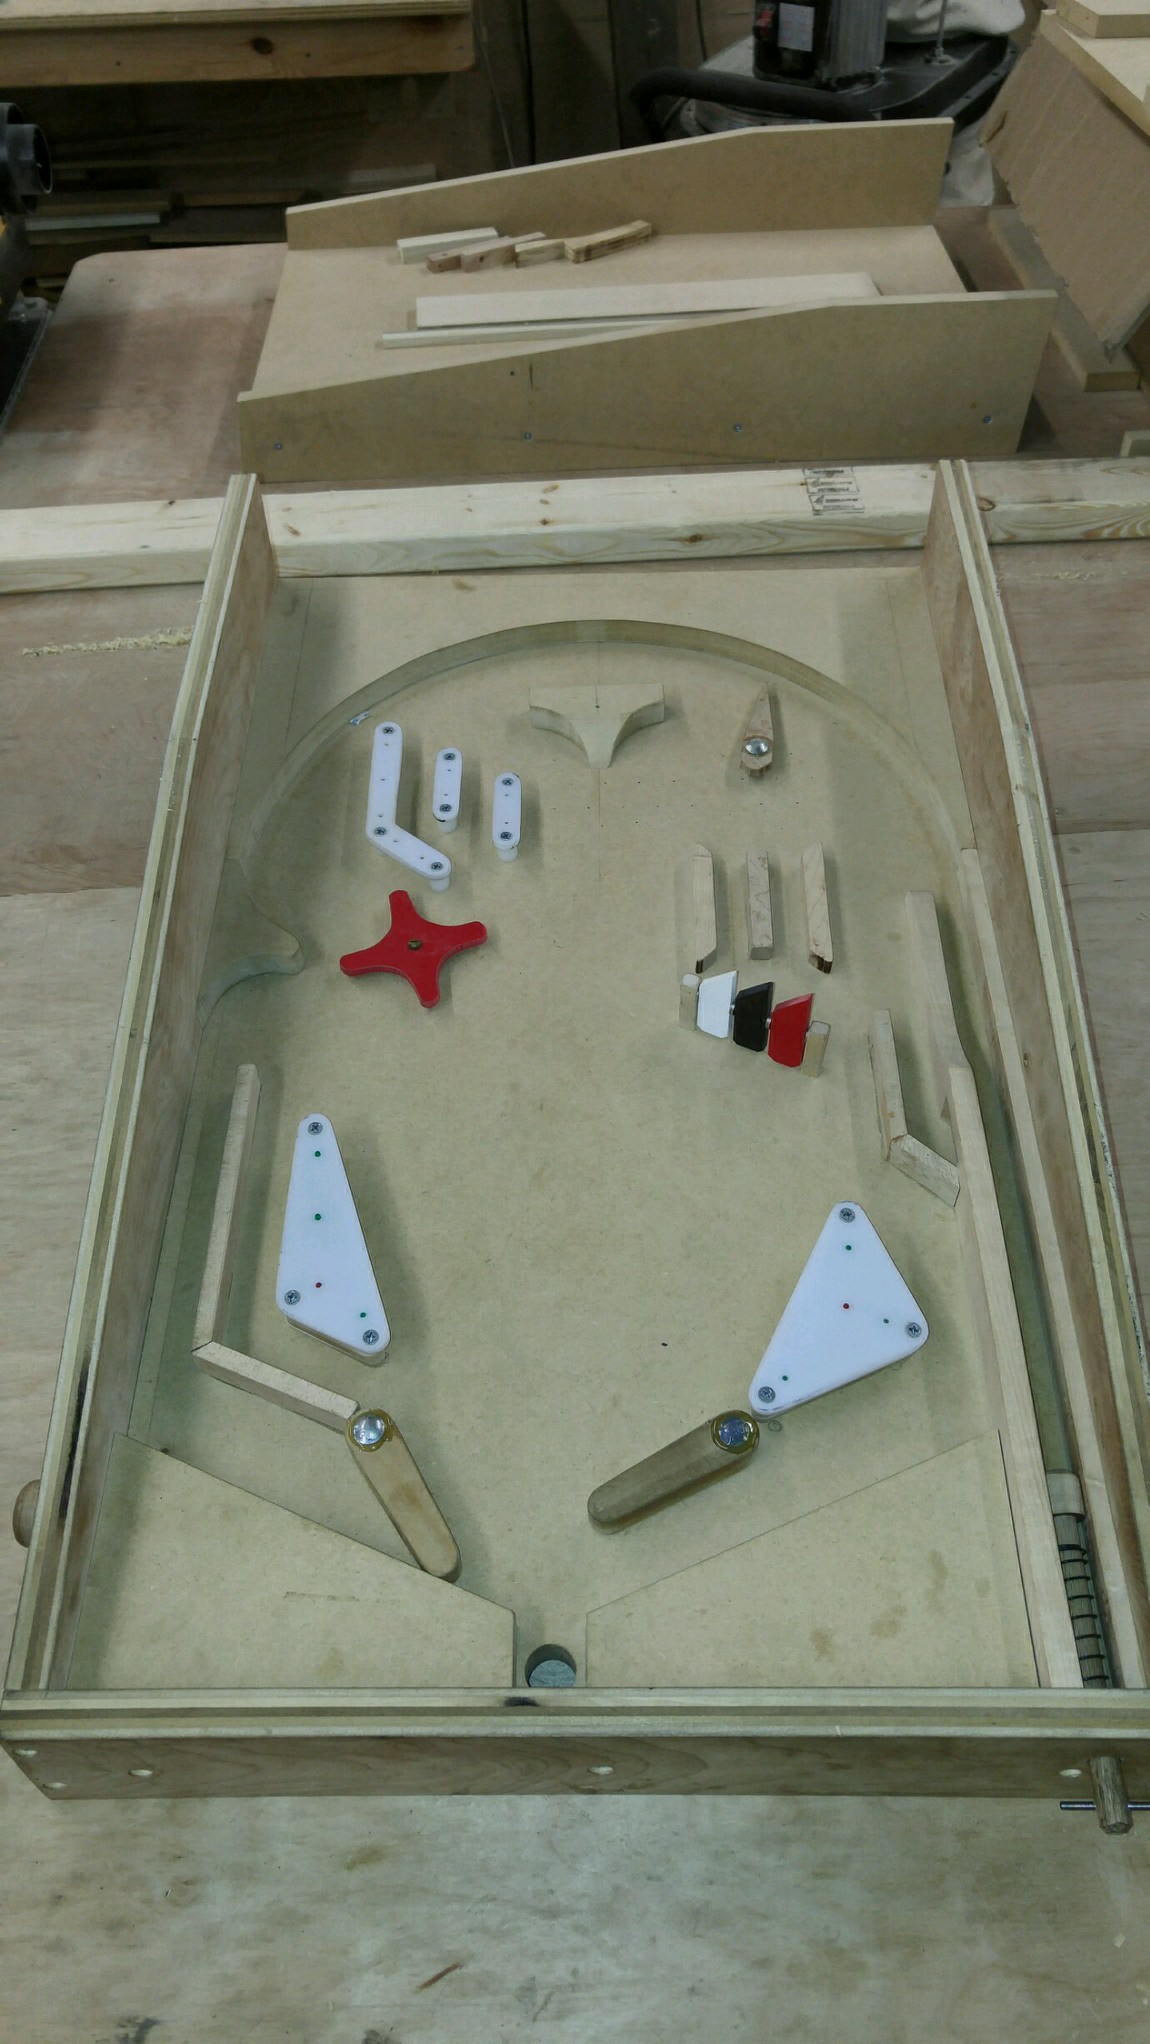
The current focus of the class is on the creative and mechanical side of building the pinball machine. When I saw the prototype, I immediately thought that I should build an electronics toolkit for easy installation into the machines. So that is what I am going to do. To make matters more interesting I am going to finish it and post about it most every day before Maker Faire NYC on 10/1.
The big picture requirements are:
- Easy for the kids to install
- Low cost (<$30)
- Configurable over BLE via a smart phone
- No programming required
- Small (about the size of a deck of cards)
- Glitzy (lots of blinking lights and beeping buzzers)
With all of that in mind I am currently planning on ~$40 (I’m currently over my goal)
- A PSoC4 BLE as the central processor $12 with 25 IO Pins
- An I2C based LCD $8 and 2 Pins
- 2 Capsense Buttons $0 and 2 Pins
- 2 Buzzers (One for music and one for beeping) $2 and 2 Pins
- 16 LEDs in a 4×4 matrix $2.5 and 8 Pins
- 9 Switches in a 3×3 matrix $8 and 6 Pins
- 1 Printed Circuit Board $5
- 5V wall wart $5
- 2 Small DC Motors $2 and 4 pins
My plan is to build an iOS and an Android App that will allow you to configure the electronics.
- Configure beeps (frequency and duration)
- Configure the switches to trigger beeps
- Configure the switches to count points
- Configure the switches to trigger LEDs
- Configure patterns of LEDs (flashing and sequence)
- Configure songs (notes, duration, tempo)
- Set the triggers and speed for the motors
For the next month I am going to (try) to post each day my progress towards finishing the Pinball machine.
You can find all of the source code and files at the IOTEXPERT site on github.
Index
Description
Pinball: Newton's Attic Pinball
An introduction to the project and the goals
Pinball: Lotsa Blinking LEDs
Everyone needs a bunch of LEDs on their Pinball Machine
Pinball: Matrix LEDs (Part 1)
Saving PSoC pins by using a matrix scheme
Pinball: Matrix LEDs (Part 2)
Solving some problems with the matrix
Pinball: Matrix LEDs Component
How to turn the Matrix LED into a component
Pinball: A Switch Matrix
Implementing a bunch of switches
Pinball: Switch Matrix Component (Part 1)
The switch matrix component implementation
Pinball: Switch Matrix Component (Part 2)
The firmware for matrix component
Pinball: Switch Matrix Component (Part 3)
Test firmware for the matrix component
Pinball: The Music Player (Part 1)
The schematic and symbol for a Music Player component
Pinball: The Music Player (Part 2)
The Public API for the Music Player component
Pinball: The Music Player (Part 3)
The firmware to make the sweet sweet music
Pinball: The Music Player (Part 4)
The test program for the music player
Pinball: The Motors + HBridge
Using an Bridge to control DC Motors
Pinball: The Eagle Schematic
All of the circuits into an Eagle schematic
Pinball: The Printed Circuit Board 1.0
The first Eagle PCB layout of the printed circuit board
Pinball: The PCB Version 1.0 Fail
Problems with the first version of the Eagle PCB layout
Pinball: PCB Layout 1.2 Updates using Eagle
Fixing the errors on the first two versions of the Eagle PCB
Pinball: Assemble and Reflow the 1.2 PCB
Assembling the Eagle PCB
Pinball: Testing the Eagle PCB
Firmware to test the newly built Pinball printed circuit board
Pinball: Debugging the Motor Driver
Fixing the motor driver PSoC project
Pinball: Hot-Air Reworking the Accelerometer Solder
Using a Hot-Air Rework tool to reflow a QFN
Pinball: Debugging the LM317 Power Supply- A Tale of Getting Lucky
Debugging the LM317/LM117 power supply
No comment yet, add your voice below!