Summary
Last week I talked about fixing my Creek Water Level sensor. This got me to reflecting on a change that I have been wanting to make for a long long time: moving all of the backend server stuff to the Amazon AWS IoT Cloud. In this article, I will explain the architecture of the intermediate end result. What in the world does “intermediate end result” mean? Alan, is that a really goofy way to say that you aren’t going to finish the job? Well, I suppose yes, not at first. But I am going to hook up all of the middle stuff, from the current Raspberry Pi to an Amazon Relational Database Server (RDS) running MySQL.
There is a bunch of technology going on to make my new solution work, including:
- PSoC 4 & Embedded C
- Copious use of Python
- MySQL
- JSON
- Raspberry Pi
- MQTT
- AWS IoT Core, Shadow
- AWS Python SDK
Architecture
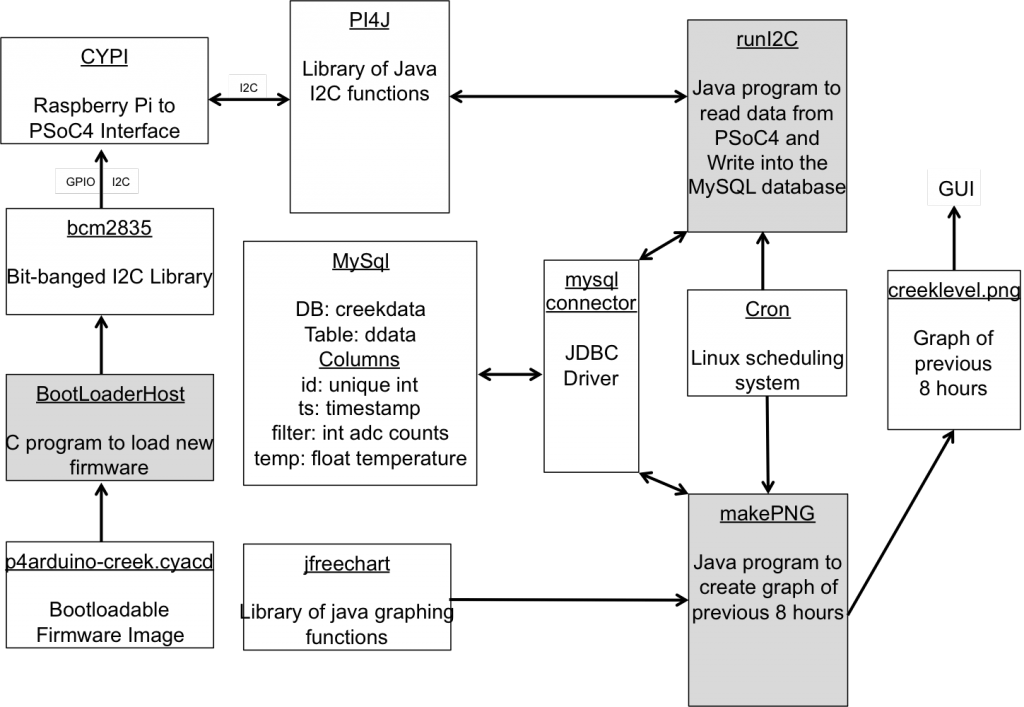
This is a picture of the updates to the system architecture. The boxes in green are unchanged from the original system architecture. The purple Raspberry Pi box will get some new stuff that bridges data to the Amazon IoT cloud and the blue boxes (which are Amazon AWS) are totally new.
(1) Pressure Sensor
The Measurement Specialties US381 Pressure sensor remains unchanged. It senses the water pressure from the Creek and returns 4-20mA based on a pressure of 0 to 15PSI. 0PSI=4mA, 7.5PSI=12mA and 15PSI=20mA.
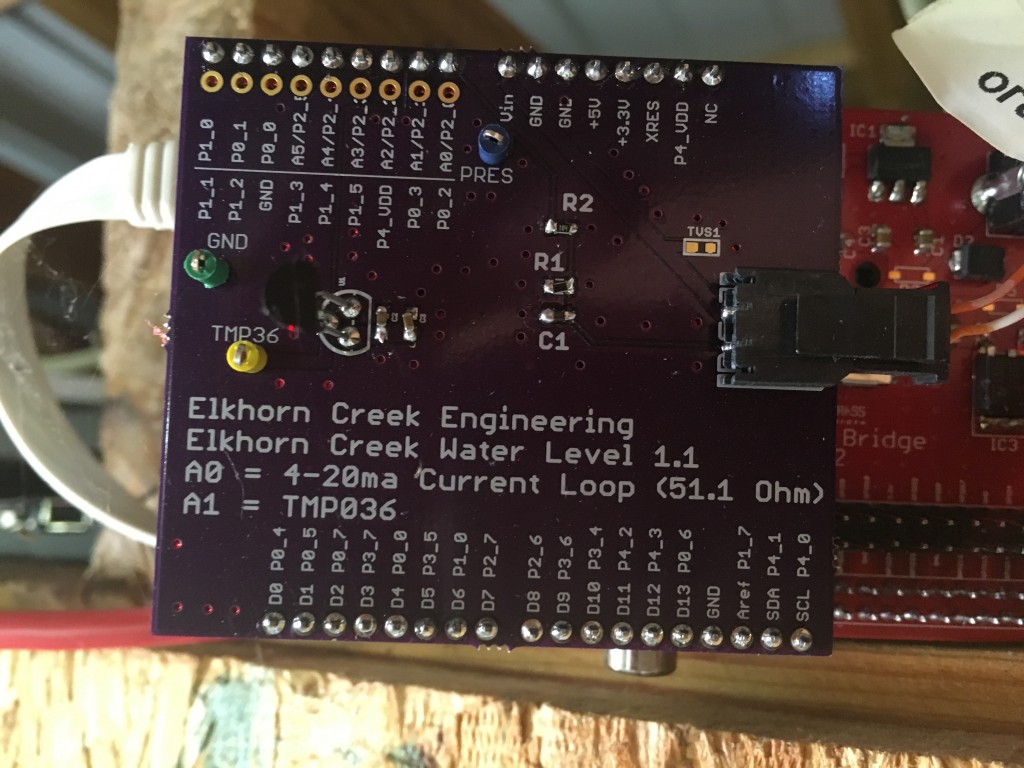
(2) Creek Board
The Creek Board remains unchanged. It supplies power to the pressure sensor and has a 51.1Ohm sensing resistor which serves to turn the current of 4-20mA into voltage of 0.202V to 1.022V, which is perfect for the PSoC Analog to Digital Convertor.
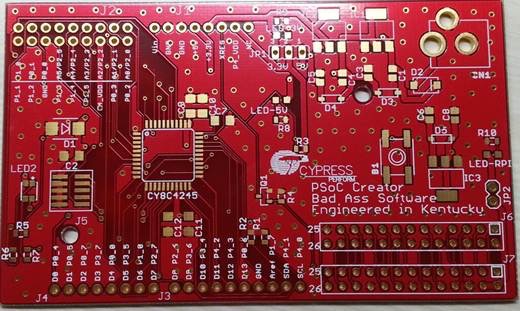
(3) CyPi Board
The CyPi Board remains unchanged. It has an Arduino pin out on the top to connect to the Creek Board and on the bottom it has the Raspberry PI I2C and GPIO interface. On the board is a PSoC 4 which reads the voltage of the pressure sensor. This board also provides power to the sensor and the Raspberry Pi (remember from the previous post that I blew up the power regulator)
(4) Raspberry Pi
In the original design the Raspberry Pi runs a bunch of different Java programs as well as MySQL.
I am going to leave all of the original stuff unchanged. In the picture above, you can see the runI2C shell script, which is run by the Raspberry Pi crontab. I will modify this script to run a Python program that will read the sensor state using the SMBus library, then format a JSON message, then connect to the AWS MQTT server using the AWS IoT Python library and send an update of the Shadow state.
(5) AWS IoT MQTT Message Broker
The AWS IoT Cloud provides a bunch of tools to help people deploy IoT functionality. There are two principal methods for interacting with the AWS IoT Cloud: Message Queuing Telemetry Transport (MQTT) and Hyper Text Transfer Protocol (HTTP). I will be using MQTT to interface with the AWS Cloud. Specifically, I will create JSON messages that represent the state of my IoT Device (the Creek Depth and Temperature) and then I will send it to the Amazon AWS MQTT Message Broker. The message will be stored in a facility provided by Amazon called the Device Shadow, which is a cache of your “thing” state.
(6) AWS IoT Rule Actions and (7) AWS Lambda
In the AWS IoT Core management console you can configure “Act”ions based on the MQTT messages that are flying around on the MQTT broker. My action will be to look for updates to the Device Shadow topics and then to trigger an AWS Lamba function. That Python function will take the JSON message (sent via AWS) and will insert the data into the MySQL database.
(8) AWS RDS MySQL
I will create almost the exact database that is running on the Raspberry Pi and install that into an Amazon Relational Database Server (RDS) running MySQL. I decided to make the database extensible to add data from other “things”. To do this I add a table of device names and id which map to the data table.
Future
When I get a few minutes there are a bunch of things that I would like to add to this system
- Remove the Raspberry PI and create a PSoC 6 / 43012 Amazon Free RTOS board to read the data and send it to the AWS Cloud
- AWS Greengrass
- Use Grafana to view the data
- Create and AWS Django Python based web server to display the data


No comment yet, add your voice below!