Summary
I have been having an excellent experience with Percepio Tracealyzer on PSoC4, so now, the next question is, “Will it work on PSoC6?” The answer is yes, but it takes a few gyrations. In the next two Articles I will show you how to use Tracealyzer on PSoC6 with:
- JLINK and Snapshot mode
- JLINK and Segger RTT in Streaming Mode
- A PSoC6 DMA –> UART Streaming Mode
In order to make these work you need to
- Make a new project and integrate the Trace Recorder Library
- Modify trcConfig.h
- Install the JLINK
- Build the project & test
Create a new PSoC6 project & Integrate the Trace Recorder Library
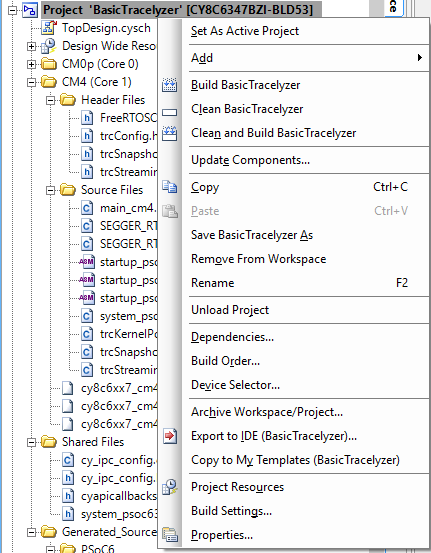
The process of integrating the TraceRecorder library is very similar to PSoC 4. You need to add the include directories into your project. Right click the project and pick “Build Settings…”
Click on the “Additional Include Directories”
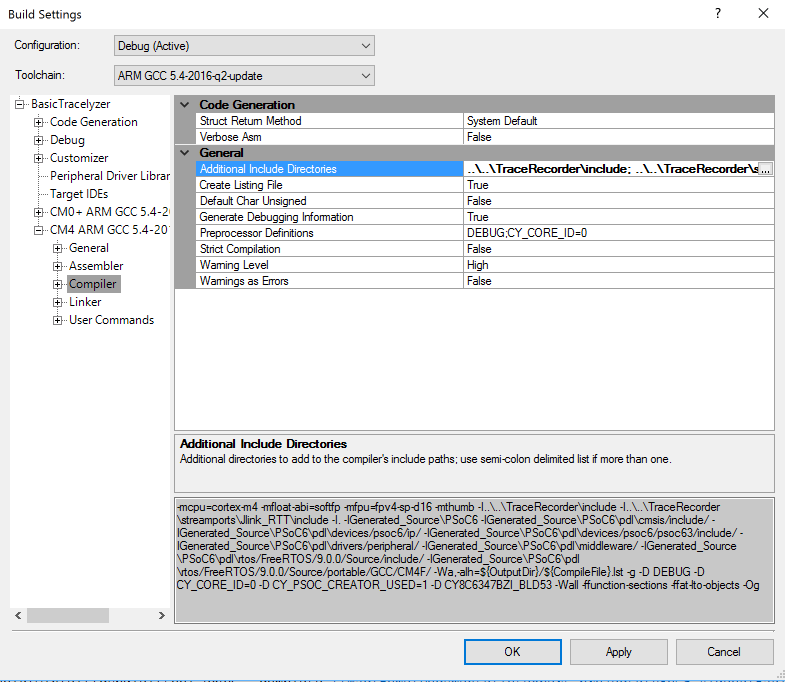
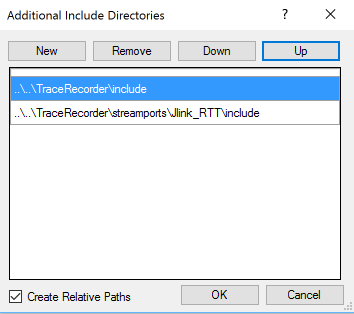
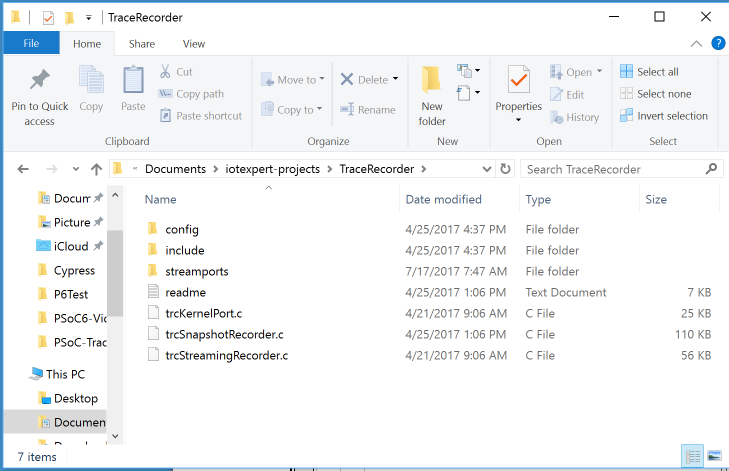
Then add the two TraceRecorder include directory and the StreamPort include directory.
Next you should copy the configuration header files into your project so that you can edit them. You can copy-paste them in Windows Explorer from “TraceRecorder/config” into your project

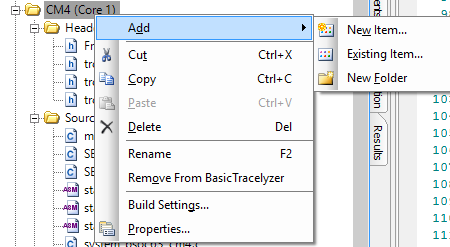
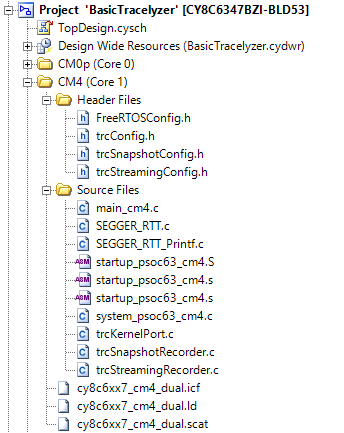
Next add the TraceRecoder .c and .h files into your project by right clicking “Add –>Existing Item..”
You need the .c and .h files from
- yourproject/{trcConfig.h, trcSnapshotConfig.h, trcStreamingConfig.h}
- TraceRecorder/*.c
- TraceRecorder/include/*.h
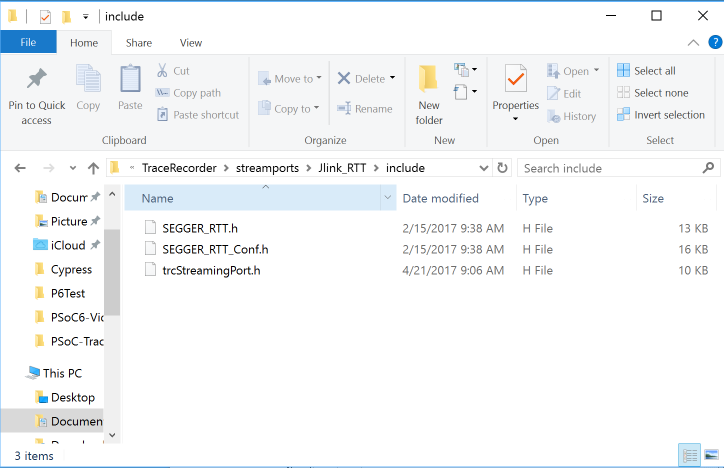
- TraceRecorder/streamports/Jlink_RTT/include/*.h
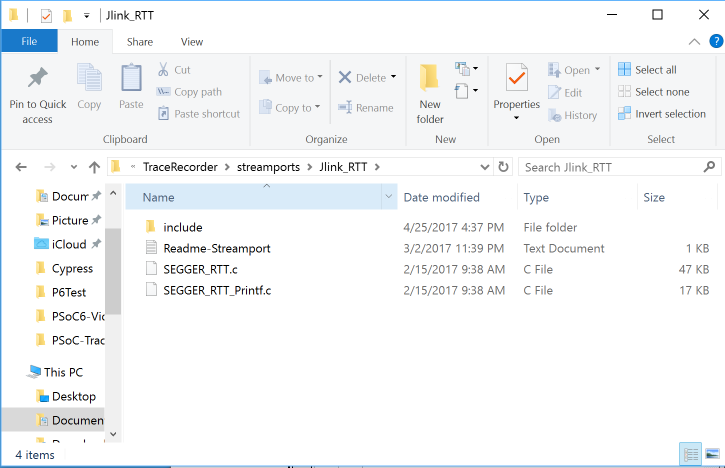
- TraceRecorder/streamports/Jlink_RTT/*.c


Modify FreeRTOSConfig.h & trcConfig.h
The next step is to modify FreeRTOSConfig.h to include the trace recorder header. Copy this block of code into the bottom for FreeRTOSConfig.h
#if ( configUSE_TRACE_FACILITY == 1 )
#include "trcRecorder.h"
#endif
Update the FreeRTOSConfig.h to turn on tracing.
#define configUSE_TRACE_FACILITY 1
Then modify trcConfig.h to include the CMSIS Core headers.
/******************************************************************************
 * Include of processor header file
 *
 * Here you may need to include the header file for your processor. This is
 * required at least for the ARM Cortex-M port, that uses the ARM CMSIS API.
 * Try that in case of build problems. Otherwise, remove the #error line below.
 *****************************************************************************/
//#error "Trace Recorder: Please include your processor's header file here and remove this line."

#include "cy8c6347bzi_bld53.h"
The first time that I did this, I tried just #include <project.h> but if you do that you will end up with hundreds of errors and hours and hours of trying to figure out what is going on. It turns out that the FreeRTOS is picky about the order in which files are included. And when PSoC Creator makes the project.h it assumes that the order of includes doesn’t matter. I fixed this by just including the “cy8c6347bzi_bld53.h” header which just? has the CMSIS files.

After fixing that mess, I modify the trcConfig to specify that I am using a Cortex-M processor (actually two of them)
/*******************************************************************************
 * Configuration Macro: TRC_CFG_HARDWARE_PORT
 *
 * Specify what hardware port to use (i.e., the "timestamping driver").
 *
 * All ARM Cortex-M MCUs are supported by "TRC_HARDWARE_PORT_ARM_Cortex_M".
 * This port uses the DWT cycle counter for Cortex-M3/M4/M7 devices, which is
 * available on most such devices. In case your device don't have DWT support,
 * you will get an error message opening the trace. In that case, you may
 * force the recorder to use SysTick timestamping instead, using this define:
 *
 * #define TRC_CFG_ARM_CM_USE_SYSTICK
 *
 * For ARM Cortex-M0/M0+ devices, SysTick mode is used automatically.
 *
 * See trcHardwarePort.h for available ports and information on how to
 * define your own port, if not already present.
 ******************************************************************************/
//#define TRC_CFG_HARDWARE_PORT TRC_HARDWARE_PORT_NOT_SET
#define TRC_CFG_HARDWARE_PORT TRC_HARDWARE_PORT_ARM_Cortex_M
Ill start the project just using Snapshot mode
/*******************************************************************************
 * Configuration Macro: TRC_CFG_RECORDER_MODE
 *
 * Specify what recording mode to use. Snapshot means that the data is saved in
 * an internal RAM buffer, for later upload. Streaming means that the data is
 * transferred continuously to the host PC.
 *
 * For more information, see http://percepio.com/2016/10/05/rtos-tracing/
 * and the Tracealyzer User Manual.
 *
 * Values:
 * TRC_RECORDER_MODE_SNAPSHOT
 * TRC_RECORDER_MODE_STREAMING
 ******************************************************************************/
#define TRC_CFG_RECORDER_MODE TRC_RECORDER_MODE_SNAPSHOT
//#define TRC_CFG_RECORDER_MODE TRC_RECORDER_MODE_STREAMING
To start the testing I created a really simple, single task blinked led program in main_cm4.c. The only thing that you have to add is the “vTraceEnable(TRC_START)” to turn on the TraceRecorder.
#include "project.h"

void ledTask(void *arg)
{
    (void)arg;
    while(1)
    {
        Cy_GPIO_Inv(RED_PORT,RED_NUM);
        vTaskDelay(500);
    }
}

int main(void)
{
    __enable_irq(); /* Enable global interrupts. */

    vTraceEnable(TRC_START);
    xTaskCreate(ledTask,"LED Task",configMINIMAL_STACK_SIZE,0,1,0);
    vTaskStartScheduler();
}
Testing Percepio Tracealyzer
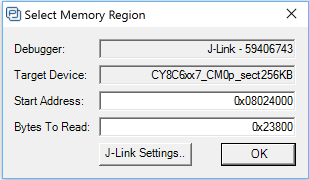
To start with I setup snapshot mode. I wasn’t sure exactly what the memory map was for the new PSoC6. But I did know that PSoC Creator copied in a linker file (actually 3 linker files) and that if I looked in the file I would find the memory map.
When I opened the GCC linker file “cy8c6xx7_cm4_dual.ld” I found the memory map for the chip.
MEMORY
{
    flash       (rx)    : ORIGIN = 0x10080000, LENGTH = 0x80000
    wflash            (rx)    : ORIGIN = 0x14000000, LENGTH = 0x8000          /*  32 KB */
    sflash_user_data  (rx)    : ORIGIN = 0x16000800, LENGTH = 0x800
    sflash_nar        (rx)    : ORIGIN = 0x16001A00, LENGTH = 0x200
    sflash_public_key (rx)    : ORIGIN = 0x16005A00, LENGTH = 0xC00
    sflash_toc_2      (rx)    : ORIGIN = 0x16007C00, LENGTH = 0x400
    xip               (rx)    : ORIGIN = 0x18000000, LENGTH = 0x8000000       /* 128 MB */
    efuse             (r)     : ORIGIN = 0x90700000, LENGTH = 0x100000        /*   1 MB */
    ram   (rwx) : ORIGIN = 0x08024000, LENGTH = 0x23800
}
To make read the Percepio Tracealyzer snapshot you need to select “JLink -> Read Trace (Snapshot)”. When you do that, it asks you where the RAM is on that device. I simply copy from the linker file the start and length of the RAM
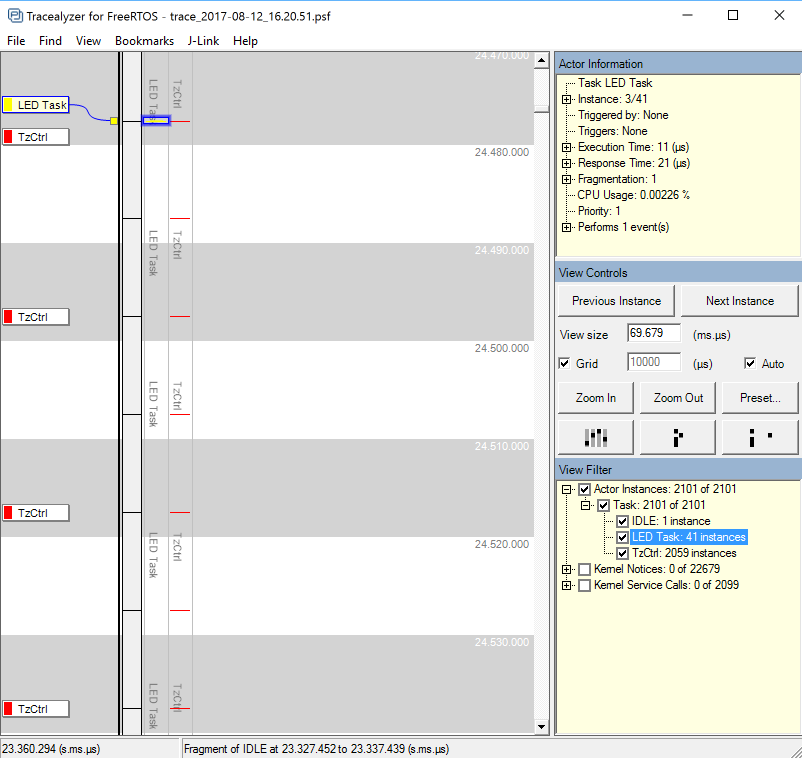
After that I get the trace.

The next thing to do is modify the trcConfig.h to switch to streaming mode:
/*******************************************************************************
 * Configuration Macro: TRC_CFG_RECORDER_MODE
 *
 * Specify what recording mode to use. Snapshot means that the data is saved in
 * an internal RAM buffer, for later upload. Streaming means that the data is
 * transferred continuously to the host PC.
 *
 * For more information, see http://percepio.com/2016/10/05/rtos-tracing/
 * and the Tracealyzer User Manual.
 *
 * Values:
 * TRC_RECORDER_MODE_SNAPSHOT
 * TRC_RECORDER_MODE_STREAMING
 ******************************************************************************/
//#define TRC_CFG_RECORDER_MODE TRC_RECORDER_MODE_SNAPSHOT
#define TRC_CFG_RECORDER_MODE TRC_RECORDER_MODE_STREAMING
After I reprogram my CY8CKIT-062 BLE, then “File->Connect to Target System” I end up with a nice stream of data.

And when I look at the stream it says that things are working just as expected.
Im not sure what its next. Maybe I will make a DMA/UART version so as not to require the JLKINK.
As always you can find all of these projects on the IotExpert GitHub site or git@github.com:iotexpert/PSoC-Tracelyzer.git
Article
Description
Percepio Tracealyzer & PSoC
An Introduction to Percepio Tracealyzer on the Cypress PSoC
Percepio Tracealyzer RTT Streamport - PSoC4200M
Make the JLINK RTT Library work with Tracealyzer
Percepio Tracealyzer PSoC UART Streamport
Creating a UART Streamport
Percepio Tracealyzer - Analyzing the PSoC Tracealyzer Streamport
Figure out what is broken in the UART Streamport
Percepio Tracealyzer - Using PSoC DMA to Fix the UART Streamport
Implementing PSoC DMA to improve the CPU Utilization
Percepio Tracealyzer - Running on PSoC6
Porting the Percepio Tracealyzer to PSoC6


No comment yet, add your voice below!