Summary
This article describes a good set of steps to install the ARM MBED-CLI onto your Mac into a Python Virtual Environment. You COULD make MBED-CLI work on your Mac a bunch of other/different ways, but, what I describe in this article is the best way. You could follow the specific ARM instructions here.
The big steps are:
- Install Homebrew
- Install Python3
- Create a Virtual Python Environment
- Use PIP to Install MBED-CLI
- Download the GCC Compiler
- Configure the Compiler
- Test
macOS Homebrew & Python3
You need to be able to run Python, and in my opinion, specifically Python 3. There are problems with doing this, first most of the macOS versions do not have Python 3 built in (and the Python 2 is old). But, on macOS Catalina, you could use the macOS built-in Python3 and install MBED-CLI into the system libraries. But, I believe that you should never make changes to the macOS system which could collide with its normal functioning. I think that the easiest way to get a standalone Python onto your computer is to use “Homebrew” package manager. Homebrew will enable you to easily install Python3 (and a bunch of other stuff) into /usr/local/bin.
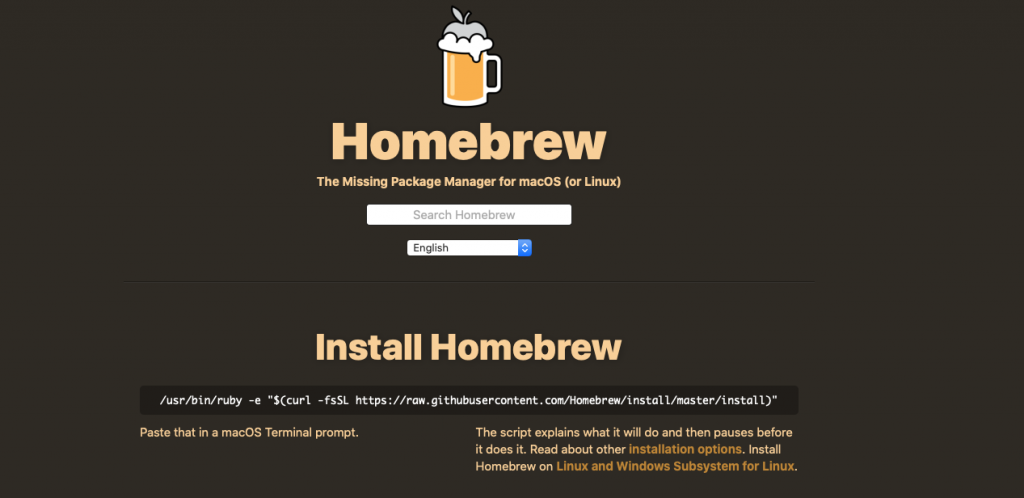
To install Homebrew run:
- /usr/bin/ruby -e “$(curl -fsSL https://raw.githubusercontent.com/Homebrew/install/master/install)”
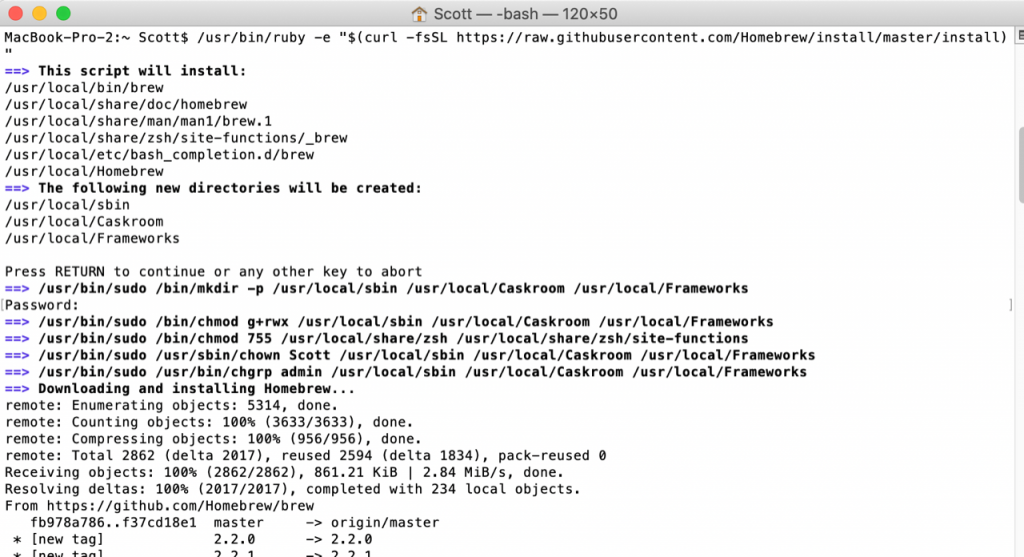
And after a bunch of streaming console messages, it finishes:
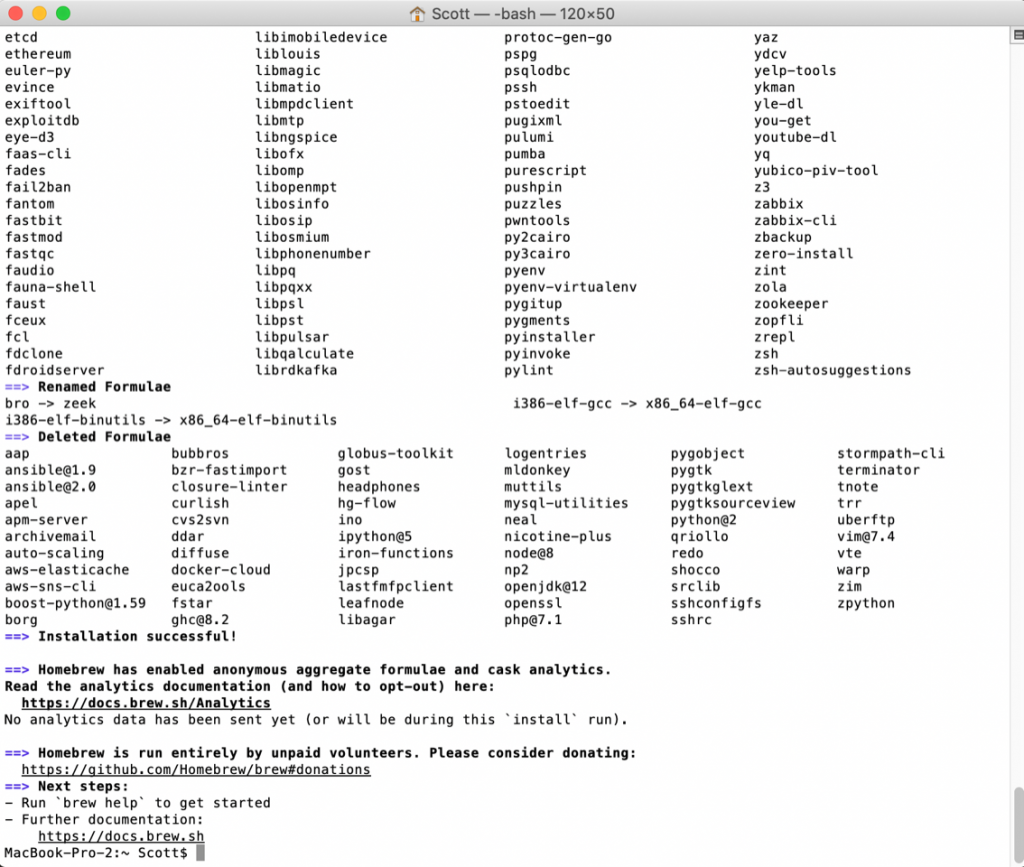
Now you can use Homebrew to install python3 into /usr/local/bin by running:
- brew install python3
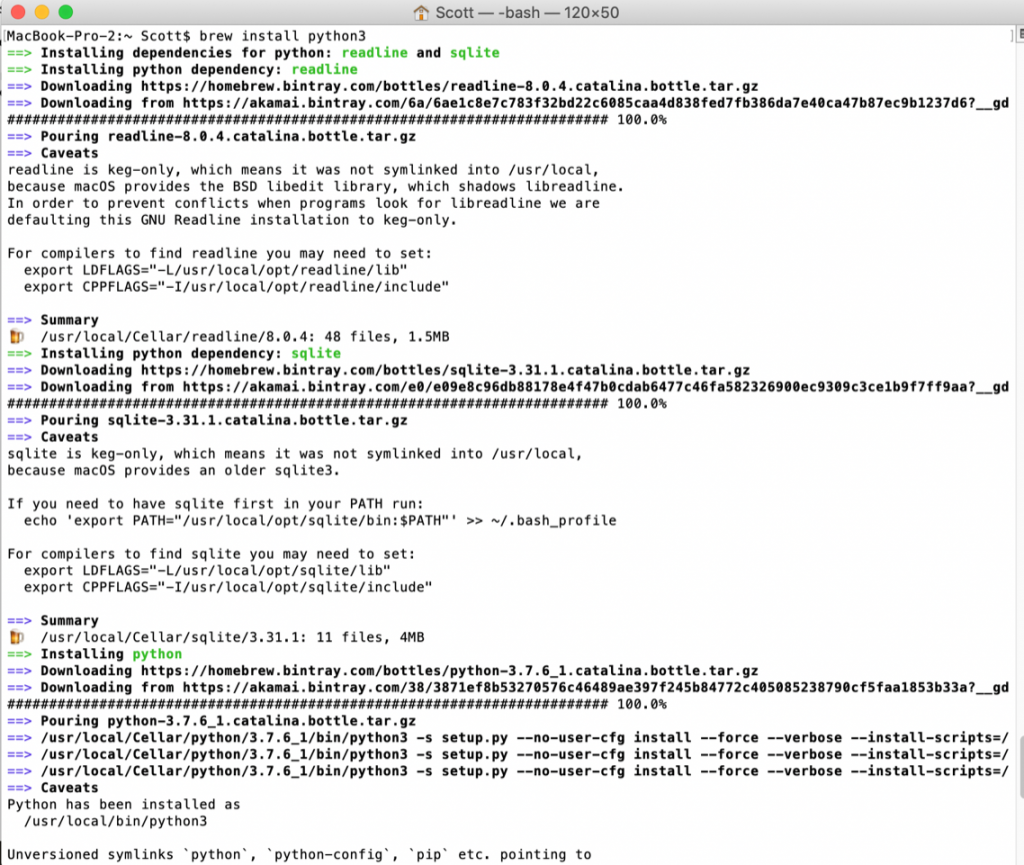
And it puts out a bunch of stuff on the console… finally ending like this:
Now you should be able to “which python3” and see that python 3.7.6 is installed.

Create a Virtual Environment and Install mbed-cli
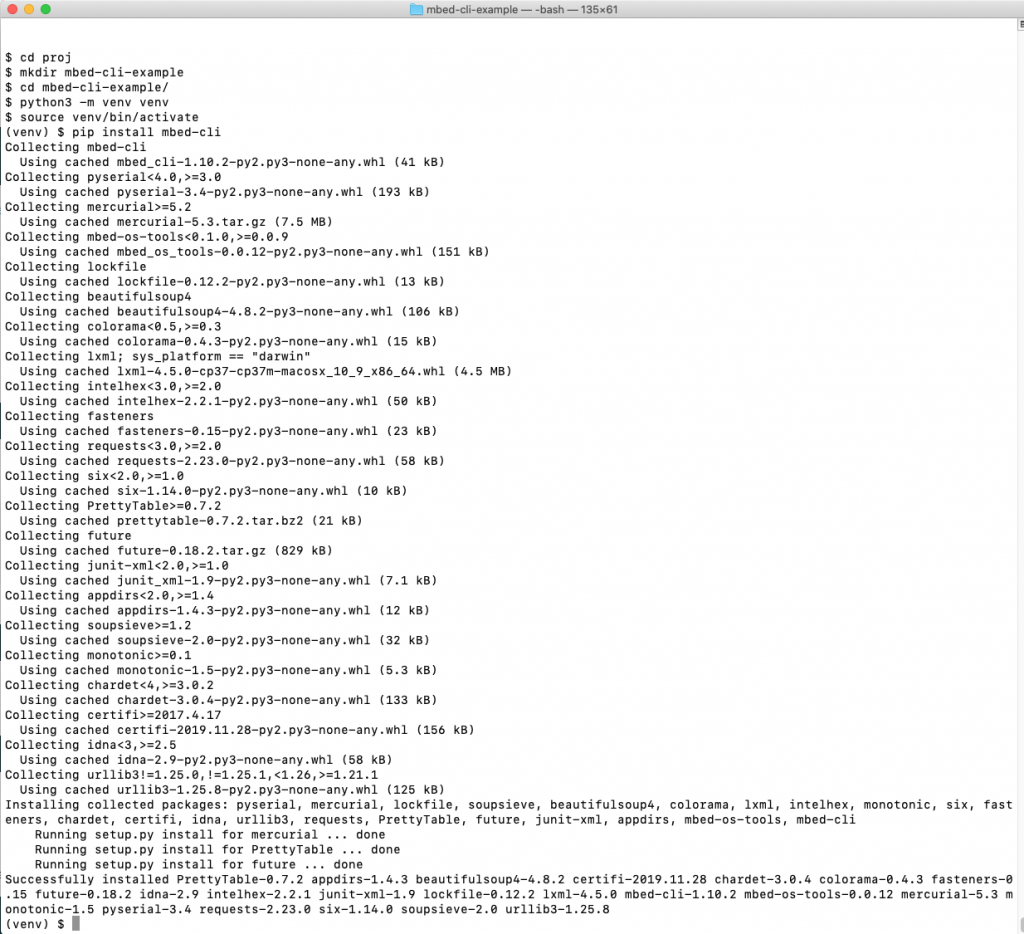
I always use a virtual environment when I run python to insure that all of the packages I install are together. Run:
| Command | Comment |
|---|---|
| mkdir mbed-cli-example | Create a directory to hold the virtual environments |
| cd mbed-cli-example | |
| python3 -m venv venv | Create the virtual environment in the directory called "venv" |
| source venv/bin/activate | Activate the virtual environment |
| pip install mbed-cli | Download the Mbed-cli package and install it into the virtual environment |
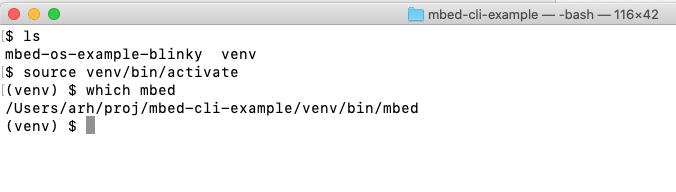
Here is what is looks like:
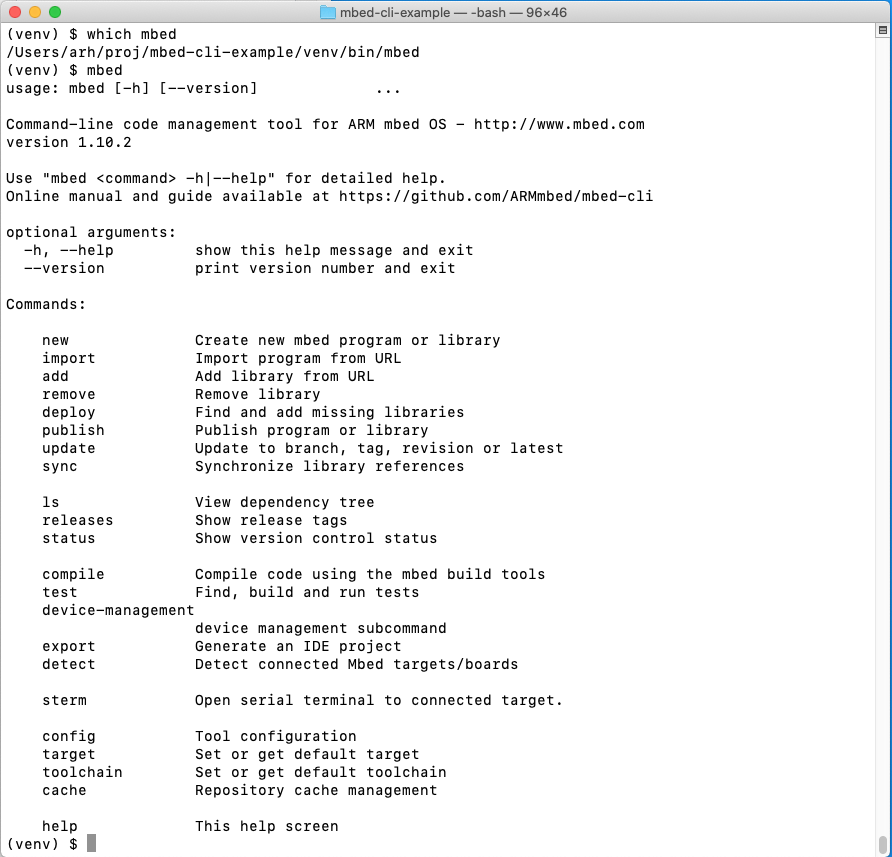
Once that is done you can run “which mbed” where you will find that the MBED-CLI is in your virtual environment path. And when you run “mbed” you should see all of the options.
Download the GCC Compiler
In order to actually do something with the MBED-CLI you also need to have an ARM compiler toolchain installed e.g. GCC. The easiest (best?) way to get this done is download it from this the ARM website here.
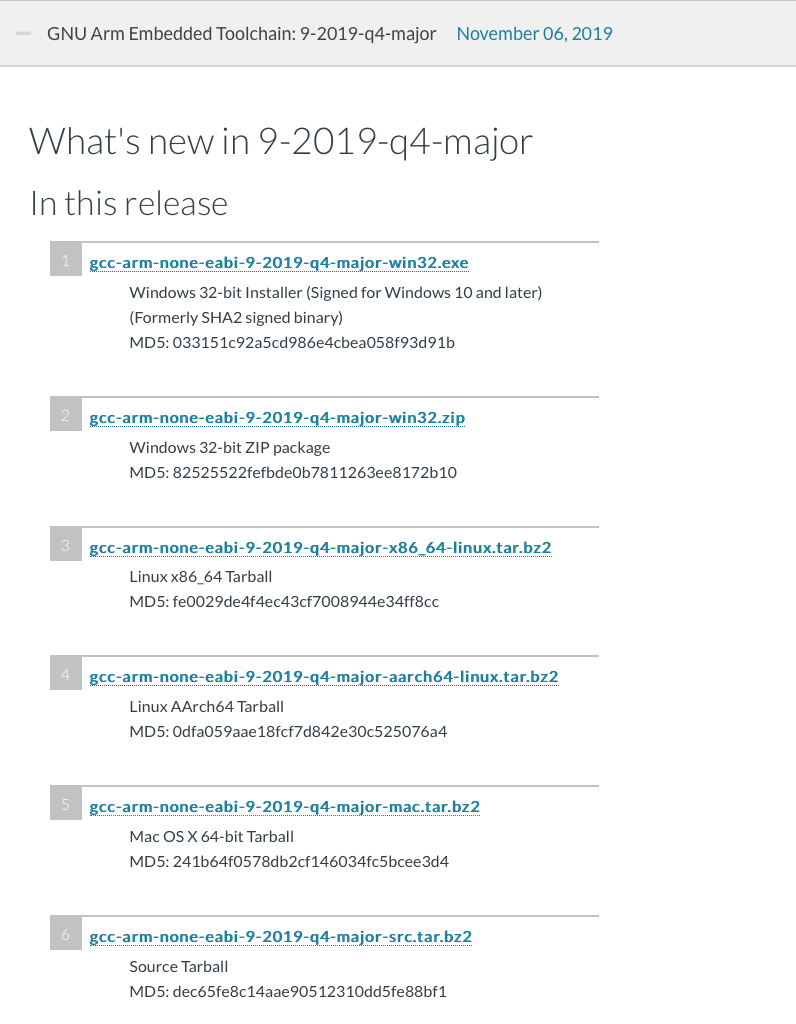
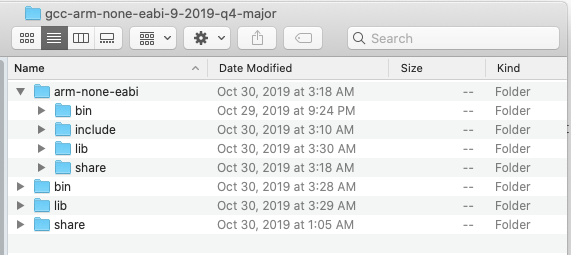
After you download the Mac OS X 64-bit Tarball file you will end up with a “…tar.bz2” file in your Downloads directory. When you double click the file, the finder will unzip and untar the file into a folder with all of the stuff you need for the Mac.

I have a directory on my Mac called ~/proj where I hold all of my “project” stuff. So after downloading and untaring the file, I move it to my project directory with “mv ~/download/gcc-arm-none-eabi-9-2019-q4-major ~/proj”
Configure the Compiler
The final step is to tell the MBED-CLI where your toolchain is located. There are a bunch of slightly different variants for how to do this. BUT I think that the best is to change the mbed global configuration by running:
- mbed config –global GCC_ARM_PATH ~/proj/gcc-arm-none-eabi-9-2019-q4-major/bin
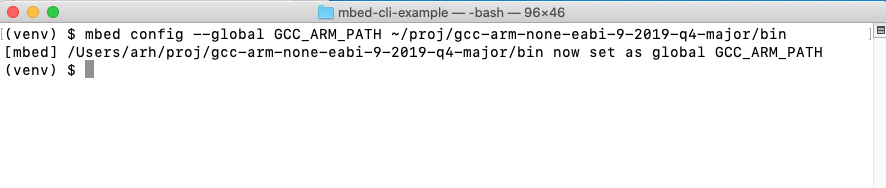
The “–global” flag will store that configuration variable in the file ~/.mbed/.mbed (notice a directory called .mbed and a file called .mbed)

It took me a while to figure out which directory you should put in the path because there are multiple bin directories in the “gcc-arm…” directory.
If you want to use one of the other toolchains mbed has configuration variables for those as well:
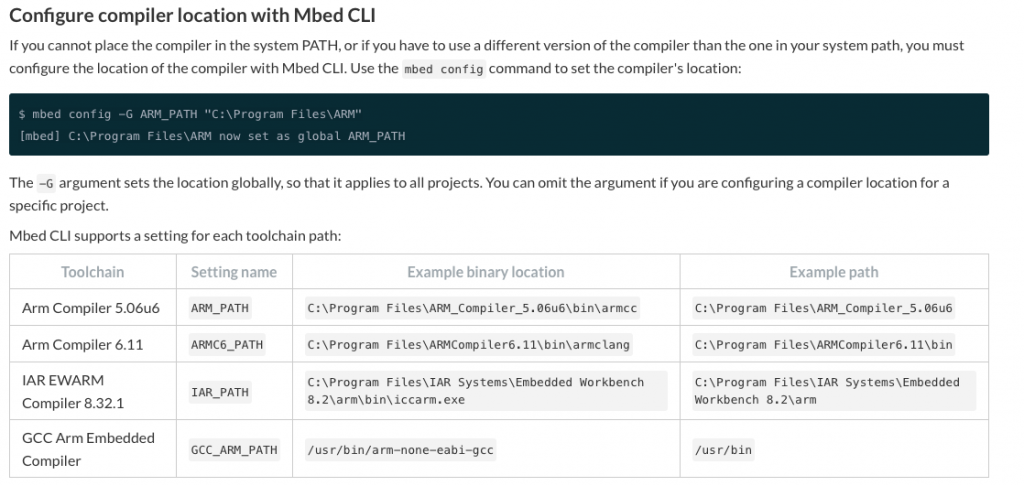
You can also configure these paths with environment variables, but I dont like that.
macOS Gatekeeper
On macOS there is a security infrastructure called Gatekeeper that will prevent you from running applications that Gatekeeper doesn’t know about. This includes the GCC toolchain (which you just downloaded). To make it so that you can run the toolchain there are a couple of things you COULD do, but I think that the best thing to do is tell Gatekeeper that the Terminal program is exempt from the Gatekeeper rules.
To do this type the following command into a terminal: “spctl developer-mode enable-terminal”
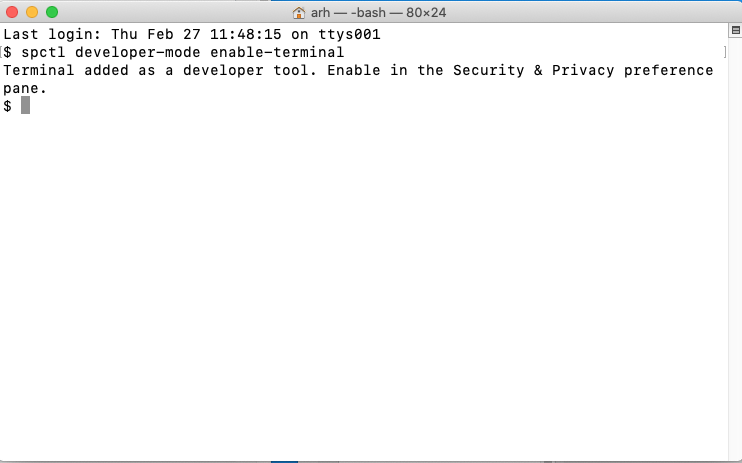
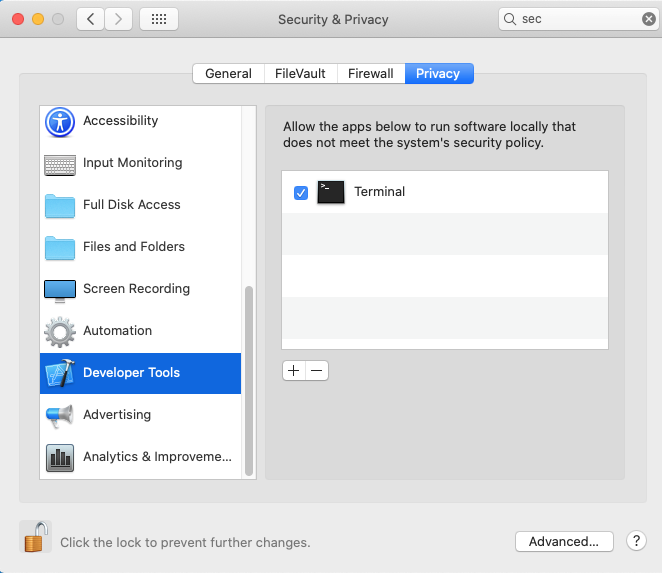
Then go to the System Preferences –> Security & Privacy –> Developer Tools and check that the “Terminal” is exempt from the Gatekeeper Rules.
You can read more here and here.
Test
To test everything you have done, you should:
| Command | Comment |
|---|---|
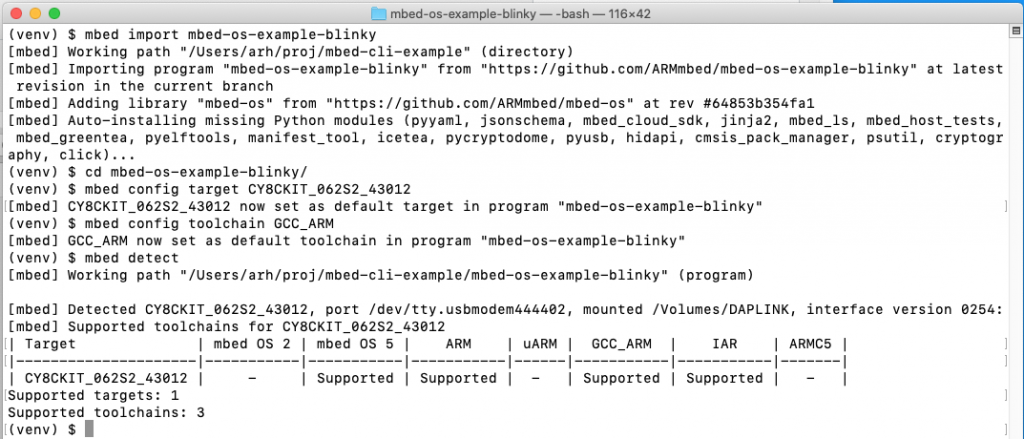
| mbed import mbed-os-example-blinky | Load the example project. Notice that mbed also will install the Python requirements into your virtual environment. It does this by running "pip install -r mbed-os/requirements.txt" |
| cd mbed-os-example-blinky | |
| mbed config target CY8CKIT_062S2_43012 | Setup the target (in my case the really cool P6 43012 devout) |
| mbed config toolchain GCC_ARM | Set the toolchain to the one we setup in the previous step |
| mbed detect | See if mbed can detect the development kit… it can |
Here is what it looks like:
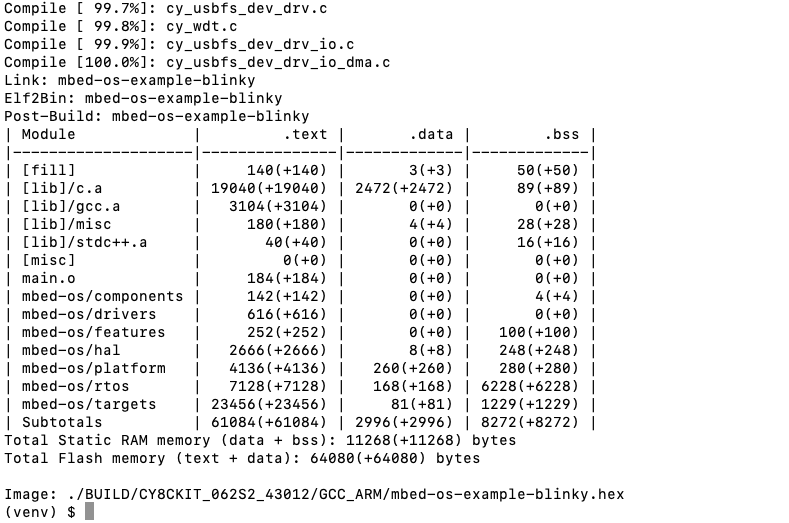
You can now run the compiler (with the -f option to program). It should start up and barf out the compile messages.

Eventually it ends… then programs the development kit
The last thing to do is turn off the virtual environment

Which can later be turned back on with “source venv/bin/activate”
1 Comment
Hi Alan,
Cool materials – I was also able to follow most of your instructions to install n run mbed-cli successfully on my old Windows 7 notebook (my new NB was still stuck in Shenzhen office, usual shipment channels were unable to deliver my NB to Hong Kong, maybe because of the pandemic measures).
– Python 3.7.7
– Windows commands instead, such as where python, where mbed, and executed venv\Scripts\activate.bat
– I imported mbed-os-example-blinky project under “Mbed Programs” (same directory as my Mbed Studio projects) and I was able to open/build the project using Mbed Studio/mbed-cli back-n-forth.
Thanks again!
Harris