How To Design With Bluetooth Mesh
You can "git" a workspace will all of these files at https://github.com/iotexpert/MouserVTWBluetoothMesh or git@github.com:iotexpert/MouserVTWBluetoothMesh.git
Summary
In this lesson I will show you how to use the Windows Application called “Mesh Client” to control your Bluetooth Mesh network. The Mesh Client program attaches to the Bluetooth adaptor in your computer and lets you control Bluetooth Mesh networks (genius of a marketing name). This includes provisioning, configuring, operation, etc. This lesson will mirror the previous one in that I will setup two dimmable lights but this time I will control them via PC based software instead of the Android app.
For this exercise I will take you through the following steps:
- Reset the Two Kits by Reprogramming
- Run the Mesh Client
- Create a New Bluetooth Mesh Network
- Provision your L1 Dimmable Light to the Network
- Control the L1 Dimmable Light
- Add the other Dimmable Light to the Network & Test
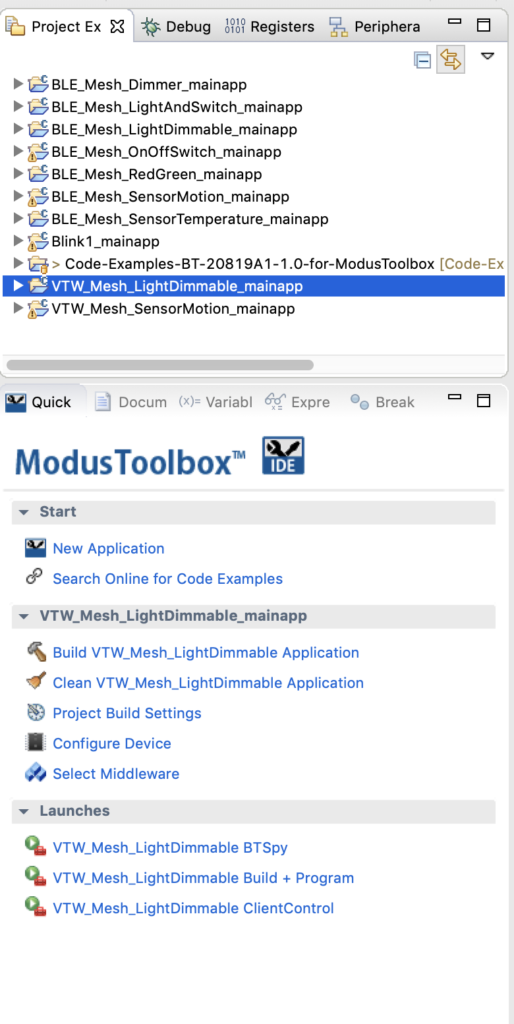
Reset the Two Kits by Reprogramming
Click on the “VTW_Mesh_LightDimmable” project. Then select “VTW_Mesh_LightDimmable Build + Program”. Do this to both of your boards so that we can start fresh.
Run the Mesh Client
The Mesh Client application can be found in your ModusToolbox installation directory. Here is the path:
![]()
Edit: There is a bug in this release. You need to get the MeshClient from the code example … Lesson 4
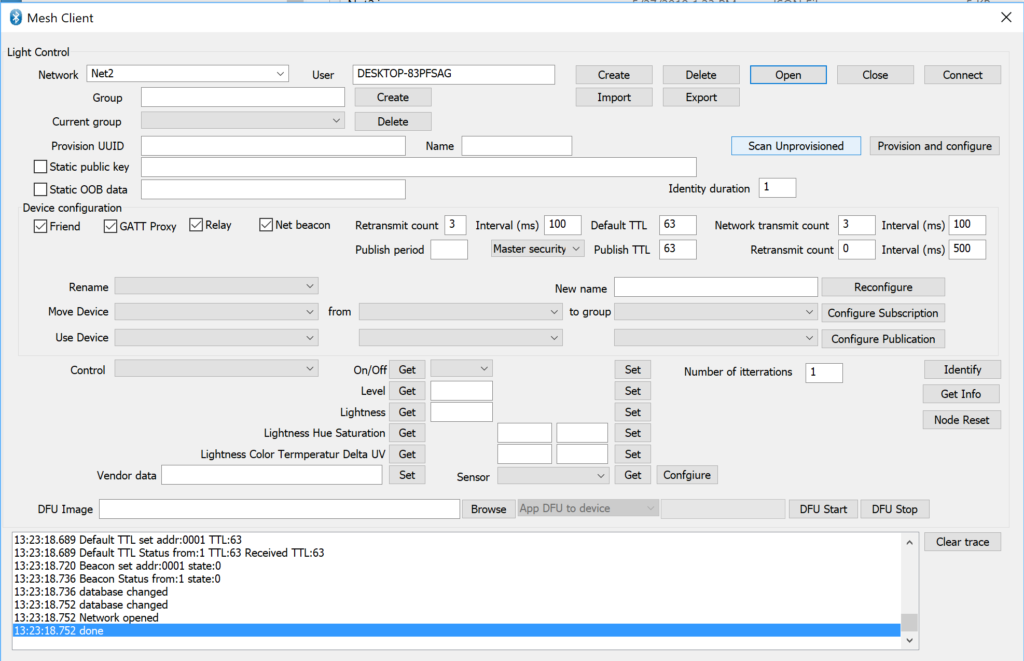
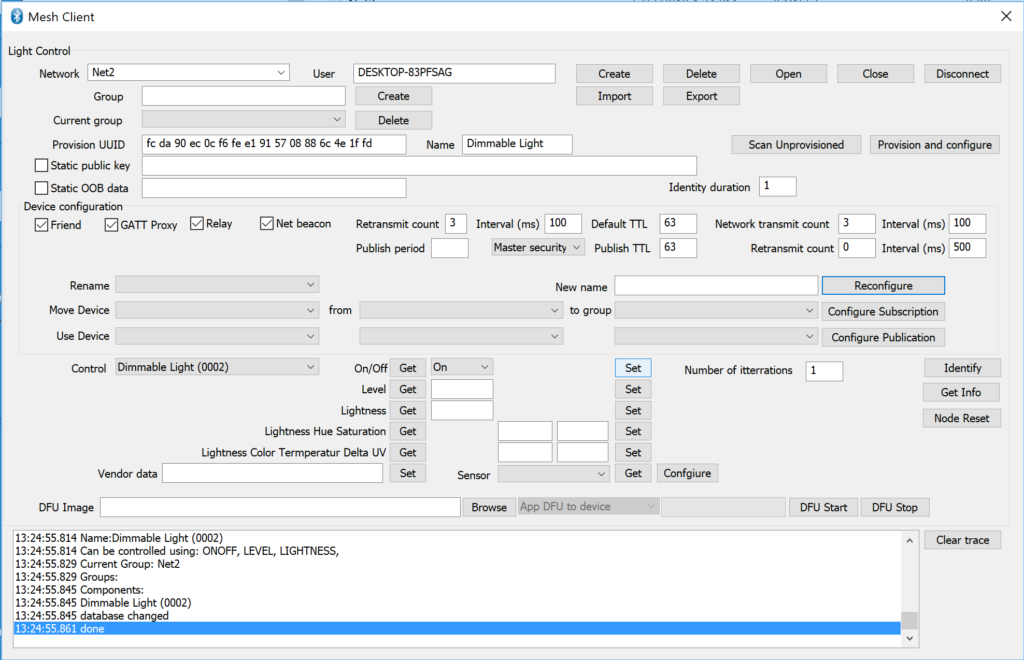
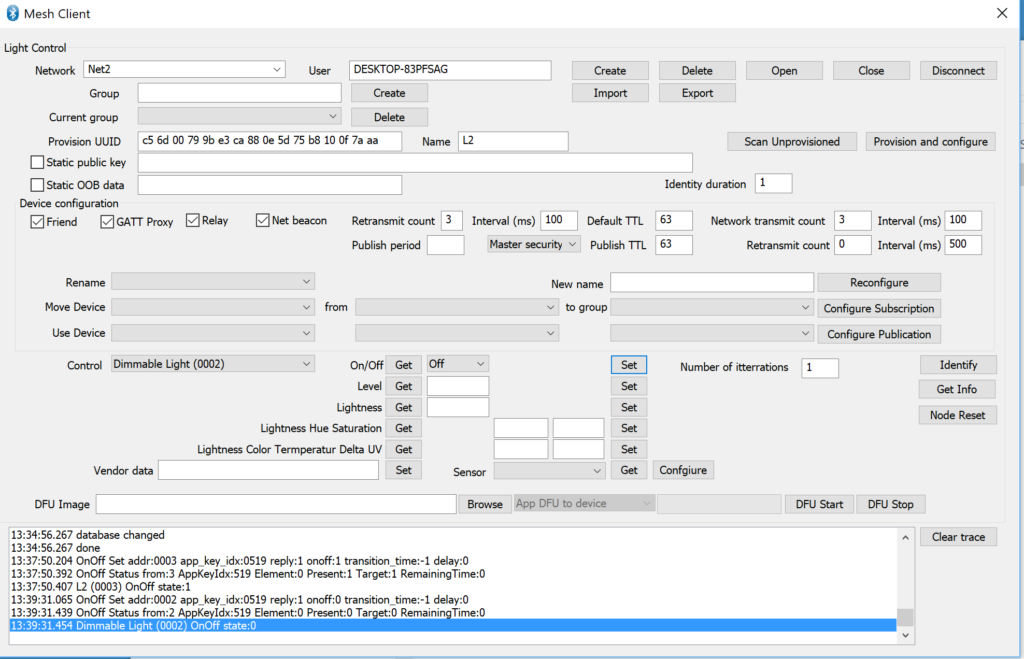
When you run the Mesh Client it will look like this:
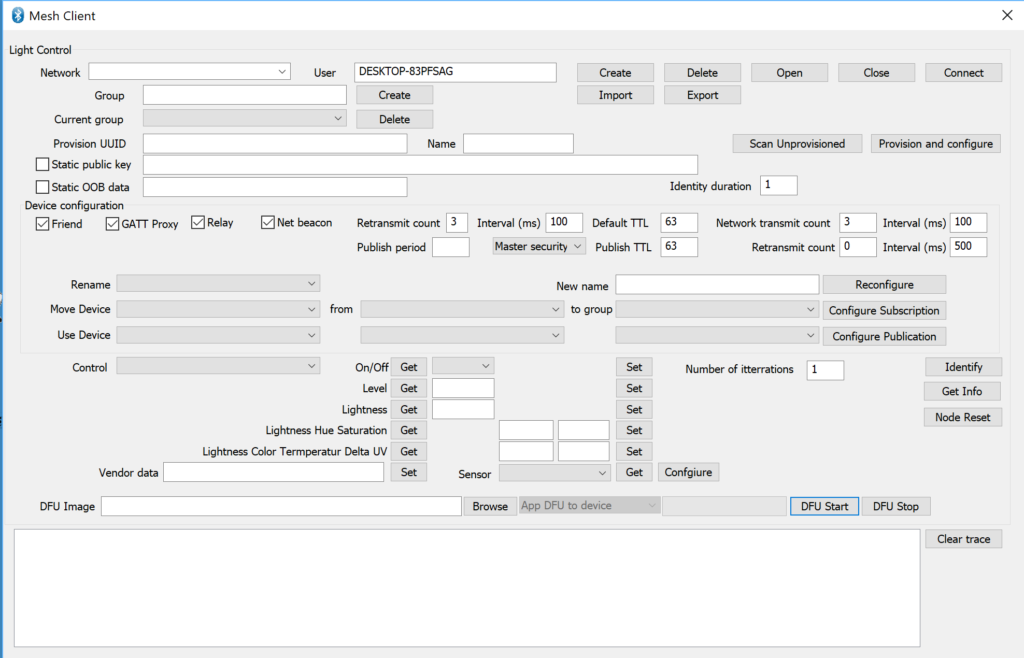
Create a New Network
Before it will do anything, you need to create a new network by giving it a name such as “Net2” and pressing “Create”. This will populate all of the configuration files required to control the network.
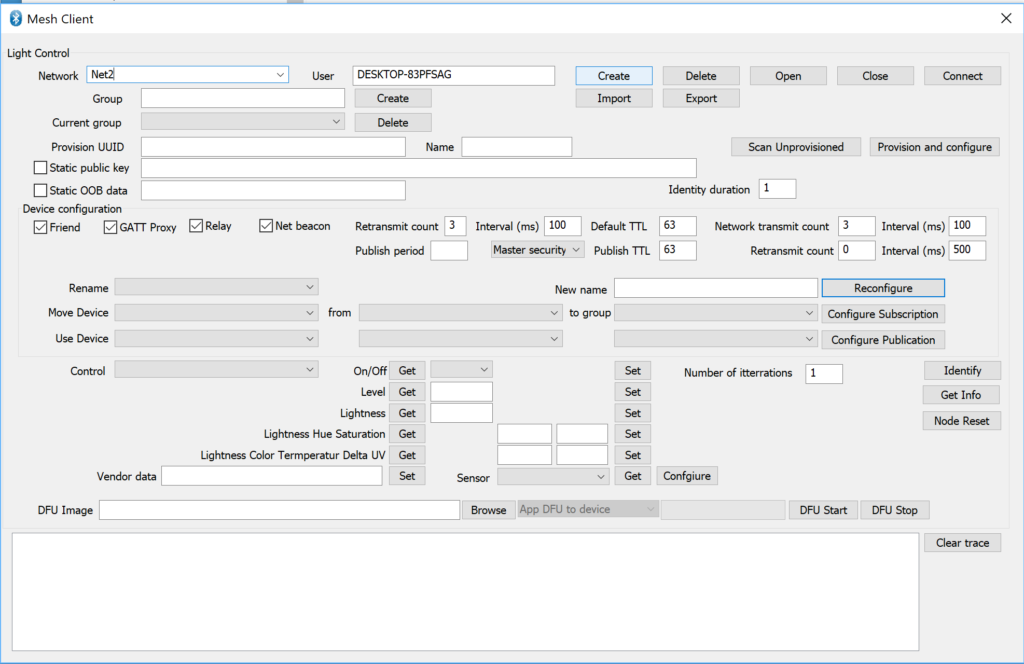
After the network is created, press the “Open” button.
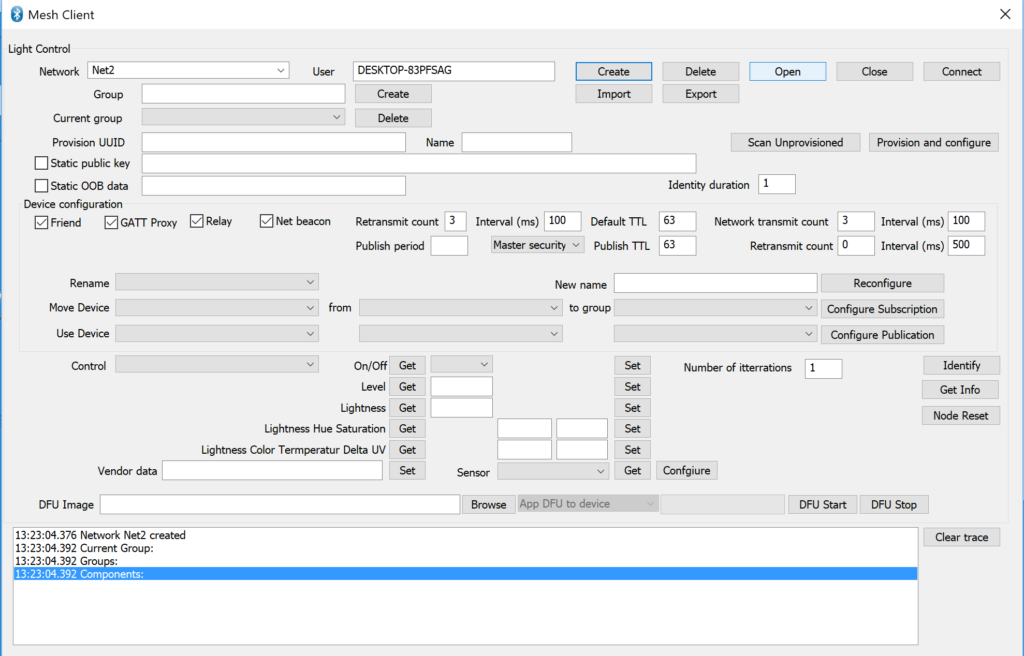
After the network configuration files load you will see a trace window like this:

Provision your L1 Dimmable Light to the Network
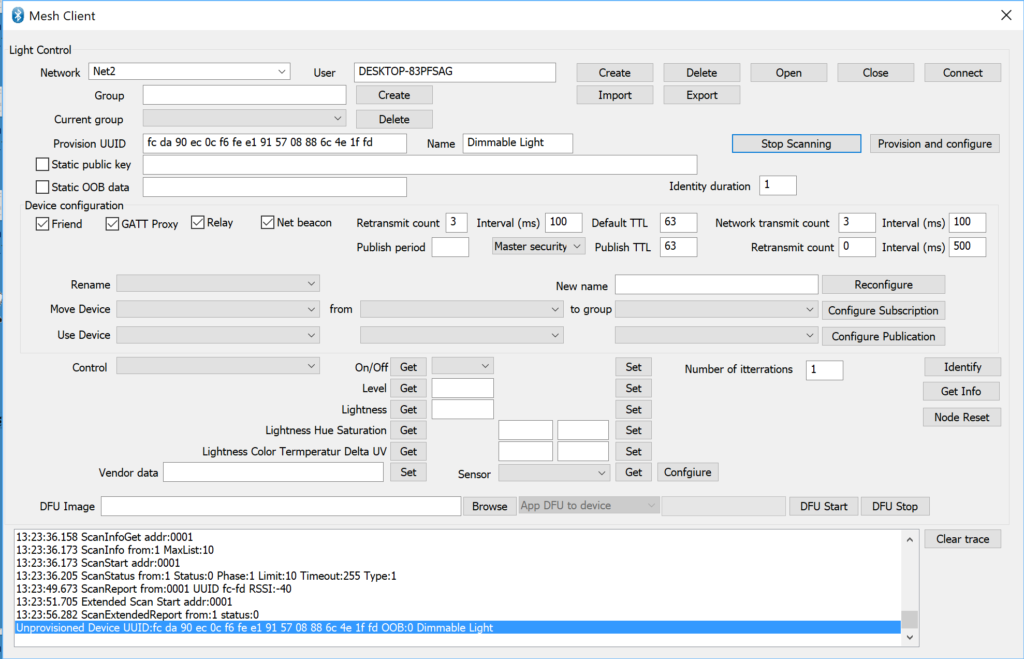
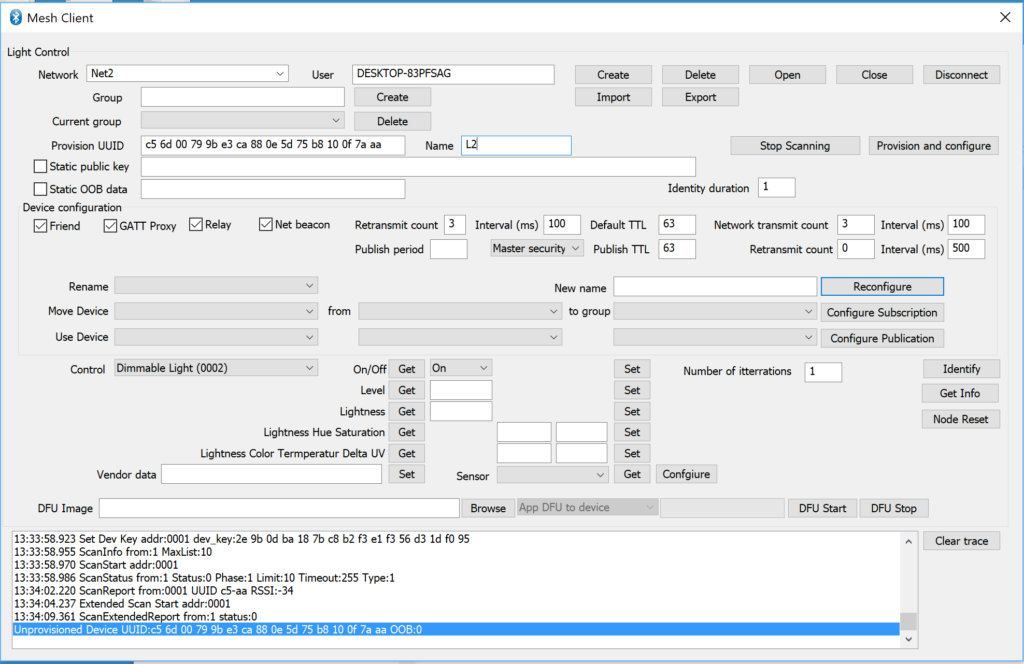
Now you have a network with no nodes. Press “Scan Unprovisioned” to find an unprovisioned device, which are just BLE devices that are advertising as mesh beacons.
After a bit, the scanner will find your “Dimmable Light”. You will see the device show up in “Provision UUID” with a name. You can click Stop Scanning so that it doesn’t keep searching for other devices. Right here, I would recommend you change the device name. Unfortunately I forgot when I captured these screens. Oh well. I hope when I do this live I won’t forget. Now press “Provision and configure”. After a some time that process will complete.
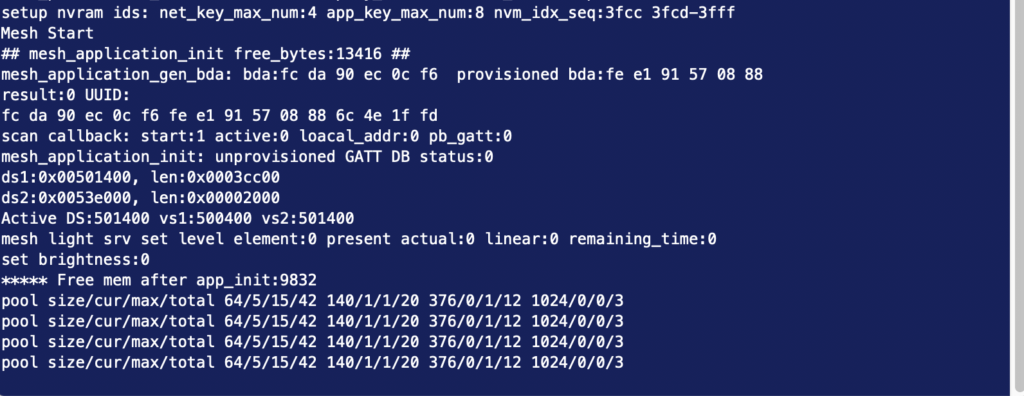
While the provision and configuration process is going on you will see the console of the Dimmable light reacting.
Control the L1 Dimmable Light
Now that you have a provisioned node you can use the Mesh Client to control it. Start by selecting which Node to control in the drop down dialog box. In this case I chose “Dimmable light” which makes sense as it is the only device in my network.
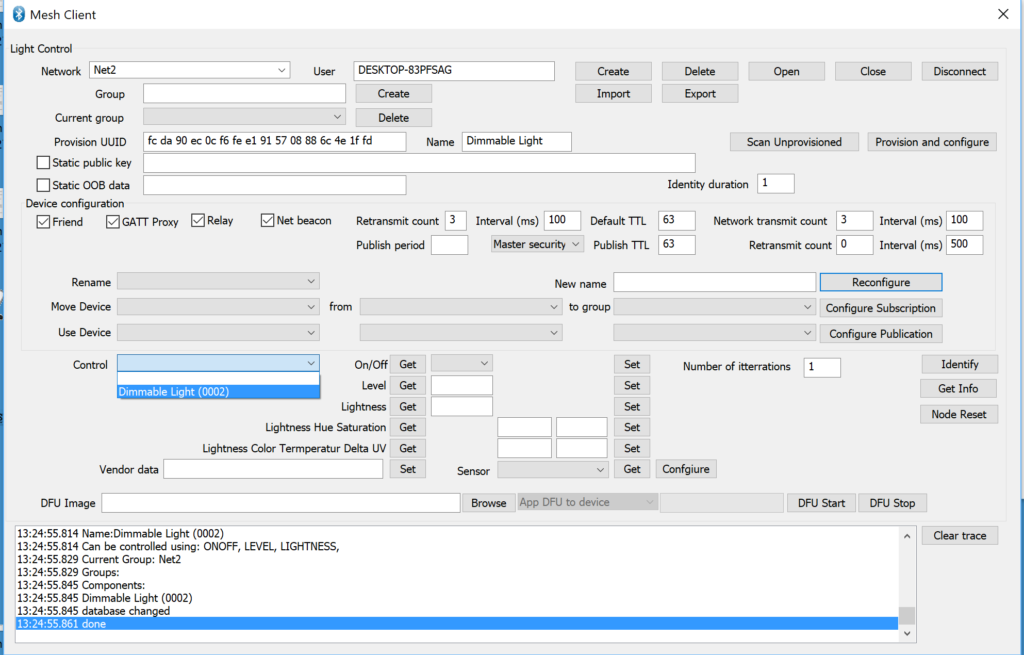
Now select “On” and “Set” which will turn on the LED.
Add the other Dimmable Light to the Network & Test
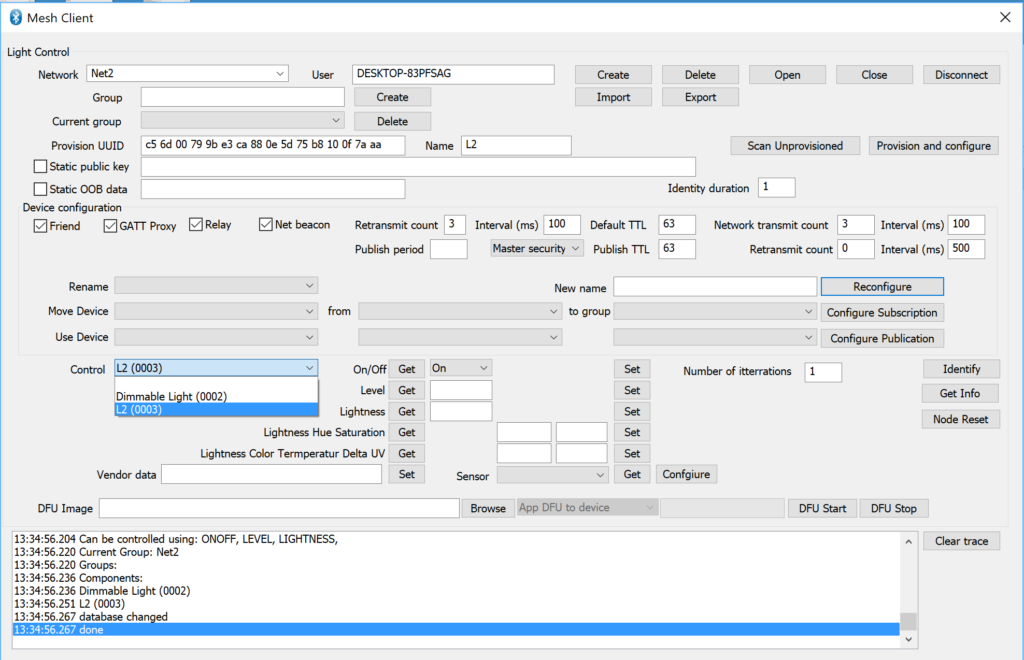
Unplug the Dimmable Light and plug it into something other than your computer. Plug in the other unprovisioned board. Back in the Mesh Client application press “Scan Unprovisioned” When it comes back having found the new board, give it a name “L2” and then press “Provision and configure”. When I do this live during the workshop I will name the first board “L1” and the second “L2”. But I’m not going to recapture these screen shots.
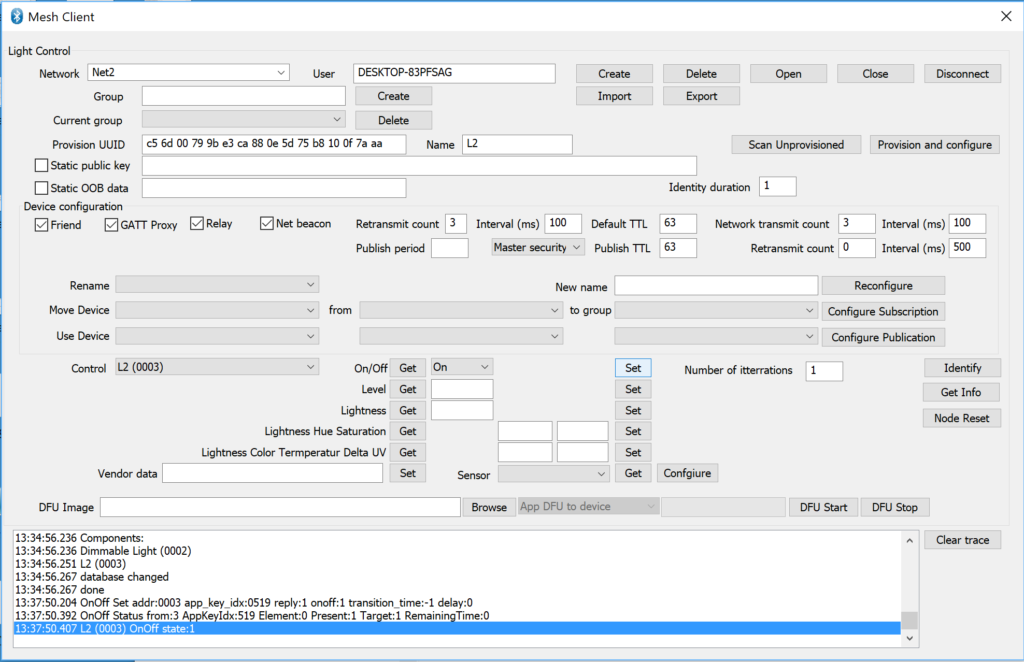
Once L2 is provisioned into the network. I can control it the same way I did with “L1”. Select “L2” (and notice that I called the first light “Dimmable Light” rather than giving it a sensible name.
Now select “On” and then press “Set”
Finally, test and make sure that the first Dimmable Light is still working by turning it off:
No comment yet, add your voice below!