In the previous post I described the “thing” side of an Axeda IOT implementation. That “thing” was a simple potentiometer, read by an ADC in an NXP1124 ARM MBED development kit. The value was then encoded into a JSON message and posted to the Axeda cloud over an ethernet/IP connection.

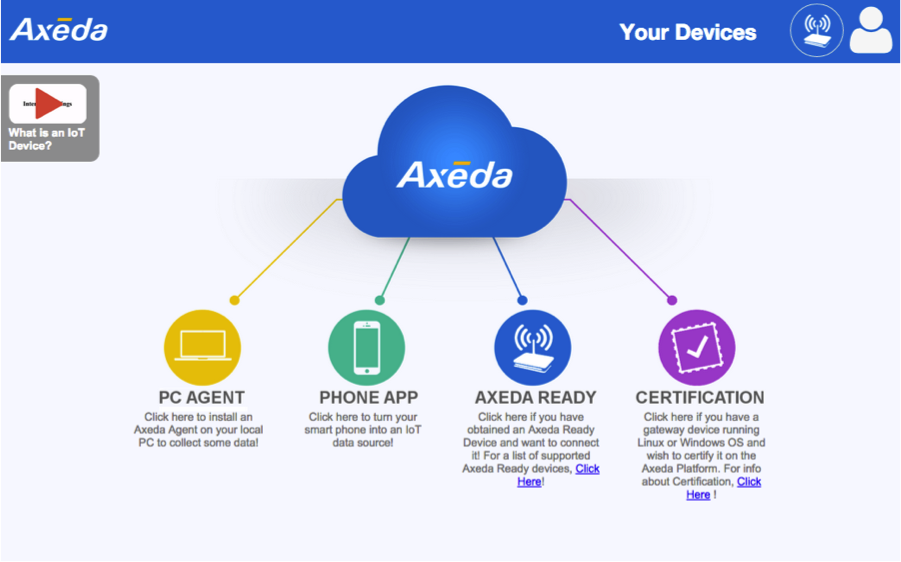
In this post I will describe the Internet (Cloud) side of their system. Start by opening http://toolbox.axeda.com and clicking on the little wireless router icon next to the “Your Devices”
You will then have a screen that has the following panels
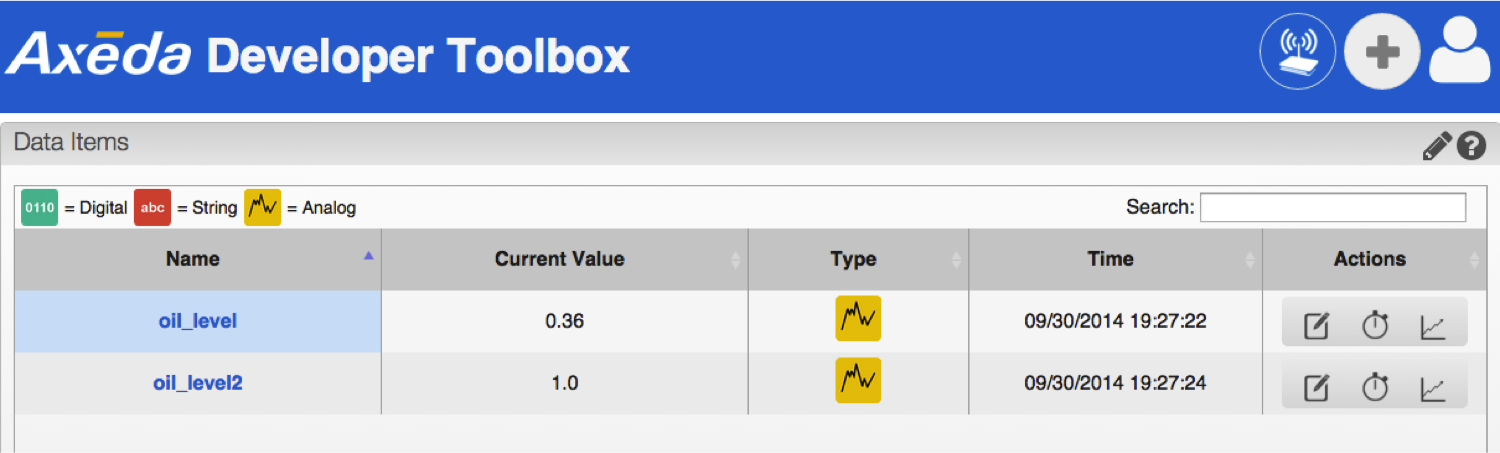
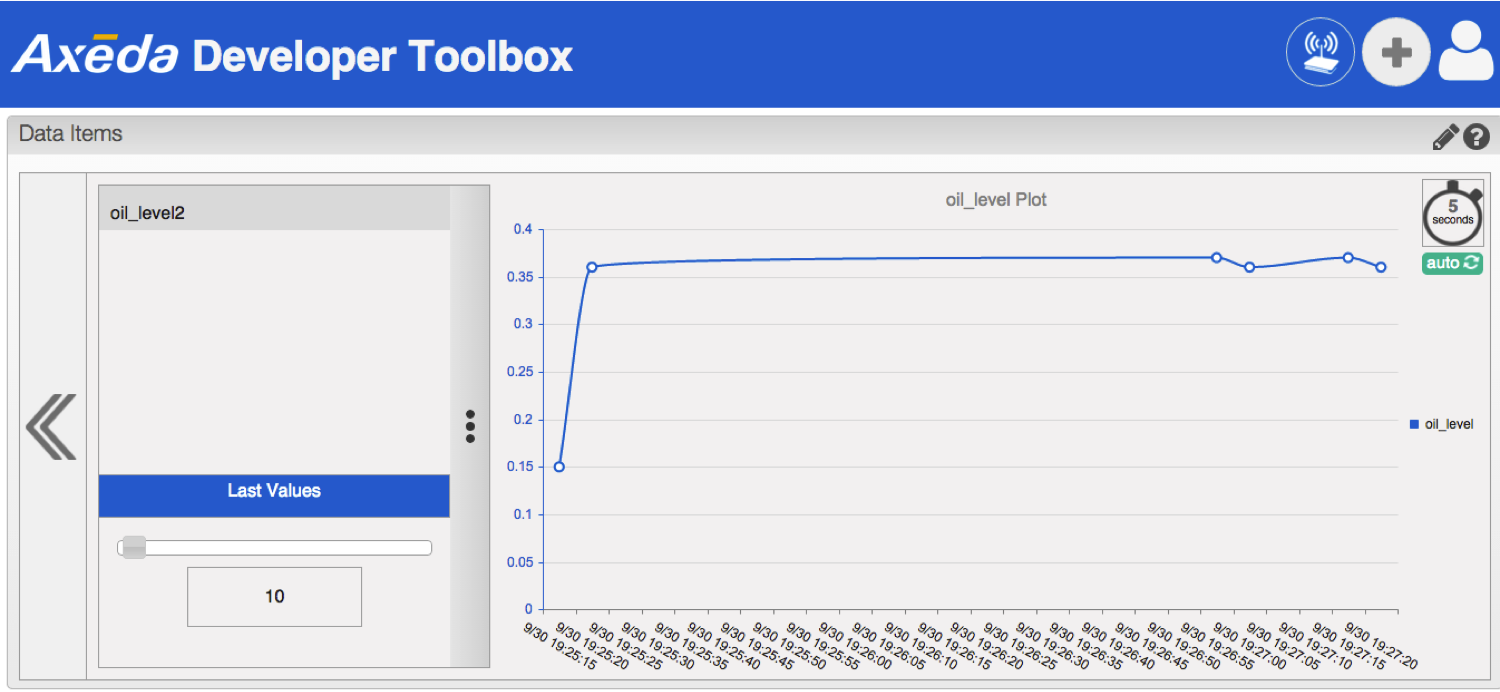
1. Data Items. A list of the variables that have been added to your Axeda instance. With links to add, edit and view the data.
2. AMMP Info. A panel where you can send JSON formatted messages to the server to simulate client behavior.
3. MBED Widget. A graphical representation of one of the data items in a cutesy picture format.
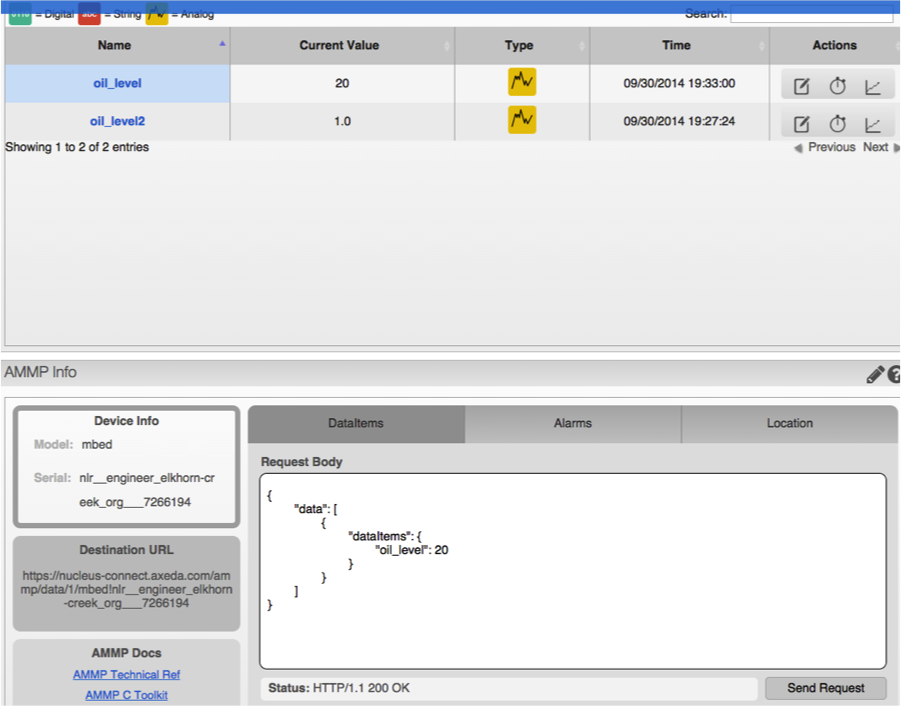
On the data item panel you can
1. See the current value of your data
2. Manual edit the data (by clicking on the pen/pad icon)
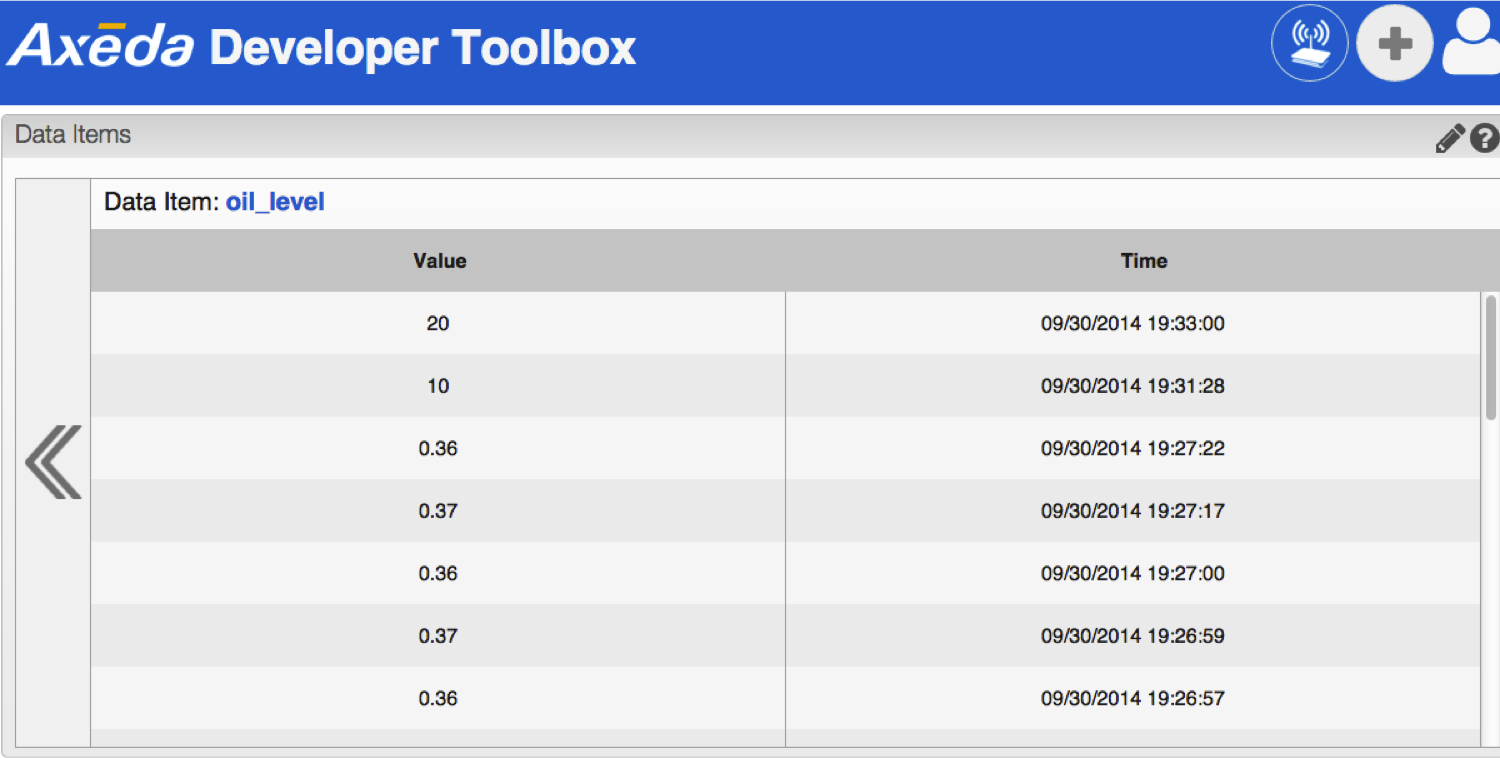
3. View a table of the data (by clicking on the alarm clock icon)
4. View a graph of the data (by clicking on the graph icon)
In my next post I will summarize my experience using Axeda and outline some next possible steps.
No comment yet, add your voice below!