Summary
The first article in a series that discusses building a new IoT project using Modus Toolbox and the AnyCloud SDK. Specifically:
- The new-ish Error Logging library
- AnyCloud Wireless Connection Manager
- Creation of New Libraries and Template Projects
- Dual Role WiFi Access Point and Station using CYW43012
- MDNS
Story
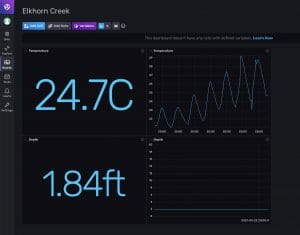
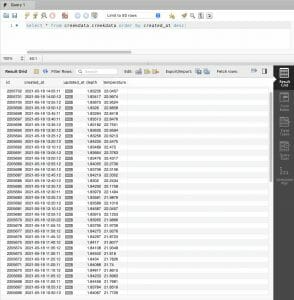
I am working on a new implementation of my Elkhorn Creek IoT monitoring system. In some of the previous articles I discussed the usage of the Influx Database and Docker as a new cloud backend. To make this whole thing better I wanted to replace the Raspberry Pi (current system) with a PSoC 6 MCU and a CYW43012 WiFi Chip. In order to do this, I need to make the PSoC 6 talk to the Influx Database using the WiFi and the Influx DB WebAPI. I started to build this from my IoT Expert template, but quickly realized that I should make a template project with WiFi.
In this series of article I teach you how to use the Wireless Connection Manager, make new libraries and make new template projects. Here is the agenda:
Article
(Part 1) Create Basic Project & Add Cypress Logging Functionality
(Part 2) Create New Thread to manage WiFi using the Wireless Connection Manager
(Part 3) Create a New Middleware Library with WiFi helper functions
(Part 4) Add WiFi Scan
Add WiFi Connect
Add WiFi Disconnect
Add WiFi Ping
Add Gethostbyname
Add MDNS
Add Status
Add StartAP
Make a new template project (update manifest)
Create Basic Project
Today I happen to have a CY8CKIT-062S2-43012 on my desk.
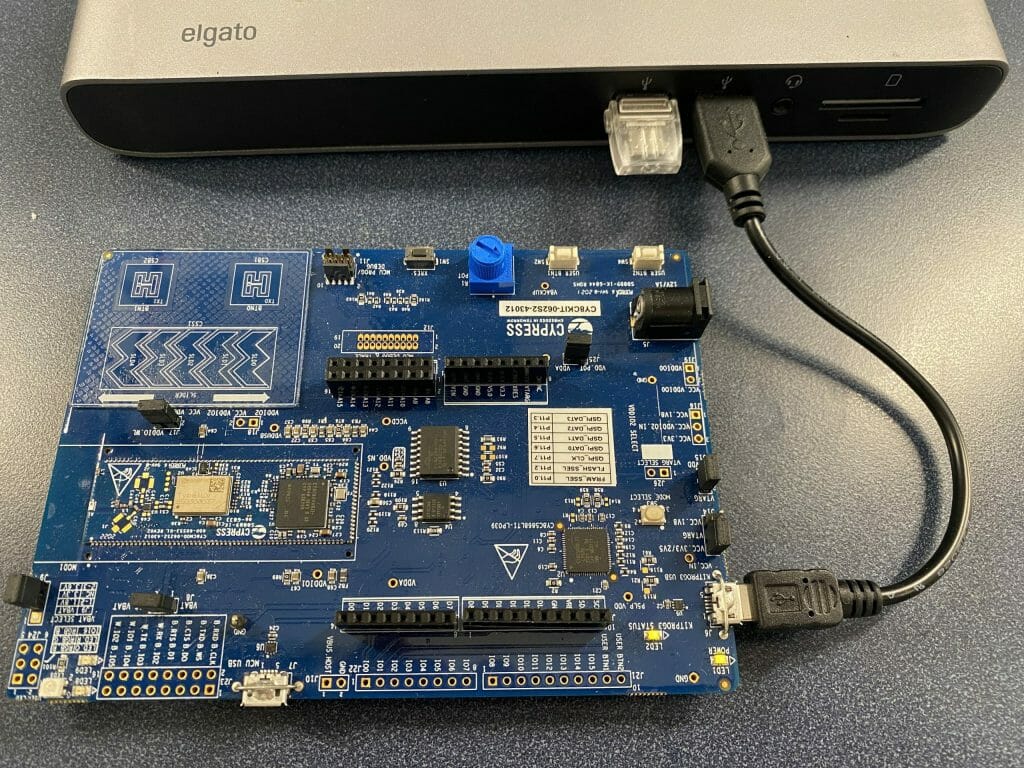
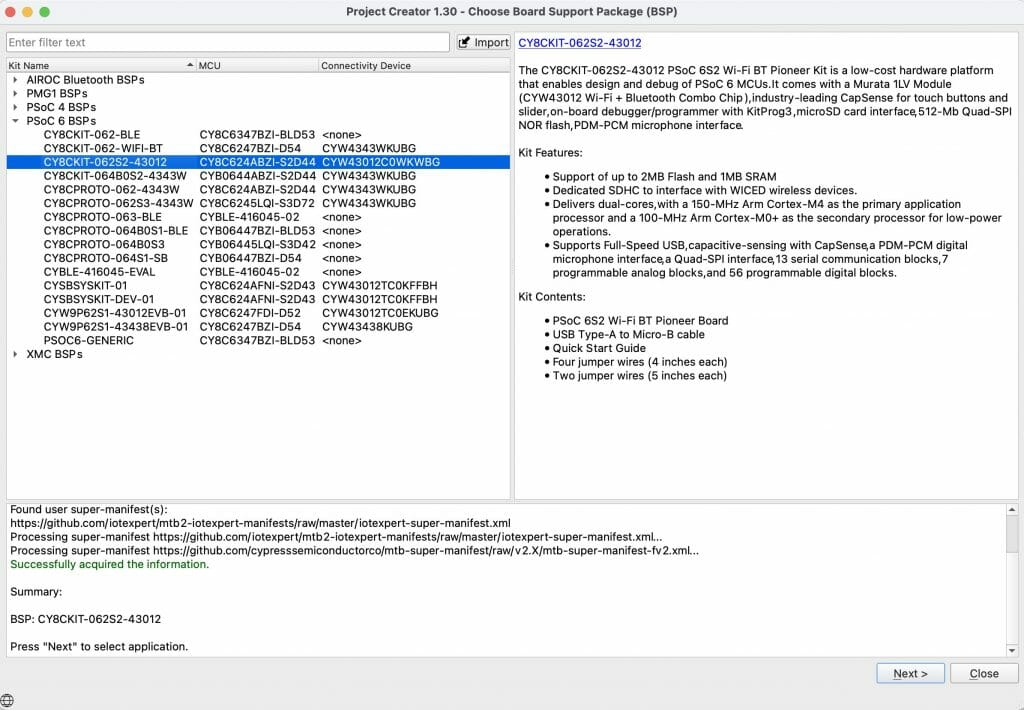
So that looks like a good place to start. Pick that development kit in from the new project creator.
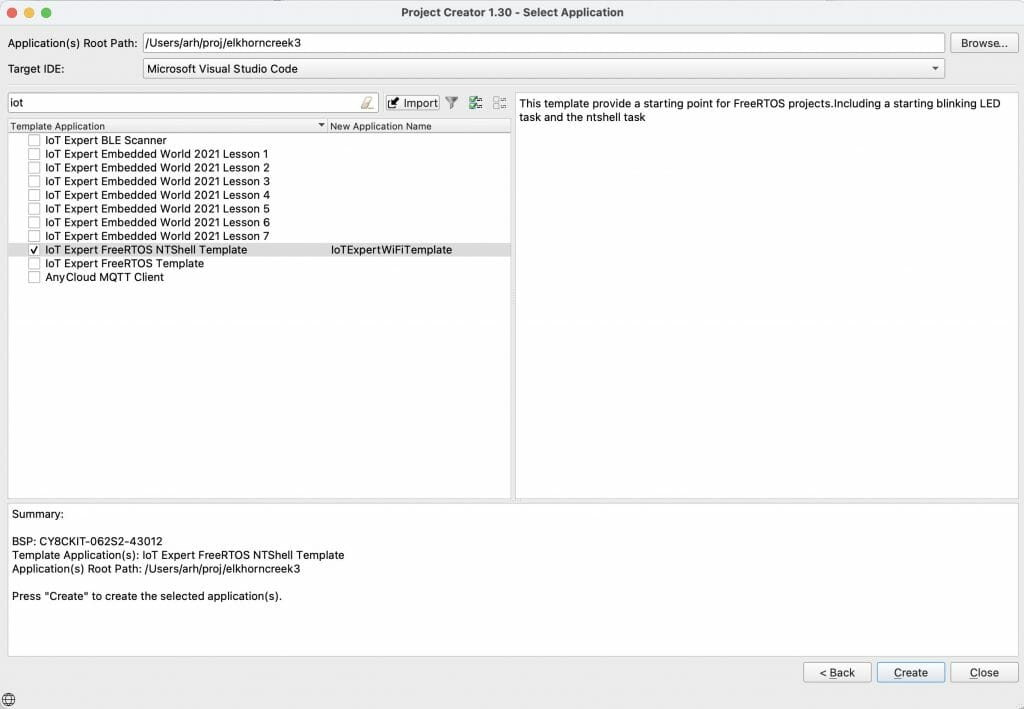
I want to start from my tried and true NT Shell, FreeRTOS Template. If you use the filter window and type “iot” it will filter things down to just the IoT templates. Notice that I selected that I want to get a “Microsoft Visual Studio Code” target workspace.
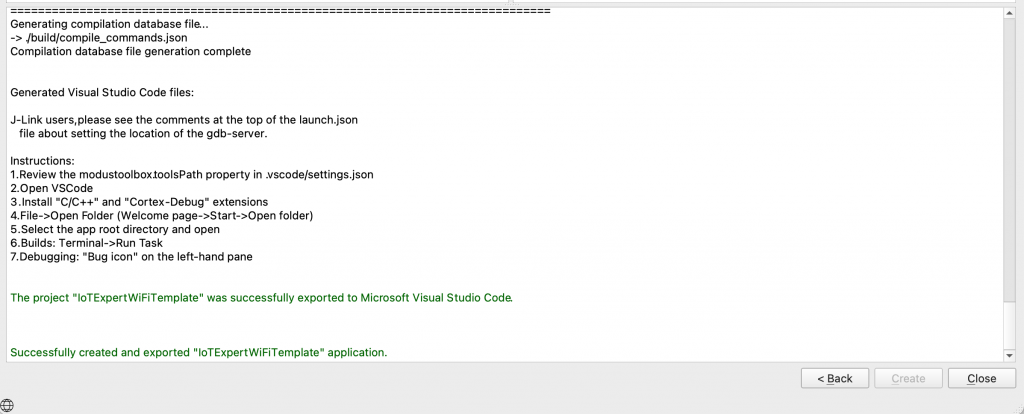
After clicking create you will get a new project.
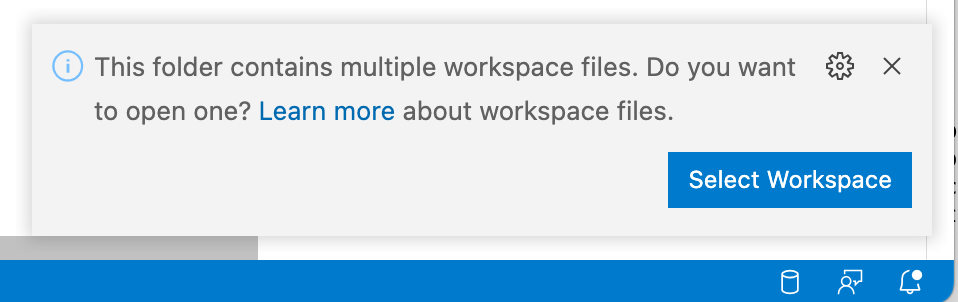
Something weird happened. Well actually something bad happened. When I start Visual Studio Code I get the message that I have multiple workspace files. Why is that?
So I pick the first one.

Now there is a problem. In the Makefile for this project I find out that the “APPNAME” is MTBShellTemplate
# Name of application (used to derive name of final linked file).
APPNAME=MTBShellTemplate
By default when you run “make vscode” it will make a workspace file for you with the name “APPNAME.code-workspace”. This has now created a problem for you. Specifically, if you regenerate the workspace by running “make vscode” you will update the WRONG file. When the new project creator runs the “make vscode” it uses the name you entered on that form, not the one in the Makefile.
To fix this, edit he Makefile & delete the old MTB…workspace. Then re-run make vscode
APPNAME=IoTExpertWiFiTemplate
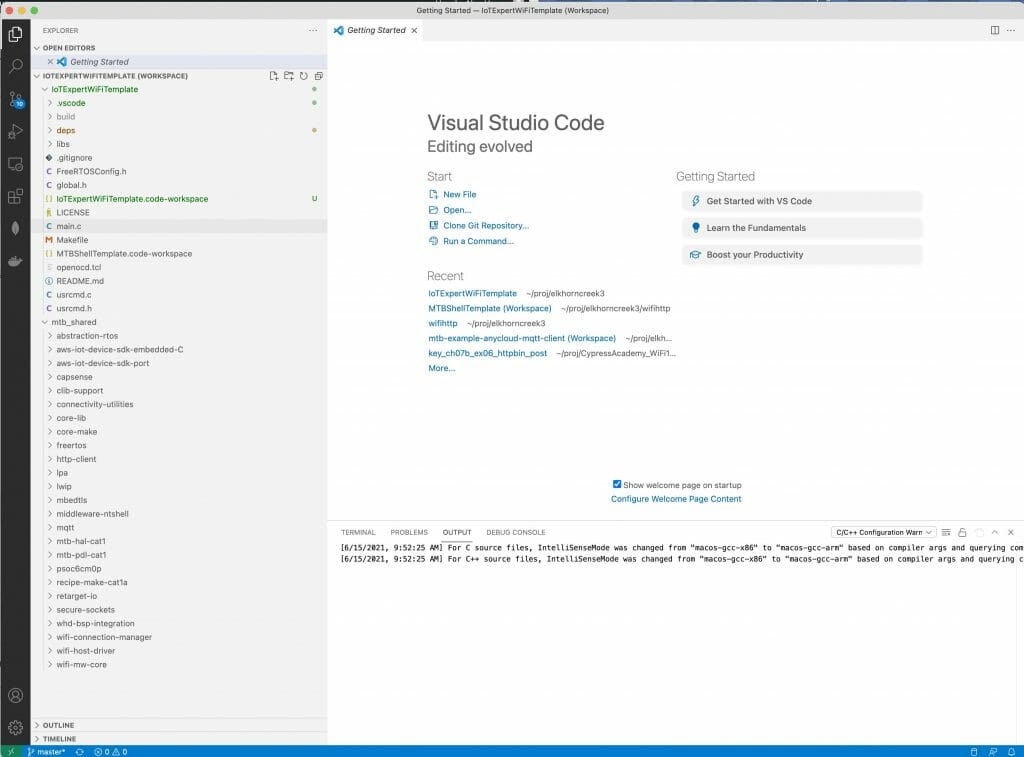
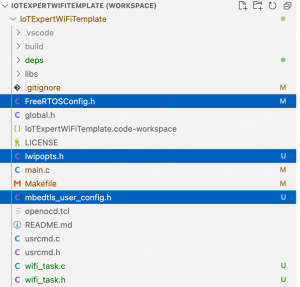
I have been checking in the *.code-workspace file, but that may not be exactly the right thing to do. I am not sure. Oh well. Here is what you screen should look like now that you have Visual Studio Code going.
I always like to test things to make sure everything works before I start editing. So, press the play button, then the green play button.
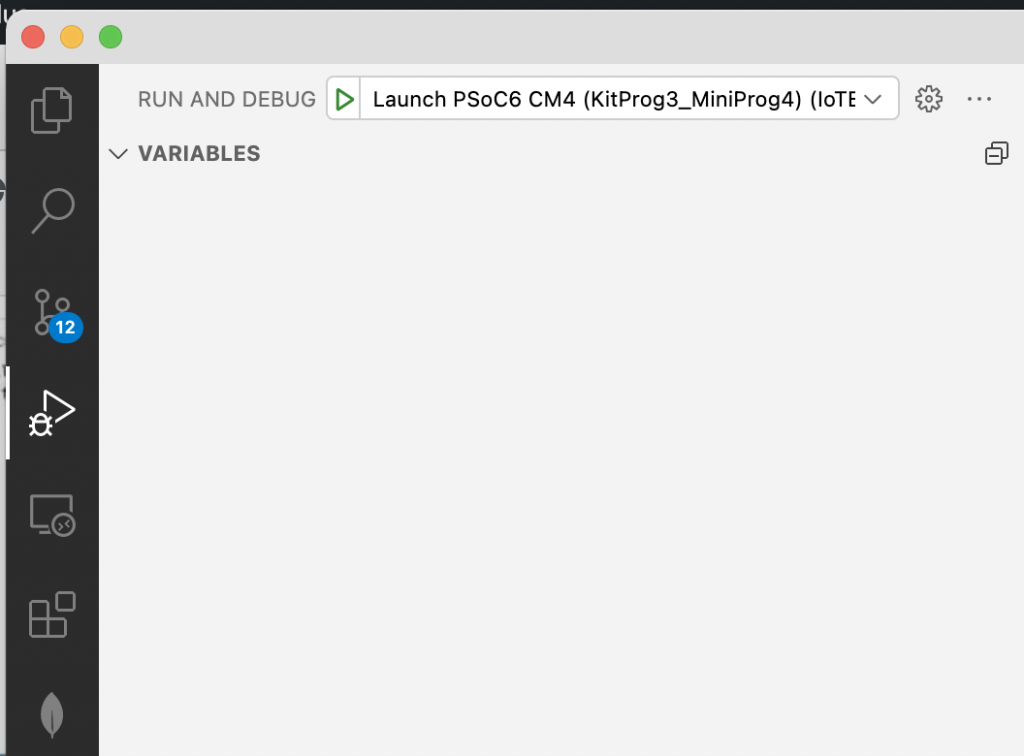
It should build and program the development kit.
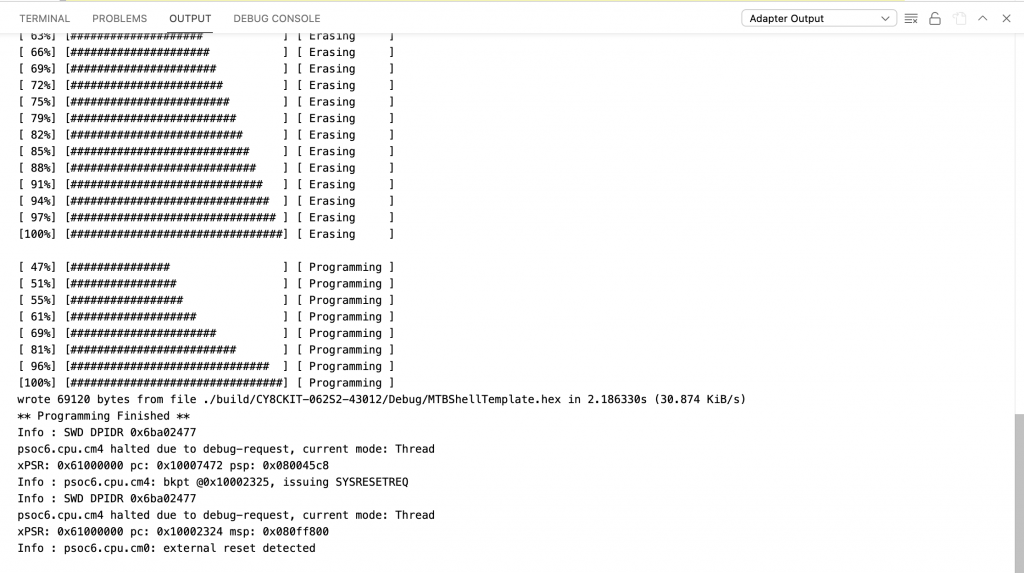
Then stop at main.
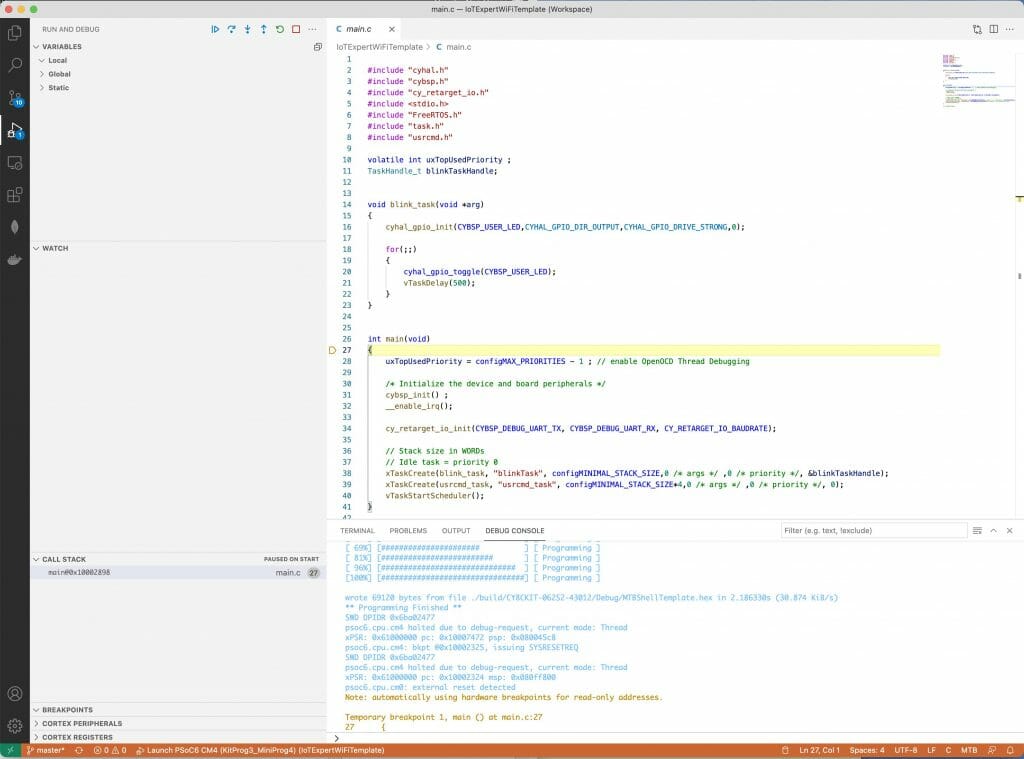
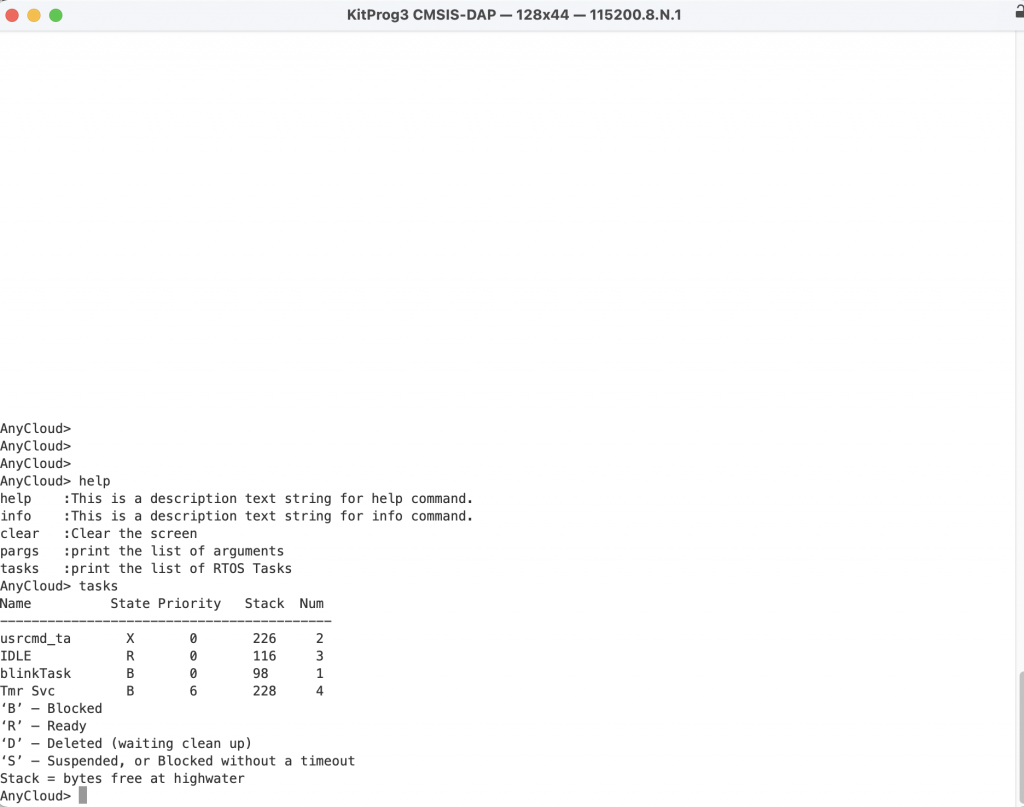
Press play and your terminal should look something like this. Notice that I typed “help” and “tasks”
Add the Cypress Logging Functionality
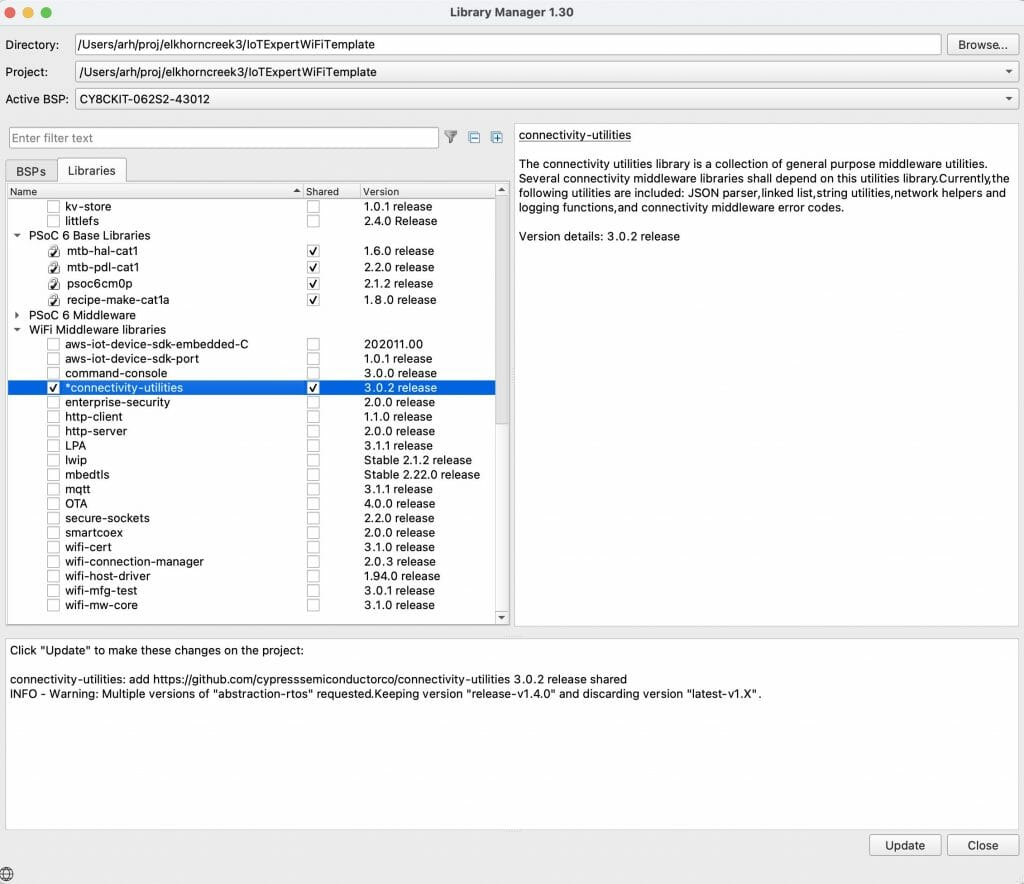
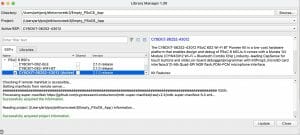
Sometime recently the Software team added a logging capability. This seems like a good time to try that that. Start the library browser by running “make modlibs”. Then enable the “connectivity-utilities”. For some silly reason that is where the logging functions were added.
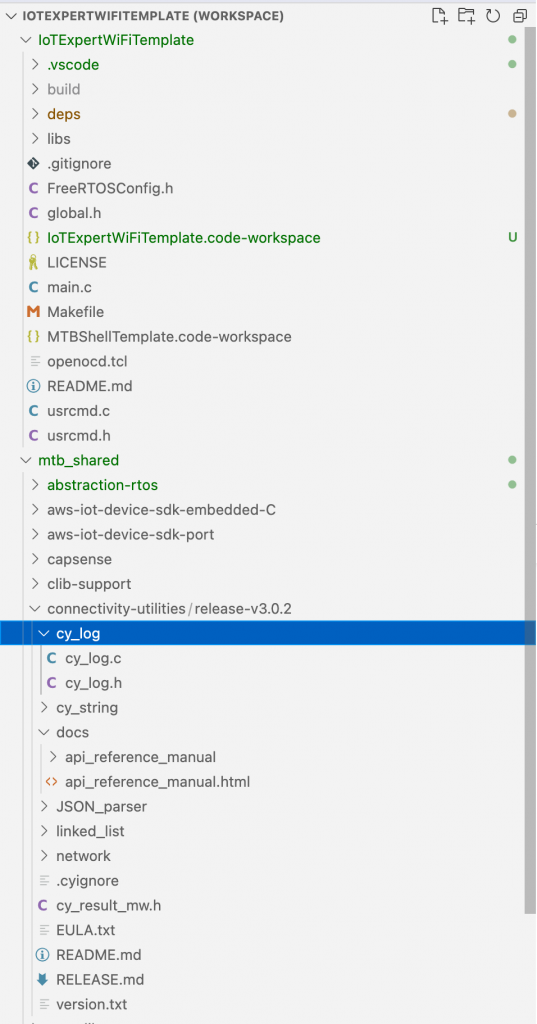
If you look in the “mtb_shared” you will now the cy_log directory.
Then click on the “api_reference.html”
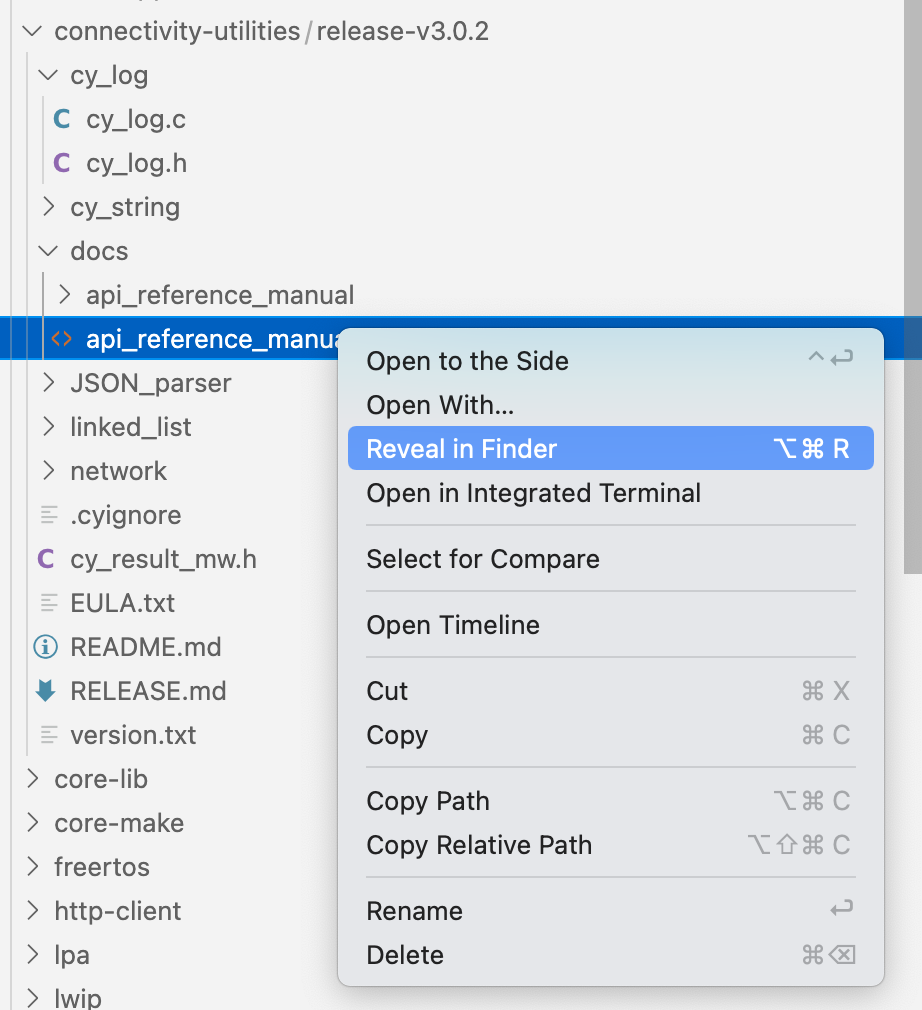
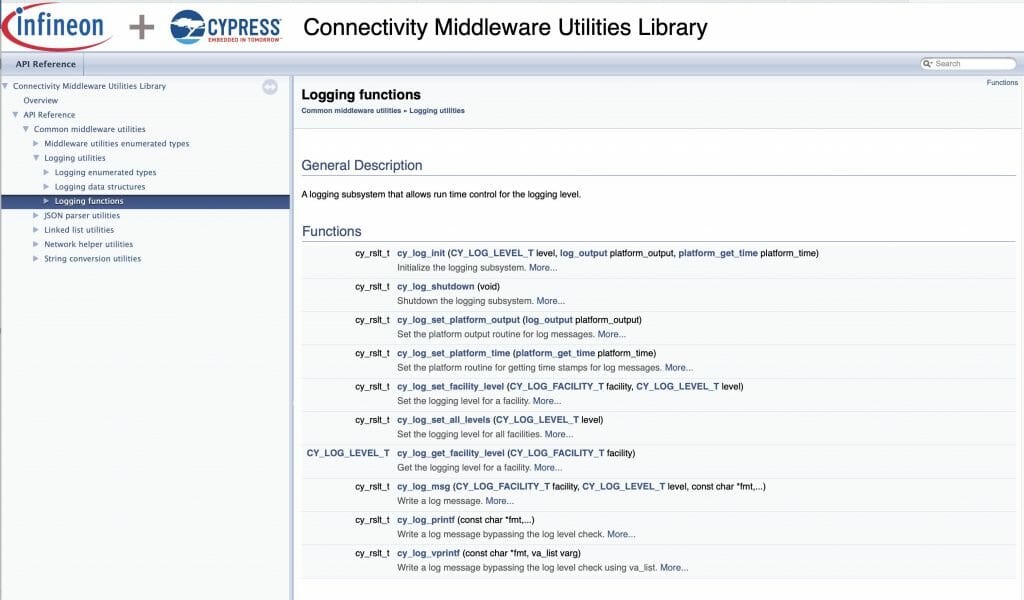
And open it.

Cool. This gives you some insight into the capability.
A simple test will be to printout a “blink” message in sync with the default blinking led. To do this, I modify the blink_task in main.c Take the following actions
- Add the include “cy_log.h”
- Add the initialization call “cy_log_init”
- Printout a test message using “cy_log_msg”
- Fix the stack
#include "cyhal.h"
#include "cybsp.h"
#include "cy_retarget_io.h"
#include <stdio.h>
#include "FreeRTOS.h"
#include "task.h"
#include "usrcmd.h"
#include "cy_log.h"

volatile int uxTopUsedPriority ;
TaskHandle_t blinkTaskHandle;


void blink_task(void *arg)
{
    cyhal_gpio_init(CYBSP_USER_LED,CYHAL_GPIO_DIR_OUTPUT,CYHAL_GPIO_DRIVE_STRONG,0);

    for(;;)
    {
        cy_log_msg(CYLF_DEF,CY_LOG_INFO,"Blink Info\n");
    	cyhal_gpio_toggle(CYBSP_USER_LED);
    	vTaskDelay(500);
    }
}


int main(void)
{
    uxTopUsedPriority = configMAX_PRIORITIES - 1 ; // enable OpenOCD Thread Debugging

    /* Initialize the device and board peripherals */
    cybsp_init() ;
    __enable_irq();

    cy_retarget_io_init(CYBSP_DEBUG_UART_TX, CYBSP_DEBUG_UART_RX, CY_RETARGET_IO_BAUDRATE);

    cy_log_init(CY_LOG_INFO,0,0);


    // Stack size in WORDs
    // Idle task = priority 0
    xTaskCreate(blink_task, "blinkTask", configMINIMAL_STACK_SIZE*2,0 /* args */ ,0 /* priority */, &blinkTaskHandle);
    xTaskCreate(usrcmd_task, "usrcmd_task", configMINIMAL_STACK_SIZE*4,0 /* args */ ,0 /* priority */, 0);
    vTaskStartScheduler();
}
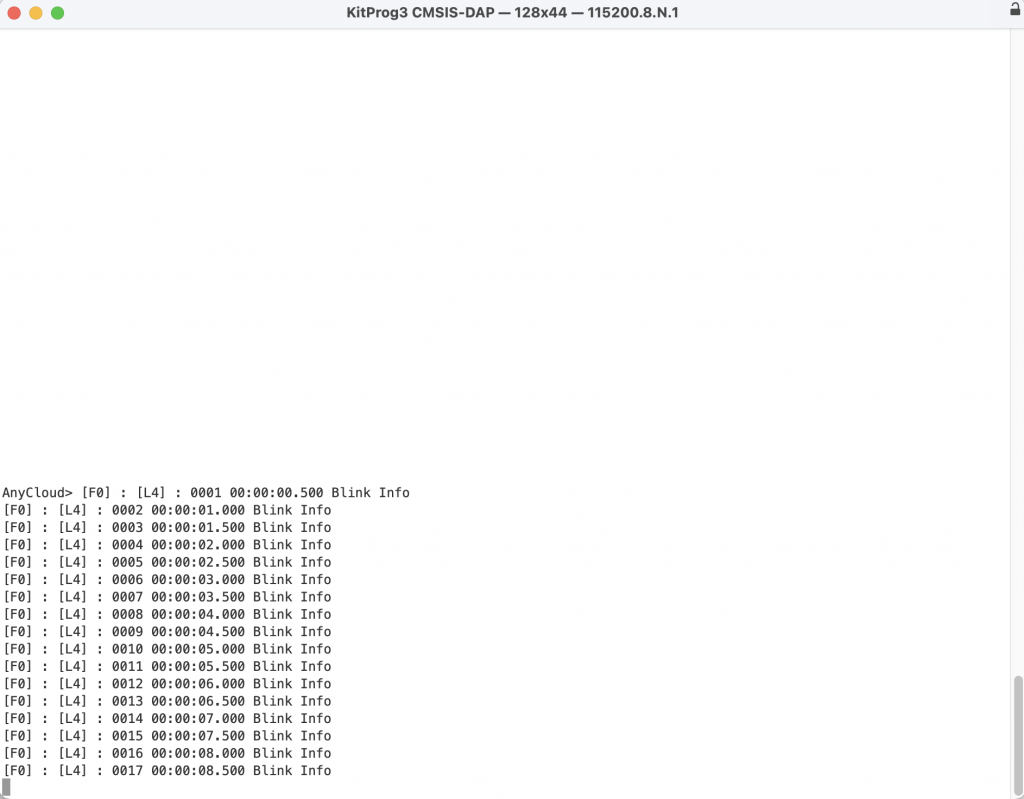
When you run this, you will get the message repeatedly coming on the screen (probably gonna-want-a delete this before you go on)
Now that we have a working project with logging, in the next article Ill add WiFi


1 Comment
look forward to learning