Summary
In a previous post I showed you how to build a CapSense GUI using the PSoC Analog CoProcessor. And, in an earlier, post I showed you how to make a WICED WiFi MQTT Publisher App that can send data to the Amazon IoT Cloud. Now I need to put it all together so that I can I2C read from the CapSense GUI and then publish that data to the Amazon Cloud. In order to do that I will need to make a few modifications to the Publisher App:
- Delay 100 ms (meaning the WICED WiFi board is I2C polling)
- Read the I2C Register 0 on the PSoC Analog CoProcessor Board
- If the position has changed, then Publish the new position to the Amazon MQTT Message Broker
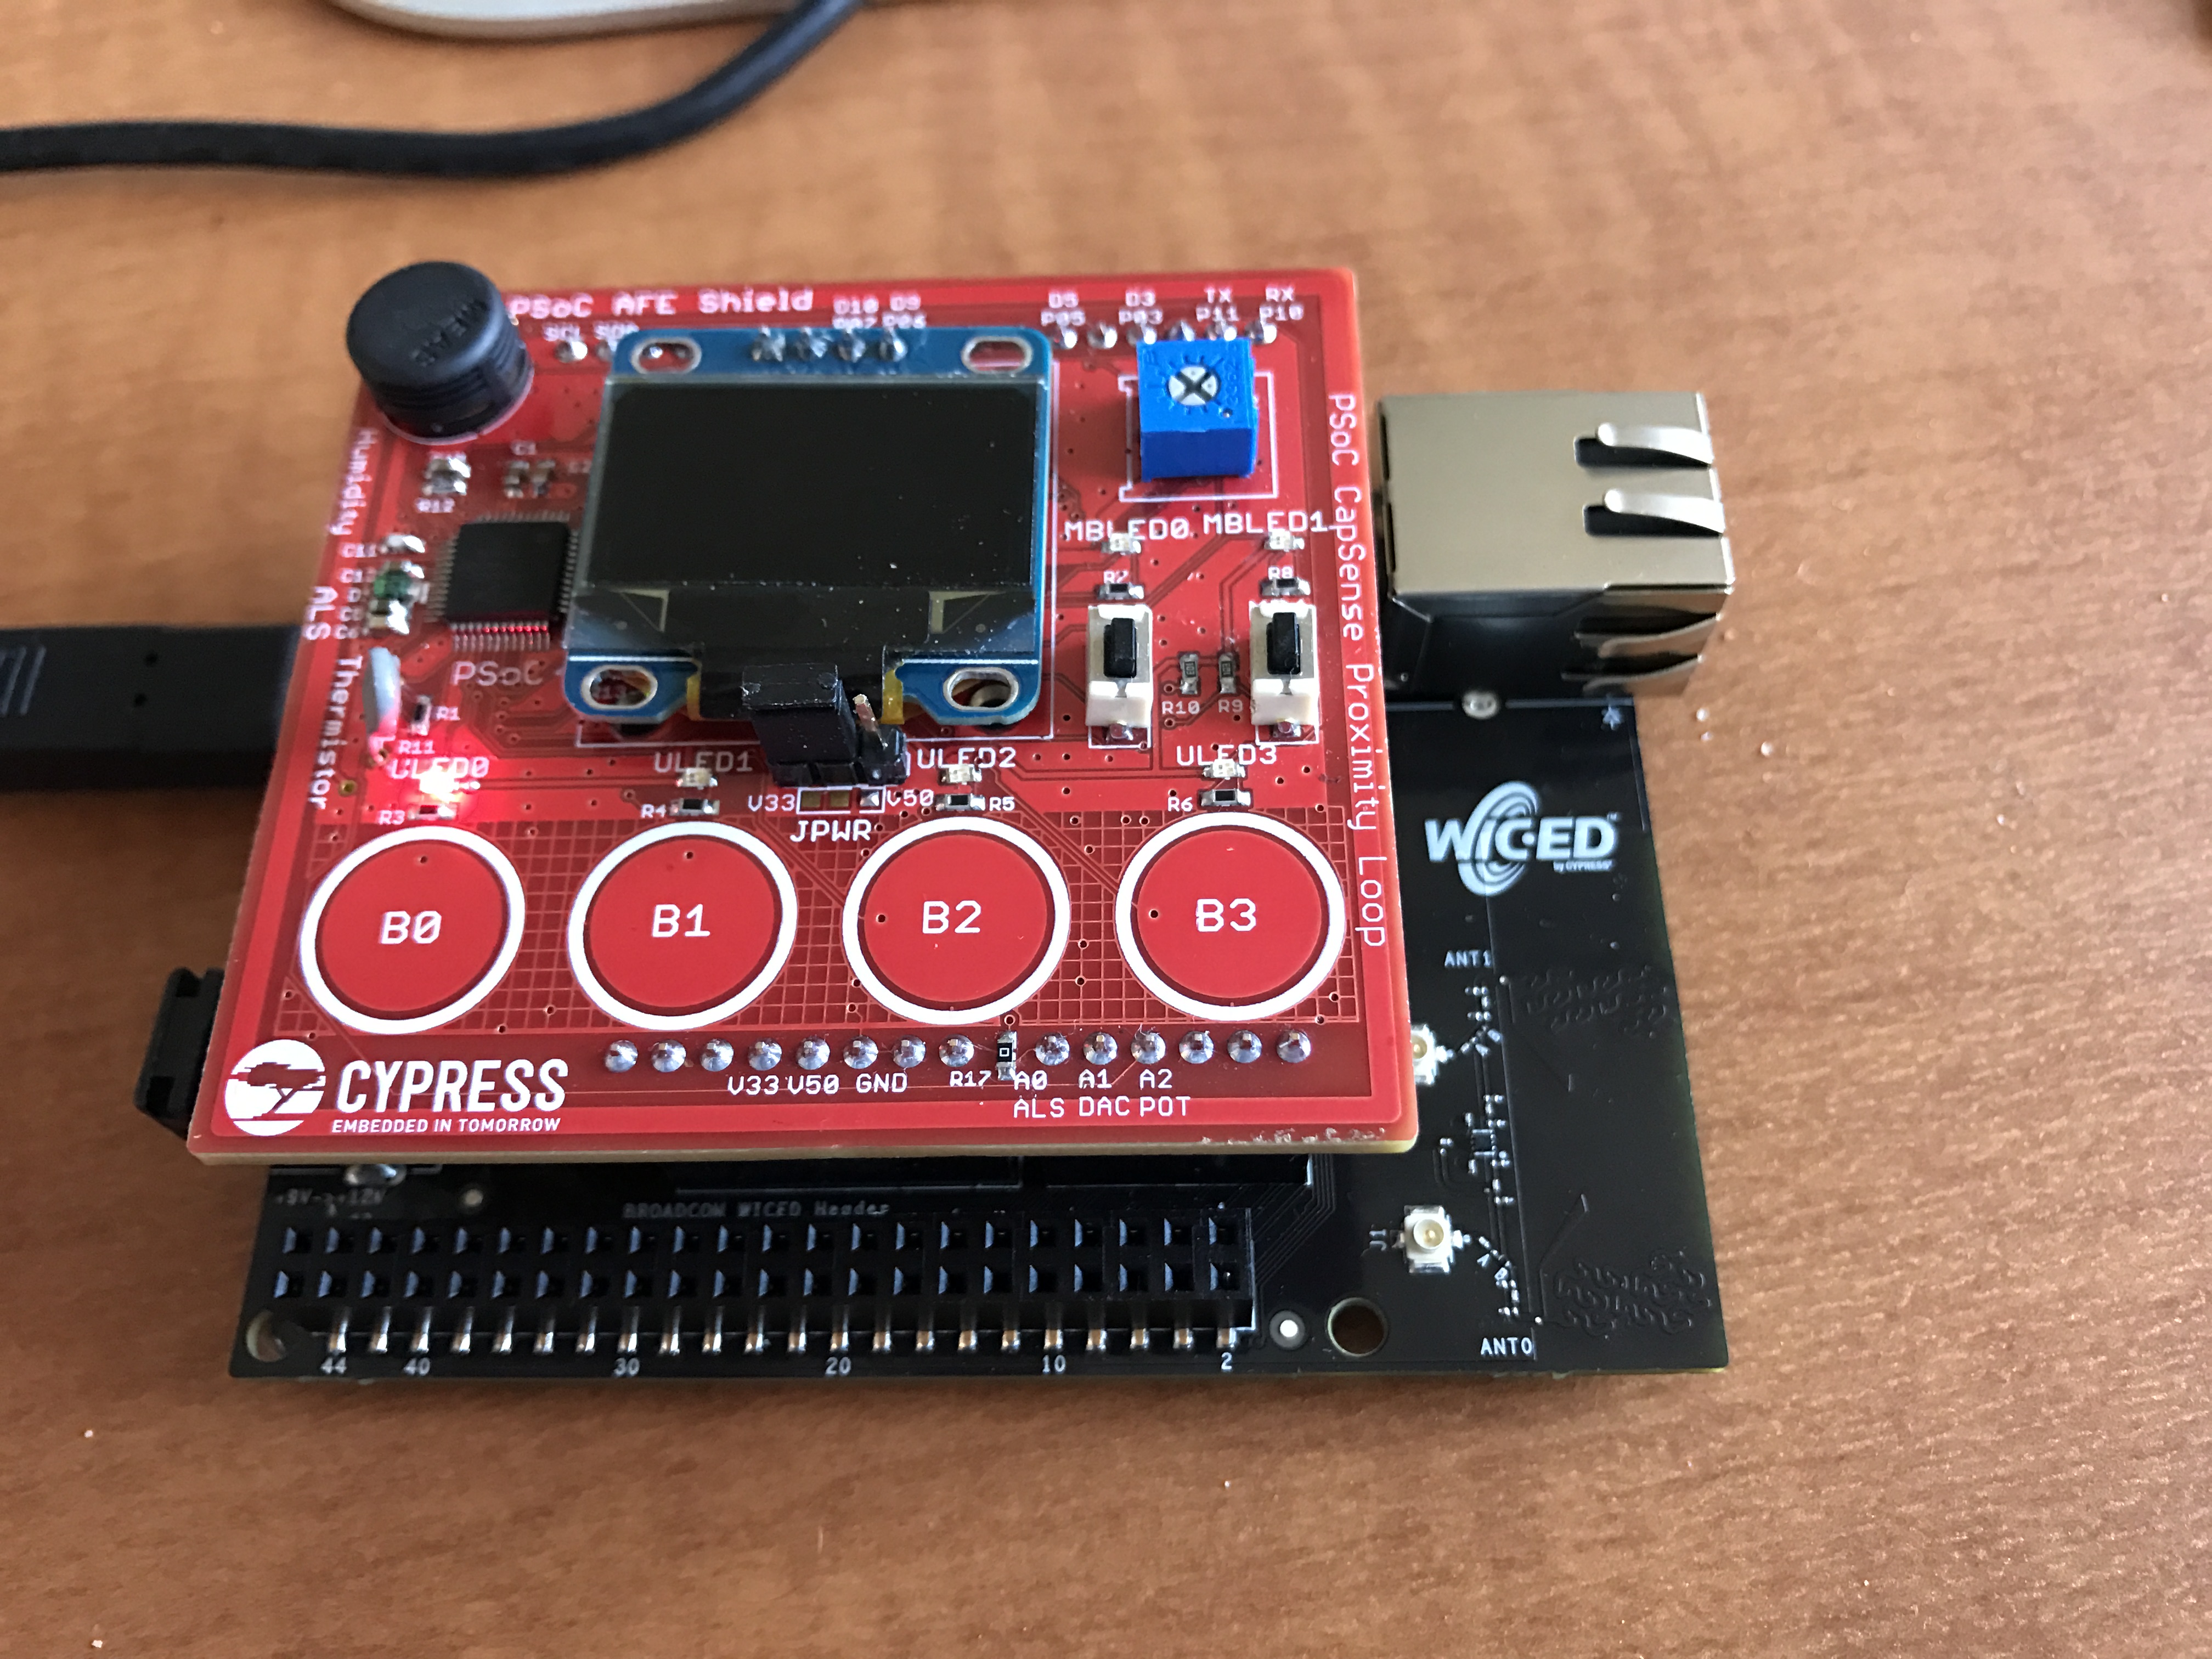
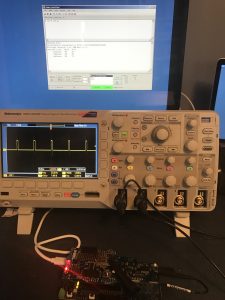
Here is a picture of the two boards connected together. If you have a sharp eye you probably noticed that the LED next to B0 is on. I changed the PSoC Analog CoProcessor firmware to retain the state of the last button press.
Modify the WICED WiFi MQTT Publisher Firmware
If you remember, the Publisher App was built to turn a light on and off when the user pressed the button on the board. To do this, WICED MQTT Published an ASCII message of either “LIGHT ON” or “LIGHT OFF” that was stored in a char pointer called “msg”. The original firmware also used the user button to trigger the publishing by setting a semaphore. I want the board to poll every 100ms the current state of the button, then if it is changed from the last time, publish a message with the new position. There are several things that need to happen to make this work
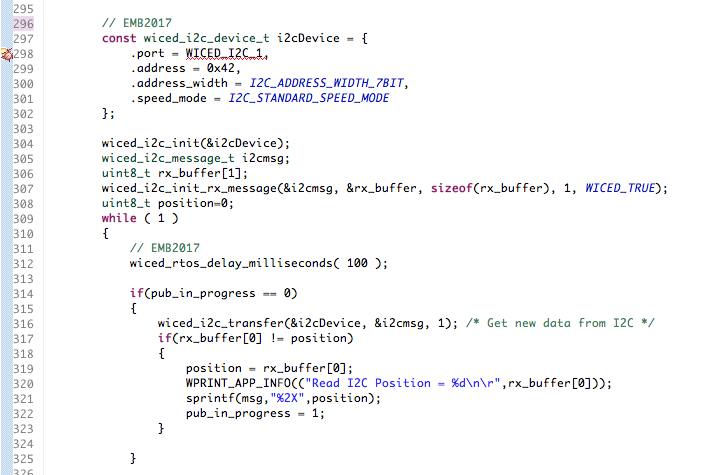
- Setup the I2C device: (lines 297 –> 307)
- Start the infinite loop (line 309)
- Delay 100 ms (line 312)
- Check to make sure that we are not in the middle of publishing. The publishing is an asynchronous transaction. (line 314)
- Read the I2C register of the PSoC (line 316)
- If the position has changed, then setup the message and activate a publish (line 317-322)
Test the WICED and PSoC Firmware
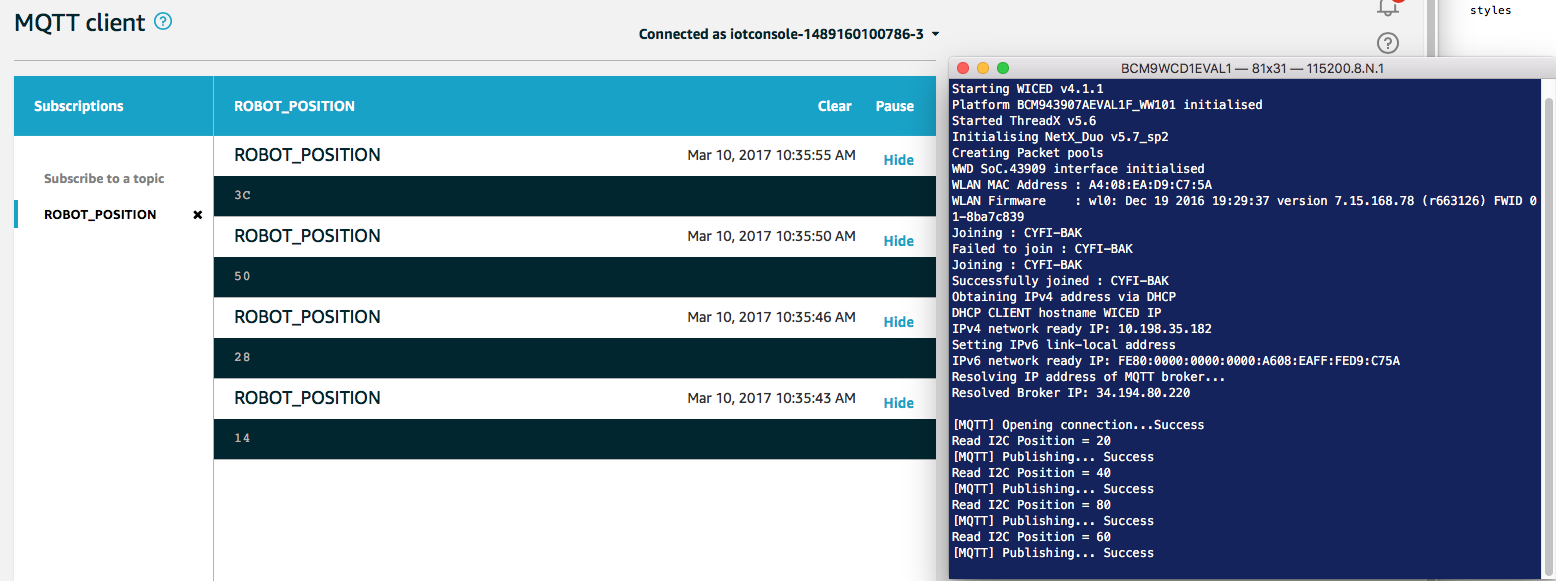
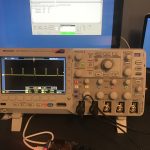
To test the whole setup I program the board, then attach to the Amazon Cloud MQTT Test Client. Then I use it to subscribe to the “ROBOT_POSITION” topic. You can see in the picture below the transactions that I tested:
- The WICED Development Kit booted
- WICED I2C read initial position = 20 (0x14)
- I pressed B2 and it read position =40 (ox28)
- I pressed B2 and it read position =80 (ox50)
- I pressed B2 and it read position =60 (ox3C)
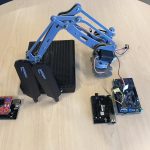
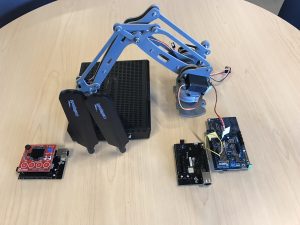
In the next article I will modify the Subscriber application to take the published position and write it via I2C to the new super secret development kit that is controlling the Robot ARM.

4 Comments
Hi. Thanks for the great posting.
May I know your solution is working on Ethernet port instead of Wifi connection for the AWS Iot service? Any changes for it?
Yes. It will work on WiFi or Ethernet. When you wiced_network_up your an specify the Ethernet interface. You can just right click on the options and it will tell you the choices.
I am starting out. I am having problems with the WIFI drivers. Any links to help me
Your best bet is to start a new project and look at the “AnyCloud” example projects in the template project list of the new project creator.
Alan