Summary
In this article I will take you through the firmware that I will be using to control the Robot Arm Servo Motors. The Business Unit Manager is being a total pain the neck about letting me tell too much about his new product before the announcement at Embedded World next week. He is from Indiana, so that probably explains his dogged recalcitrance (just joking… Im from KY and there is a big rivalry). Anyway. You will be able to see some things about the new chip if you look closely what I am doing. My design will have:
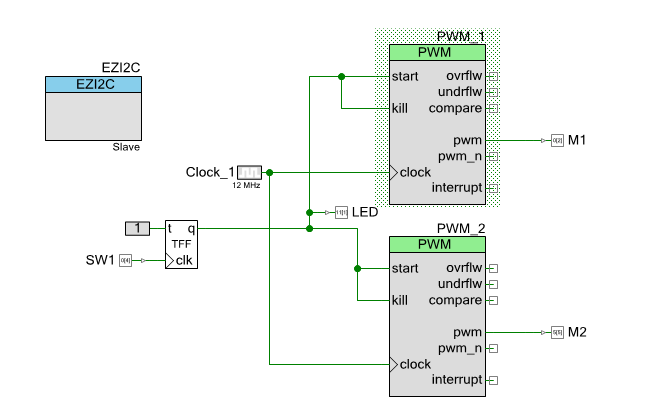
- An EZI2C to support communication with the WICED I2C Master
- Two PWMs to control two servo motors
- A connection to the onboard switch and LED to turn the servo PWMs on/off
Building the Servo Firmware
To make the design I first create a new project and the edit the schematic. In this new chip there is clearly some logic gates as you can see that I control the PWMs with a Toggle Flip Flop. Basically every time I press the switch it toggles the flip flop and then either starts or kills the PWMs. This is very handy when you are trying to figure out what is going on with the PWMs and the servos.
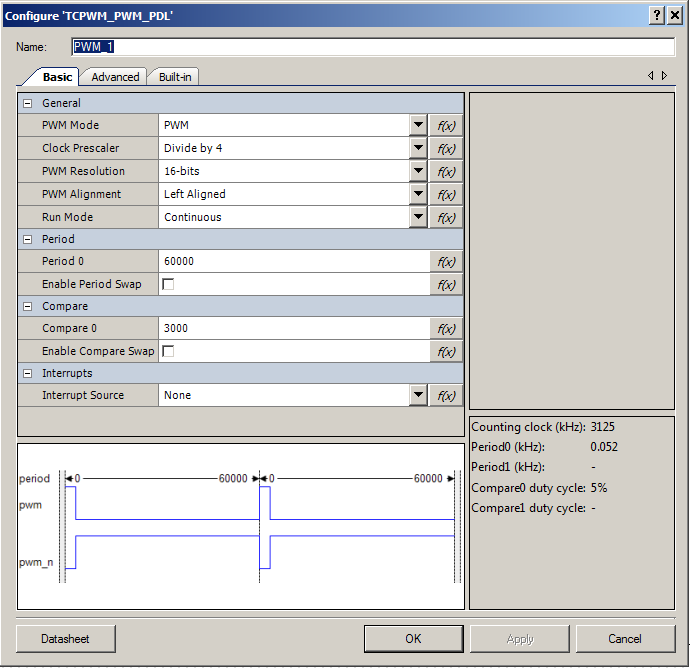
As in earlier Cypress chips you double click the component to configure it. Ill start with the PWMs and observe that we have another new GUI for configuring PWMs. The servo motors want a pulse that is between 1 and 2 ms wide at a frequency of 50hz. My PWM has a 12 Mhz clock input, which is then divided by 4 with the prescaler, and finally by 60000 by the PWM itself. That equation yields a period o.052 kHz which (also known as 52hz) as PSoC Creator helpfully tell us. By setting the compare to 3000 I will end up with a pulse of 1MS (about).
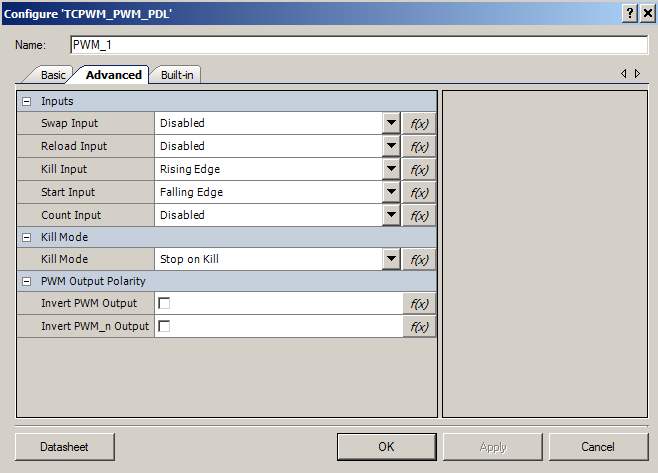
In order to configure the PWM to have the start/kill inputs, I select the Advanced tab and setup the PWM to start when the toggle flip flop goes low. And I get it to kill (stop) when the toggle flip flop goes high. I choose active low because the LED that is attached to the circuit to indicate the state to the user is active low.
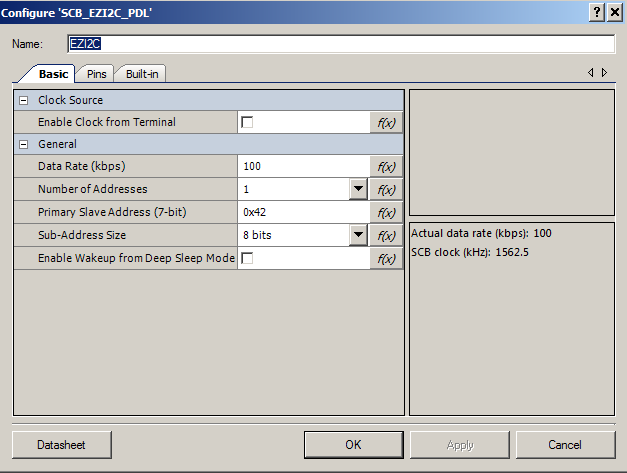
Next I configure the EZI2C by double clicking it. It looks like there is a new interface for EZI2C as well… but under inspection there is nothing too tricky.
Once I have the schematic built, I need to assign the Pins which is done using the DWR Pins Menu (as you did with earlier Cypress chips)
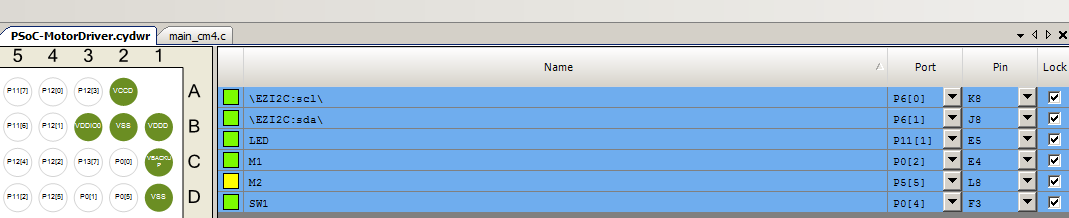
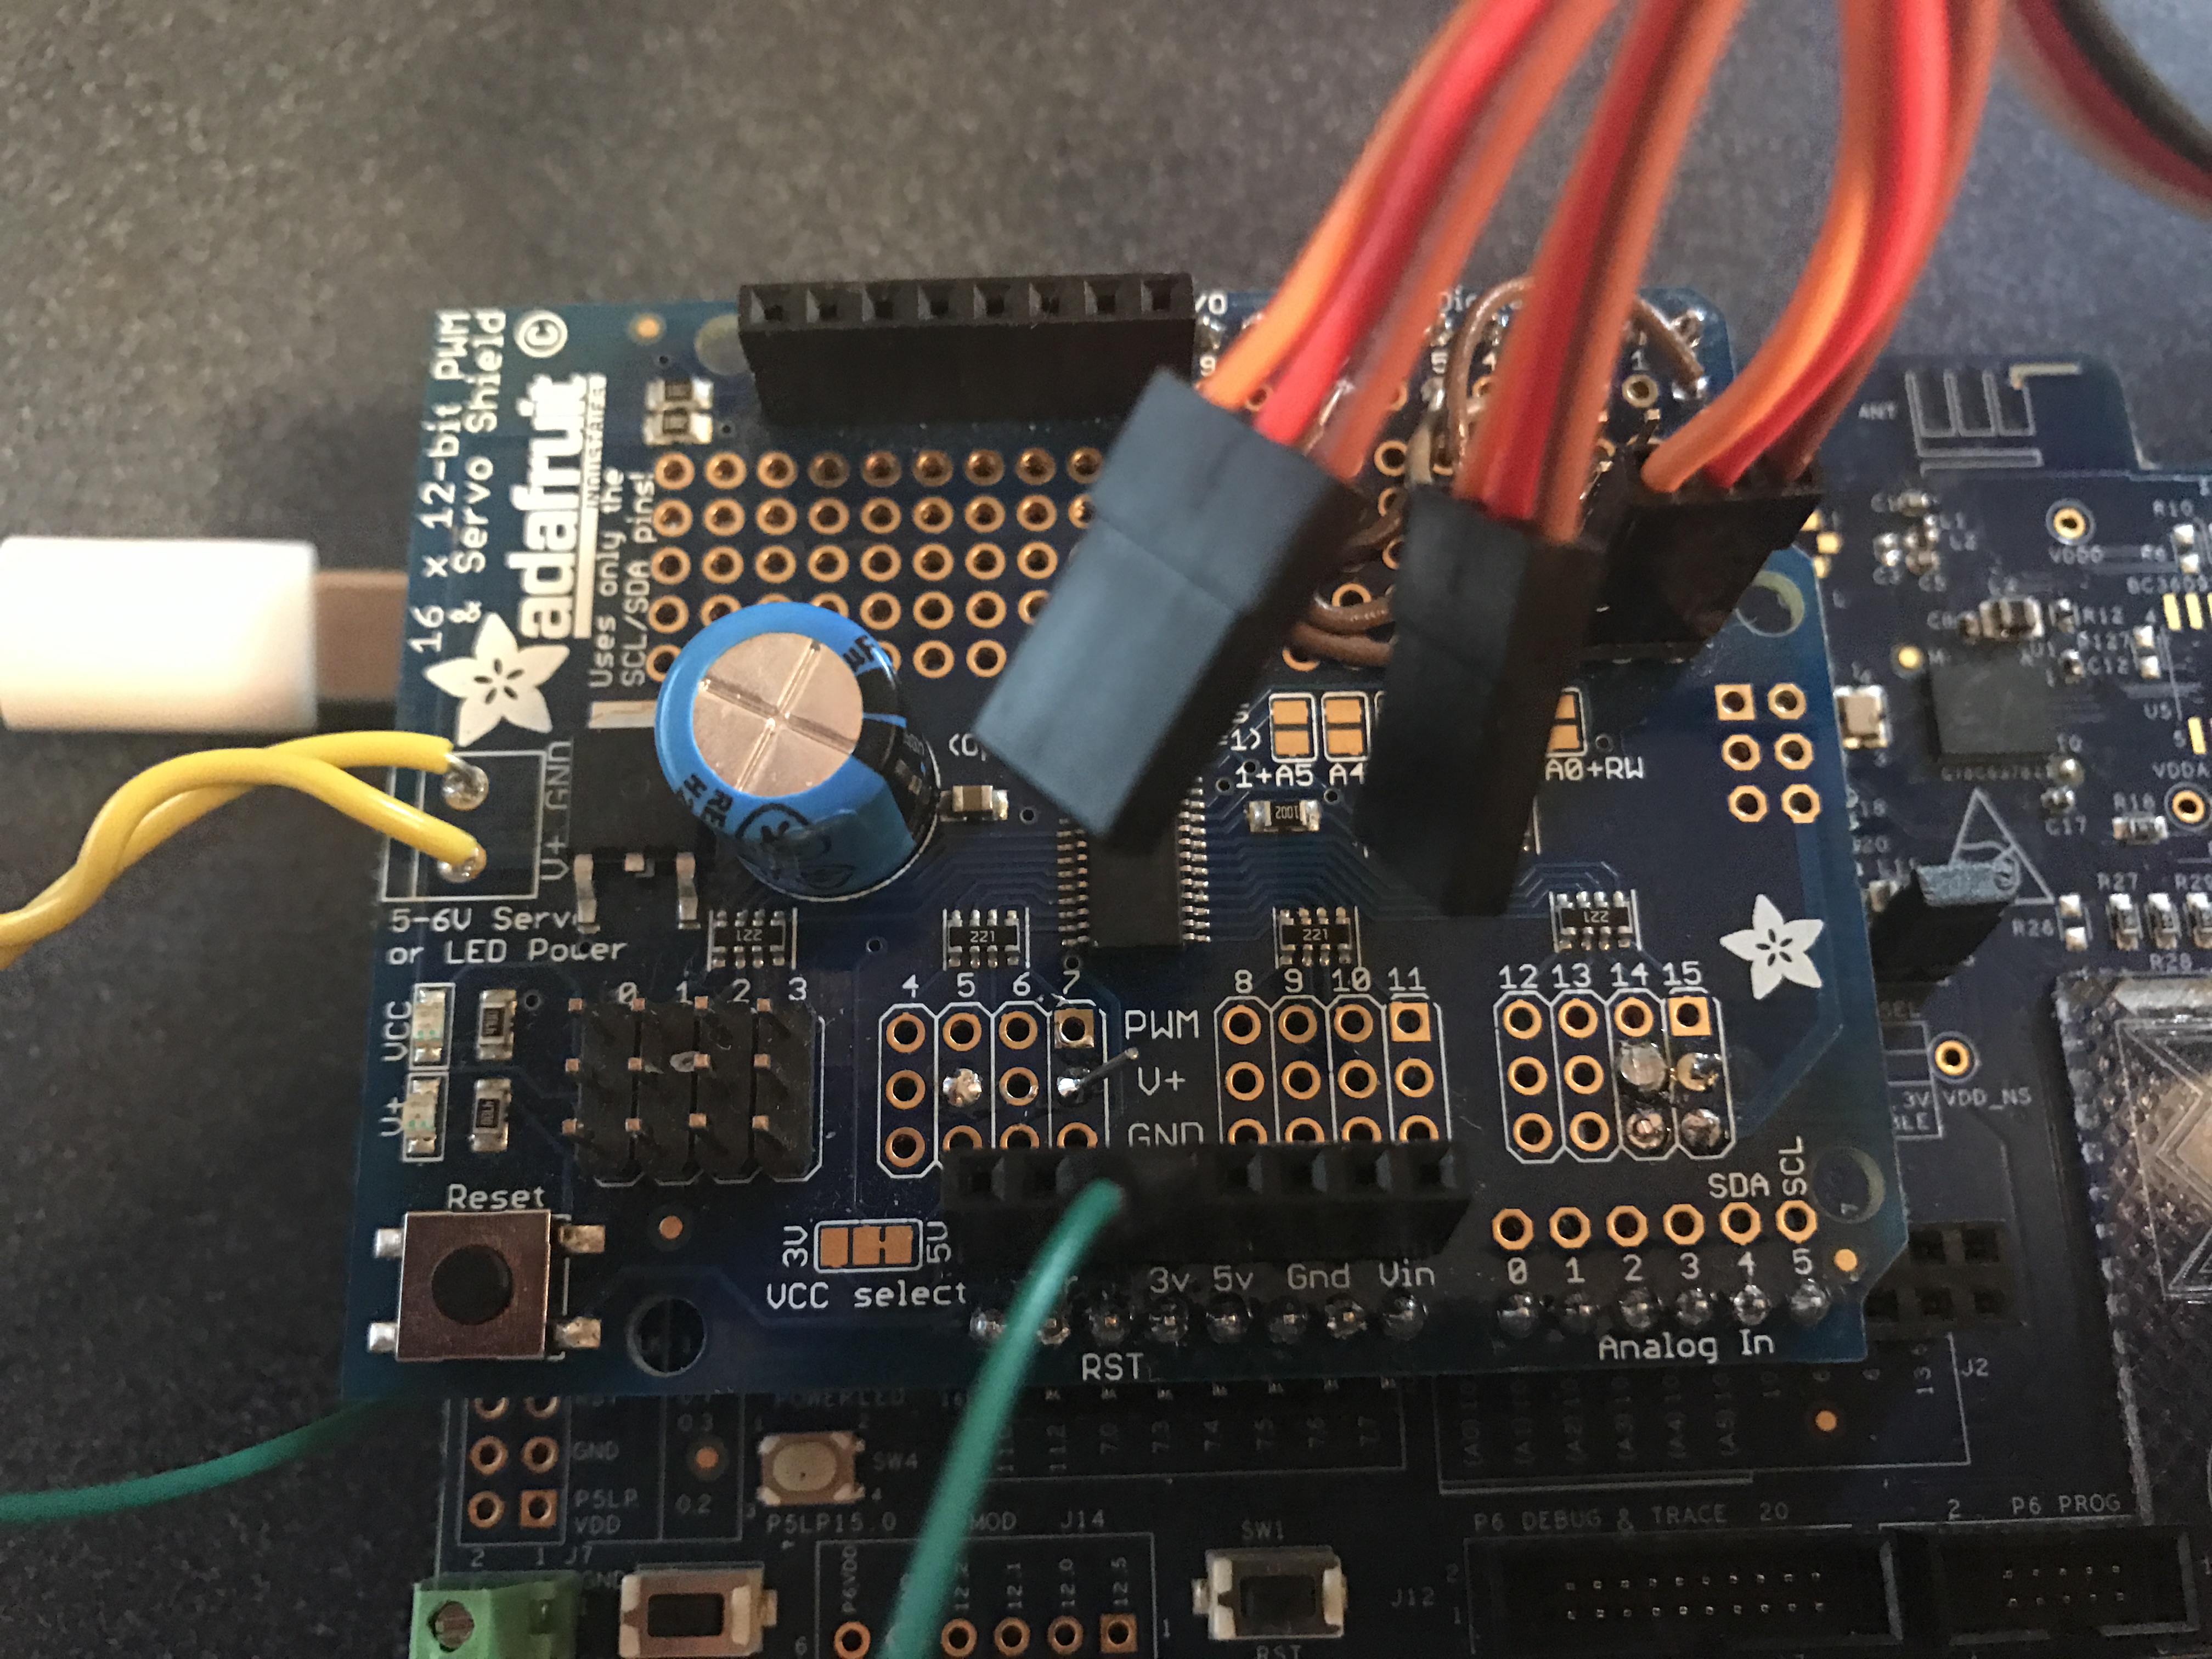
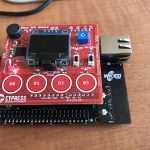
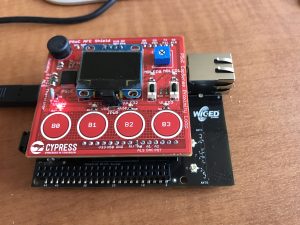
Hmmm it looks like the new chip comes in a BGA, and seems to have a bunch of pins. For the purposes of this demo, I assign the two motor pins too two of the pins on the Arduino Adafruit Servo Shield that I am using to make the connectivity easier. This was a neat way for me to be able to plug in servo motors and provide them with power from something other than the chip, but still drive them with the chip. Here is a picture of my shield.
Build the Firmware
The firmware is very simple.
- Declare a structure to hold the data from the I2C master (lines 8-11)
- Start & Configure the EZI2C (lines 21-23)
- Start & the PWMs (lines 24-28)
- In the main loop, when there is a complete write from the I2C Master, Update the PWM compare values
- The function convertPercentToCompare calculates the compare value required based on a number 0-100 (aka percent)

Testing the Firmware
To test the firmware I use the Bridge Control Panel to issue I2C Commands (as I did in the earlier post). You can see that I did a list devices. Then sent several different percents (they are in hex).

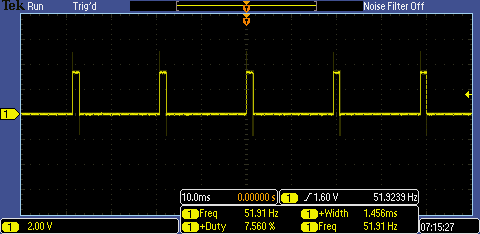
Here screenshot from my oscilloscope where you can see that I entered 0x32 (aka 50%) so the width of the pulse is 1.5ms @ 50Hz.
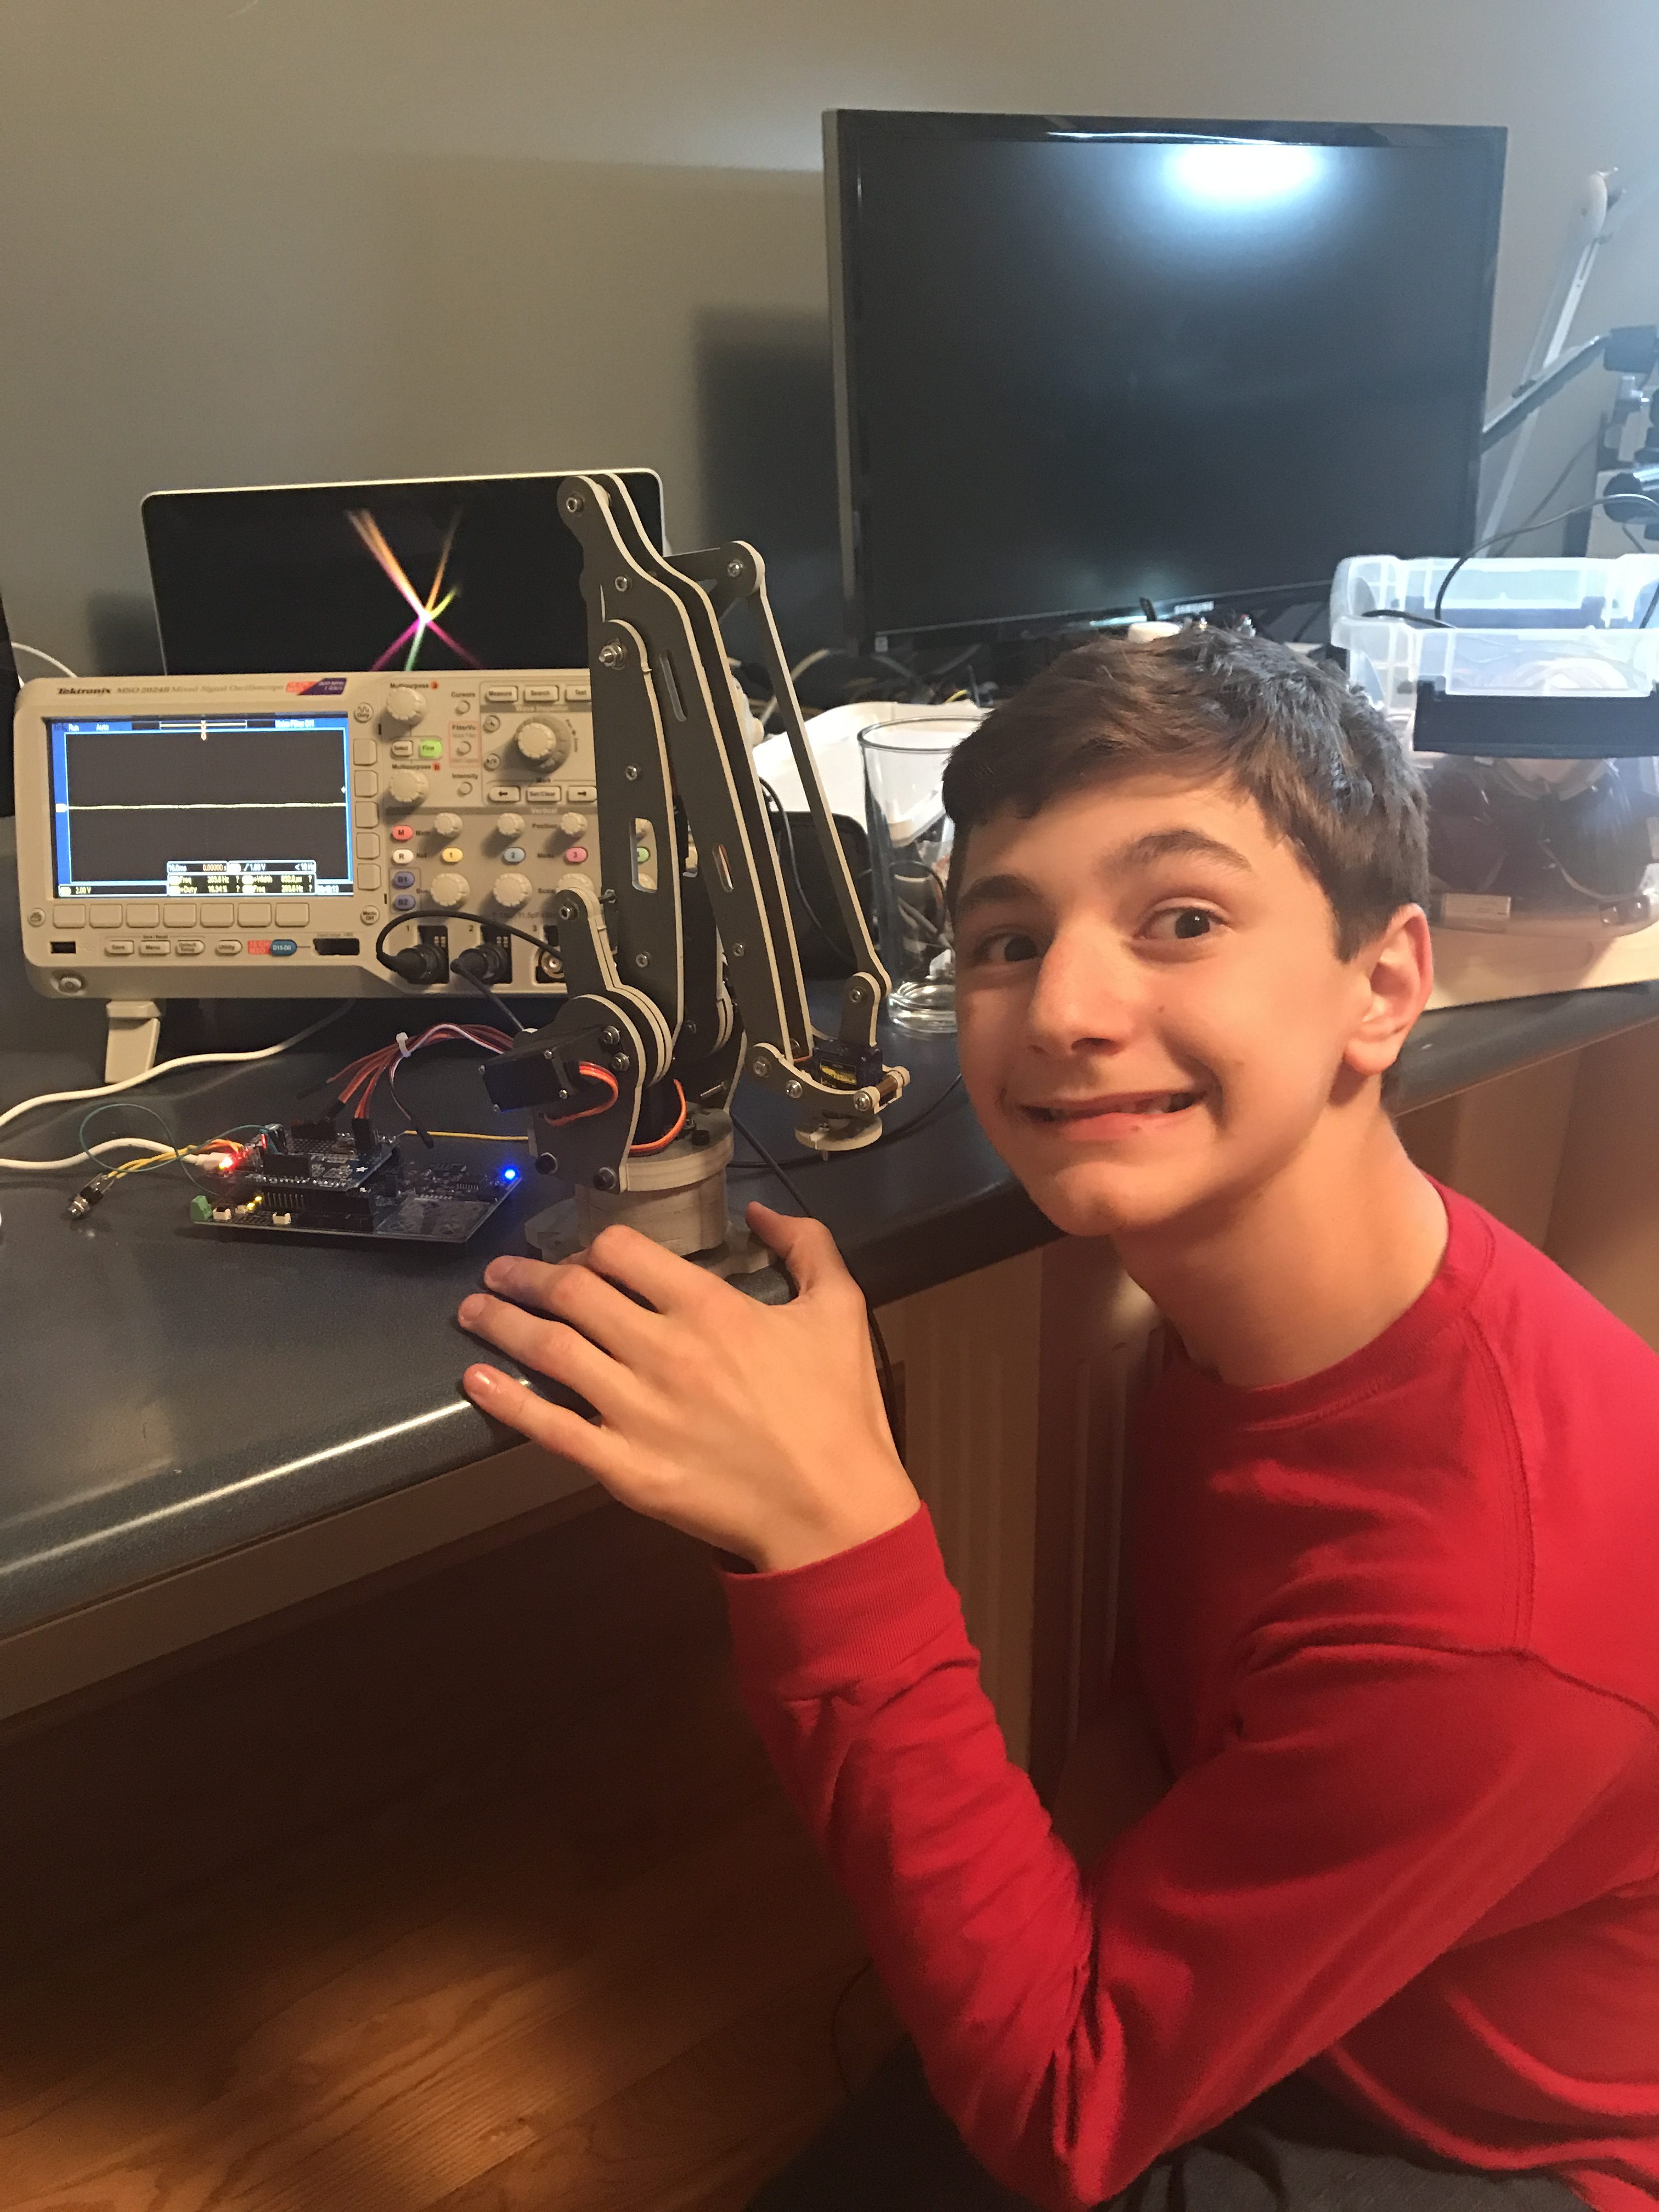
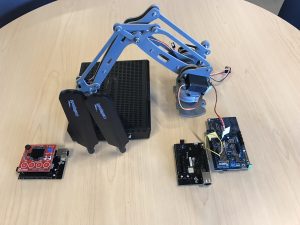
And it seems to work pretty well at controlling my Servo Motor Robot ARM. Nicholas looks a little bit crazy, probably the result of too much Solder smoke?
In the next article I will make the final connection to the WICED WiFi kit which will give me end to end connectivity through the Amazon IoT Cloud.
Alan
p.s. I love this new chip, you guys are going to be blown away.

No comment yet, add your voice below!