Embedded World 2021 - Infineon ModusToolbox PSoC 6 Drone
#
Description
0
Introduction & Resources
1
FreeRTOS & CapSense
2
3-D Magnetic Sensing XENSIV Joystick
3
WiFi
4
MQTT
5
Low Power
6
BLDC Motor Control
7
WS2812 Strip LEDs
Summary
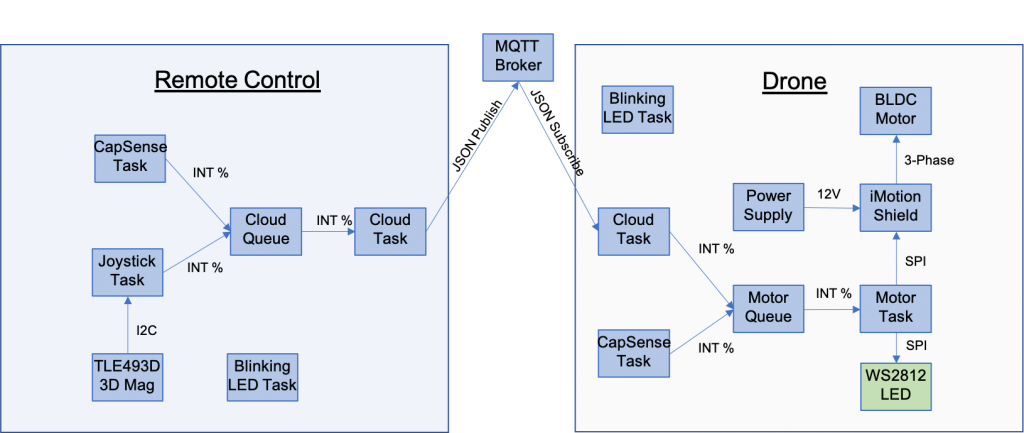
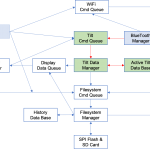
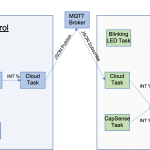
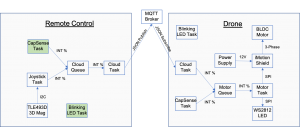
In lesson 7 we will finish this Frankenstein drone setup by adding WS2812 Strip LEDs. At the end of lesson one you will have the “WS2812 LED” block colored green. Here is the architecture:
Learning Objectives
- Have fun by adding another cool library – WS2812
Procedure
- Create a new project
- Add the IoT Expert WS2812 Library
- Modify motor_task.c
- Test
1. Create a new project
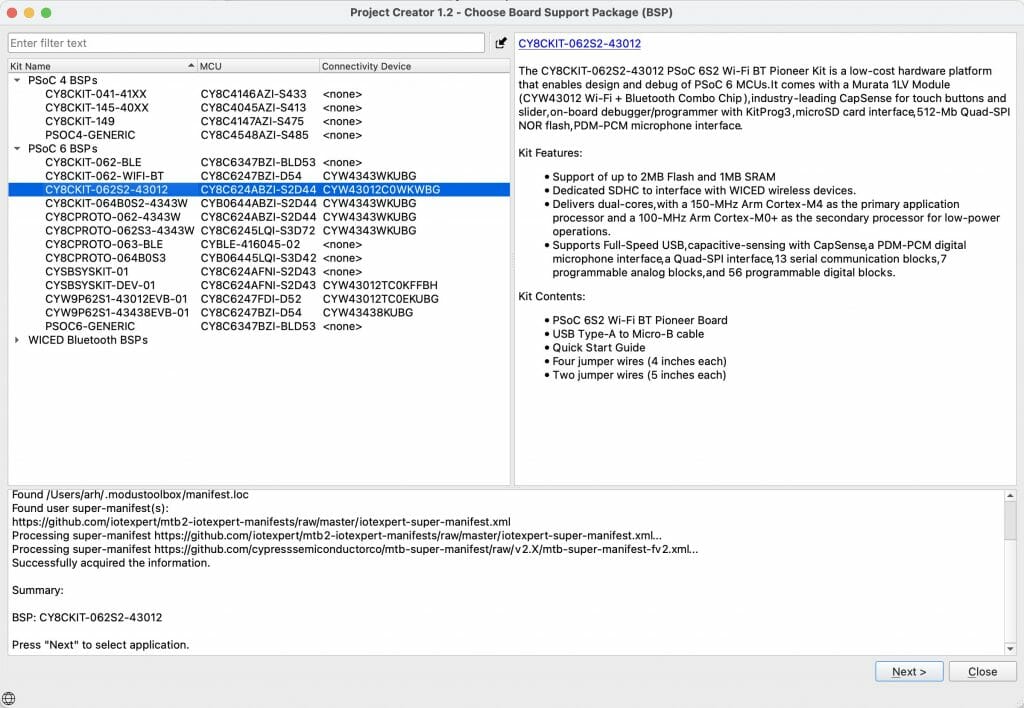
Start from the CY8CKIT-062S2-43012
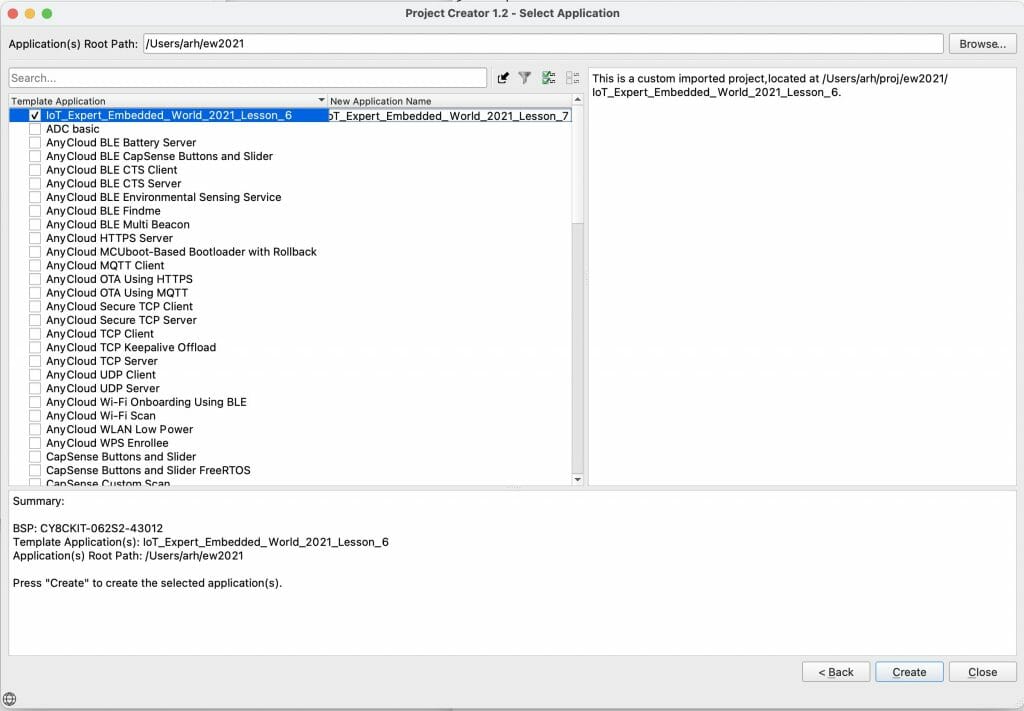
Give the project a sensible name. In this case IoT_Expert_Embedded_World_2021_Lesson7
2. Add the IoT Expert WS2812 Library
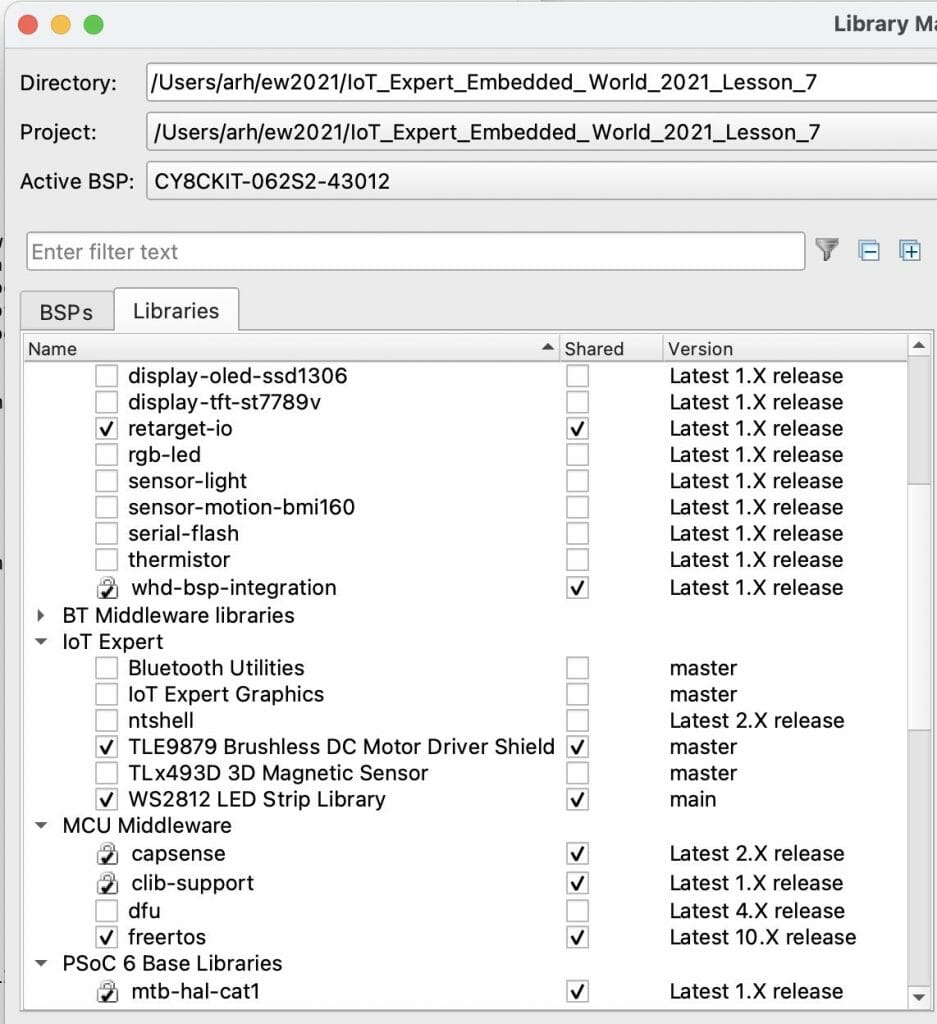
You need to find the IoT Expert WS2812 library and include it into your project.
3. Modify motor_task.c
Include the header file for the library.
#include "ws2812.h"
The number of LEDs in our system
#define NUM_LEDS (61)
Define some colors to use and initialize the LED strip
/* LED color array - 7 different colors each with RGB values */
uint8_t ledColors[7][3] = {
        { 0,  0,  0},	// Off
        {20,  0, 30},	// Violet
        { 0,  0, 50},	// Blue
        { 0, 50,  0},	// Green
        {30, 20,  0},	// Yellow
        {42,  8,  0},	// Orange
        {50,  0,  0},	// Red
};

 uint8_t ledColorRow = 0;
 uint8_t ledColorRowPrev = 0;
/* Initialize LED strips */
ws2812_init(NUM_LEDS, P10_0, P10_1, P10_2);
A bit of code to send updates to the LED strip based on the status of the motor.
/* Calculate LED color and update if it has changed */
            if(motorState == false)
            {
                /* Turn off LEDs */
                ws2812_setMultiRGB(0, NUM_LEDS-1, 0, 0, 0);
                ws2812_update();
                ledColorRowPrev = 0;
            }
            else
            {
                ledColorRow = 1 + (uint8_t)((( (uint16_t)motorSpeed - (uint16_t)RPM_MIN ) * 5) / ((uint16_t)RPM_MAX - (uint16_t)RPM_MIN)); /* Determine row to use */
                if(ledColorRowPrev != ledColorRow)
                {
                    ws2812_setMultiRGB(0, NUM_LEDS-1, ledColors[ledColorRow][0], ledColors[ledColorRow][1], ledColors[ledColorRow][2]);
                    ws2812_update();
                    ledColorRowPrev = ledColorRow;
                }
            }
4. Test
Let it rip tater chip
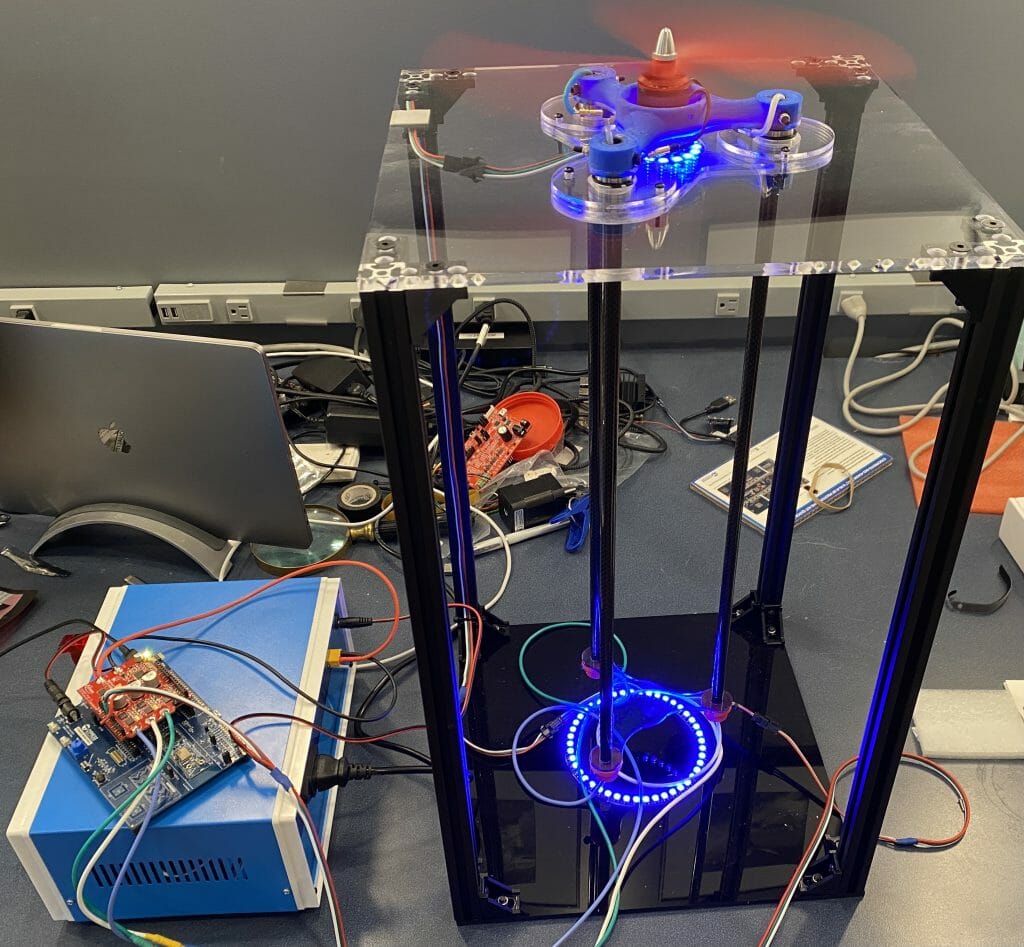
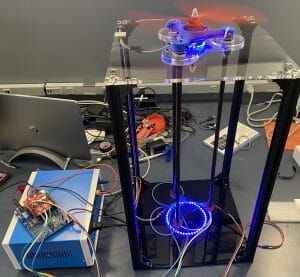
Here it is with the LED strips on…
Resources for Project
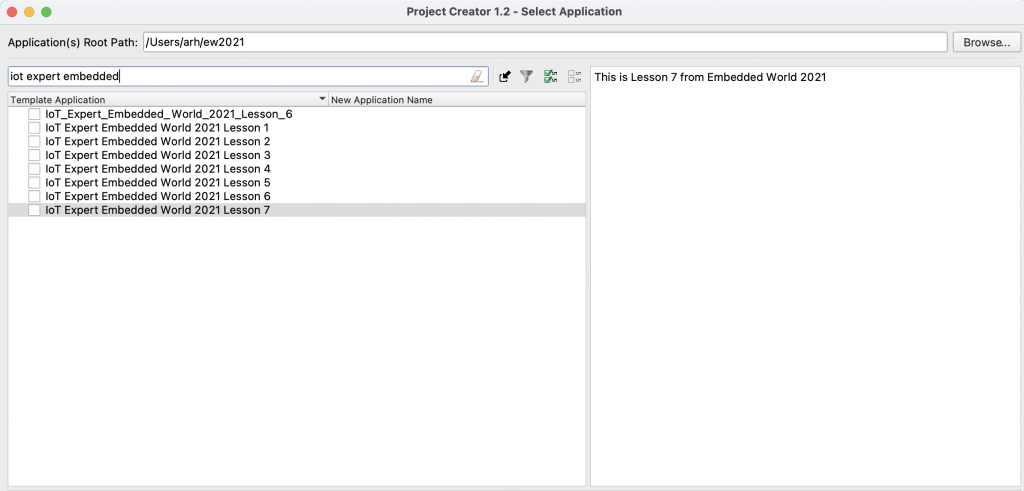
You can find the completed project in your project creator dialog by filtering for “IoT Expert Embedded”. This is lesson 7
You can also clone this project at git@github.com:iotexpert/ew21-lesson2.git or https://github.com/iotexpert/ew21-lesson2

2 Comments
Hi Alan,
Many thanks for your lessons and videos/tutorials.
Please explain what is wrong with your CYBSP_D11 pin names here. Thanks a lot!
Is there any news about the BSP/GPIO naming convention for the future?
Best regards,
Andrej
/* Initialize and configure the motor driver */
tle9879sys_init(&tle9879_sys,
CYBSP_D11,
CYBSP_D12,
CYBSP_D13,
NULL,
CYBSP_D4,
CYBSP_D5,
CYBSP_D6,
CYBSP_D7,
&numberOfBoards);
Compiling motor_task.c
10:26:44 **** Build of configuration Debug for project IoT_Expert_Embedded_World_2021_Lesson_6 ****
/Applications/ModusToolbox/tools_2.3/modus-shell/bin/make CY_MAKE_IDE=eclipse CY_MAKE_IDE_VERSION=2.3 CY_IDE_TOOLS_DIR=/Applications/ModusToolbox/tools_2.3 -j3 all
Tools Directory: /Applications/ModusToolbox/tools_2.3
CY8CPROTO-062-4343W.mk: ./libs/TARGET_CY8CPROTO-062-4343W/CY8CPROTO-062-4343W.mk
Prebuild operations complete
Commencing build operations…
Tools Directory: /Applications/ModusToolbox/tools_2.3
CY8CPROTO-062-4343W.mk: ./libs/TARGET_CY8CPROTO-062-4343W/CY8CPROTO-062-4343W.mk
Initializing build: MTBShellTemplate Debug CY8CPROTO-062-4343W GCC_ARM
…
motor_task.c:40:10: error: ‘CYBSP_D11’ undeclared (first use in this function); did you mean ‘CYBSP_SWO’?
40 | CYBSP_D11,
| ^~~~~~~~~
| CYBSP_SWO
motor_task.c:40:10: note: each undeclared identifier is reported only once for each function it appears in
motor_task.c:41:7: error: ‘CYBSP_D12’ undeclared (first use in this function); did you mean ‘CYBSP_SW2’?
41 | CYBSP_D12,
| ^~~~~~~~~
| CYBSP_SW2
You are welcome.
The CYBSP_Dxx notation means the Arduino pin names. The CY8CPROTO you are talking about has no Arduino headers… so no Arduino pins….
All of these pins are eventually bound to a name like P1_3 or whatever.
If you look in the BSP documentation you can read about the pin definitions for each kit.
That is found in TARGET_xxx/versionxxx/docs/api_reference_manual.html … which you can also find on the quick panel
You can always use Px_y