Embedded World 2021 - Infineon ModusToolbox PSoC 6 Drone
#
Description
0
Introduction & Resources
1
FreeRTOS & CapSense
2
3-D Magnetic Sensing XENSIV Joystick
3
WiFi
4
MQTT
5
Low Power
6
BLDC Motor Control
7
WS2812 Strip LEDs
Summary
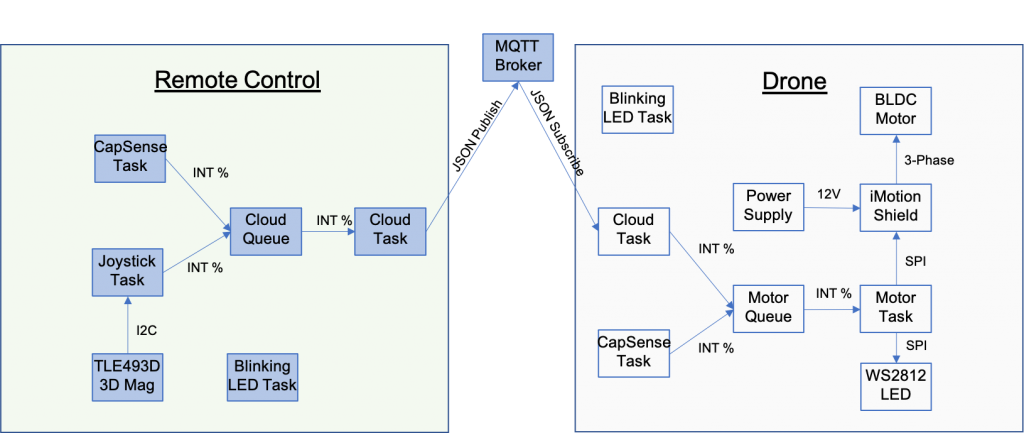
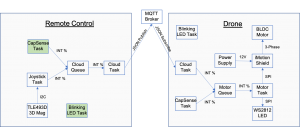
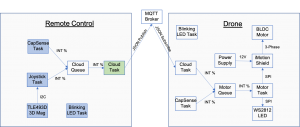
The FreeRTOS template we started with already enables low power mode transitions such as Sleep and Deep Sleep. In lesson 5 we will update our remote control project to have even lower power as remote controls are almost always driven by batteries. We will do this by using lower power regulators, slowing down clocks, and by offloading some functionality to the WiFi chip. This will be the final lesson on the remote control. Here is the architecture:
Learning Objectives
This lesson will show you two important features of Modus Toolbox.
- How to reduce system power using the Low Power Assistant
- How to create a custom board support package
Procedure
- Create your project
- Create a custom Board Support Package
- Modify the Makefile to use the new BSP
- Add the Low Power Assistant to the project
- Use the Configurator to setup Low Power
- Examine FreeRTOSConfig.h
- Test the project
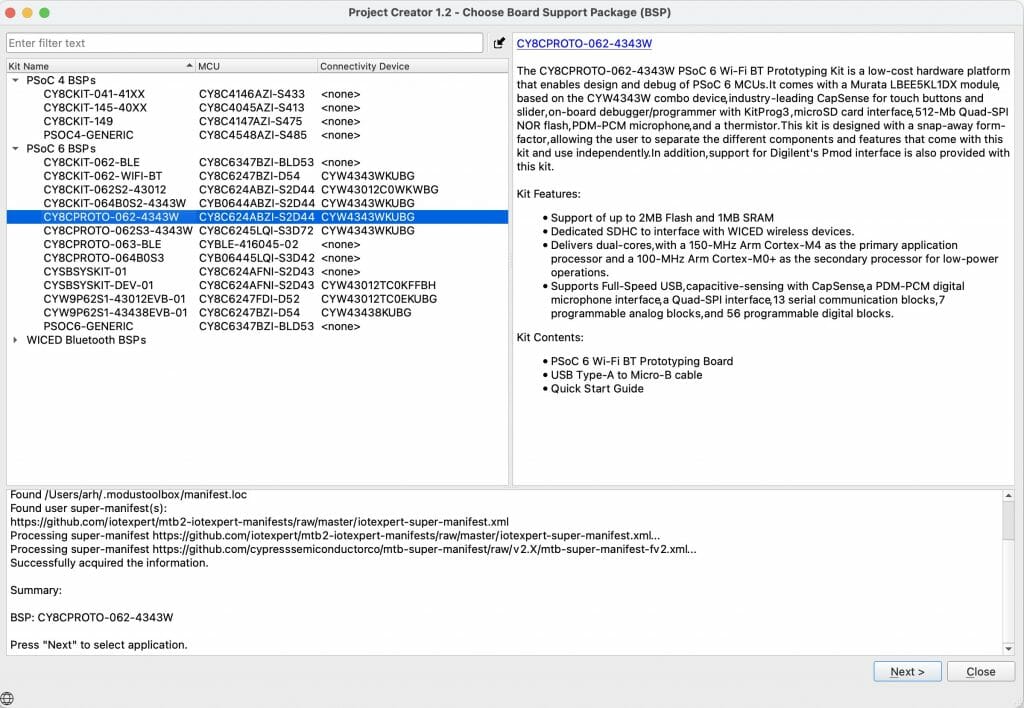
1. Create the project
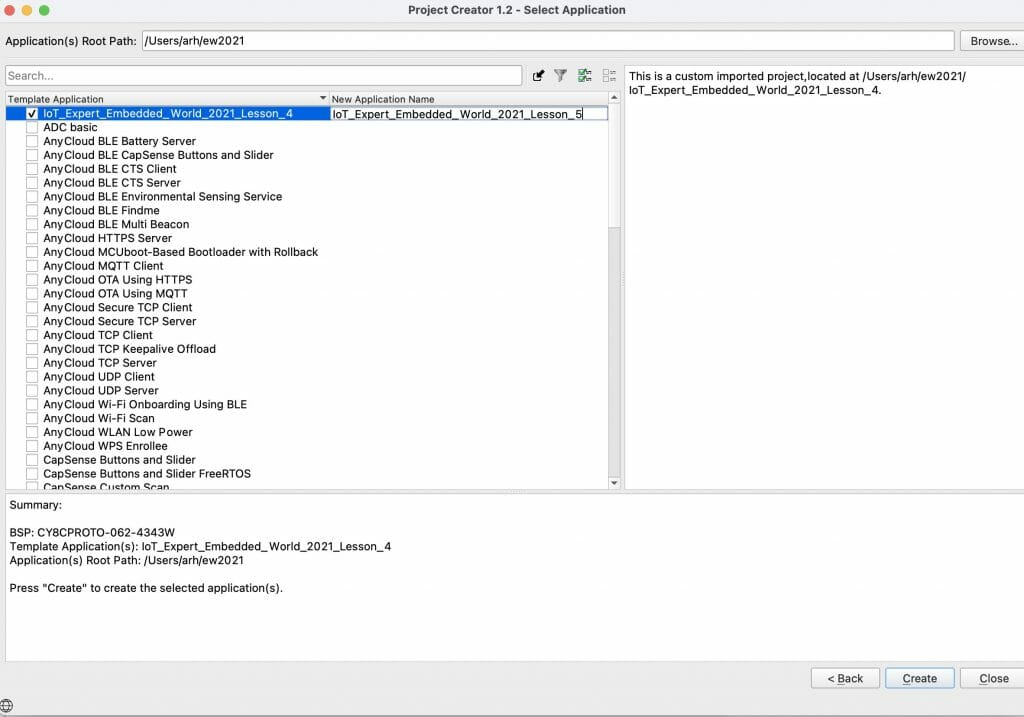
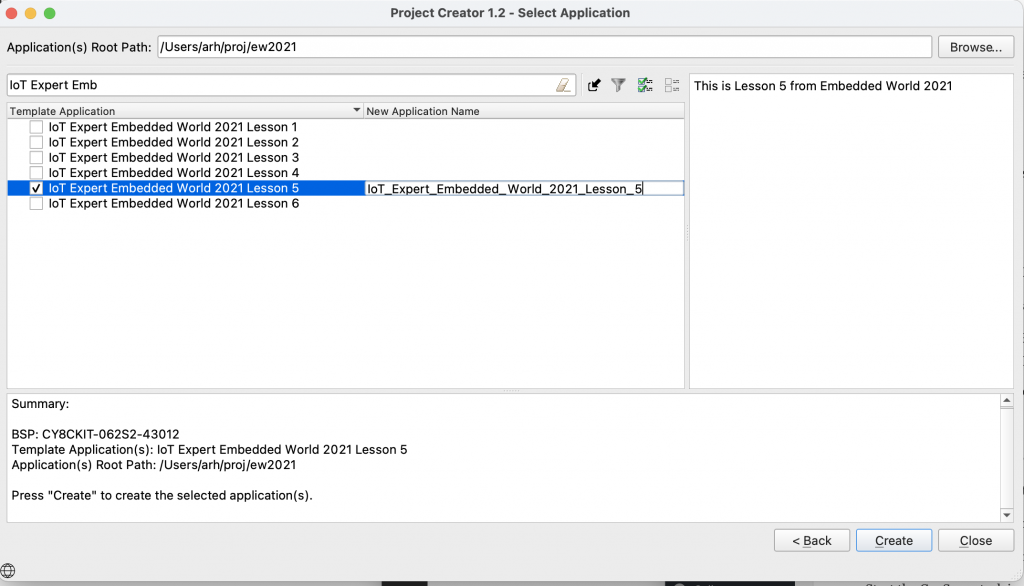
Start the project creator and make a copy of your 4th project.
Call it Lesson_5
2. Override the BSP Configuration
Make a directory called “COMPONENT_CUSTOM_DESIGN_MODUS” to contain the configuration files that will override the configuration from the BSP. This will be brought into the project automatically by the build system.
Note: You can also create a complete custom BSP which allows changing things like linker scripts, startup code, etc. See the ModusToolbox User Guide for details on how to do that.
Make a directory called “TARGET_CY8CPROTO-062-4343W” in your project. This directory will hold the custom BSP files.
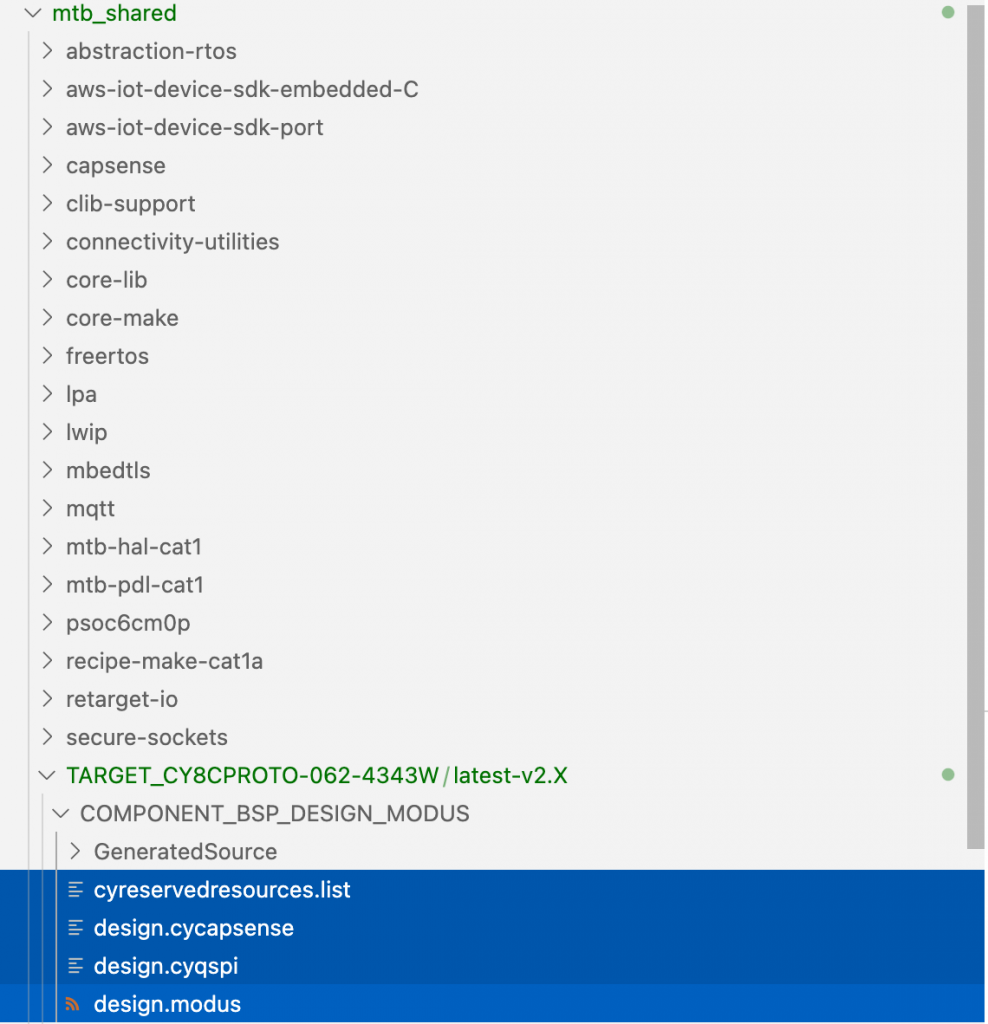
Copy and paste the configuration files from the Modus Toolbox BSP directly into your project.
Now your project should have these files:
3. Modify the Makefile
You need to
- Enable your new BSP
- Disable the existing BSP
Do this by adding to the COMPONENTS and DISABLE_COMPONENTS line in the Makefile
COMPONENTS= FREERTOS LWIP MBEDTLS SECURE_SOCKETS CUSTOM_DESIGN_MODUS WCM
DISABLE_COMPONENTS=BSP_DESIGN_MODUS
4. Add the Low Power Assistant to the project
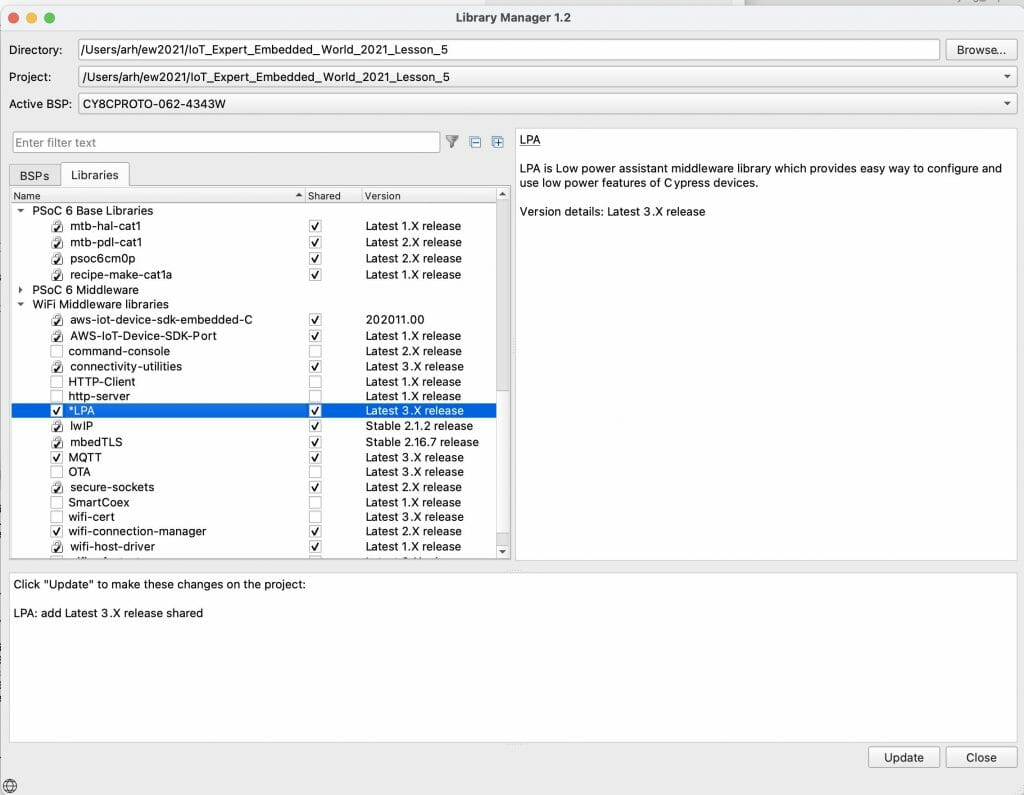
Start the Library Manager and add the LPA (Low Power Assistant) library to your project
5. Use the configurator to Setup for Low Power
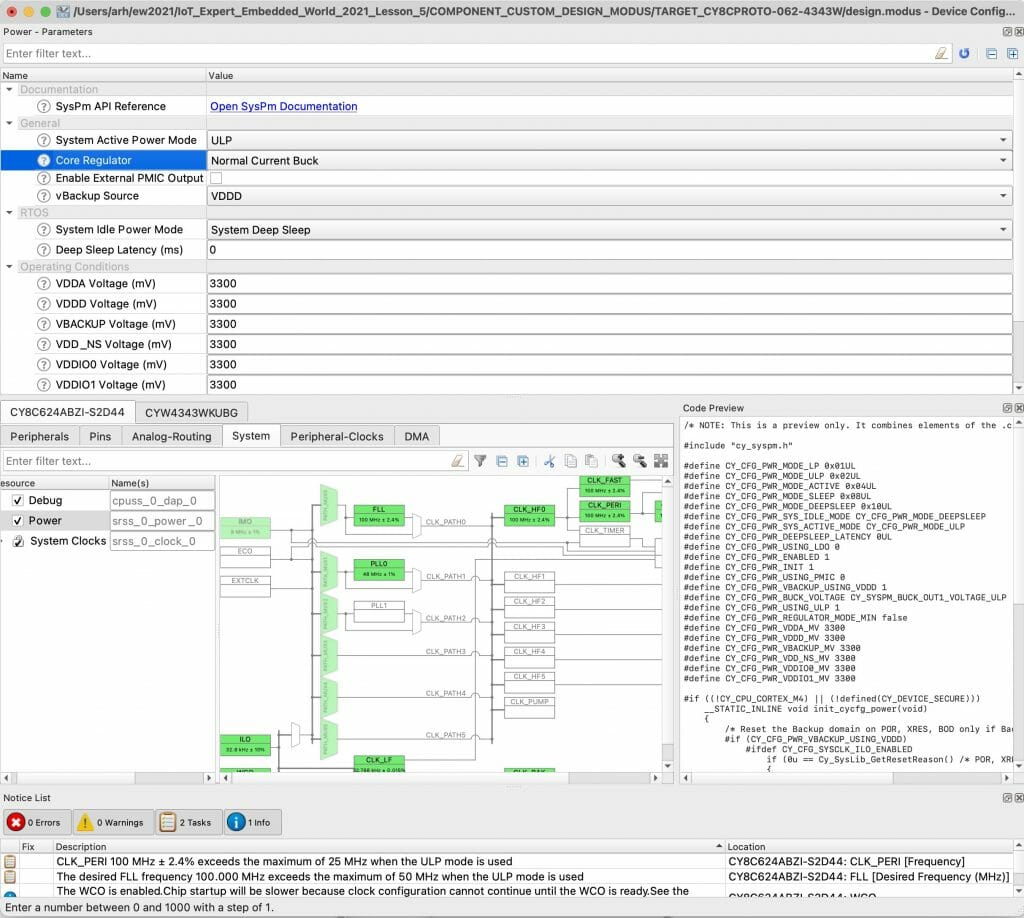
Set the System Active Power Mode to ULP and enable the “Normal Current Buck”.
Notice that the System Idle Power Mode is already set to System Deep Sleep. This means that when the RTOS is not busy, it will attempt to enter Deep Sleep mode.
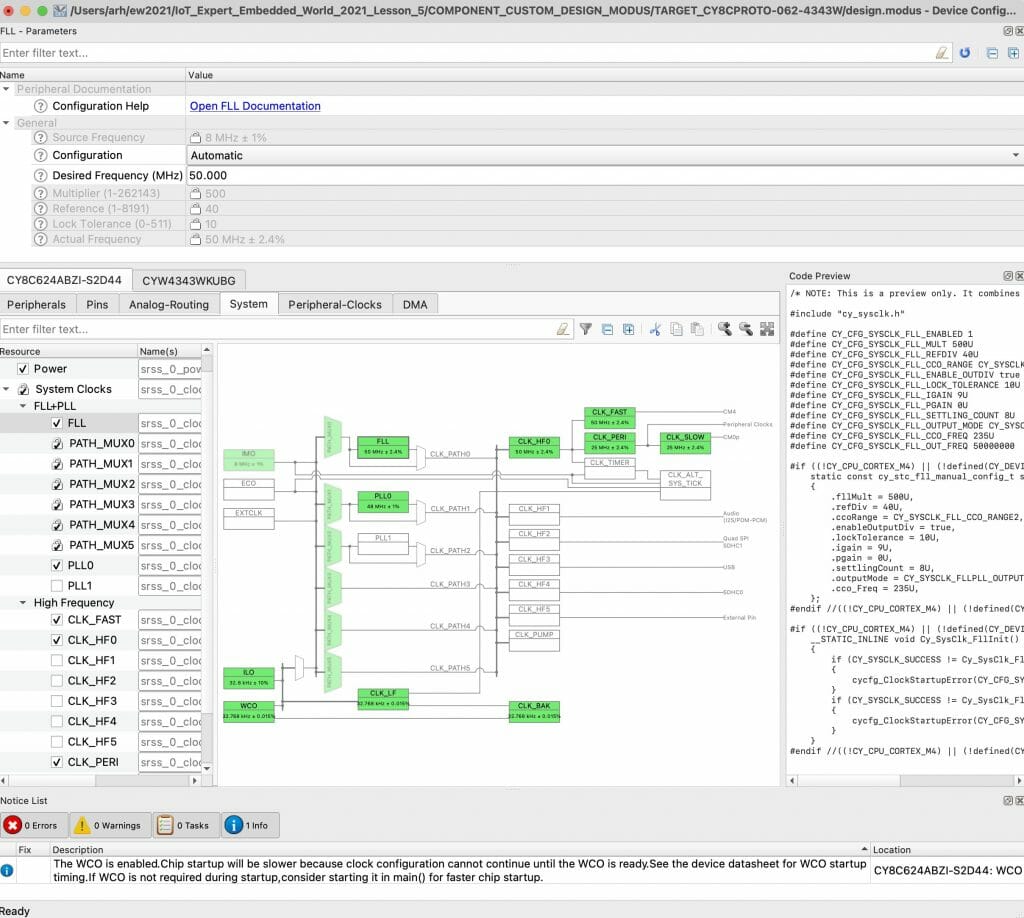
Turn down the FLL to 50 Mhz
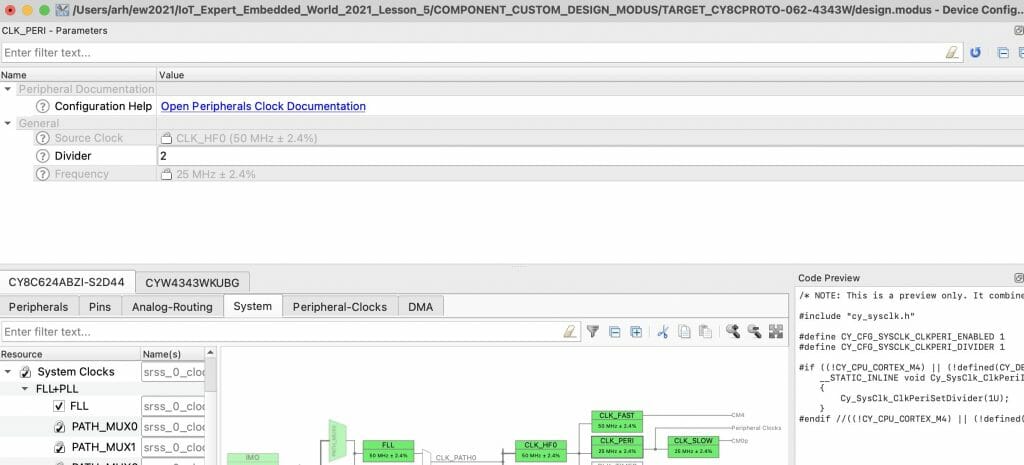
Lower the frequency of the peripherals by cutting the divider in half.
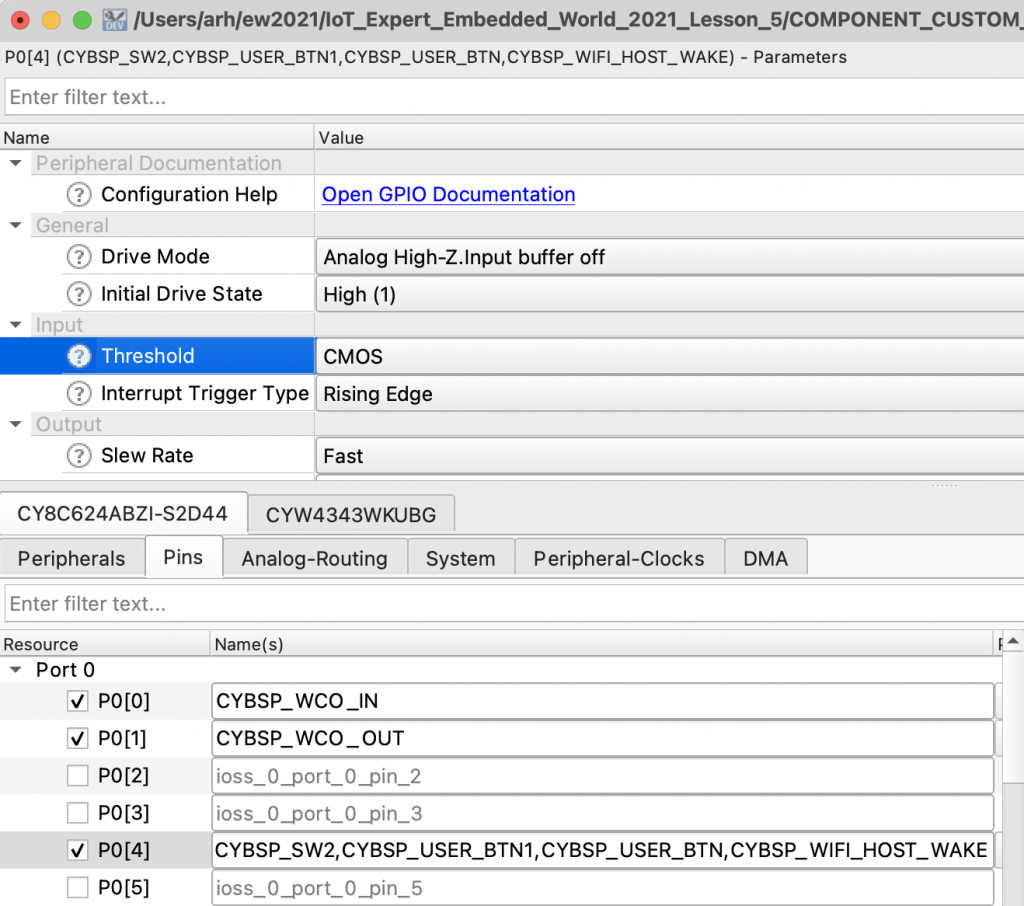
In order to save power the host can sleep and wait for WiFi packets. The WiFi chip needs to be able to wakeup the host PSoC. Enable P0[4] as the wakeup pin and turn on the interrupt.
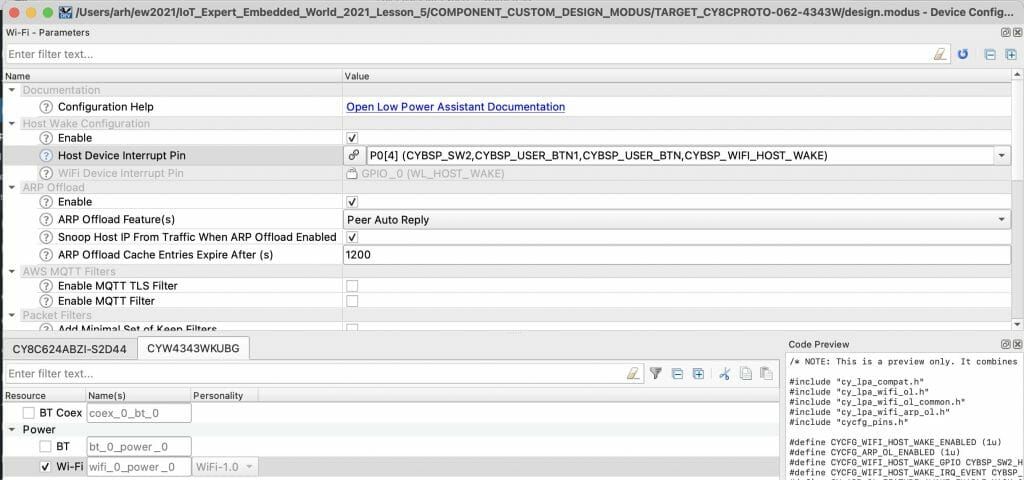
Click on the CYW4343WKUGB tab. Enable the host wakeup option. Set the pin to P0[4]. Enable ARP off loads. You can also look through the other low power offload filters.
6. Examine FreeRTOSConfig.h
Along with the System Idle Power Mode in the Configurator, this block of code tells FreeRTOS that when the system is idle that it should go to sleep.
The function vApplicationSleep is in the abstraction-rtos library and it allows the system to go to sleep and wake up cleanly in the context of FreeRTOS.
#if CY_CFG_PWR_SYS_IDLE_MODE == CY_CFG_PWR_MODE_SLEEP || CY_CFG_PWR_SYS_IDLE_MODE == CY_CFG_PWR_MODE_DEEPSLEEP
extern void vApplicationSleep( uint32_t xExpectedIdleTime );
#define portSUPPRESS_TICKS_AND_SLEEP( xIdleTime ) vApplicationSleep( xIdleTime )
#define configUSE_TICKLESS_IDLE  2
#endif

#if CY_CFG_PWR_DEEPSLEEP_LATENCY>0
#define configEXPECTED_IDLE_TIME_BEFORE_SLEEP CY_CFG_PWR_DEEPSLEEP_LATENCY
#endif
7. Test
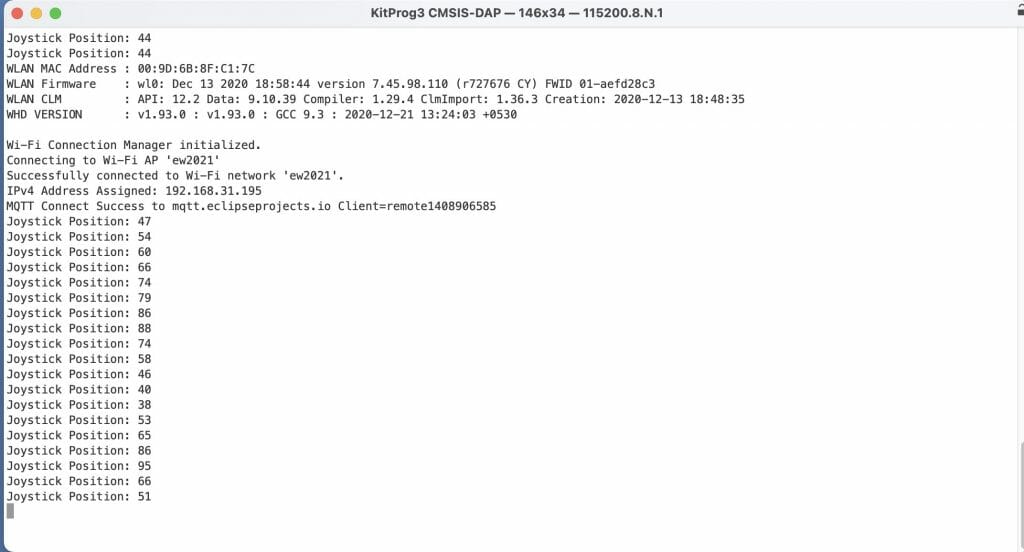
Program and test to make sure that things still work. If you have a DMM plug it in and find out how much power you saved.
Resources for Project
You can find the completed project in your project creator dialog by filtering for “IoT Expert Embedded”. This is lesson5
You can also clone this project at git@github.com:iotexpert/ew21-lesson5.git or https://github.com/iotexpert/ew21-lesson5



No comment yet, add your voice below!