Summary
In the last article I showed you how to display a bitmap in the Segger format. In this article I will show you how to convert a BMP to a “C” file and then display it using the Segger GUI_BMP_Draw() API.
To this I will follow these steps:
- Use GIMP to Export a Black and White Logo
- Convert the BMP to a “C” array using Bin2C
- Add the C to the project and fix up the project
Use GIMP to Export a Black and White Logo as BMP
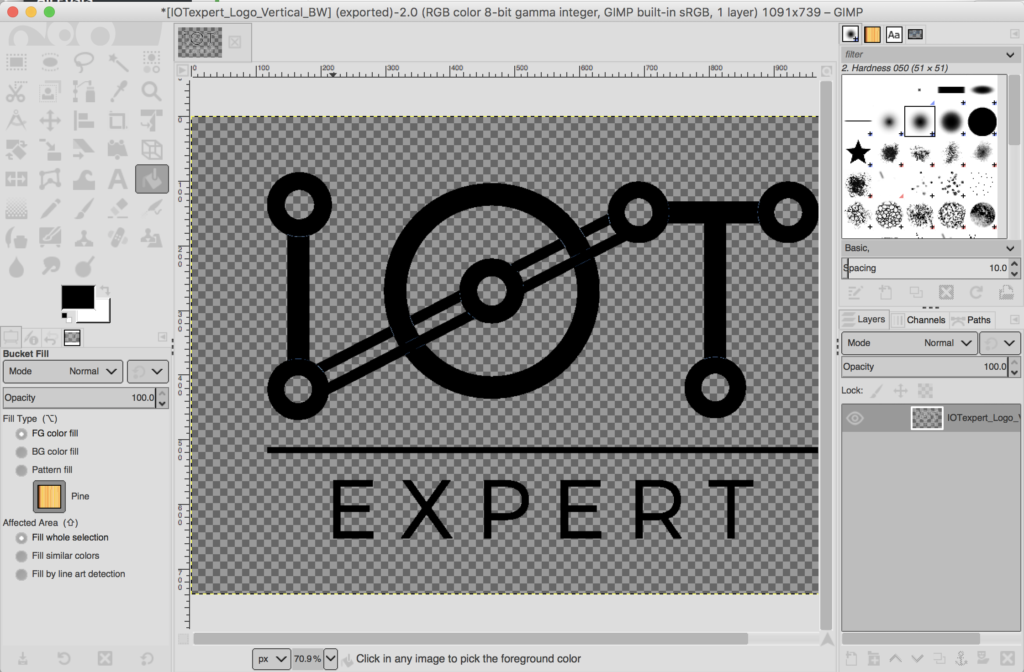
As in the last article, Ill use GIMP to manipulate the IoT Expert. First, Ill load the logo from the PNG file.
Then I will convert the PNG to a black and white only image. This will be a 1-bit per pixel indexed image. Indexed means that instead of ARGB (aka 32 bits for each pixel), that the color of each pixel will be referenced via an index into a color table. For instance the color table might look like this:
| Index | Value | Color |
|---|---|---|
| 0 | 0xFF000000 | Black |
| 1 | 0xFFFFFFFF | White |
The BMP file will then have a color table (like the one above) and each pixel value will be an index into the table. It turns out that these color tables must have 2^n rows where n is the number of bits in the index. Also with the BMP format any bitmaps with 24 bits per pixel will not have a color table.
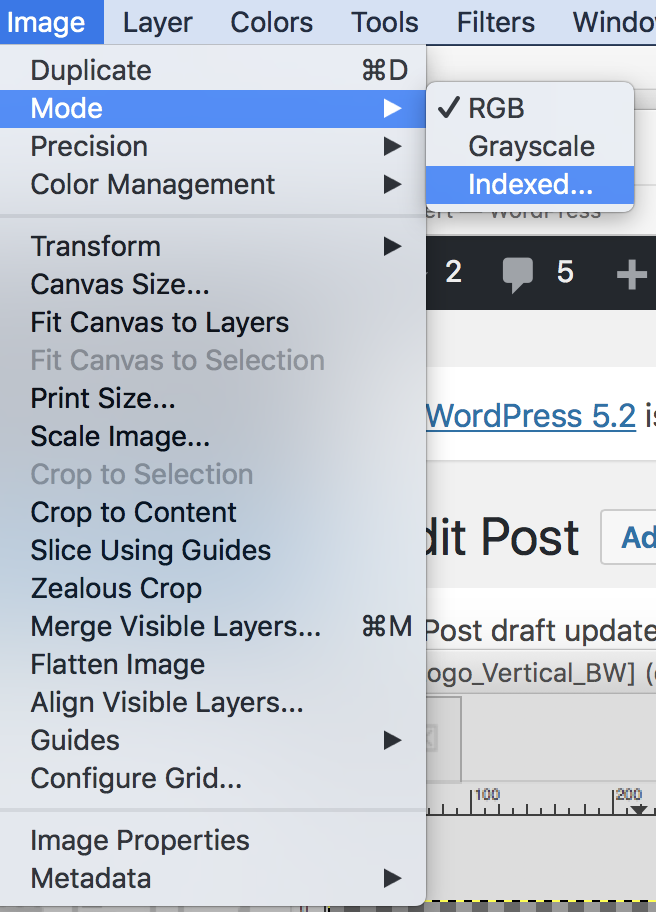
Gimp can convert an image to indexed. To do this, click Image–>Mode–>Indexed…
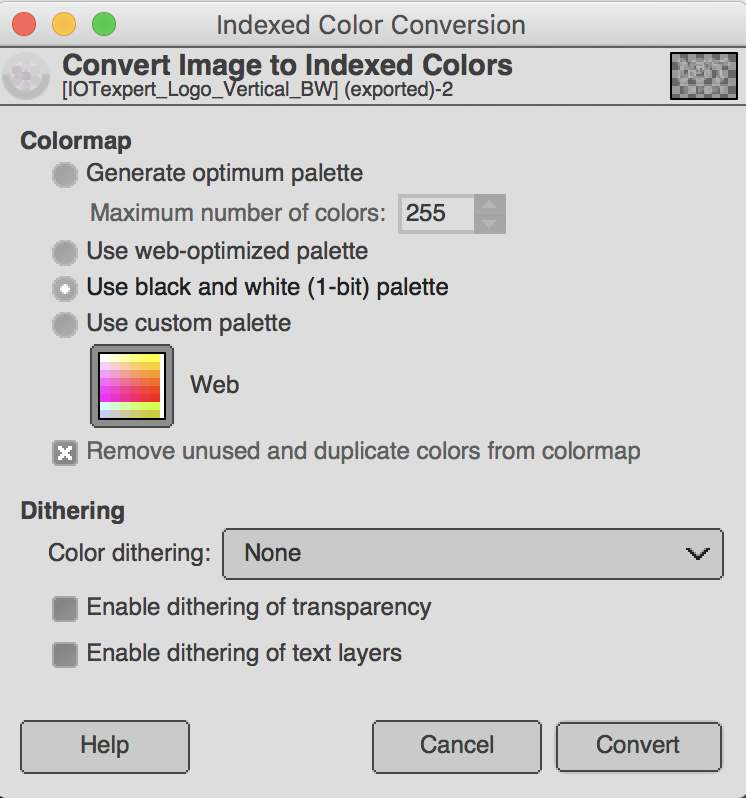
On this screen you will be given the option to specify the color indexes. Notice that there is a “black and white only” option.
Once you have made the conversion you can see that image is now indexed.
![]()
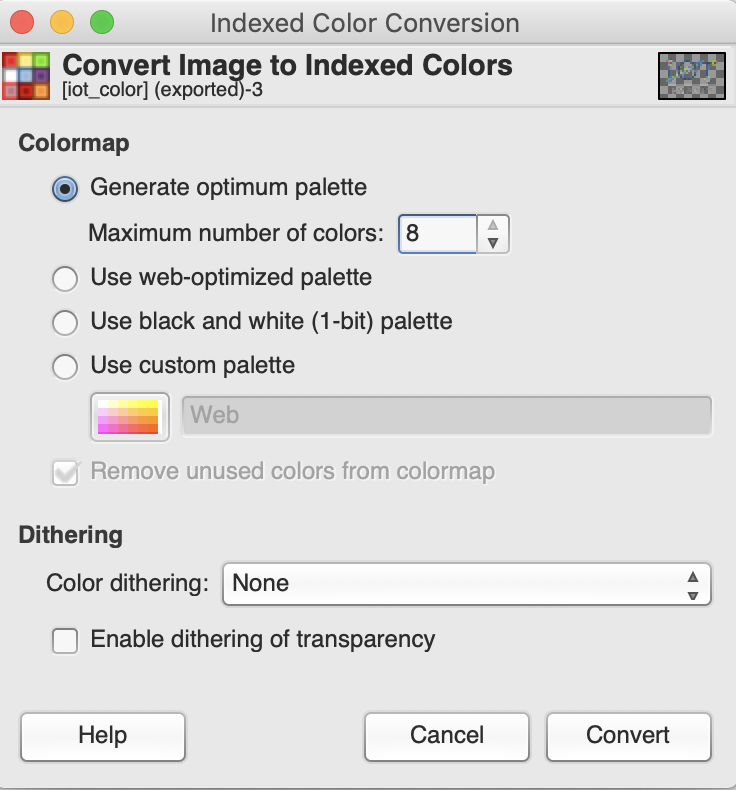
On that screen you could have converted the image to indexed with up to 256 colors (but I choose 2 by using the Use black and white (1-bit) palette.
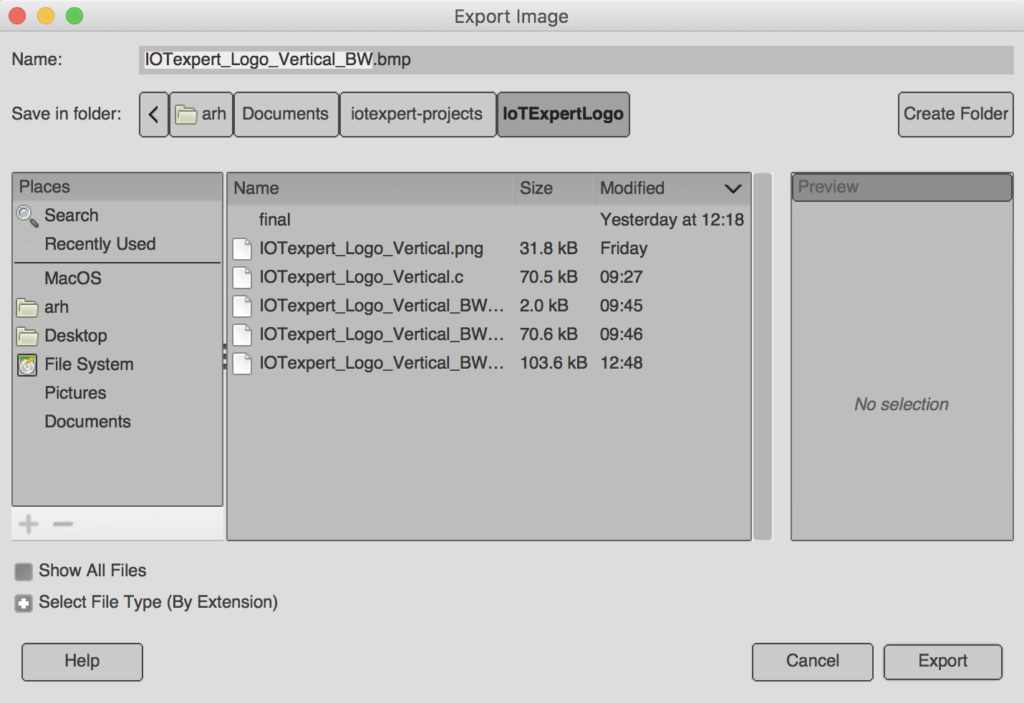
The next step is to export to a BMP using “File–>Export As…”
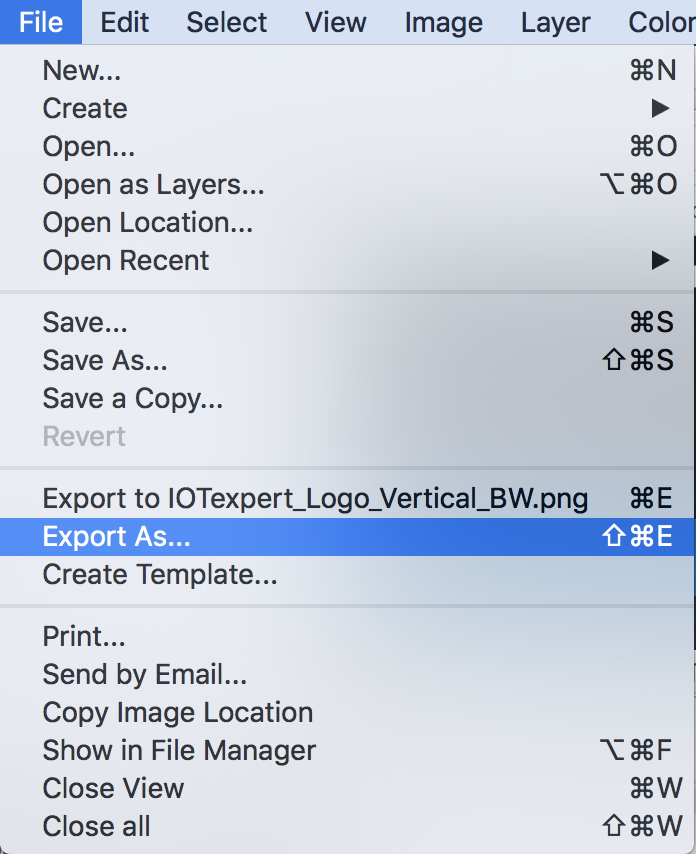
I set the file name to “IOTexpert_Logo_Vertical_BW.bmp”. Gimp does its magic by using the file extension. In this case “bmp” creates a Microsoft BMP file.
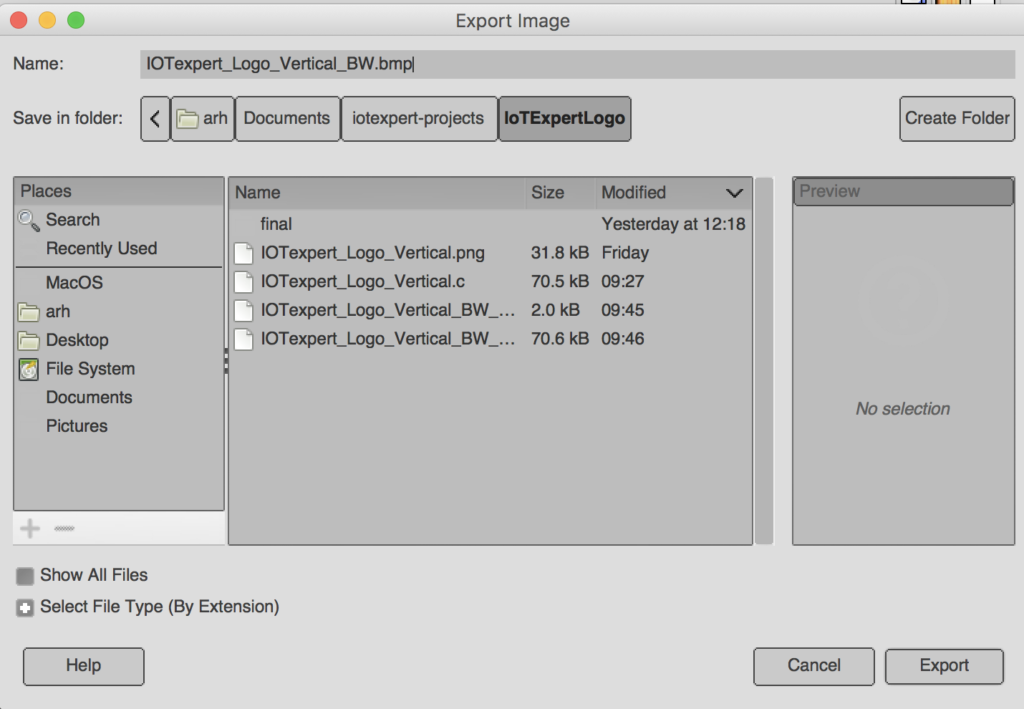
When I hit export I get this dialog box (which I had no idea what it meant when I started). For now click “OK”
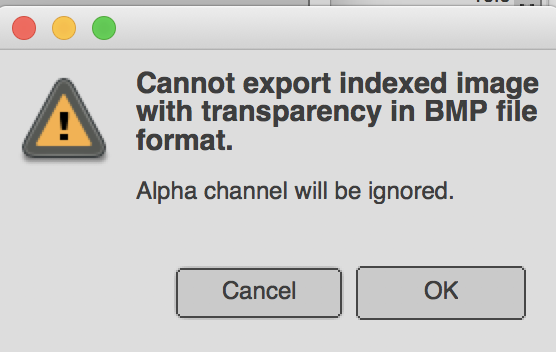
Once the file is exported this is what I get. OK… is not very helpful. What happened?
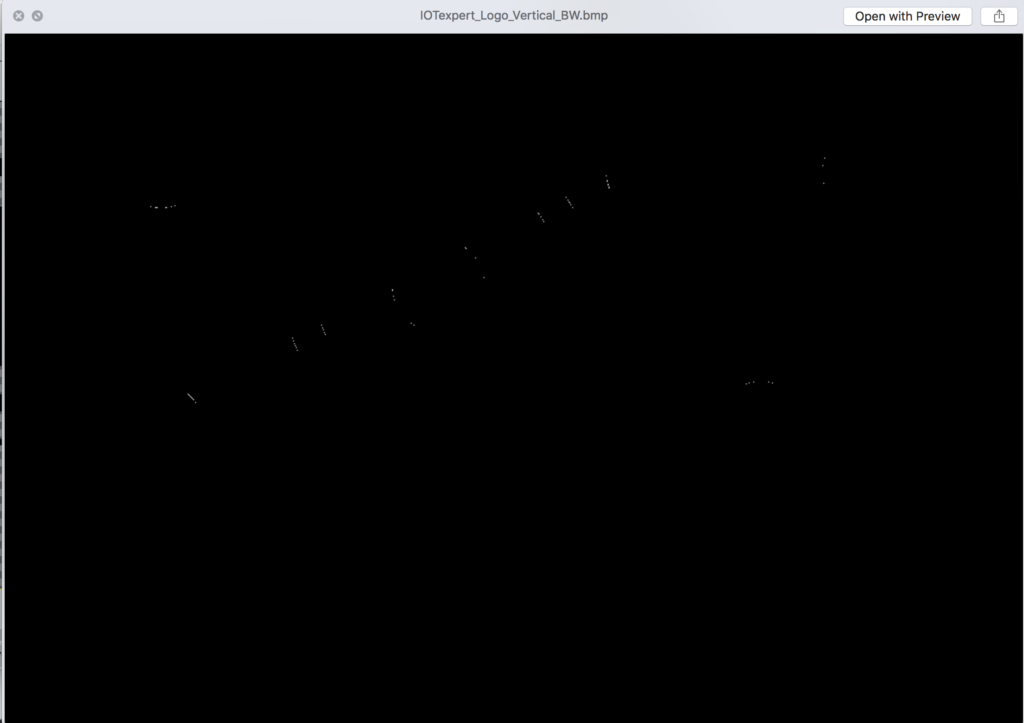
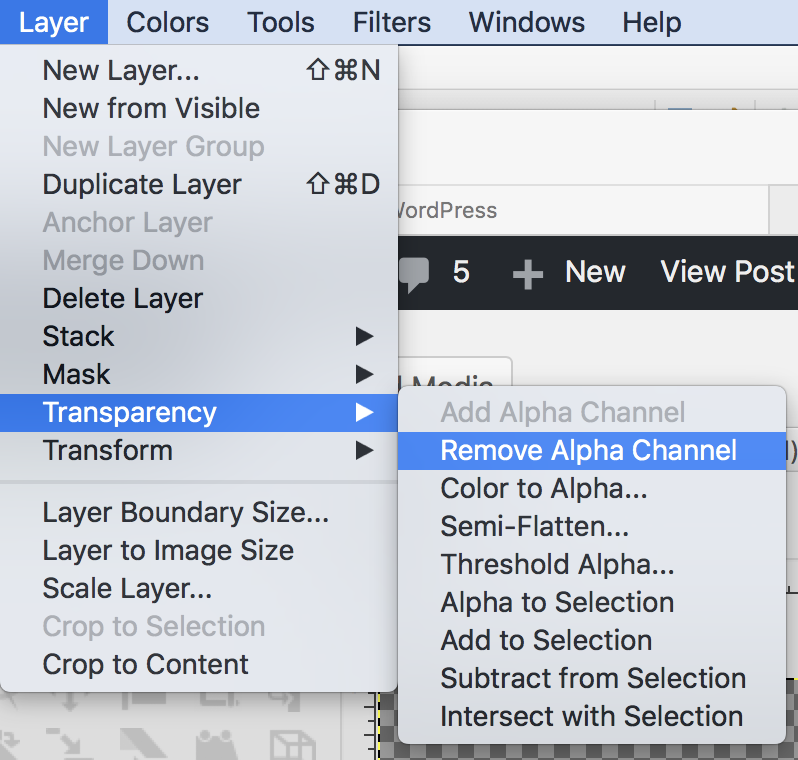
The answer is that an Indexed BMP does not support Alpha. So, GIMP ditched the Alpha, which turned everything that wasnt black to the background color, which is black. So, what is the deal with the Alpha channel? Alpha is how transparent everything is. You can get rid of it using Layer–>Transparency–>Remove Alpha Channel
Which once again turns my image black. But why? On the left hand side of the screen you will see the foreground/background colors. And you will notice that the background is black.
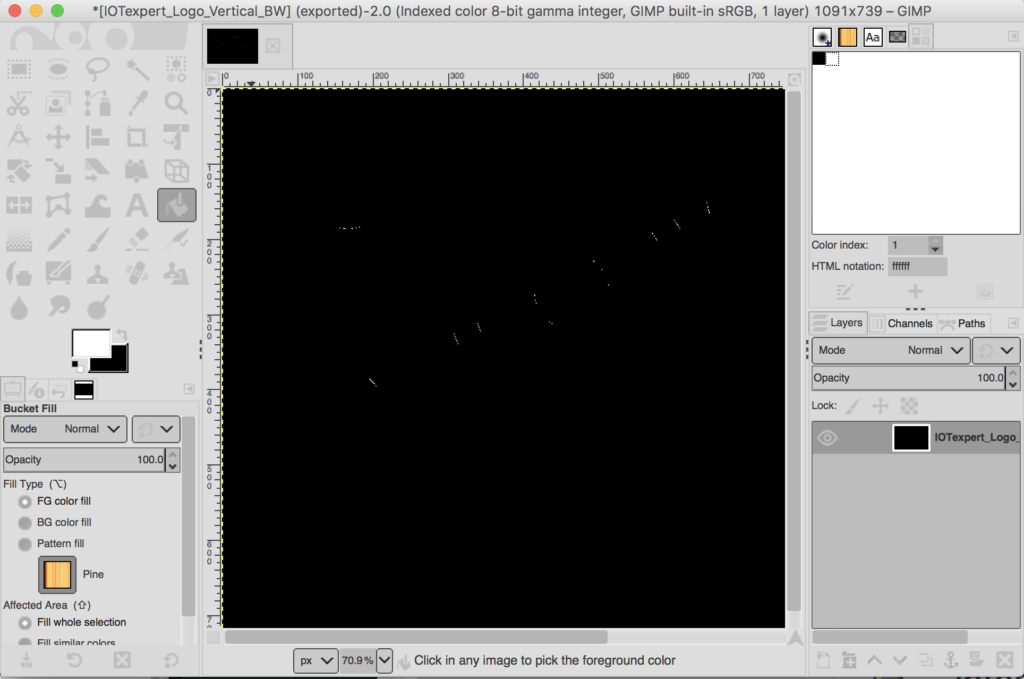
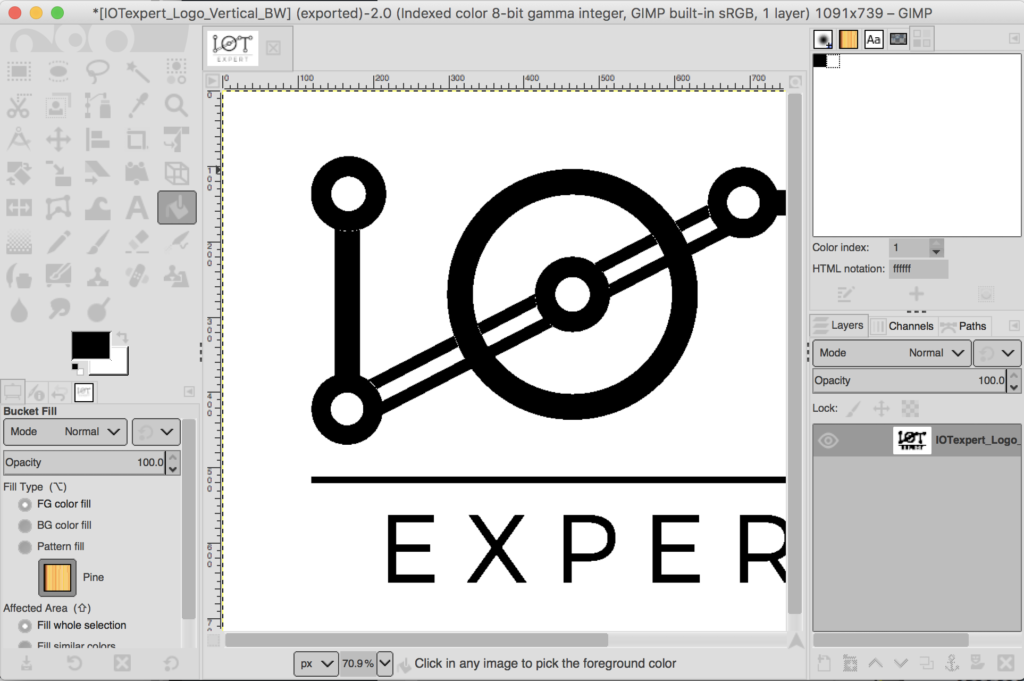
To fix the problem undo the remove alpha. Then click the little back and forth arrow to turn the background white. Then re-remove the alpha. Now that problem is fixed.
Now, I can shrink it to the right size using Image–>Scale Image…
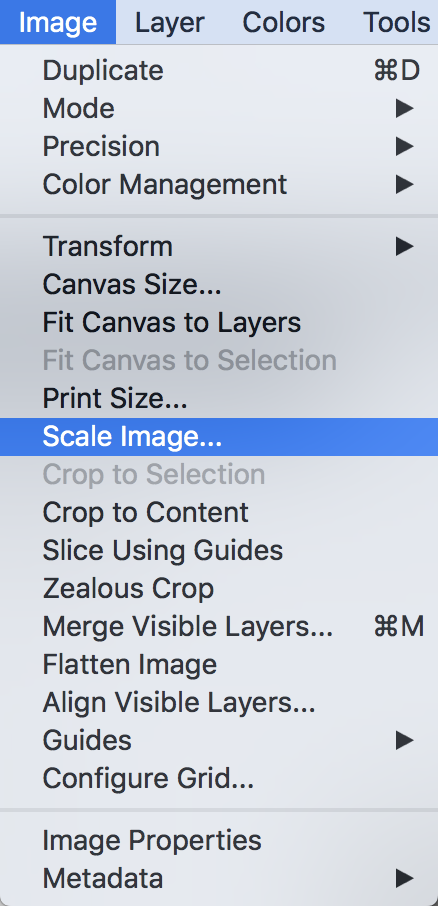
Then pick the 276 width (aka the same width as the EPD screen)

Now do “File–>Export As..” with a “.bmp” file name extension. This time it doesn’t ask me about the transparency.
And, now I have a nice BMP file. Here is the view from the preview in Mac.

So, how do I get a BMP file into my program? Well, I need turn it into an array of bytes. And to do that…
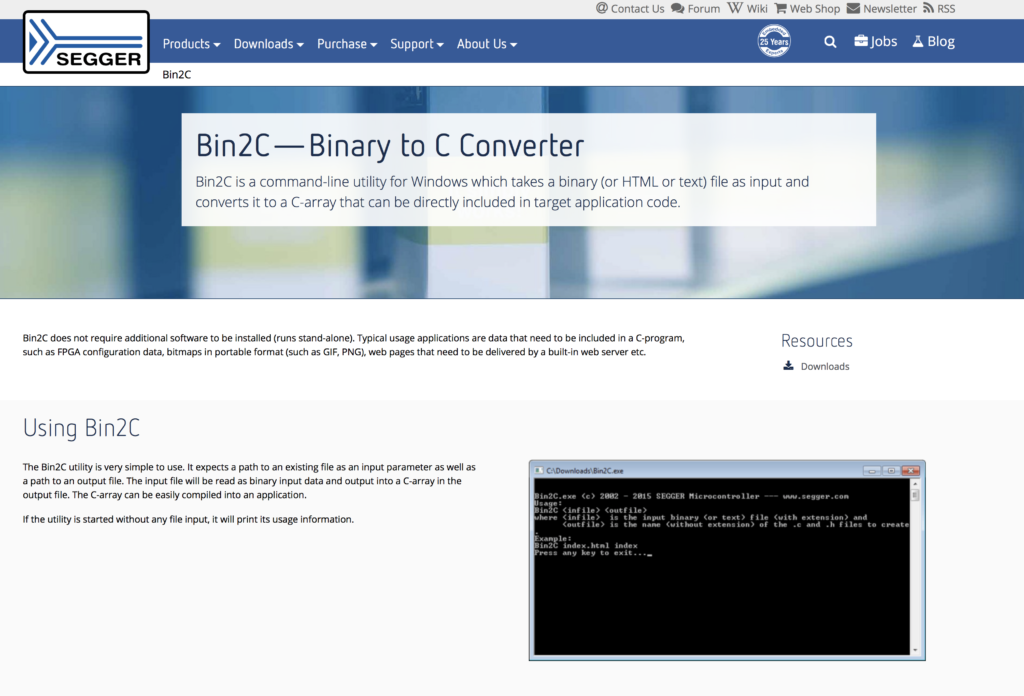
Segger Bin2C
One of the utility programs that Segger provides is called “Bin2C” which can read in a file and turn it into an array of bytes in “c” format. You can download it here.
When I run it, first I select the file, then press “Convert”

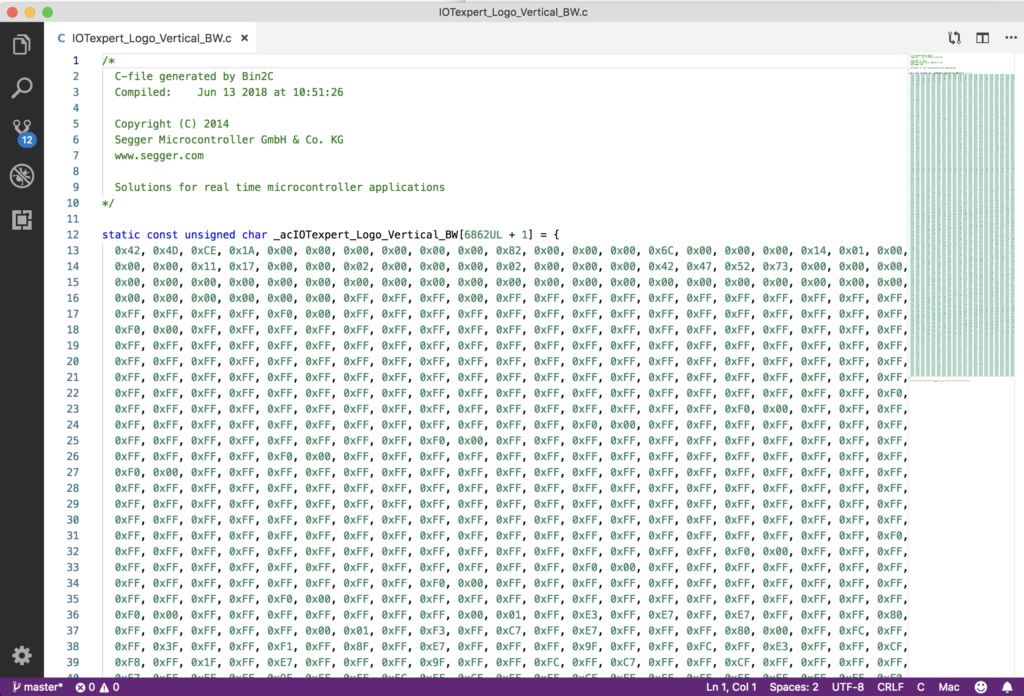
And it generates a nice array of bytes.
Update the Project
To use the array, first copy the file into your project. You notice that the array is defined as “static” which means that it is not accessible from other files. Remove that. Now edit the eInkTask.c and
- Add an extern reference to the array of bytes
- Make a call to “GMP_BMP_Draw()” to display the logo
extern unsigned char _acIOTexpert_Logo_Vertical_BW[6862UL + 1];
void ShowIoTScreen(void)
{
	GUI_Clear();
	GUI_BMP_Draw(_acIOTexpert_Logo_Vertical_BW, 0,0);
	/* Send the display buffer data to display*/
	UpdateDisplay(CY_EINK_FULL_4STAGE, true);
	while(1)
		vTaskDelay(100);
}
When I program the kit I get this… all black.
But why? I didn’t know the answer. So I assumed that it must be something to do with me and my understanding of bitmaps. In the next article I’ll tell you all about that journey. But after a day or two of learning about bitmap file formats I was convinced that it wasn’t me. So I started looking around on the web and I found this thread on Segger’s forum.
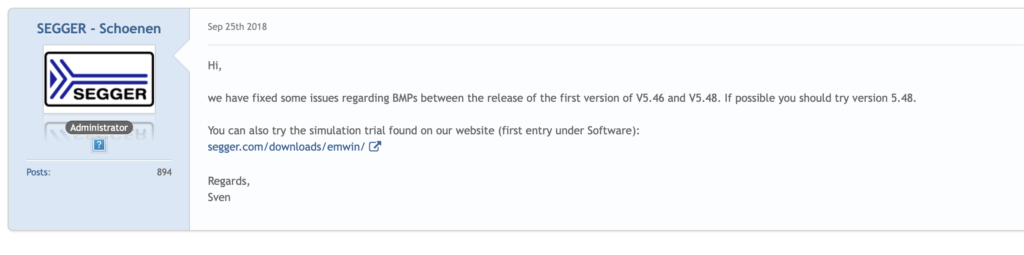
And, when I got to work the next Monday I called an amazing engineer that works for Cypress in Ukraine. He provided me a v5.48 which sure enough fixed the problem. When I program that, looks like things are working with bitmaps:
Unfortunately that means that we (Cypress) have a released version of Segger emWin that is broken. This will be fixed with an updated version soon, but for now if you are stuck send me an email and I’ll help you.
The next article is a deep dive into the BMP format.
No comment yet, add your voice below!