Summary
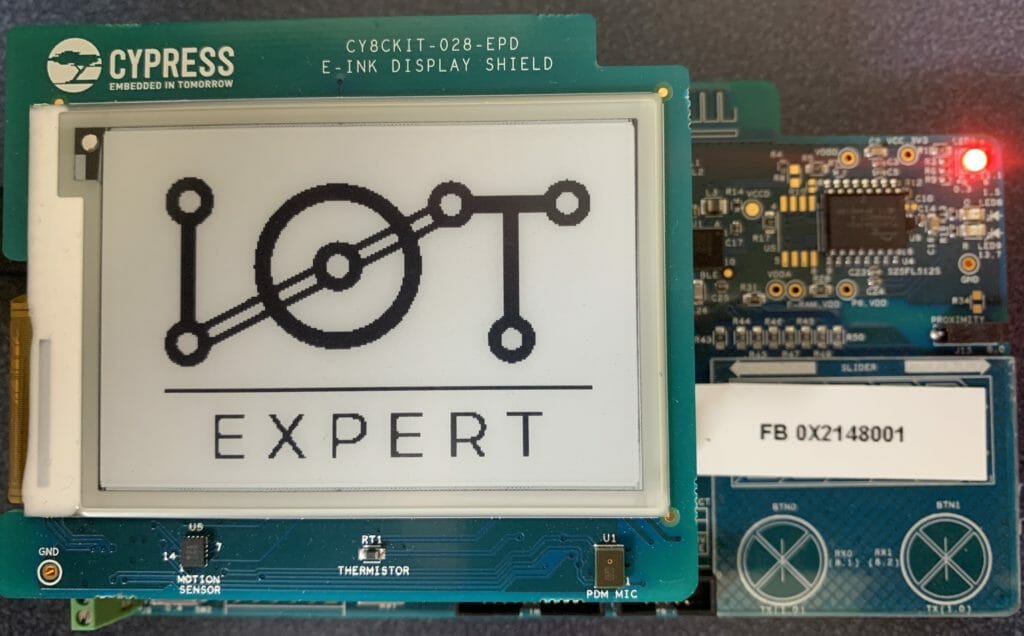
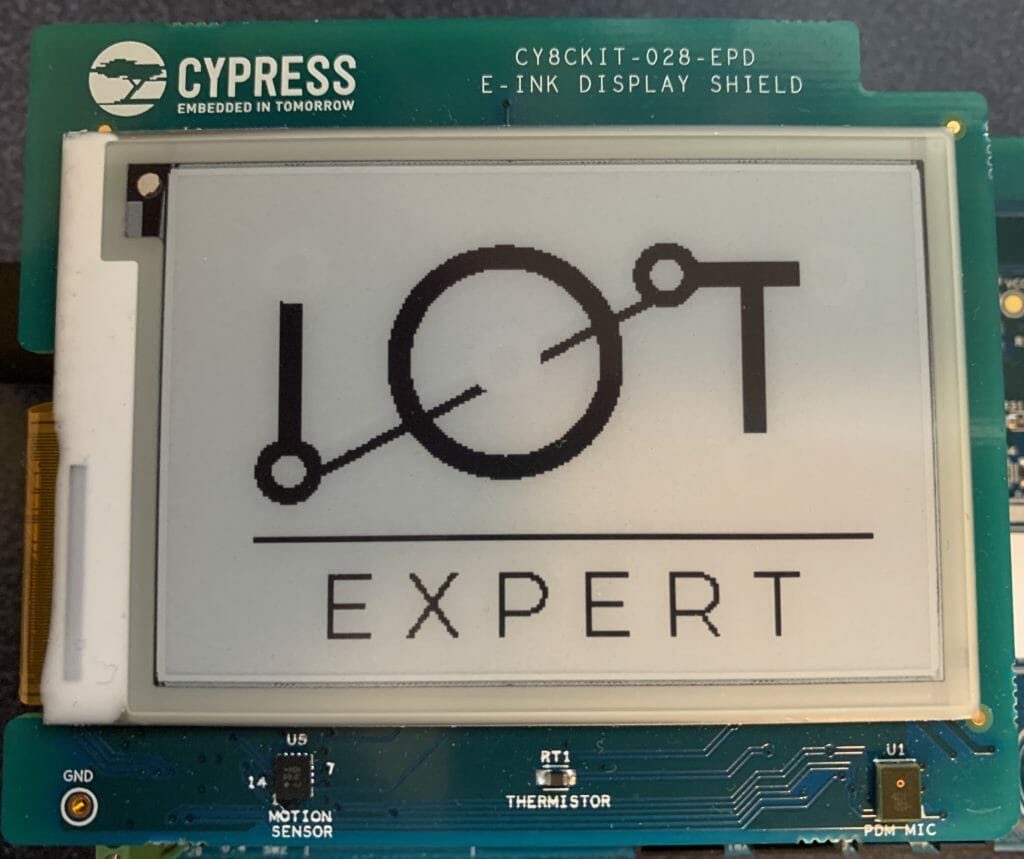
In the last article I showed you a bunch of things about programming the Pervasive EPD eInk Display that is attached to the CY8CKIT-028-EPD. You might have noticed in the first video I have a screen that shows the IoT Expert Logo. Simple right? Yes you would think, but it actually turned out to be quite a pain in the ass! This article is my journey through bit maps. It is hardly canonical, but hopefully it will help you.
In this article I will specifically walk you through:
- The IoT Expert Logo
- Segger emWin Bitmap Drawing APIs
- Segger Bitmap Converter
- Updating a Project to draw a Segger Bitmaps
- Converting a Color Bitmap to Black and White
- Using GIMP to Fix B/W Conversion
In the next two articles I will address drawing bitmaps that are in the Windows BMP format and PNG format.
The IoT Expert Logo
If you guys remember, in early 2017, I ran a design contest to create a logo for the IoT Expert website. You can read about it here and here. When it was over, I had a bunch of different images including this one which is a 1091×739 PNG file with what I thought was five colors but is actually nine (which I discovered during this journey)
![]()
OK, thats cool. But how do I get that onto the eInk screen which is 276×176 and black and white?
emWin Bitmap Drawing APIs
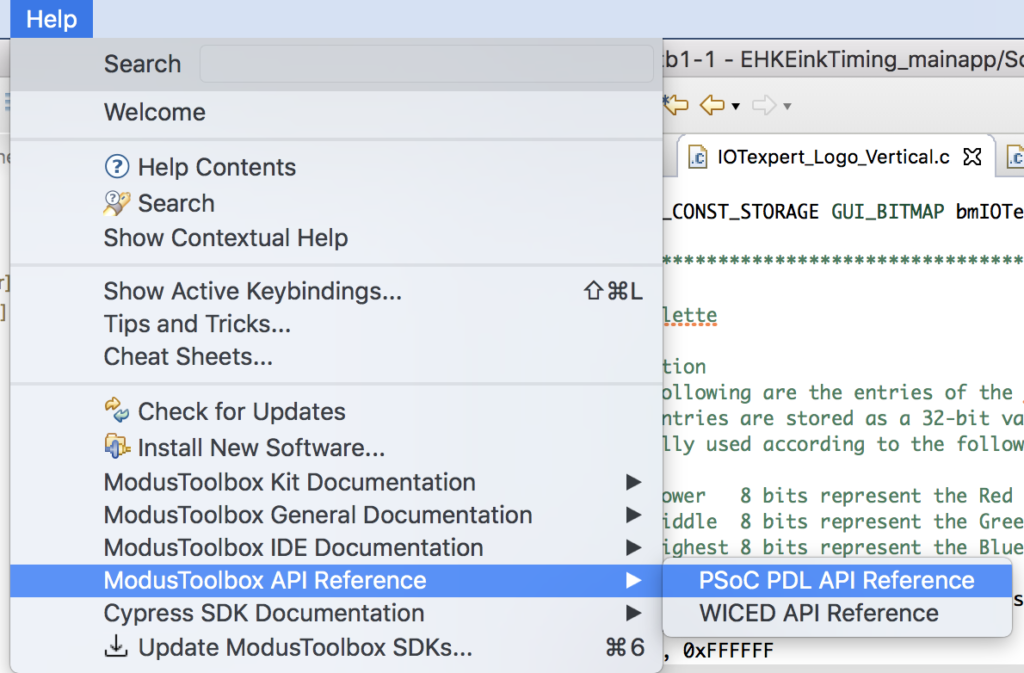
I started by looking at the Segger emWin documentation which you can either get directly from the Segger website here. Or you can find it inside of Modus Toolbox. Select “Help–>ModusToolbox API Reference–>PSoC PDL Reference”
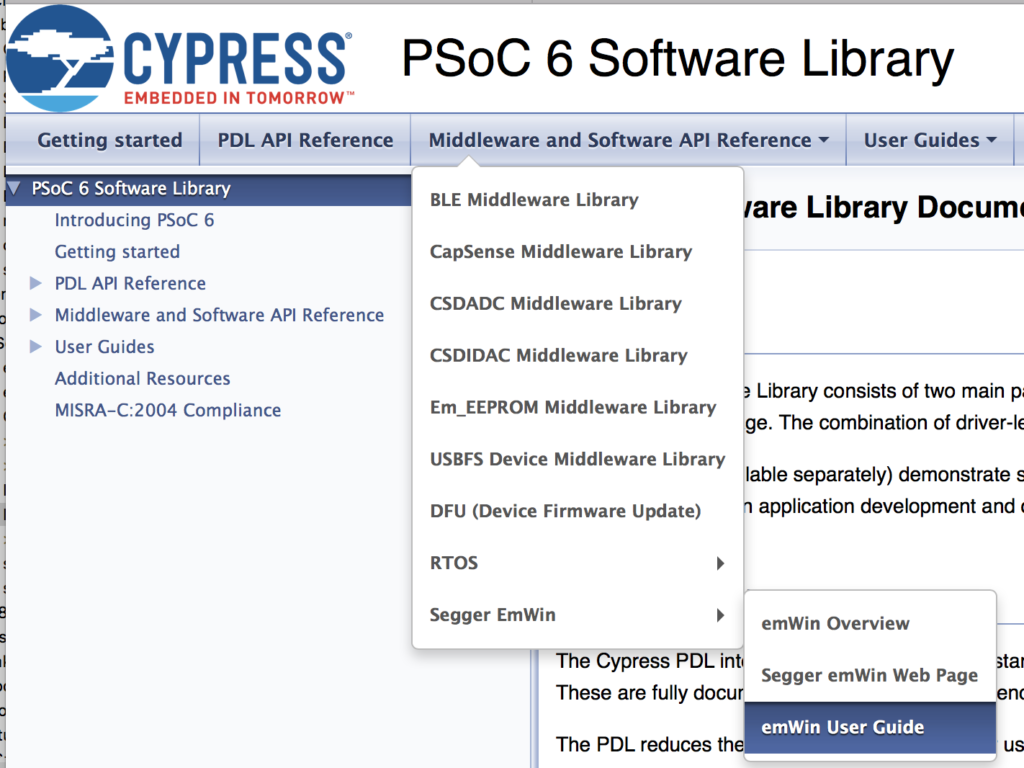
Then pick “Middleware and Software API Reference –> Segger emWin –> emWin User Guide”
From the documentation you see that emWin can display bitmaps in the emWin format using the APIs GUI_DrawBitmap. This section actually goes on for more than another page worth of APIs. The API that I will focus on in this article is GUI_DrawBitmap()
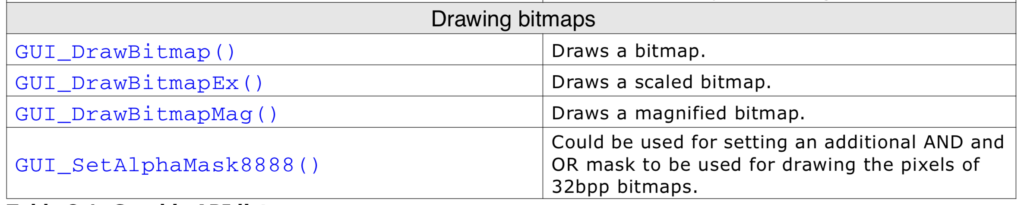
You can also display bitmaps that are in GIF, PNG, BMP or JPEG format.
Bitmap Converter for emWin
I suppose the first question is, “How do I get a bitmap from my computer in PNG format into the Segger Bitmap format?” Well, it turns out that Segger has a program called Bitmap Converter for emWin.
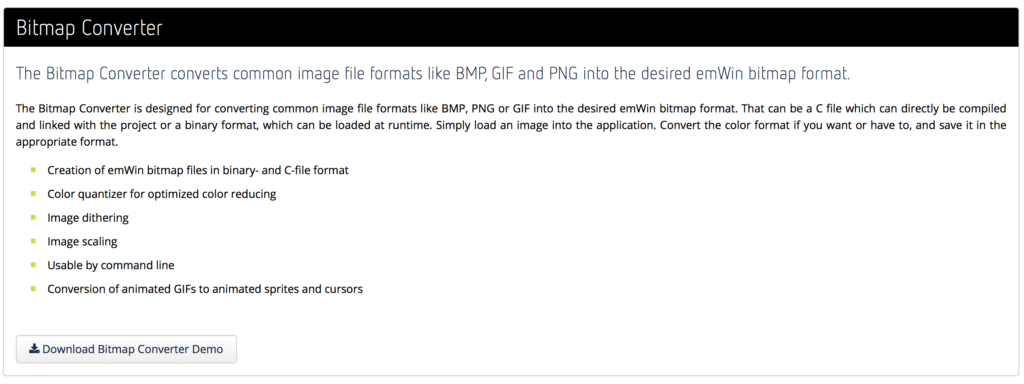
This is a pay program, but you can download it to try it out. It is sort of an old-school windows program. So I installed it on parallels on my mac. When you run it the first time it reminds me that this is not for production. Got it!

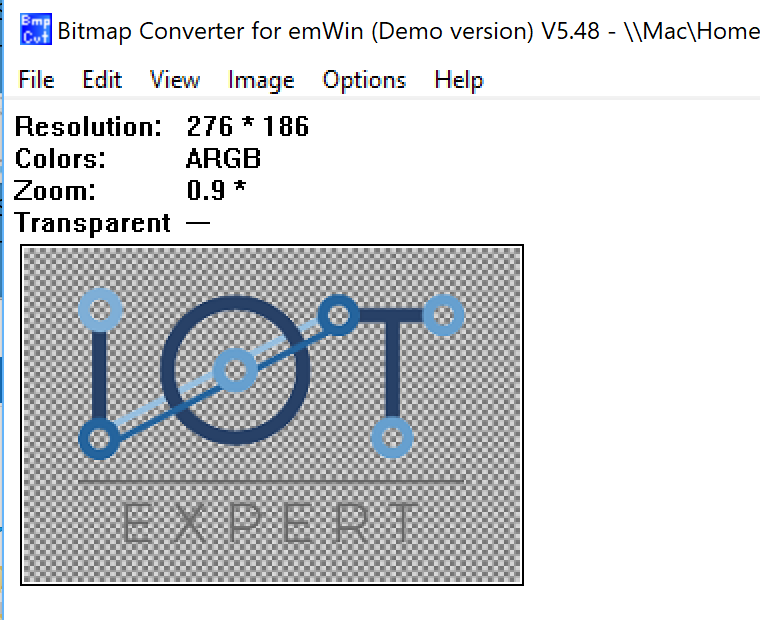
I start by opening the PNG file of my logo. Notice that it says the file is 1091 by 739 and in “ARGB” colors. “ARGB” means Alpha, Red, Green and Blue. (more on this later).
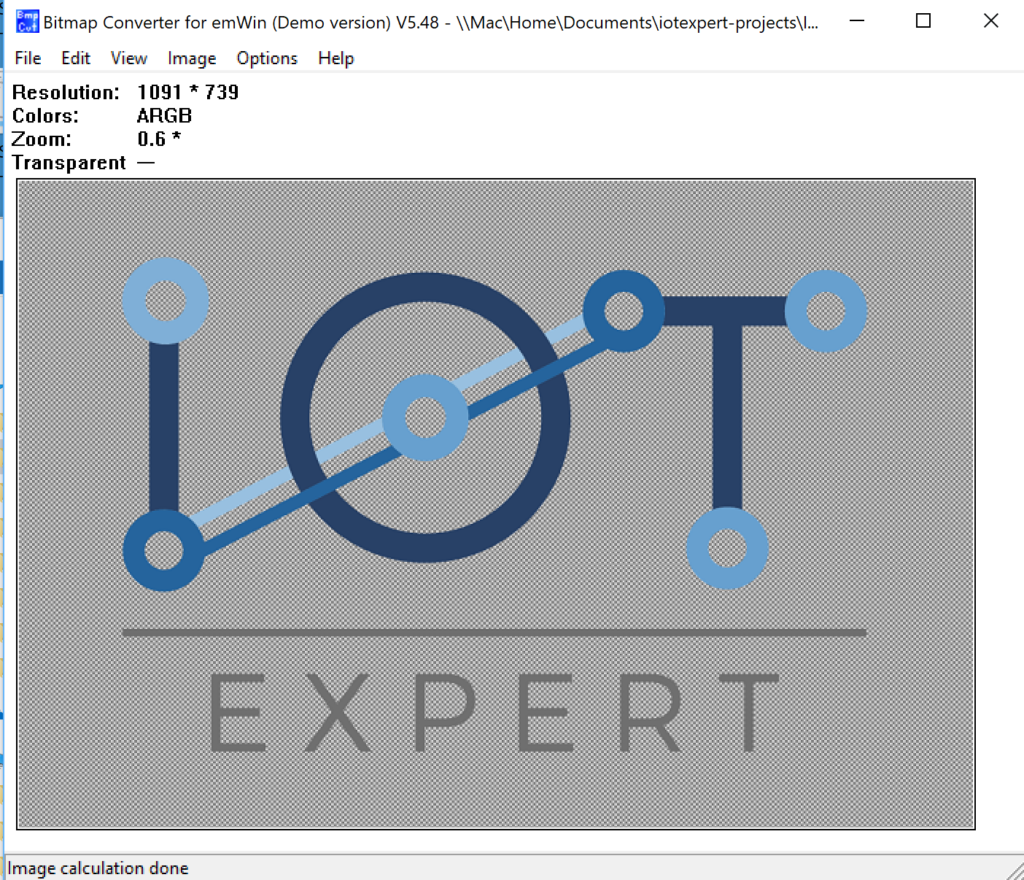
On the Image menu I start by picking “Scale..” to reduce the size.

I pick out 276 wide and it keeps the aspect ratio the same, which results in a height of 186 (actually 10 pixels to high)
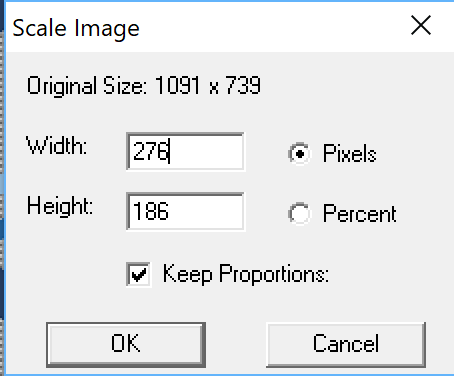
After clicking OK I get this.
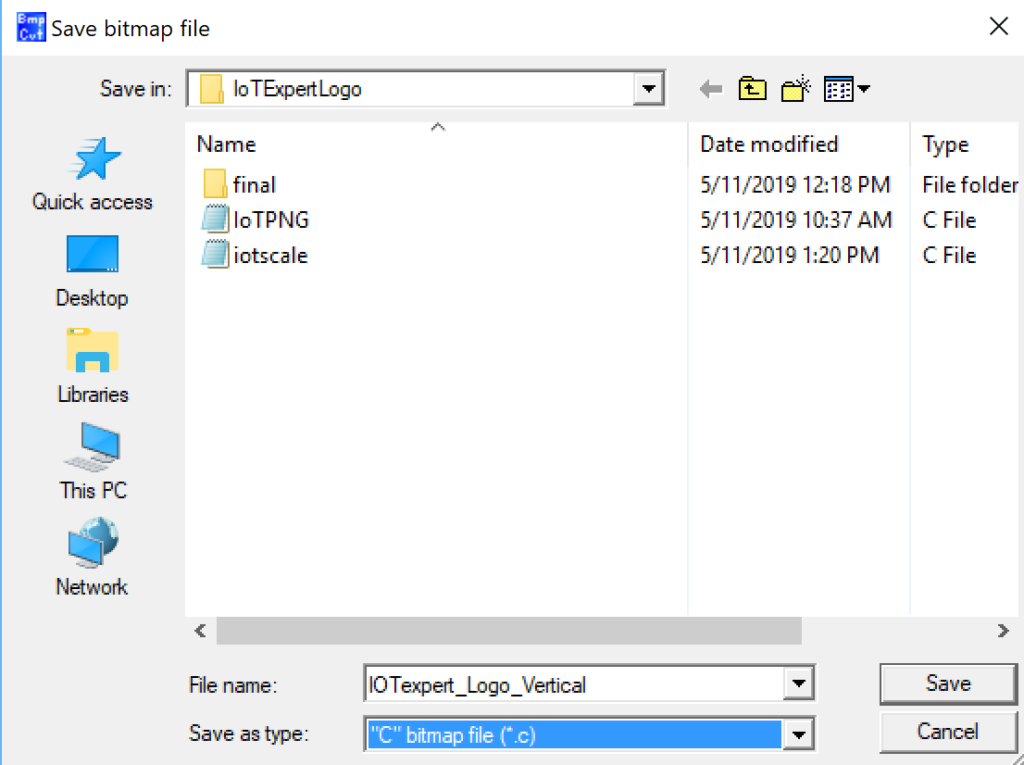
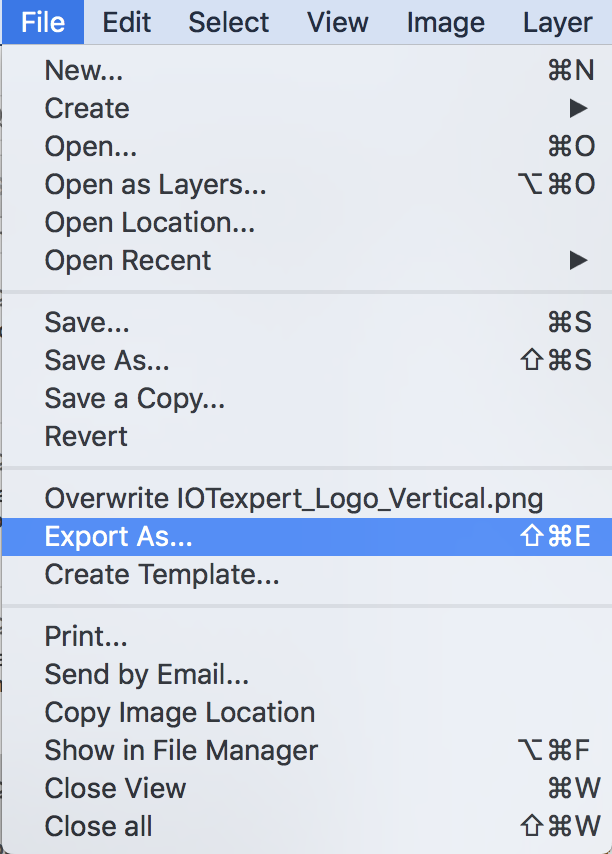
Now, I want to take that bitmap and turn it into a “C” file that has the right data structures. To do that pick “Save As..”
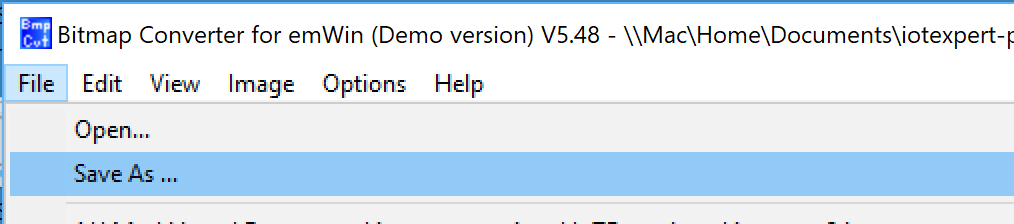
Then pick “C” bitmap file (*.c)
Now, it asks me this question, which I didn’t really know the answer to. (more on this later) but I let the default be “True color with alpha”
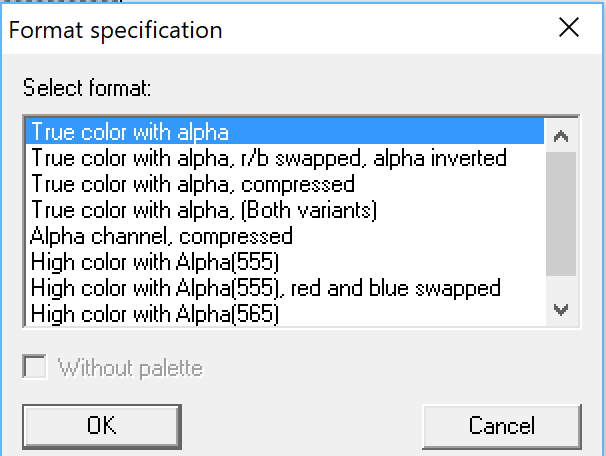
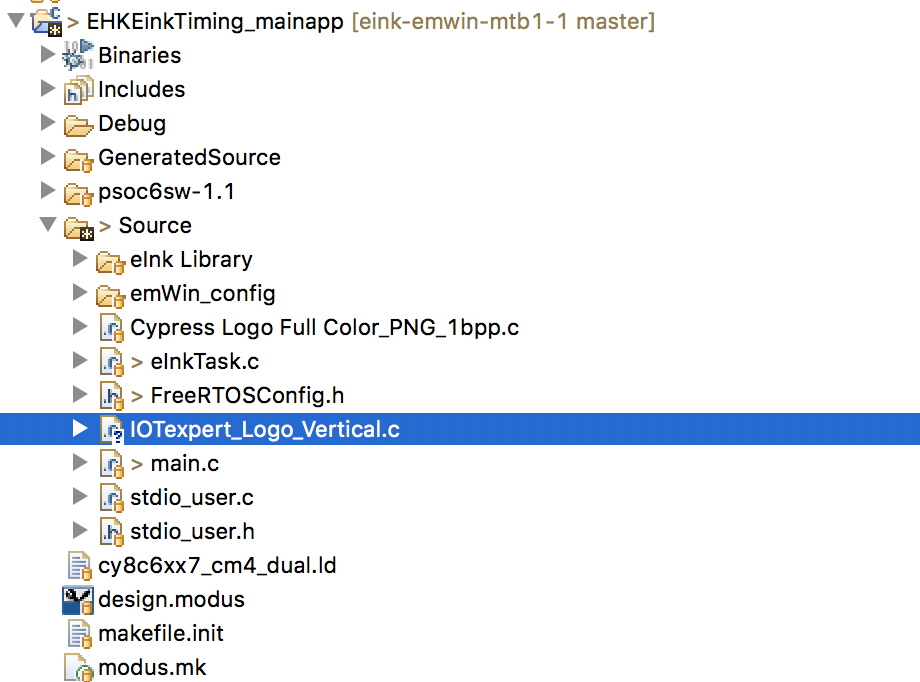
This created a “C” file called IOTexpert_Logo_Vertical.c” which seems to be OK.
Updating a Project to draw a Segger Bitmap
Rather than make a new project. I start with the project from the previous article. I use the finder to copy/paste the c file into my project. You can see it below.
Then I double click on the file. Here is the top. Notice it reminds me that this is demo only. And it gives me a little bit of information about the bitmap. Specifically the width and height. As well as the number of colors which is 32 bits per pixel. It turns out that this is 4-bytes per pixel. The first byte is Alpha and then one byte each for Red, Green and Blue. Notice that it also declares an extern structure “extern GUI_CONST_STORAGE GUI_BITMAP bmIOTexpert_Logo_Vertical”. This is exactly the right type to call the GUI_Drawbitmap function.
/*********************************************************************
*                SEGGER Microcontroller GmbH & Co. KG                *
*        Solutions for real time microcontroller applications        *
*                           www.segger.com                           *
**********************************************************************
*                                                                    *
* C-file generated by                                                *
*                                                                    *
*        Bitmap Converter for emWin (Demo version) V5.48.            *
*        Compiled Jun 12 2018, 15:10:41                              *
*                                                                    *
*        (c) 1998 - 2018 Segger Microcontroller GmbH                 *
*                                                                    *
*        May not be used in a product                                *
*                                                                    *
**********************************************************************
*                                                                    *
* Source file: IOTexpert_Logo_Vertical                               *
* Dimensions:  276 * 186                                             *
* NumColors:   32bpp: 16777216 + 256                                 *
*                                                                    *
**********************************************************************
*/

#include <stdlib.h>

#include "GUI.h"

#ifndef GUI_CONST_STORAGE
  #define GUI_CONST_STORAGE const
#endif

extern GUI_CONST_STORAGE GUI_BITMAP bmIOTexpert_Logo_Vertical;

static GUI_CONST_STORAGE U32 _acIOTexpert_Logo_Vertical[] = {
  0xFFFFFFFF, 0xFFFFFFFF, 0xFFFFFFFF, 0xFFFFFFFF, 0xFFFFFFFF, 0xFFFFFFFF, 0xFFFFFFFF, 0xFFFFFFFF, 0xFFFFFFFF, 0xFFFFFFFF, 0xFFFFFFFF, 0xFFFFFFFF, 0xFFFFFFFF, 0xFFFFFFFF, 0xFFFFFFFF, 0xFFFFFFFF, 0xFFFFFFFF, 0xFFFFFFFF, 0xFFFFFFFF, 0xFFFFFFFF, 0xFFFFFFFF,
In my project I create a new function called “ShowIoT” screen. This will just clear the screen, update the display, then draw the bitmap, then update the screen, then wait forever. In order for my file to know about the bitmap I copy the “extern GUI_CONST_STORAGE GUI_BITMAP bmIOTexpert_Logo_Vertical” into my file. Typically this declaration would be in a “.h” file that was paired with the “.c” file. Oh well.
extern GUI_CONST_STORAGE GUI_BITMAP bmCypressLogoFullColor_PNG_1bpp;

void ShowIoTScreen(void)
{
    /* Set foreground and background color and font size */
    GUI_Clear();
    GUI_SetBkColor(GUI_WHITE);
    GUI_SetColor(GUI_BLACK);
    UpdateDisplay(CY_EINK_FULL_4STAGE, true);

    GUI_DrawBitmap(&bmCypressLogoFullColor_PNG_1bpp, 0, 0);

    /* Send the display buffer data to display*/
    UpdateDisplay(CY_EINK_FULL_4STAGE, true);
    while(1)
    	vTaskDelay(100);
}
When I build the project I find out.. HOLY CRAP my project is now 270648 bytes. Wow.
=========================================
== Application CM0+ Memory ==
=========================================
code:6560	sram:1724


=========================================
== Application CM4 Memory ==
=========================================
code:270648	sram:278508
Why is this? Simple, by looking at the linker map you can see that the array of data for the bitmap is 0x32220 which is also known as 205344 bytes. Im going to have to figure out something better than that.
 .rodata._acIOTexpert_Logo_Vertical
                0x0000000000000000    0x32220 ./Source/IOTexpert_Logo_Vertical.o
When I program the screen I get this… which obviously is jacked up.
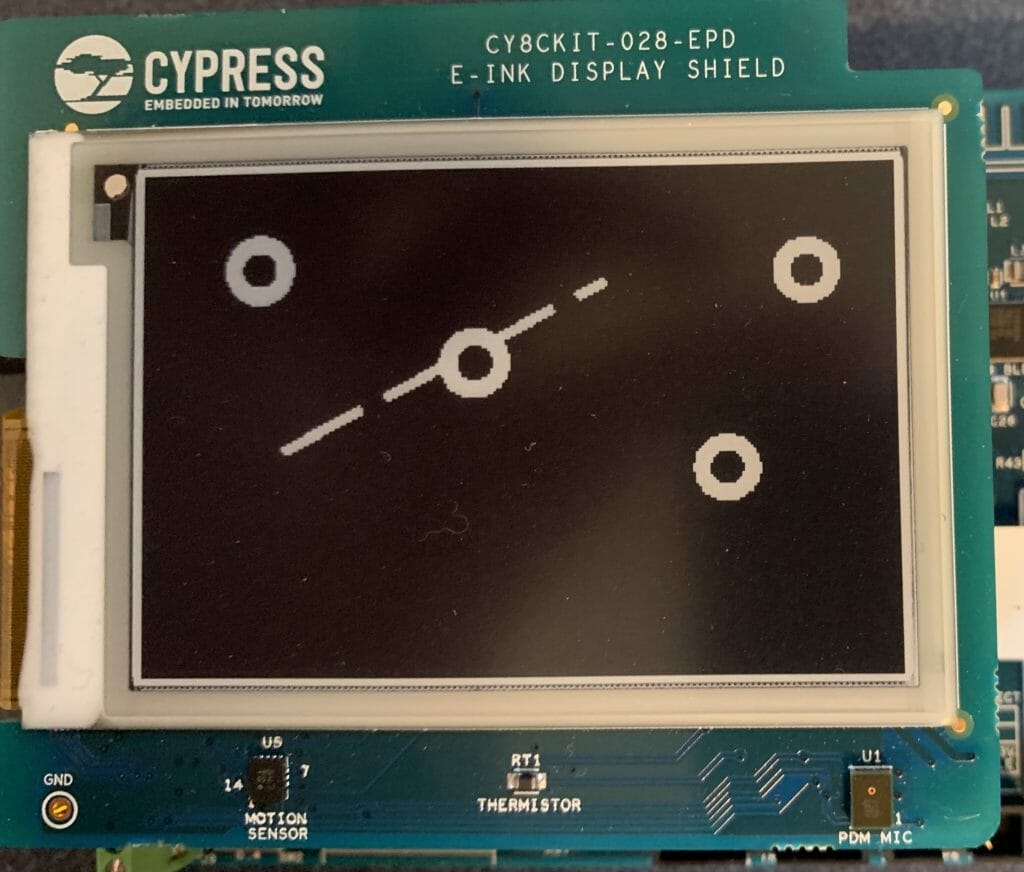
But what to do?
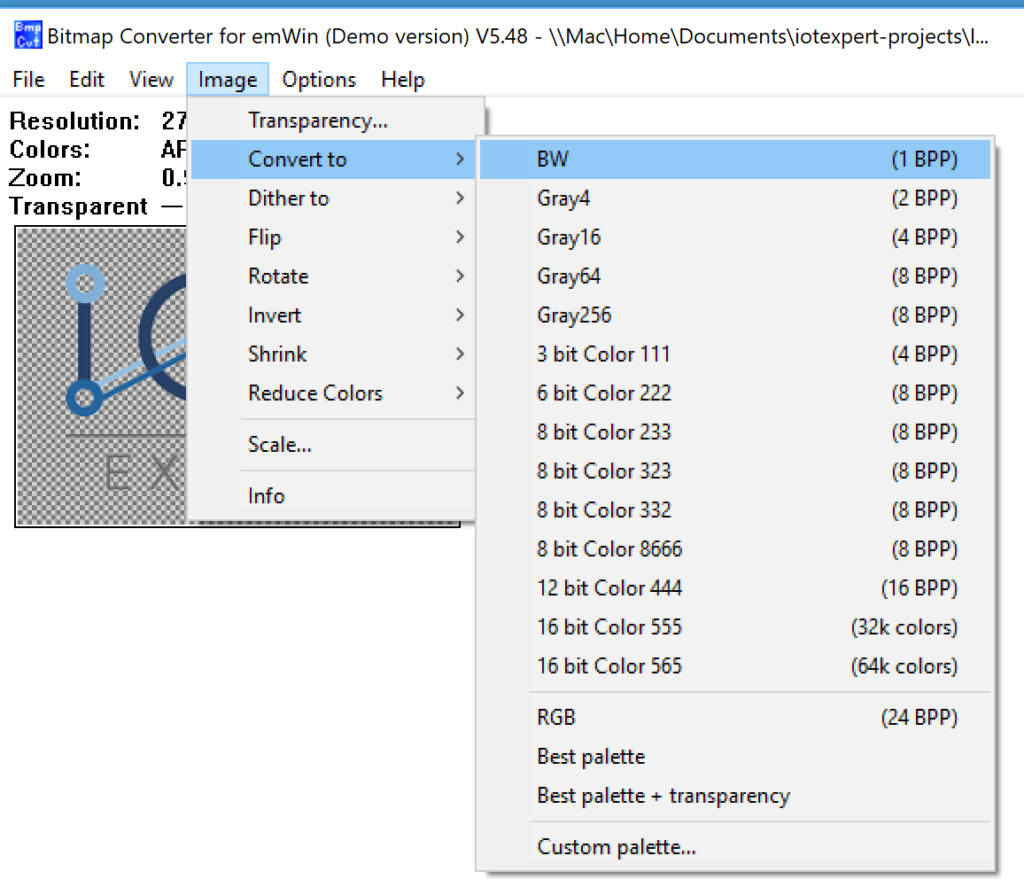
Converting a Color Bitmap to Black and White
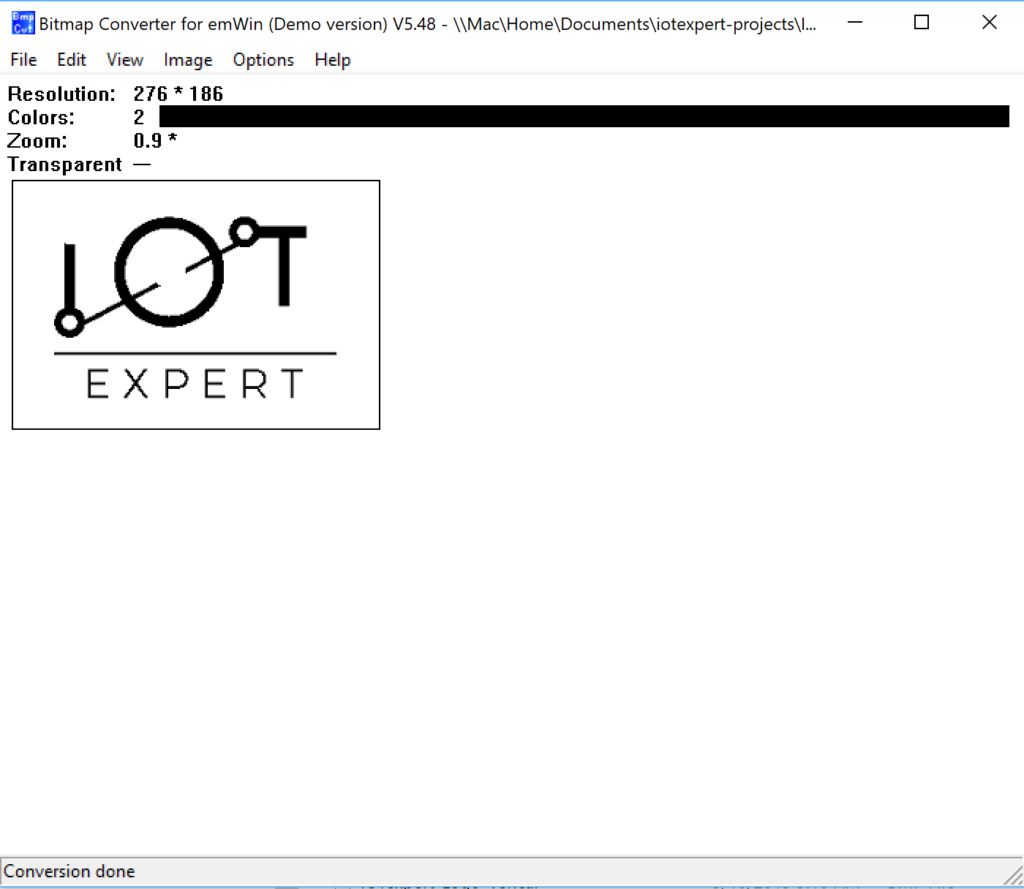
Well instead of a color image (32 bits-per-pixel) let’s use the Bitmap Converter for emWin (Demo version V5.8 to convert the image to BW. On the Image –>Covert to –> BW (1BPP)
After running that I get this. (what happened to my logo?).
After exporting the new image to a “.c” file I go have a look. OK it isnt very often that I learn something new about “C”. But look at this. Apparently you can represent binary data as “X” and “_” when initializing arrays. Who knew?
static GUI_CONST_STORAGE unsigned char _acIOTexpert_Logo_Vertical[] = {
  XXXXXXXX, XXXXXXXX, XXXXXXXX, XXXXXXXX, XXXXXXXX, XXXXXXXX, XXXXXXXX, XXXXXXXX, XXXXXXXX, XXXXXXXX, XXXXXXXX, XXXXXXXX, XXXXXXXX, XXXXXXXX, XXXXXXXX, XXXXXXXX, XXXXXXXX, XXXXXXXX, XXXXXXXX, XXXXXXXX, XXXXXXXX, XXXXXXXX, XXXXXXXX, XXXXXXXX, XXXXXXXX,
        XXXXXXXX, XXXXXXXX, XXXXXXXX, XXXXXXXX, XXXXXXXX, XXXXXXXX, XXXXXXXX, XXXXXXXX, XXXXXXXX, XXXX____,
When I build the project I find that it is much much smaller. Thats good.
=========================================
== Application CM0+ Memory ==
=========================================
code:6560	sram:1724


=========================================
== Application CM4 Memory ==
=========================================
code:69744	sram:278492
And I find that the image occupies 0x196e bytes (also known as 6510 in decimal). Much better.
.rodata._acIOTexpert_Logo_Vertical
                0x000000001000f880     0x196e ./Source/IOTexpert_Logo_Vertical.o
But, when I program the board, my image is jacked up. I suppose that I shouldn’t be surprised as thats what the program showed me as well.
Using GIMP to Fix B/W Conversion
My lab assistant, Nicholas, looked at the image and said. The problem is that when you converted it to black and white, the light colors in the logo turned to white instead of black. OK. How do I fix it? Simple, install GIMP and edit the PNG. GIMP is GNU Image Processor and is a program that acts like Adobe Photoshop.
Start by opening up the logo and it tell me nearly the same thing as the BitMap converter program.
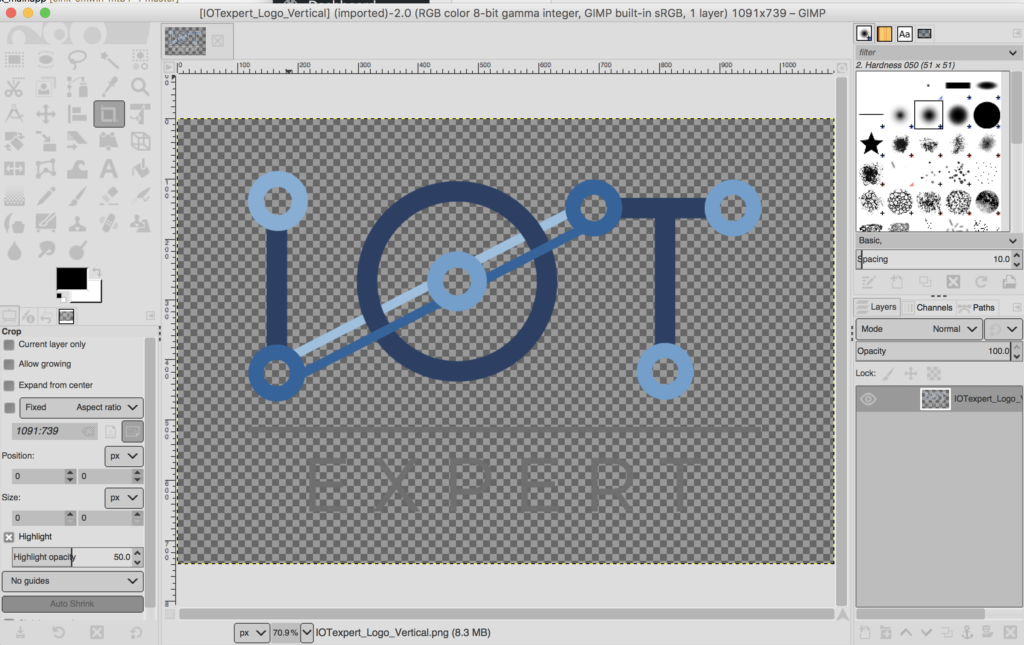
On the left side of the screen there is a “bucket” icon which will pour color into regions of the image. So, to make things work I pour black everywhere there is color. That little black white thing specifies the foreground and background colors.
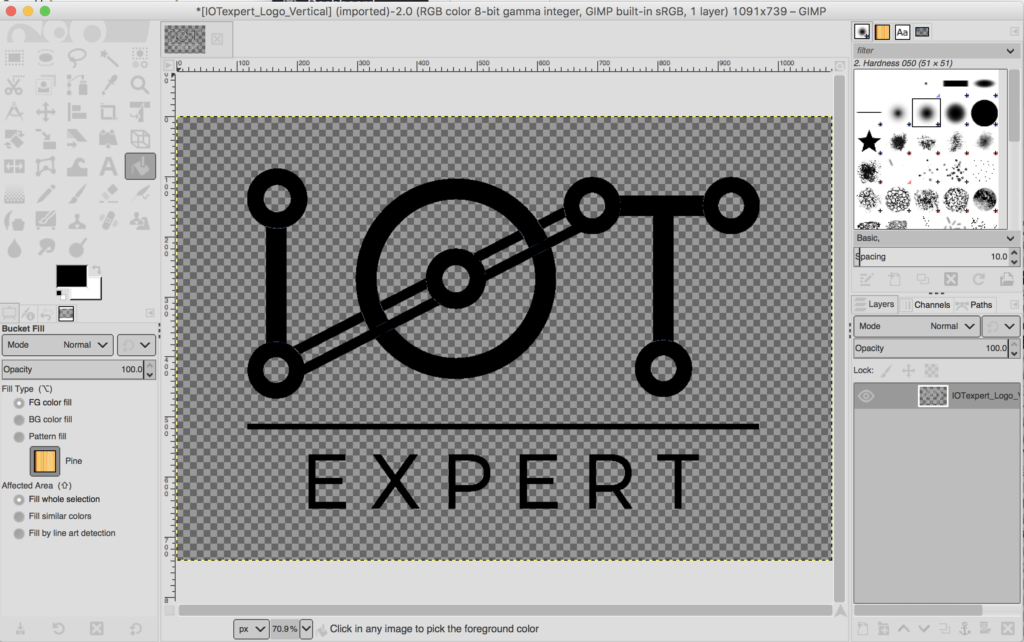
Now I take the file and export it back to an PNG.
When you pick “PNG” you need to give it some options. Which I took also as default.
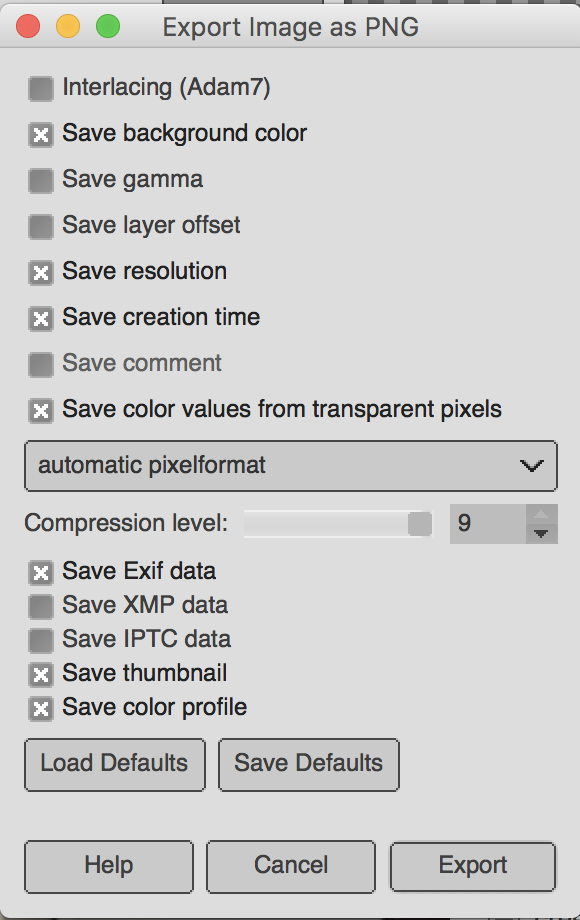
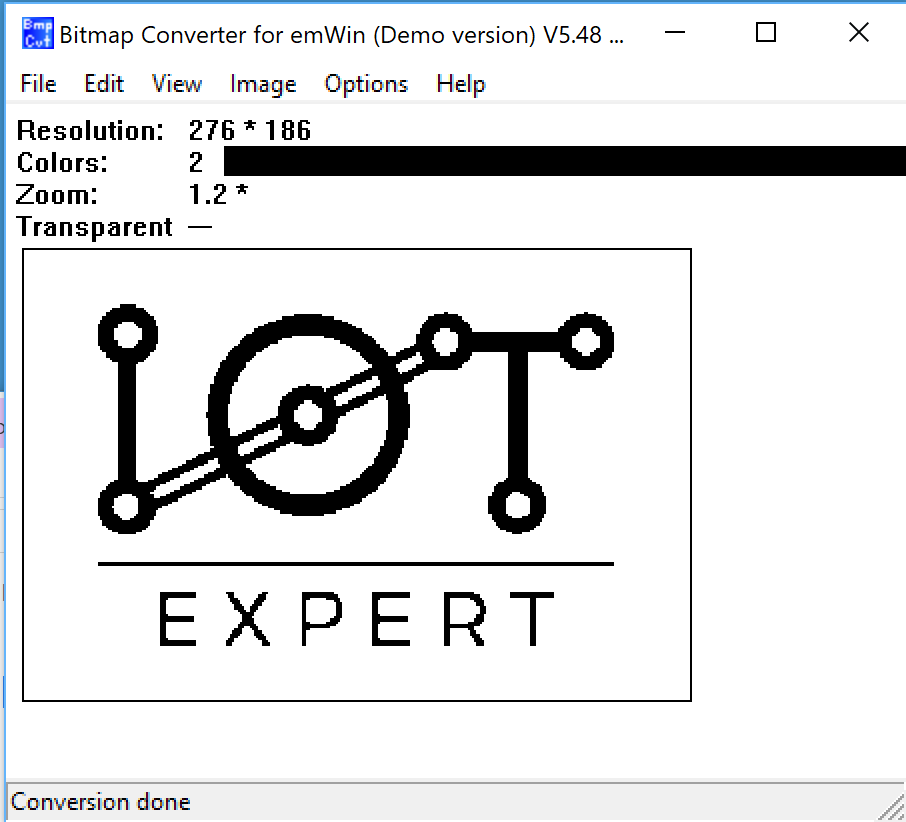
Now when I open it up in the Bitmap Converter it looks all black and white. BUT notice that it is still “ARGB”

So, I convert it to black and white.
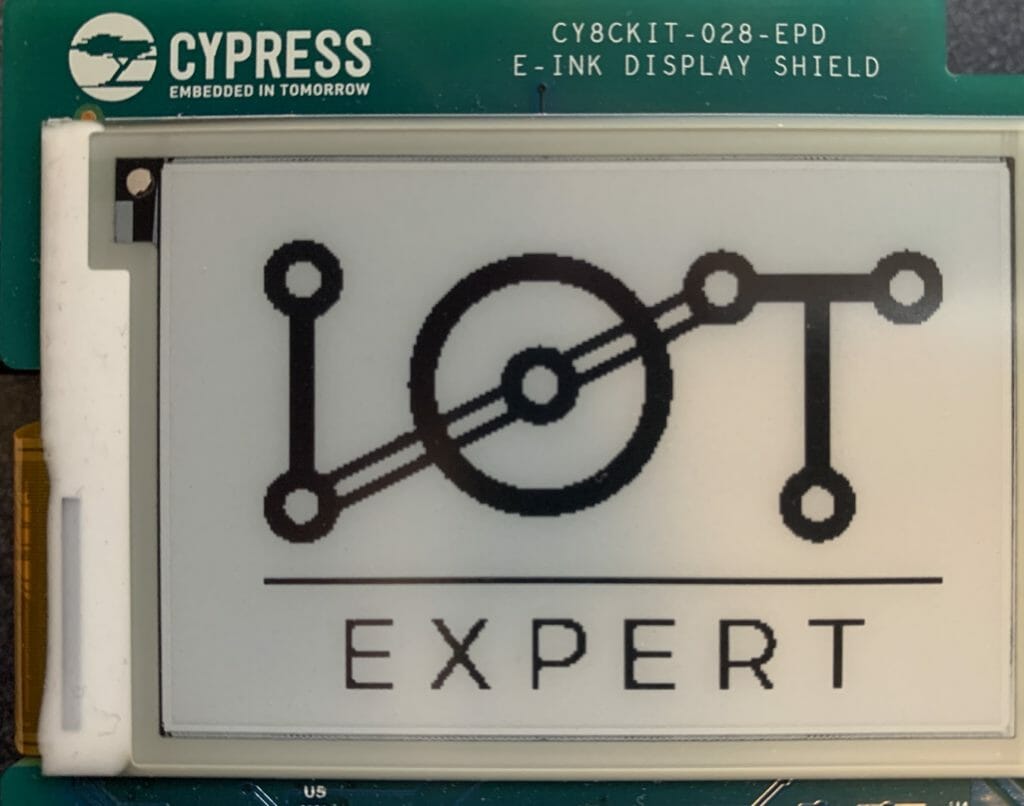
Then I follow the same process to program the development kit. (export C file, copy into project, fix up the extern and build/program). Excellent. Now my image is good.
In the next article I will talk more about the Bitmap format, and colors, and Alpha. I will then show you how to use some of the other APIs.
No comment yet, add your voice below!