WICED HTTP Client

WICED HTTP & 943907 & CY3280 CapSense

Summary

In the previous articles I talked about the GE Hackathon, using WICED and CapSense, and finally creating a Particle Photon configuration.  In this article I will show you the WICED HTTP Client firmware which will read the button state and send it via WICED HTTP to the Particle Cloud.  To build this project I will start from the I2C Read firmware that I talked about in this article.

There are two parts of this application

  • The “main” application which reads the buttons and sends a message
  • The “sendMessage” function which builds a WICED HTTP message and sends it to the Particle cloud.

Main Application

I took the code from the previous example (CY3280 –> I2C –> WICED) and only made a few modifications (though I rearranged things a bit to make it easier to look at)

  • I joined the network (line 126)
  • I look up the IP address of the Particle Cloud (line 128)
  • Then I send a HIGH or LOW via the sendMessage function based on the state of the buttons (all the buttons do the same thing)
#include "wiced.h" 
#include <stdlib.h> 

#define I2C_ADDRESS (0x37) 
#define BUTTON_REG (0xAA) 
wiced_semaphore_t buttonPress; // used to signal in ISR to signal main
void application_start( )
{
    wiced_init();                                 // Initialize the WICED device
    wiced_rtos_init_semaphore(&requestSemaphore); // Initialize
    wiced_result_t result;

    wiced_network_up(WICED_STA_INTERFACE, WICED_USE_EXTERNAL_DHCP_SERVER, NULL);

    wiced_hostname_lookup( SERVER_HOST, &ip_address, DNS_TIMEOUT_MS, WICED_STA_INTERFACE );
    wiced_rtos_init_semaphore(&buttonPress);

    // WICED_GPIO_9 is the MBR3 Interrupt Pin
    wiced_gpio_init(WICED_GPIO_9,INPUT_PULL_UP);
    wiced_gpio_input_irq_enable(WICED_GPIO_9, IRQ_TRIGGER_FALLING_EDGE, button_isr, NULL); /* Setup interrupt */

    /* Setup I2C master */
    const wiced_i2c_device_t i2cDevice = {
            .port = WICED_I2C_2,
            .address = I2C_ADDRESS,
            .address_width = I2C_ADDRESS_WIDTH_7BIT,
            .speed_mode = I2C_STANDARD_SPEED_MODE
    };

    wiced_i2c_init(&i2cDevice);

    /* Tx buffer is used to set the offset */
    uint8_t tx_buffer[] = {BUTTON_REG};
    uint8_t buttonStatus;
    while ( 1 )
    {
        wiced_rtos_get_semaphore(&buttonPress,WICED_WAIT_FOREVER);

        // Do this until the MBR3 is alive.  It goes into deep sleep and wakes when you
        // send the first command.
        do {
            result = wiced_i2c_write(&i2cDevice, WICED_I2C_START_FLAG | WICED_I2C_STOP_FLAG, tx_buffer, sizeof(tx_buffer));
        }
        while(result != WICED_SUCCESS);

        result=wiced_i2c_read(&i2cDevice, WICED_I2C_START_FLAG | WICED_I2C_STOP_FLAG, &buttonStatus, sizeof(buttonStatus));
        if(buttonStatus > 0)
        {
            WPRINT_APP_INFO(("Sending On\n"));
            sendMessage("HIGH");
        }
        else
        {
            WPRINT_APP_INFO(("Sending Off\n"));
            sendMessage("LOW");
        }

    }
}

Send Message via WICED HTTP

The WICED HTTP sendMessage function simply

  • Creates a http_client (which is just a mechanism to keep track of an HTTP connection
  • Sets up a connection (lines 77-80)
  • Makes the connection (line 82)
  • Creates the message (line 88) in “application/x-www-form-urlencoded” format
  • Builds the HTTP headers for a HTTP “POST” (lines 90-105)
  • Write the Request (lines 108 –> 112)
  • Waits for the response using semaphore (line 114)
  • Destroys the connection (line 115 –> 116)
#include "wiced_tls.h" 
#include "http_client.h" 
#define SERVER_PORT ( 443 ) 
#define SERVER_HOST "api.particle.io" 
#define SERVER_RESOURCE "/v1/devices/2a001b000347353137323334/digitalwrite" 
#define PARTICLE_ACCESS_TOKEN "1311f9217a60" 
#define DNS_TIMEOUT_MS ( 10000 ) 
#define CONNECT_TIMEOUT_MS ( 3000 ) 
wiced_semaphore_t requestSemaphore; // used to signal request is done static http_client_t client; 
static http_request_t request; 
static http_client_configuration_info_t client_configuration; 
static wiced_ip_address_t ip_address; 
/* void sendMessage - Send HTTP request to turn on or off the LED
*/
void sendMessage( char *state )
{
http_client_init( &client, WICED_STA_INTERFACE, event_handler, NULL );
/* configure HTTP client parameters */
client_configuration.flag = (http_client_configuration_flags_t)(HTTP_CLIENT_CONFIG_FLAG_SERVER_NAME | HTTP_CLIENT_CONFIG_FLAG_MAX_FRAGMENT_LEN);
client_configuration.server_name = (uint8_t*)SERVER_HOST;
client_configuration.max_fragment_length = TLS_FRAGMENT_LENGTH_1024;
http_client_configure(&client, &client_configuration);
http_client_connect( &client, (const wiced_ip_address_t*)&ip_address, SERVER_PORT, HTTP_USE_TLS, CONNECT_TIMEOUT_MS );
http_header_field_t header[3]; // Three headers
char messageBody[128];        // Enough to hold the message body
char messageLengthBuffer[10]; // Enough to hold the characters for the Content-Length: header
sprintf(messageBody,"access_token=%s&params=D7%%2C%s",PARTICLE_ACCESS_TOKEN,state);
header[0].field        = HTTP_HEADER_HOST;
header[0].field_length = sizeof( HTTP_HEADER_HOST ) - 1;
header[0].value        = SERVER_HOST;
header[0].value_length = sizeof( SERVER_HOST ) - 1;
#define MIME_FORM_URL "application/x-www-form-urlencoded"
header[1].field        = HTTP_HEADER_CONTENT_TYPE;
header[1].field_length = sizeof( HTTP_HEADER_CONTENT_TYPE ) - 1;
header[1].value        =  MIME_FORM_URL;
header[1].value_length = sizeof(  MIME_FORM_URL ) - 1;
sprintf(messageLengthBuffer," %d",strlen(messageBody)); // Put the message body into the buffer so that you can strlen it
header[2].field        = HTTP_HEADER_CONTENT_LENGTH;
header[2].field_length = sizeof( HTTP_HEADER_CONTENT_LENGTH ) - 1;
header[2].value        =  messageLengthBuffer;
header[2].value_length = strlen(messageLengthBuffer);
// Build the HTTP Message
http_request_init( &request, &client, HTTP_POST, SERVER_RESOURCE, HTTP_1_1 );
http_request_write_header( &request, &header[0], 3 ); // 3 headers
http_request_write_end_header( &request );
http_request_write(&request,(uint8_t*)messageBody,strlen(messageBody));
http_request_flush( &request );
wiced_rtos_get_semaphore(&requestSemaphore,10000); // wait up to 10 seconds to close the request and the client
http_request_deinit(&request);
http_client_deinit(&client);
}

WICED HTTP Event Handler

The way that the WICED HTTP  executes is that it has a worker thread waiting on the TCP socket.  When it gets a response it runs your callback function and tells you what happened.  In this case I just tell my thread to close the connection and move on.

/*
* void event_handler() is called by the http_client function when
*  Data is received from the server
*  a connection is made
*  a disconnect occurs
*
*  When data is received I assume that the response is good and I reset the semaphore so that another request can happen
*/
static void event_handler( http_client_t* client, http_event_t event, http_response_t* response )
{
switch( event )
{
case HTTP_CONNECTED: // Dont do anything
break;
case HTTP_DISCONNECTED: // Disconnect if you get this event
wiced_rtos_set_semaphore(&requestSemaphore);
break;
case HTTP_DATA_RECEIVED: // Disconnect if you get this event
wiced_rtos_set_semaphore(&requestSemaphore);
break;
default:
break;
}
}
 

Particle Photon Configuration with Tinker Firmware

Summary

In the last article I wrote about using a CY3280 MBR3 Shield on a WICED WiFI 943907AEVAL1F development kit at the GE MegaHackathon.  In the next article I will show you the WICED HTTP firmware that I wrote to connect to the Particle Photon which they were using (I have written about Particle Photon before).  Obviously, I like Particle Photon because it is a WICED 43362 WiFi Radio.  In this article, I am going to show you how to get a Particle Photon going with the Tinker firmware.  Then test it with the iOS app, the web console and finally using CURL.  The CURL is just a mechanism to send HTTP Posts to the Tinker firmware, exactly what I will do in the next article on the WICED development kit.

Configure the Particle Photon

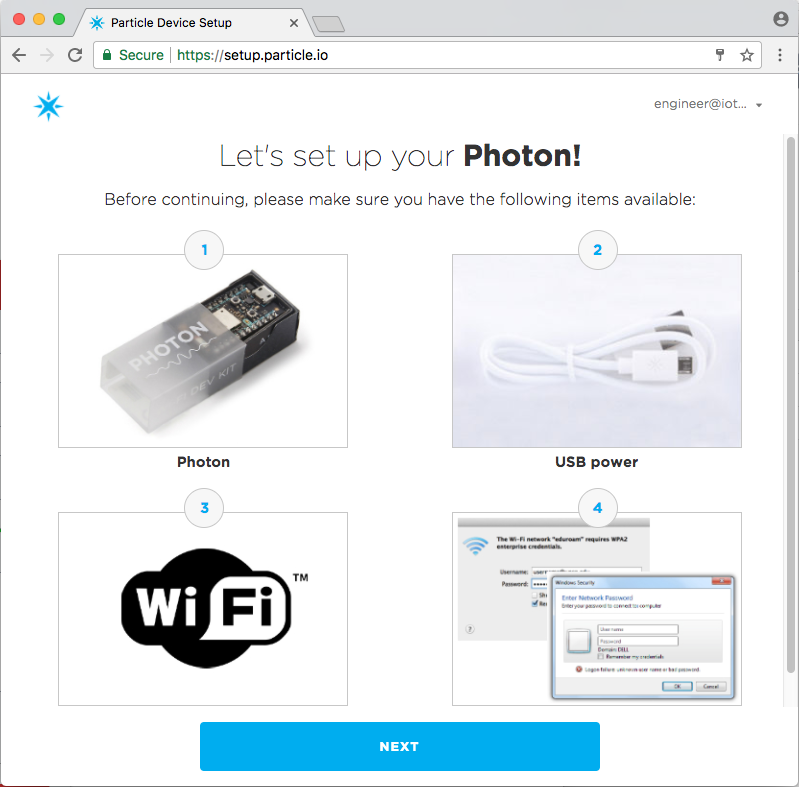
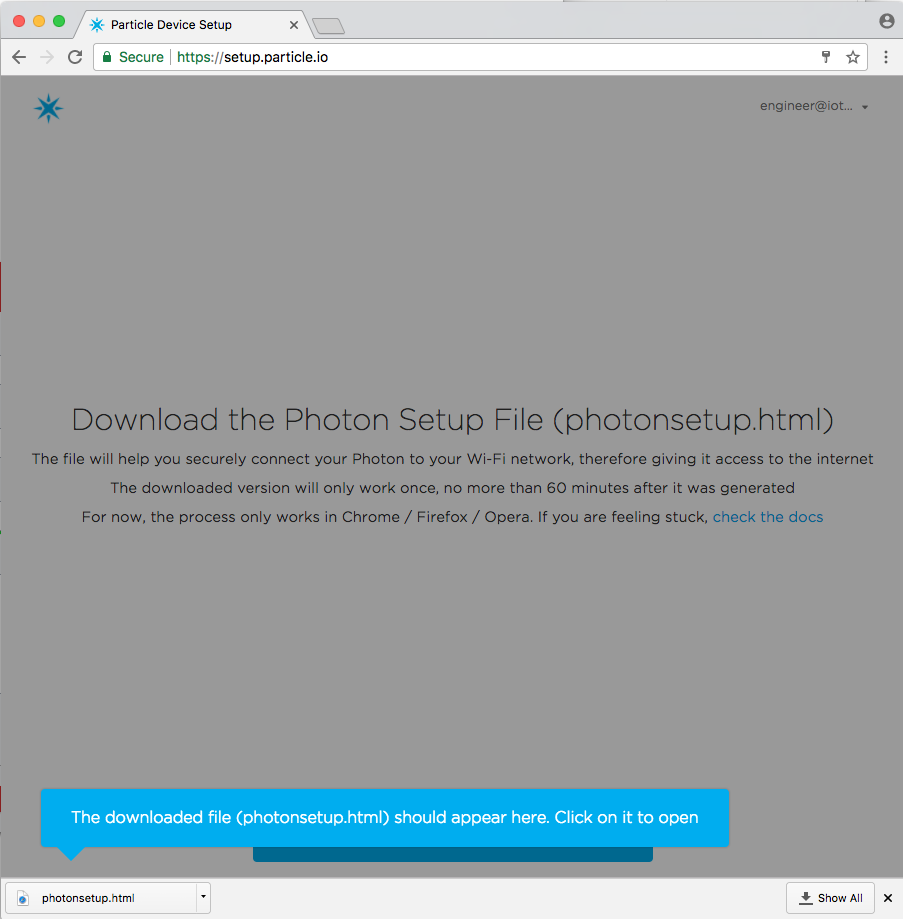
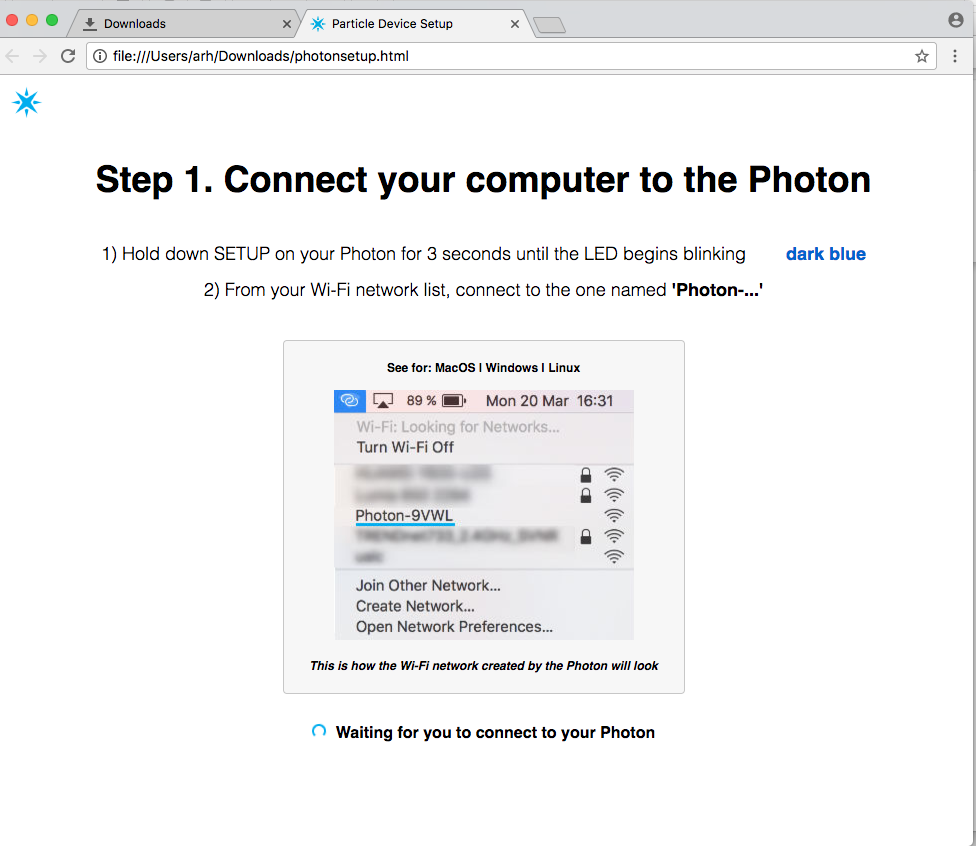
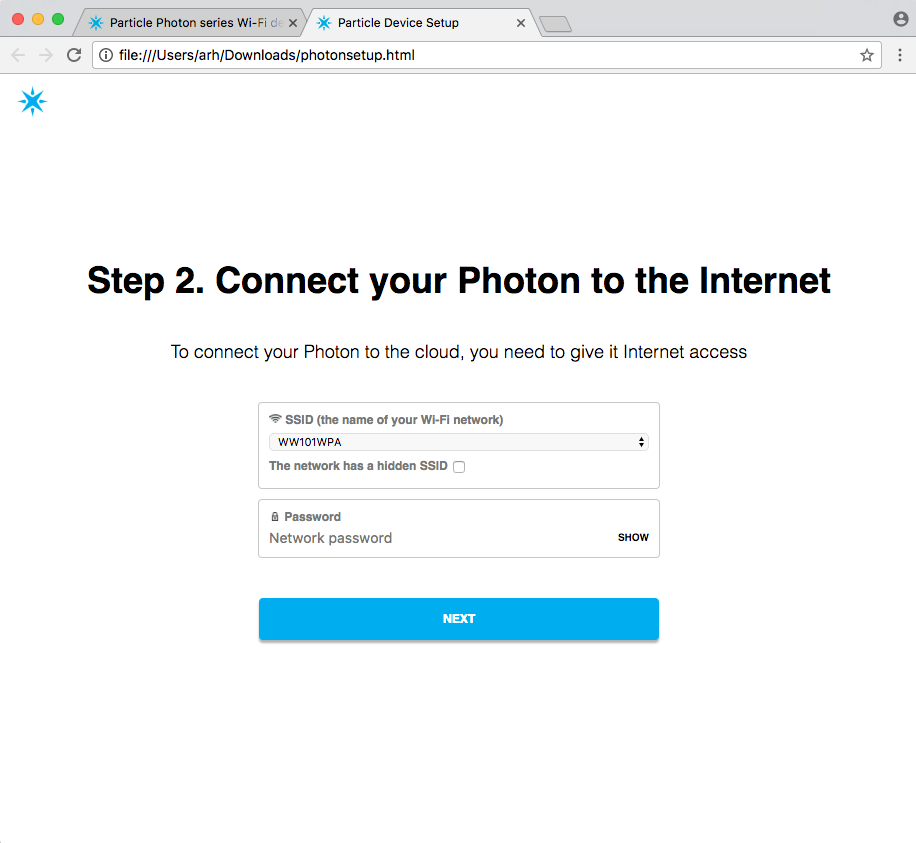
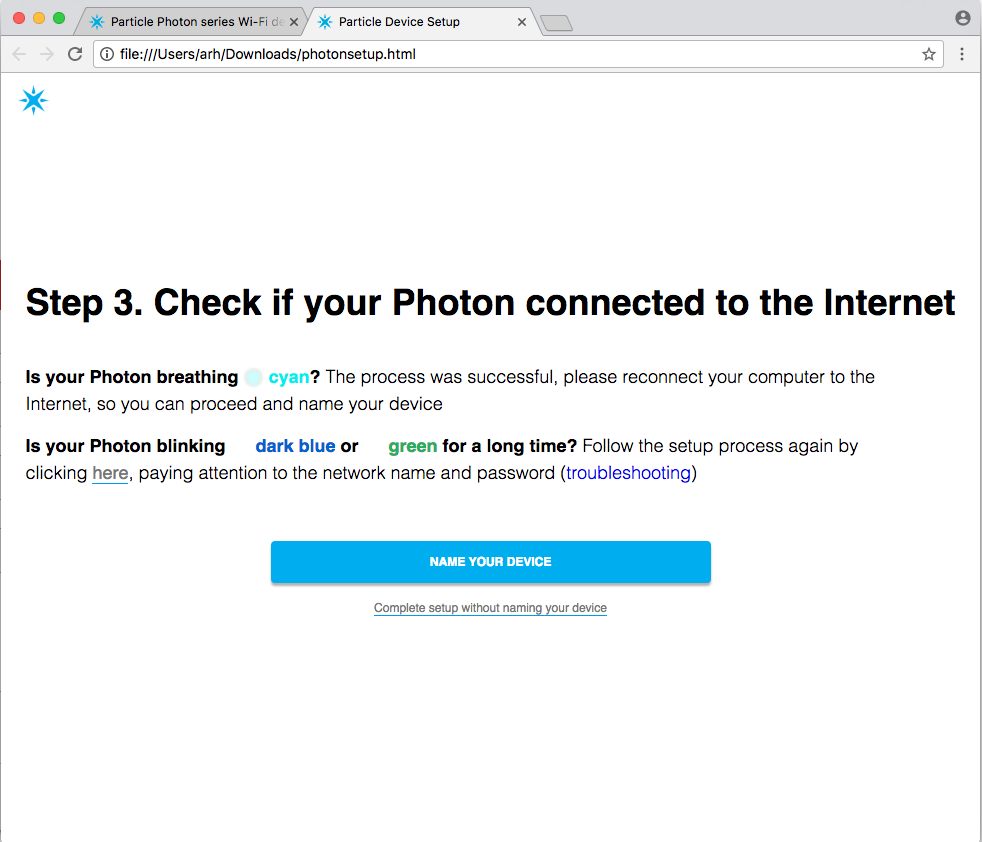
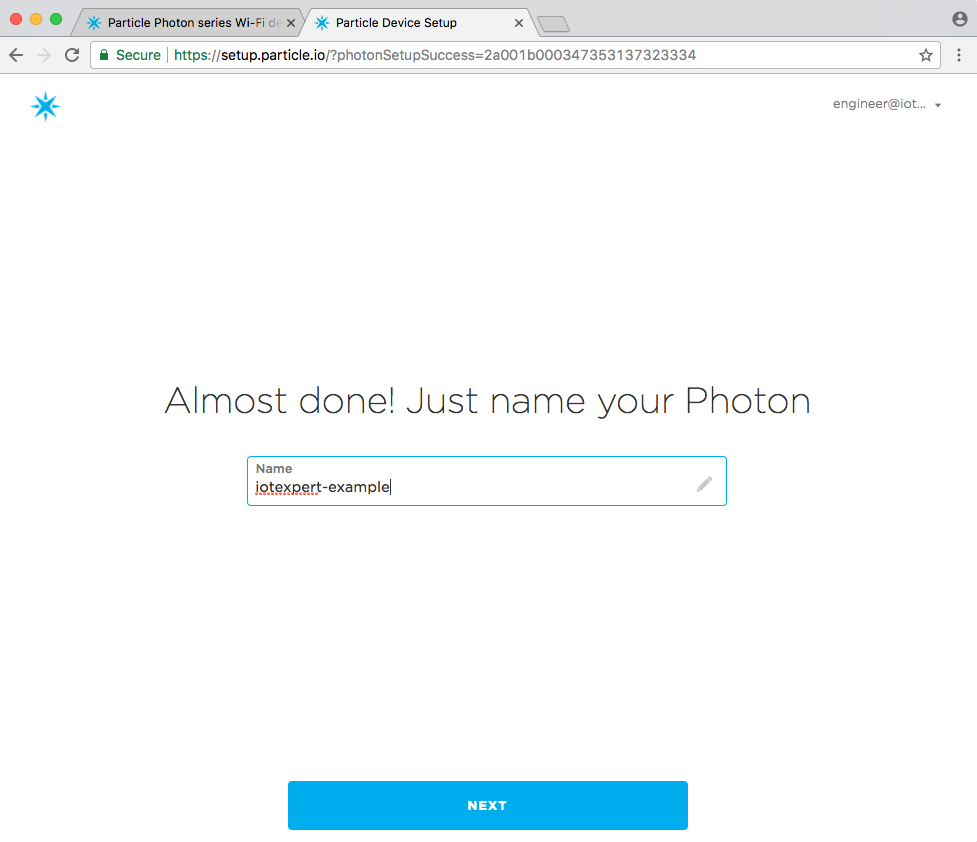
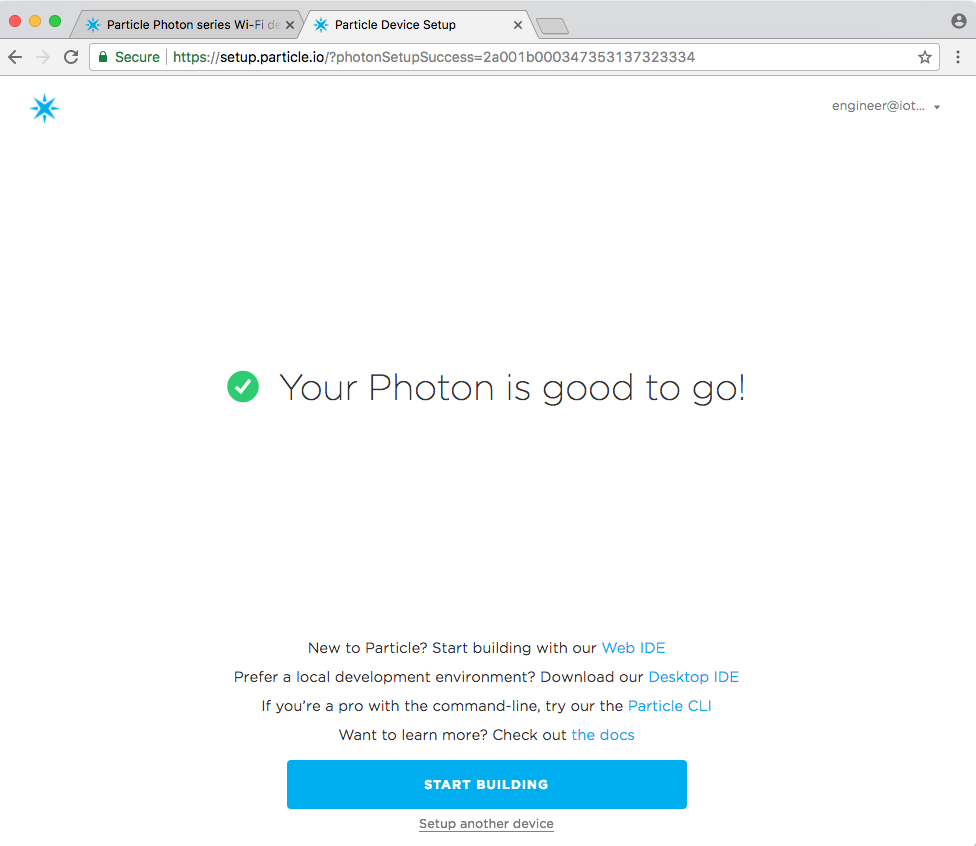
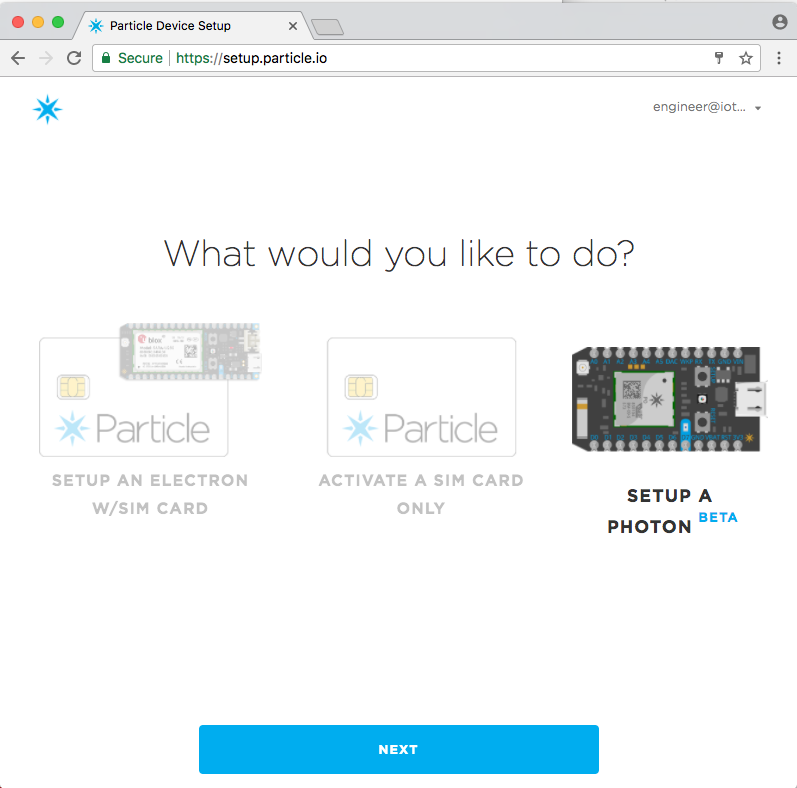
When you get a fresh Particle Photon out of the box you need to get it introduced to your WiFi network, and attached to your console.  To do this, start by going to setup.particle.io and following the process.

Particle Photon Configuration


Particle Photon Configuration

Particle Photon Configuration

Particle Photon Configuration

Particle Photon Configuration

Particle Photon Configuration


Particle Photon Configuration


Particle Photon Configuration

Testing with iPhone App

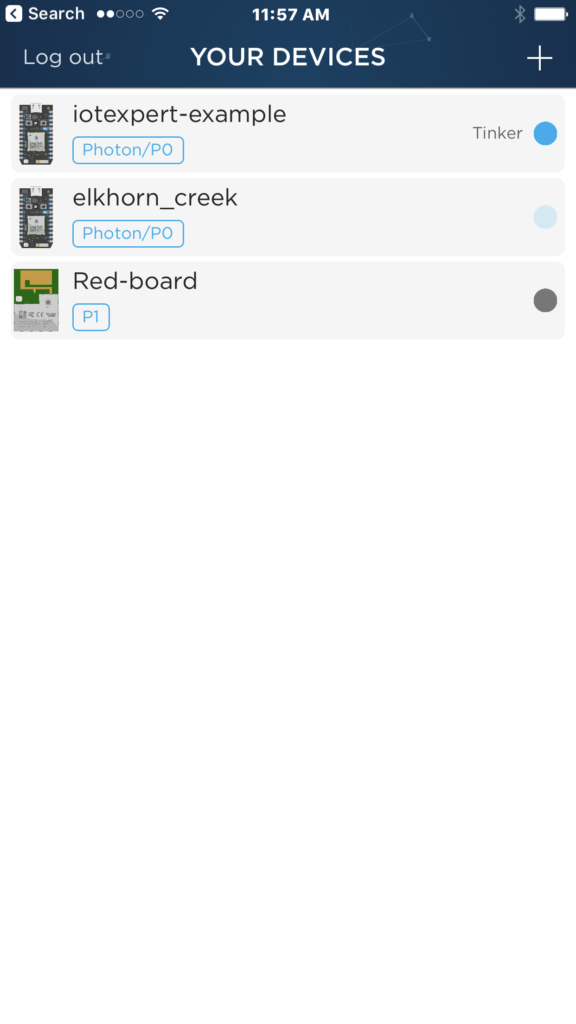
One you have “claimed” your Particle Photon and it is connected to the network, then you can talk to it with the Particle iOS app.  Here is what it looked like when I started the App on my phone.  You can see the device called “iotexpert-example” (remember that is what I named it from above).  The “Elkhorn_creek” Photon is the one that I wrote about in this article.

Particle Photon iOS App

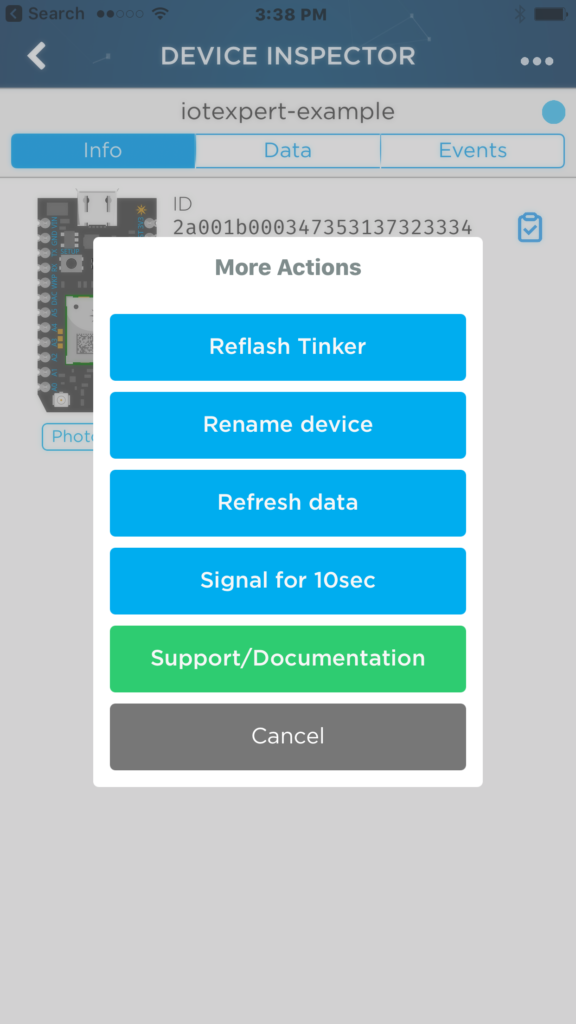
Although the console says that I have the Tinker Firmware on the app, I wanted to make sure, so I use the iOS App to re-flash the Tinker Firmware.  You can do this by clicking the new device, then press the little “…” at the top right of the screen.  Finally click “Reflash Tinker”. It is awesome how fast that happens.

Particle Photon iOS Flash Firmware

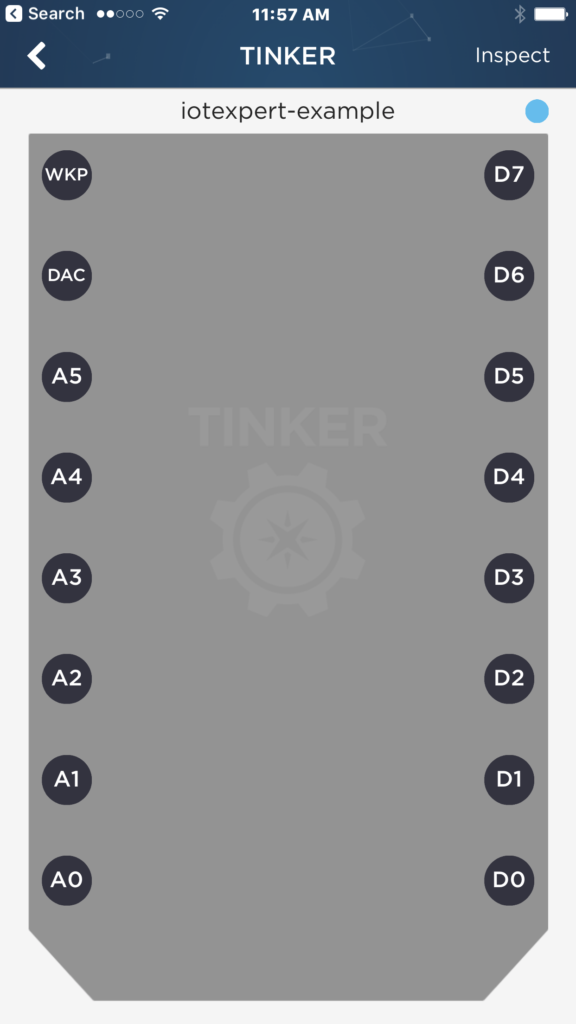
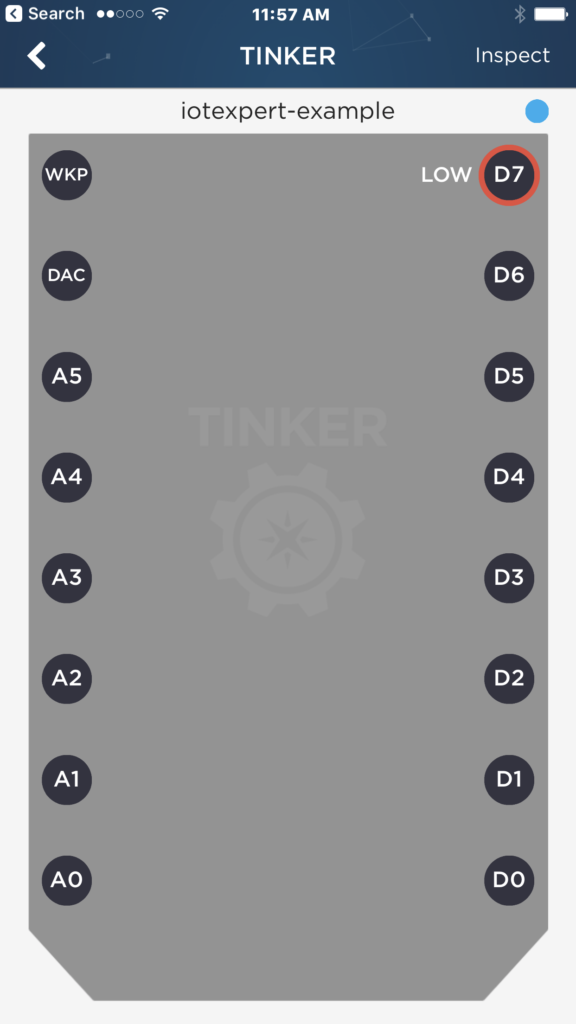
Once I am sure about the version of the Tinker firmware, I test to make sure that things are working correctly.  First I click on “D7”

Particle Photon iOS Tinker App

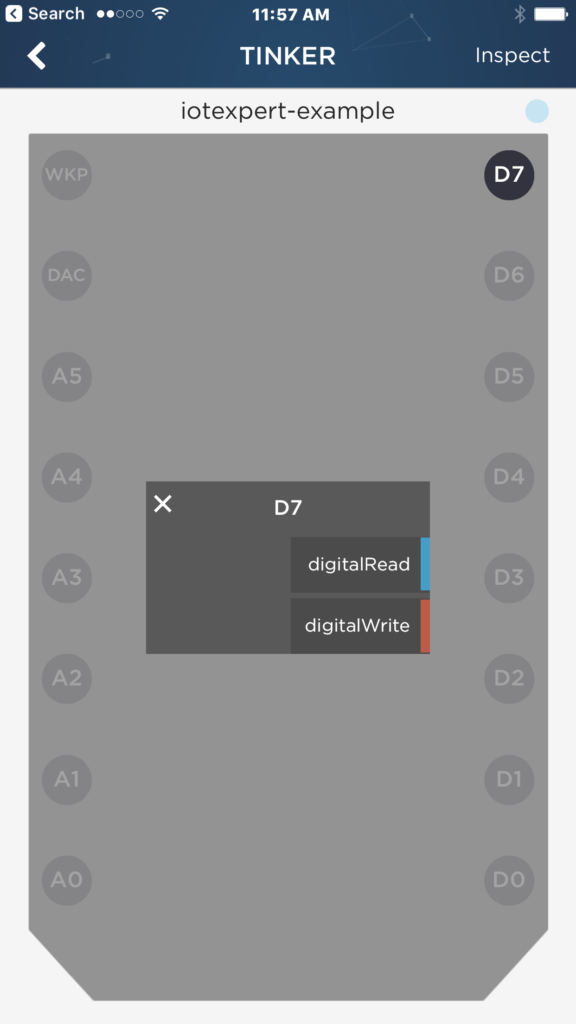
Which brings up this screen where you can select digitalRead and digitalWrite.

Particle Photon iOS Tinker App

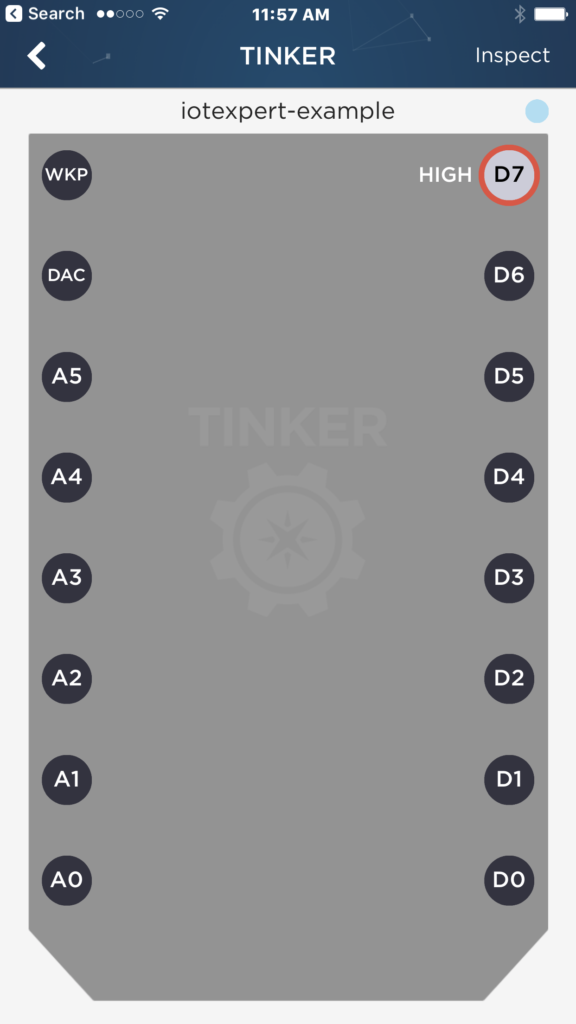
Then when you press the button it will switch from high to low and vice versa.

Particle Photon iOS Tinker App Particle Photon iOS Tinker App

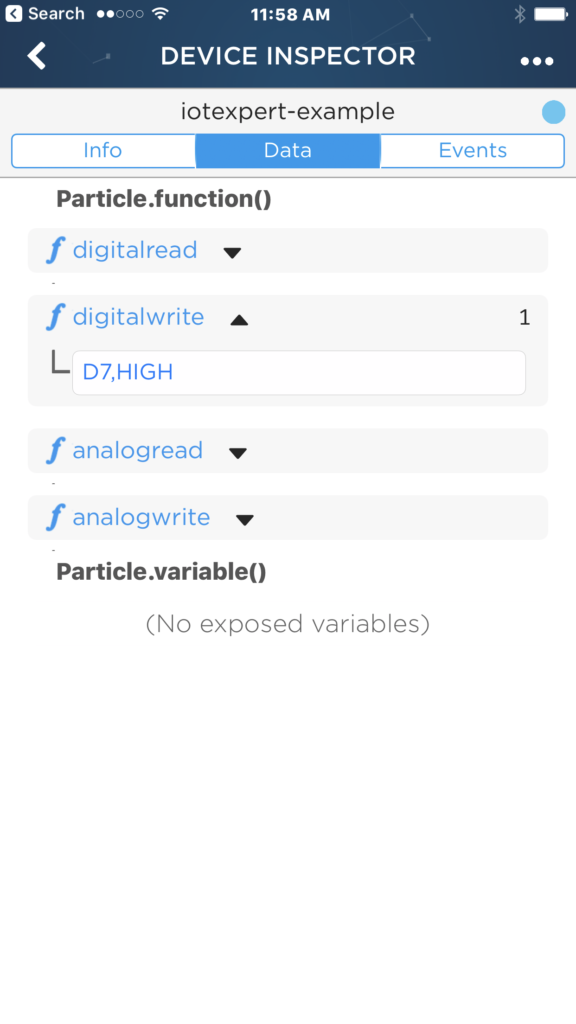
You can also call the API directly by pressing “inspect” then “Data”

Particle Photon iOS digitalwrite Data Function

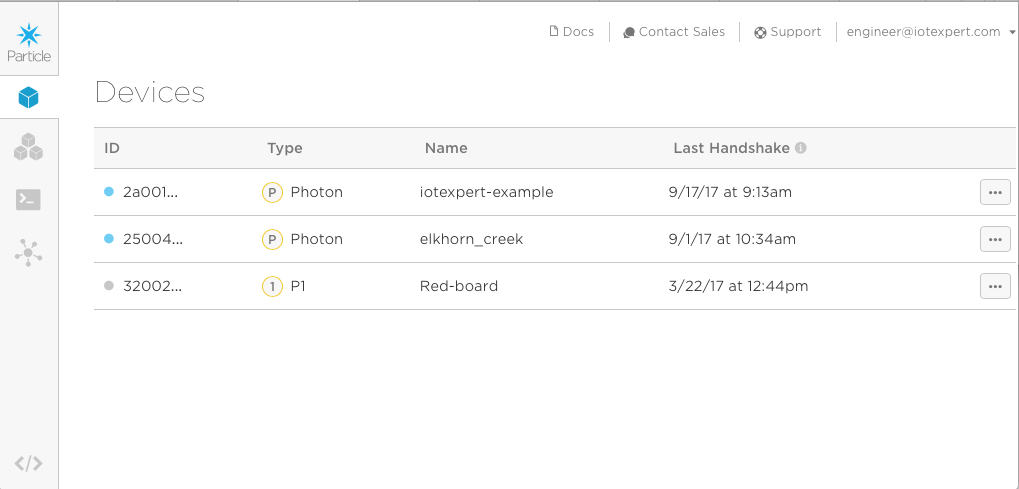
Particle Photon Console

In addition to using the iOS App, you can also interact with the Photon using the console.

Particle Photon Console

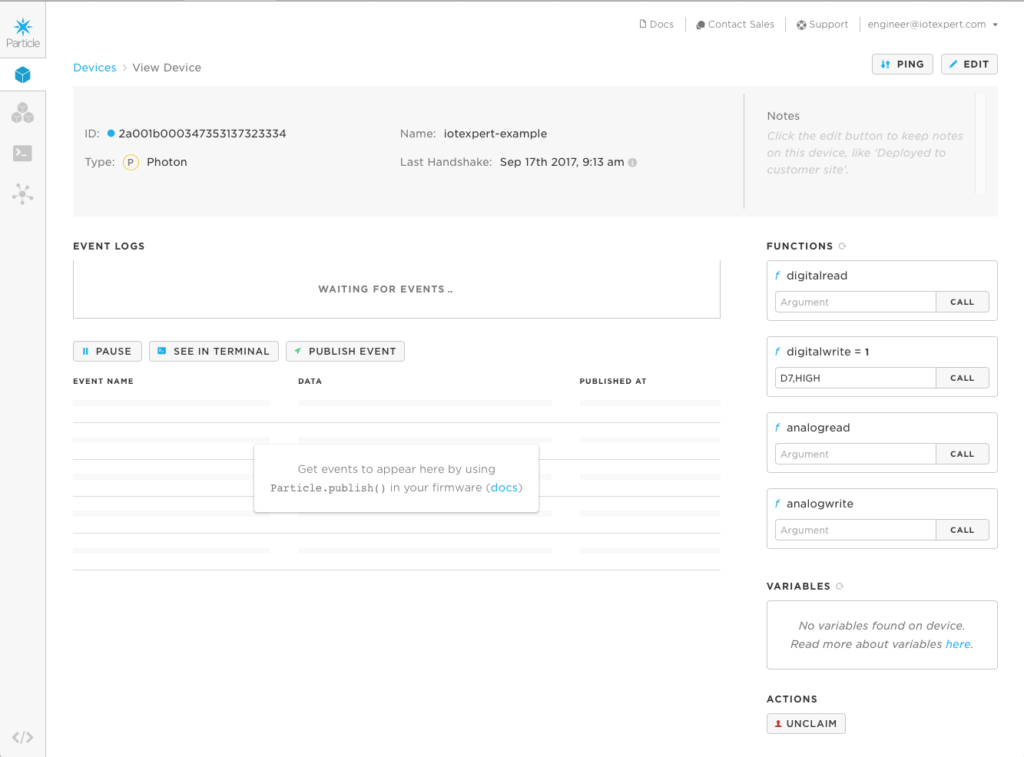
When I click on the “iotexpert-example” it brings up this screen where I can run the Tinker firmware functions.  In this case I ran “digitialwrite” with “D7,HIGH” which turns on the LED on the Photon.

Particle Photon Console

Testing the Particle Photon with CURL

The Particle Cloud exposes an API which lets you send Restful API requests to specific devices.  The Unix tool CURL lets me type command line requests (which I will mimic in the next Article using WICED).  The first command that I send is and HTTP GET which will return a JSON document that describes the configuration on my Photon.

curl https://api.particle.io/v1/devices/iotexpert-example?access_token=1311f67269d6

You can see the device name etc in the JSON below.  It also shows that the Tinker firmware has four function built into it.

{  
"id":"2a001b000347353137323334",
"name":"iotexpert-example",
"last_app":null,
"last_ip_address":"69.23.226.142",
"last_heard":"2017-09-17T15:38:56.406Z",
"product_id":6,
"connected":true,
"platform_id":6,
"cellular":false,
"notes":null,
"status":"normal",
"current_build_target":"0.5.3",
"variables":{  
},
"functions":[  
"digitalread",
"digitalwrite",
"analogread",
"analogwrite"
]
}

Then I can send a HTTP POST using Curl to turn on the D7 LED.

 curl https://api.spark.io/v1/devices/2a001b000347354/digitalwrite -d access_token=1311f67269d66b -d params=D7,HIGH

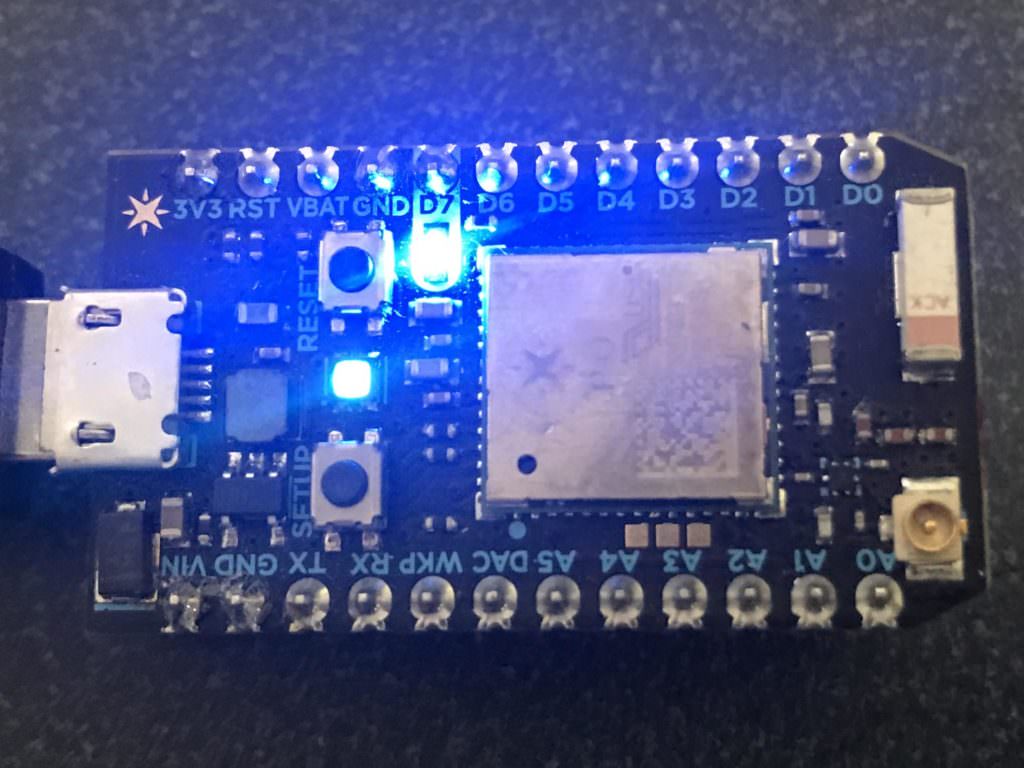
You can see the Blue LED right next to D7 turns on.

Particle Photon

Particle Photon Tinker App

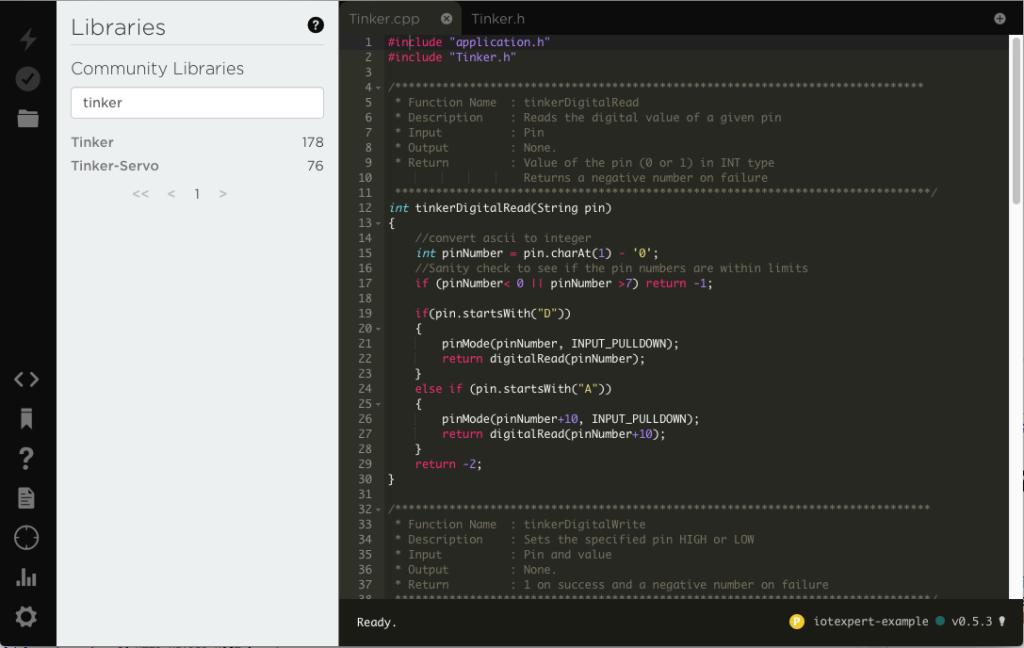
I wondered where the Tinker App API was documented?  It turns out that the App is available in Particle library.  You can search by typing “tinker”

The section of code that matters is here.  The function takes a “String” and parses it.  It demands that the 2nd character be a PIN number between 0 and 7.  The first character be a capital “D”.  Then you need to have a “HIGH” (in caps) or a “LOW” (in caps)

/*******************************************************************************
* Function Name  : tinkerDigitalWrite
* Description    : Sets the specified pin HIGH or LOW
* Input          : Pin and value
* Output         : None.
* Return         : 1 on success and a negative number on failure
*******************************************************************************/
int tinkerDigitalWrite(String command)
{
bool value = 0;
//convert ascii to integer
int pinNumber = command.charAt(1) - '0';
//Sanity check to see if the pin numbers are within limits
if (pinNumber< 0 || pinNumber >7) return -1;
if(command.substring(3,7) == "HIGH") value = 1;
else if(command.substring(3,6) == "LOW") value = 0;
else return -2;
if(command.startsWith("D"))
{
pinMode(pinNumber, OUTPUT);
digitalWrite(pinNumber, value);
return 1;
}
else if(command.startsWith("A"))
{
pinMode(pinNumber+10, OUTPUT);
digitalWrite(pinNumber+10, value);
return 1;
}
else return -3;
}

In order to access the digitialwrite function via the network, they publish it (and some others).

/***
* All the based tinker functions are registered. You can add you own code.
***/
// This #include statement was automatically added by the Spark IDE.
#include "Tinker.h"
void setup() {
//Register all the Tinker functions
Spark.function("digitalread", tinkerDigitalRead);
Spark.function("digitalwrite", tinkerDigitalWrite);
Spark.function("analogread", tinkerAnalogRead);
Spark.function("analogwrite", tinkerAnalogWrite);
}
void loop() {
}

When I first thought about the Tinker firmware I thought that it must be reasonably complex.  But it is not because it takes advantage of the Particle cloud functionality.  All in all what they did is very elegant and simple..

Now that it looks like my Particle Photon is working, in the next article I will show you WICED firmware to read the CapSense buttons and then Turn On/Off the LED on the Photon.

CY3280 MBR3 & WICED CYW943907

Summary

In the last Article I talked about the GE Megahackathon.  One of the groups at the event got interested in using a CY3280 MBR3 to send signals via a WICED CYW943907 to the Particle IO server which was connected to a Particle Photon.  I helped them with the implementation and thought that it would be useful to show here.

CYW3280 & WICED CYW943907

Cypress CY3280 MBR3

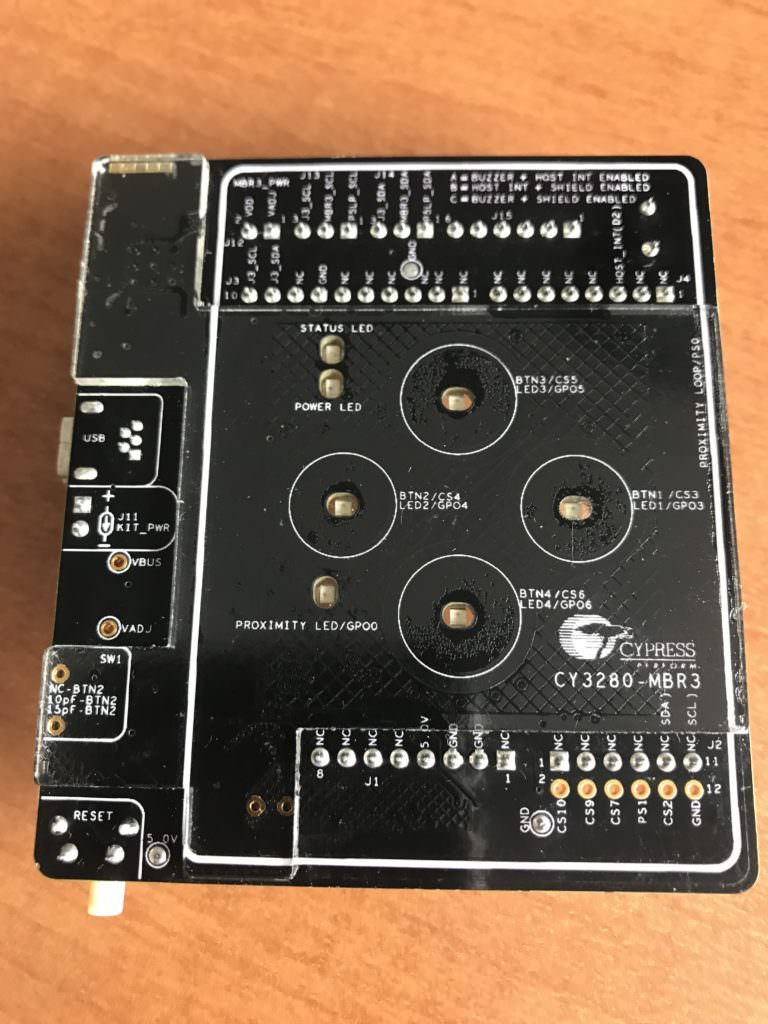
The CY3280 MBR development kit is a CapSense demonstration kit that shows the Mechanical Button Replacement 3 chip.  It features 4 CapSense buttons with LEDs, a proximity sensor, and a buzzer.  It is connected to another MCU via the Arduino pins. of the WICED CYW943907.  The device sits on the I2C bus and acts as an I2C Slave.  You configure it using EZ Click.

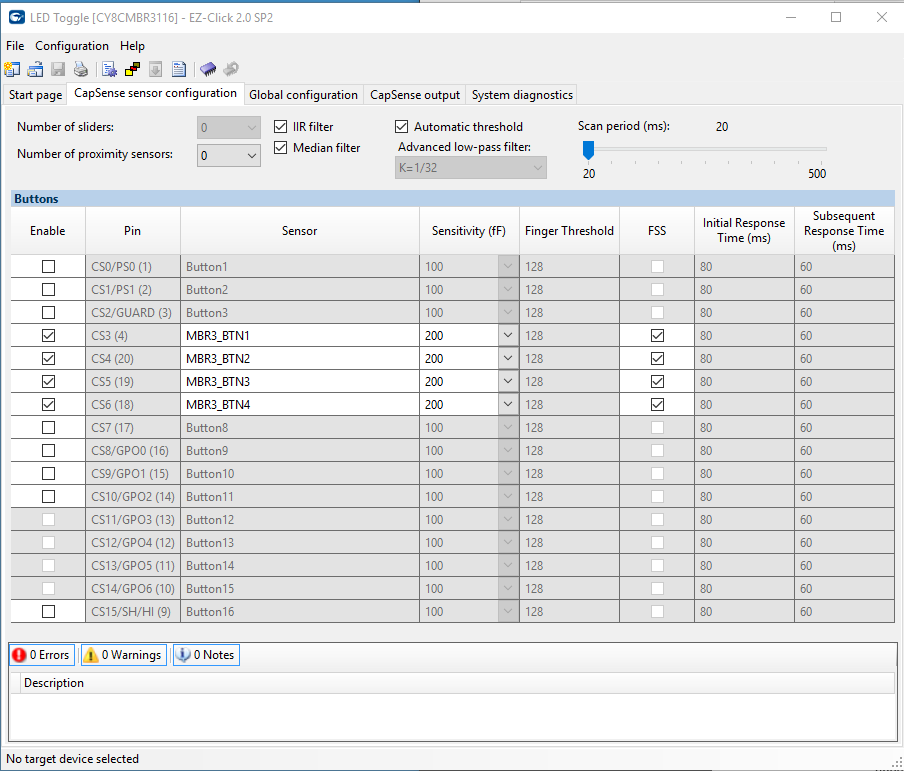
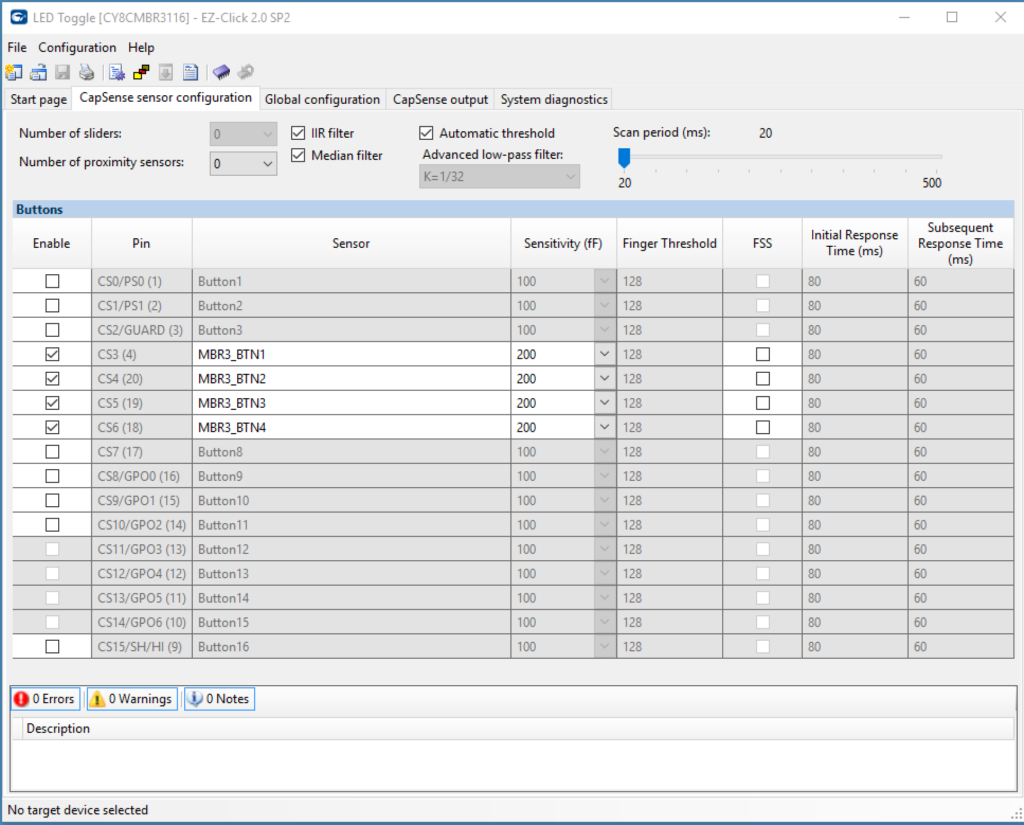
When you run EZ Click you can setup the configure the internal registers of the MBR3 to make the board act like a bunch of different things.  In this case I turned on

  • The MBR buttons 1-4 (you can see them in the picture above)
  • The Flanking Sensor rejection which makes it so that you can only press one button at a time.
  • All of the automatic tuning features.

EZ-Click CY3280

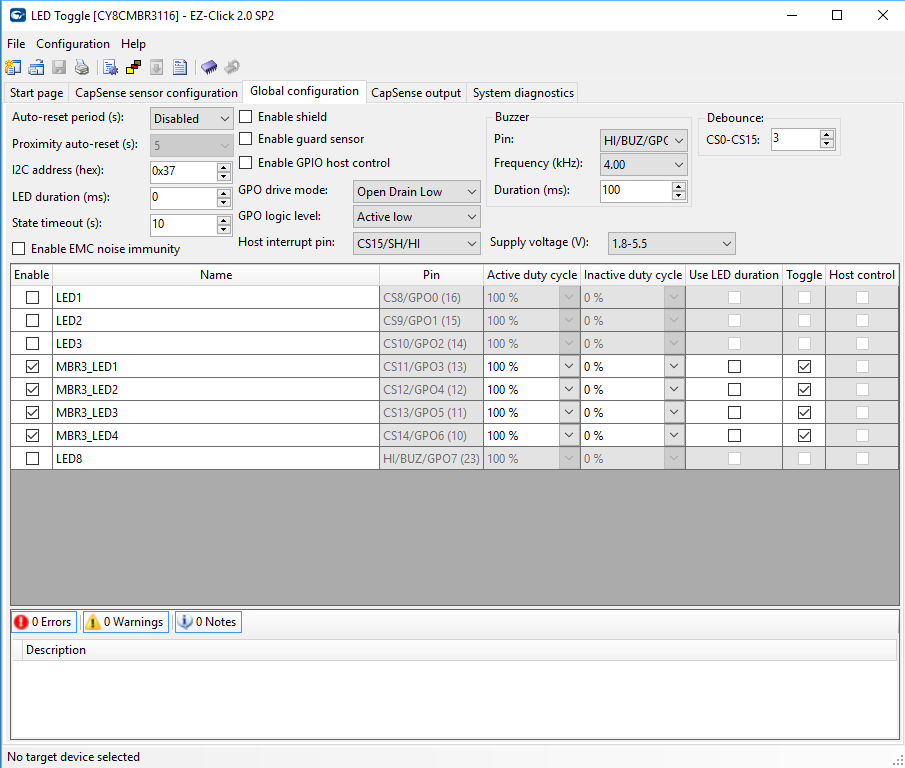
Once the main CapSense is configured, I moved to the other part of the configuration where I setup

  • The 4 LEDs to toggle and be full brightness when on
  • The buzzer to buzz for 100ms at 4kHz when something happens
  • The host interrupt pin as CS15/SH/HI.  This made the Arduino pin D2 be an interrupt when something happened so that WICED would poll the MBR3

EZ-Click CY3280

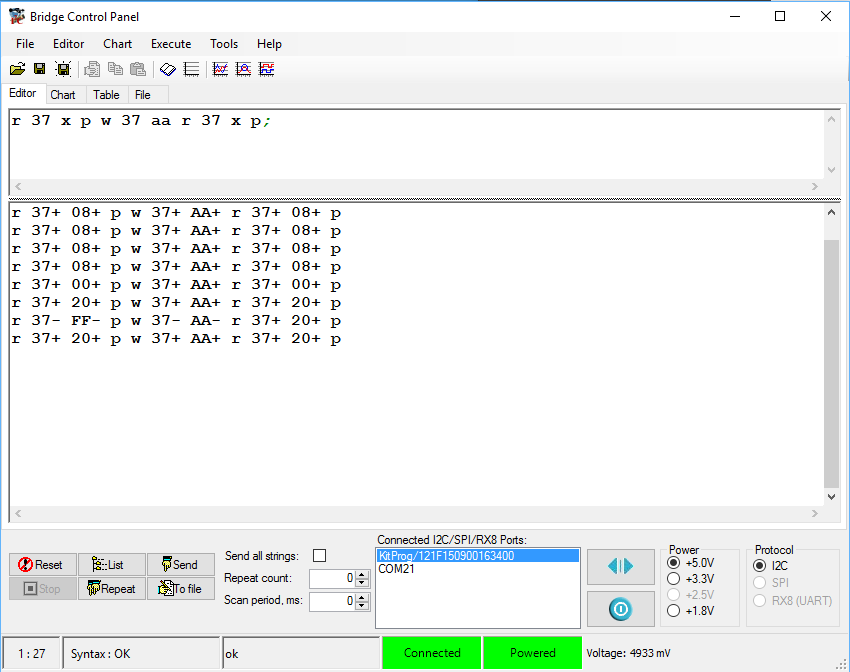
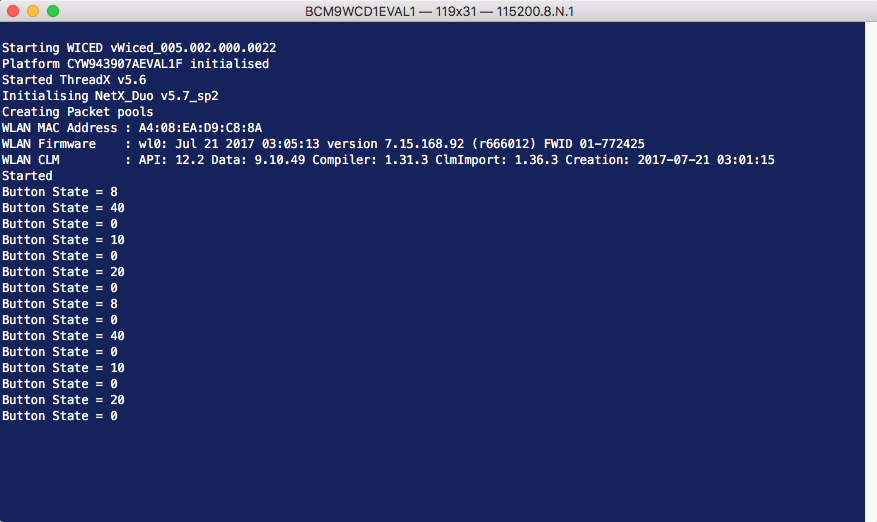
Once these settings were all done, I downloaded the firmware configuration via the KitProg USB connector.  Then I tested it using the bridge control panel which I have shown you a bunch of different times in the past.  The MBR3 acts as an I2C slave.  To find out what the state of the buttons are you need to read register 0xAA.  The only little trick is that the chip goes to sleep to save power.  In order to wake it up you need to send an I2C transaction, which ends up getting NAK’d.  But the next transaction you send will be ACKd.  In the screenshot below you can see that I tried two of the buttons (0x08 and 0x20)

Bridge Control Panel

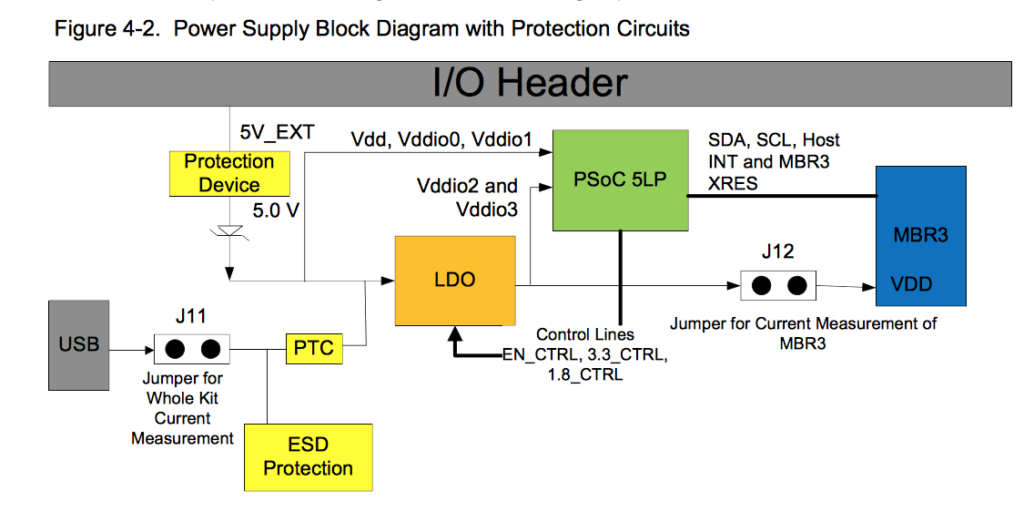
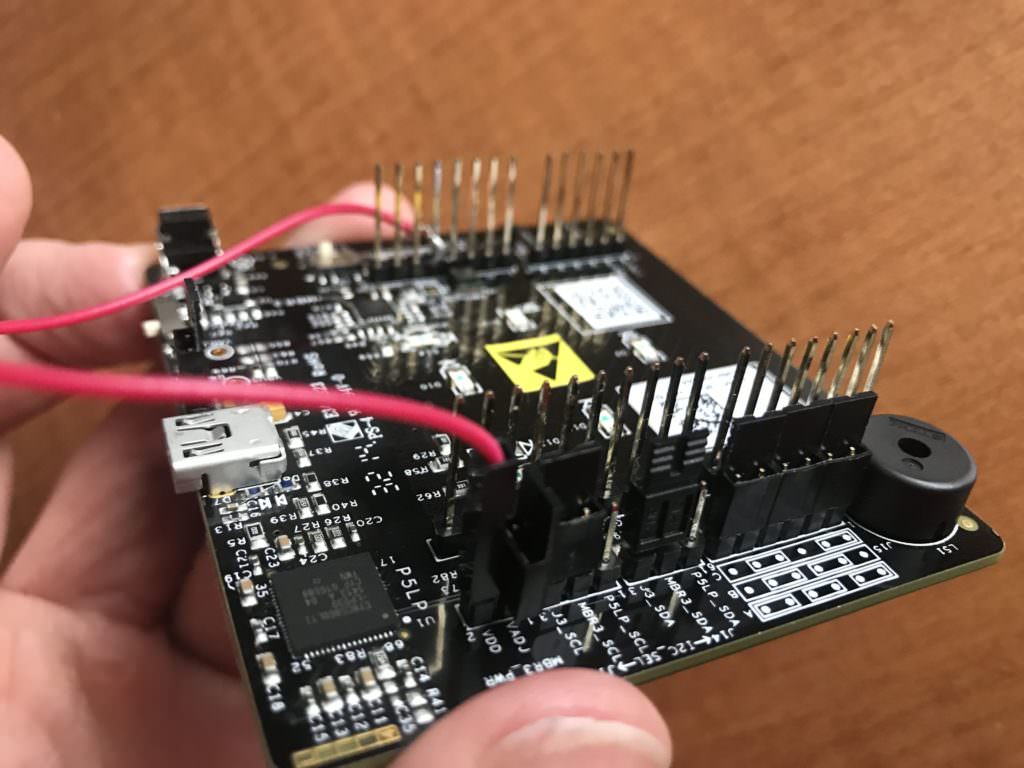
One problem that I had is that the power system of this board is setup to take 5V from the Arduino base board but the WICED development kit gives only 3.3v.  Here is a picture of the power system from the MBR3 schematic.

CY3280 Power Supply

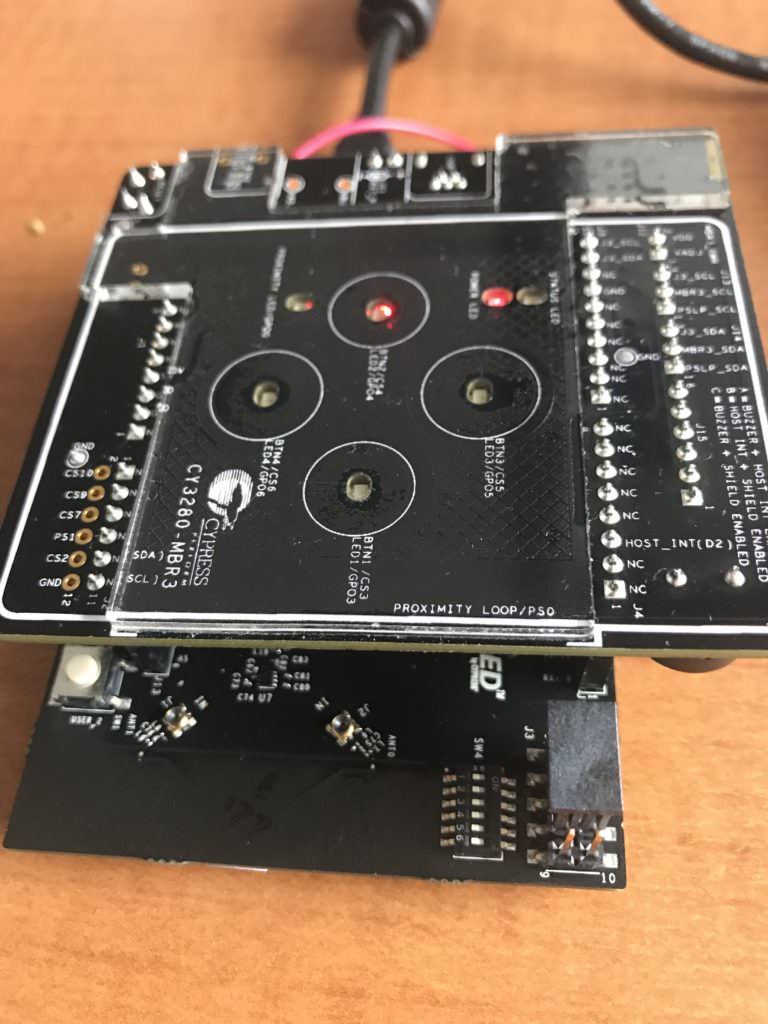
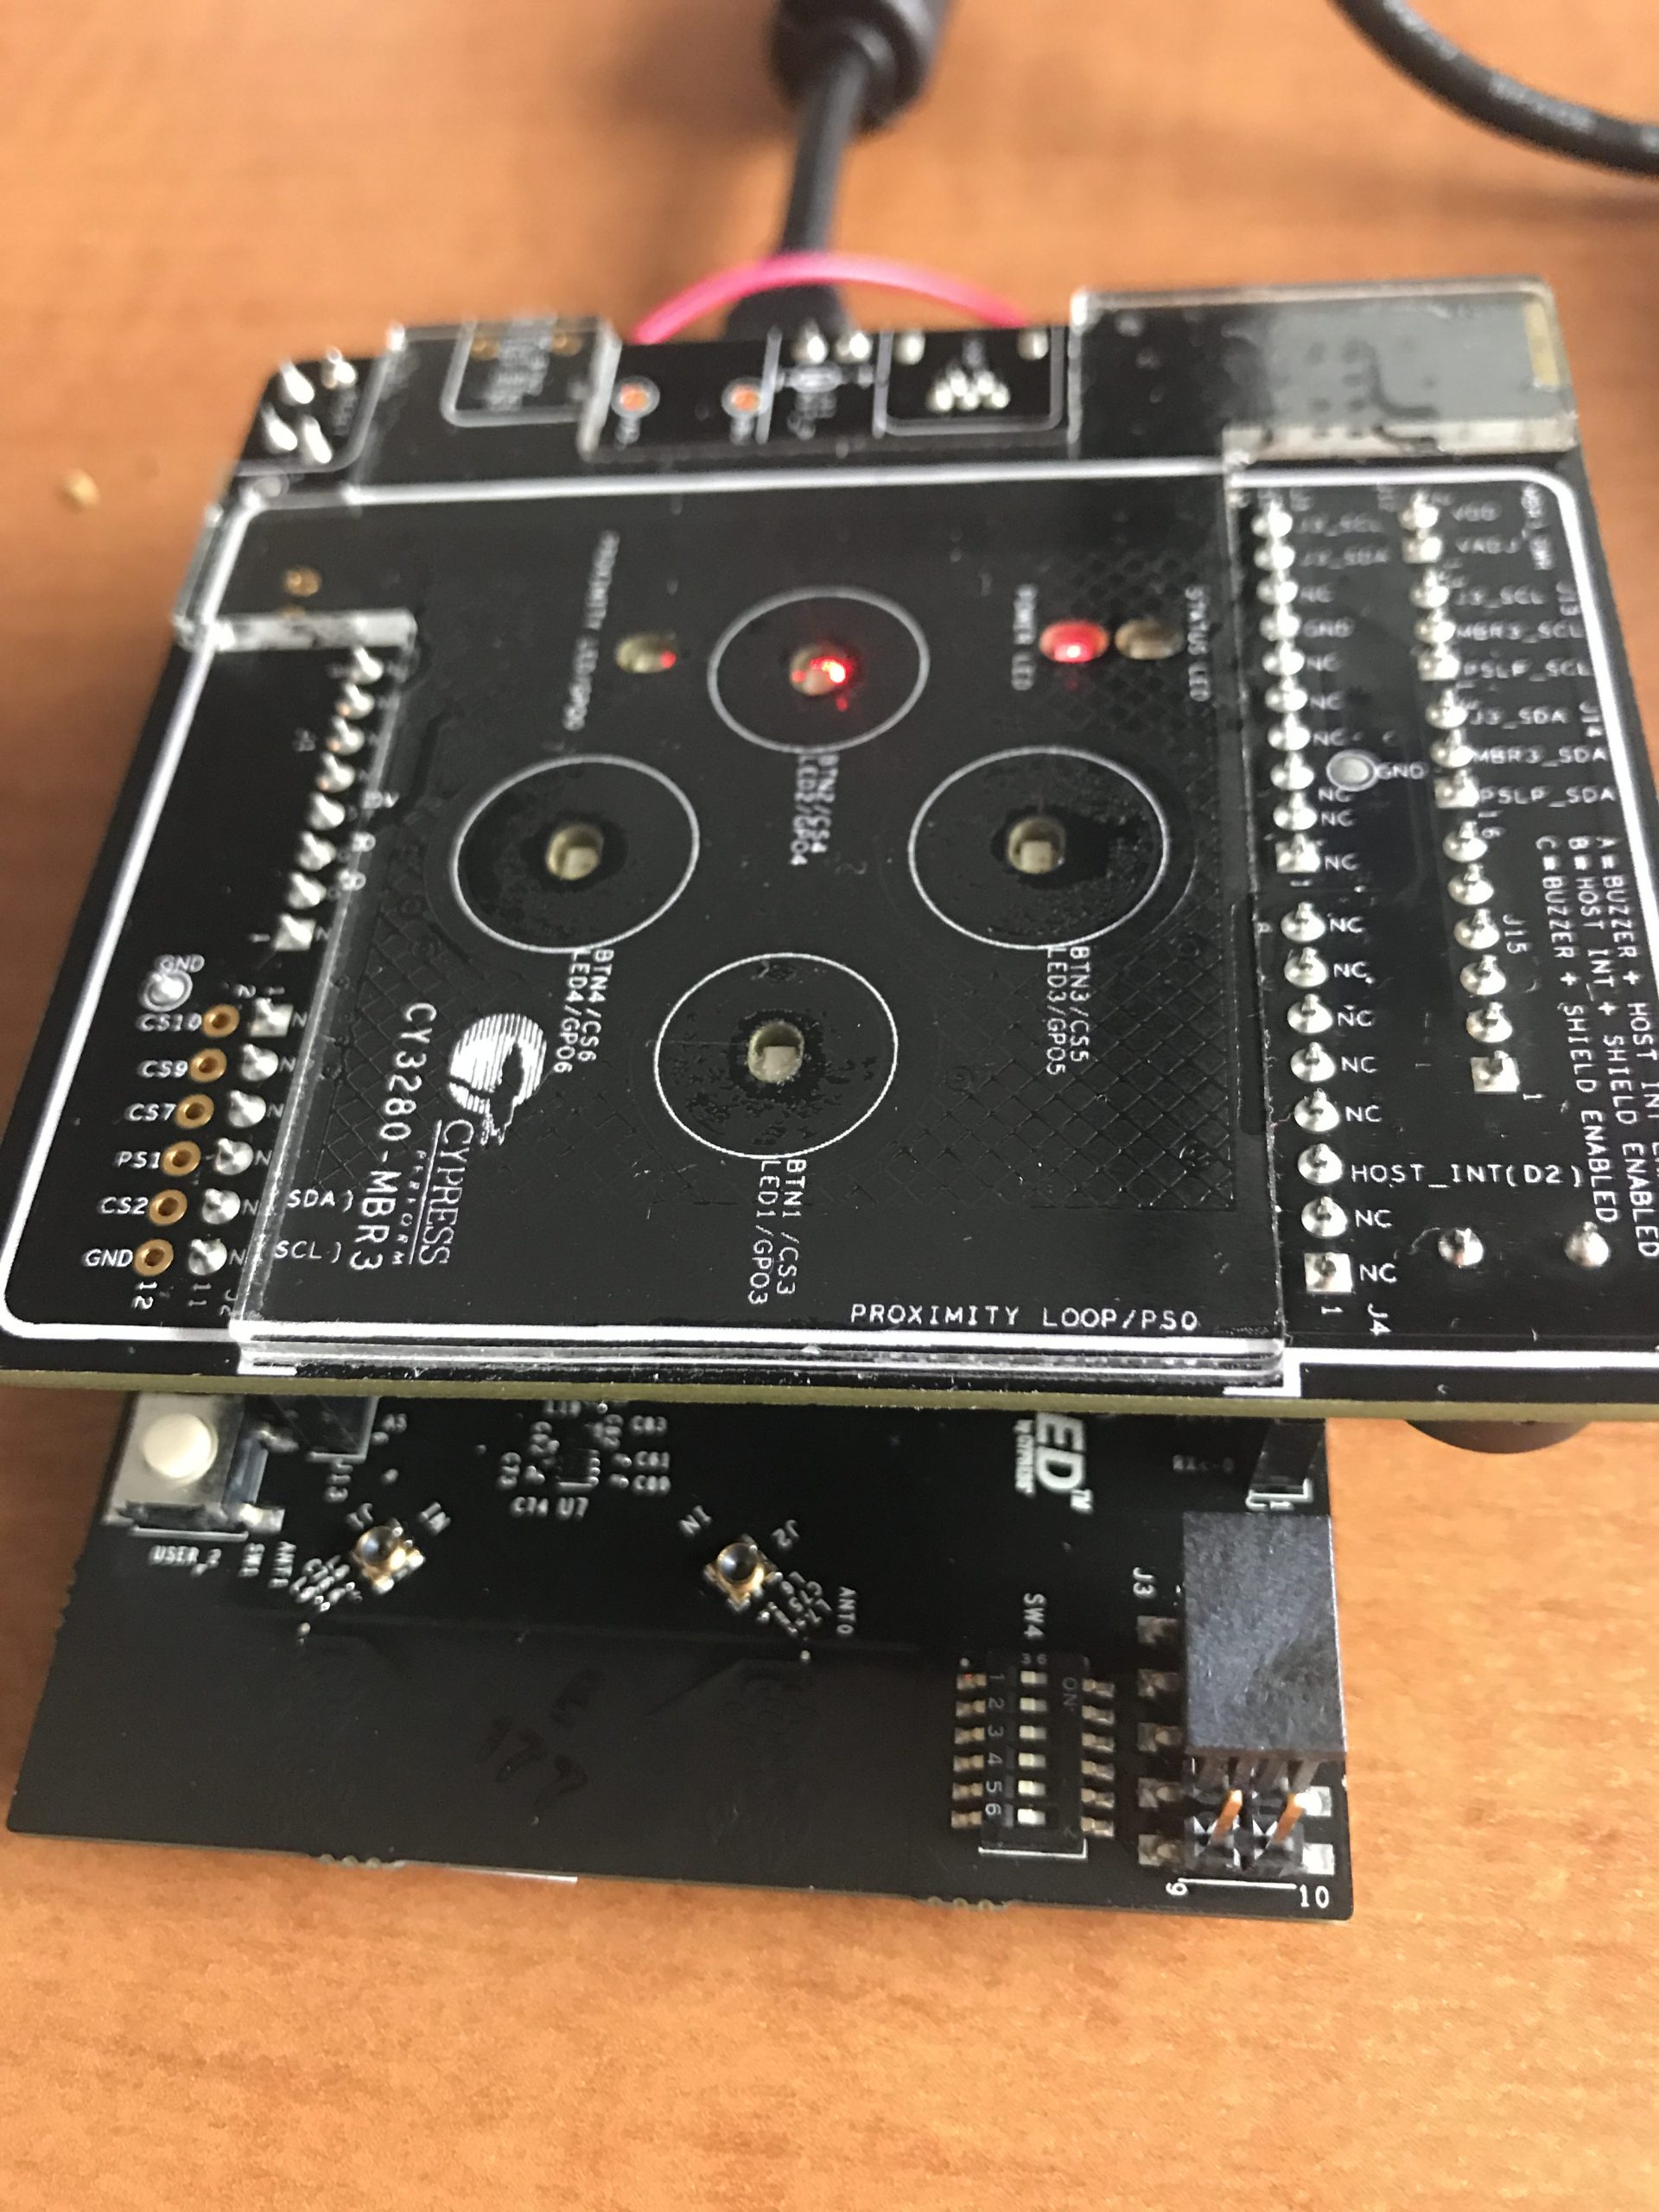
The MBR3 can run on 3.3Vs.  In fact it can run all the way down to 1.7v and up to 5.5v, but for some reason (which I can’t remember) we made the board only work with 5.0v.  To fix this problem I removed J12 and then wired a wire from the 3.3V Arduino pin.  The wire is soldered onto the 3.3v pin, but has a female connector on the other side so that it can be plugged into J12.  Here is a picture:

CY3280

The last thing that I needed to do was move the jumpers to position “A” which made the host interrupt pin be connected to D2, and move the I2C jumpers so that the MBR3 was connected to the Arduino instead of the P5LP kitprog.  You can see that in the J3_scl and J3_sda in the picture above.

WICED CYW943907

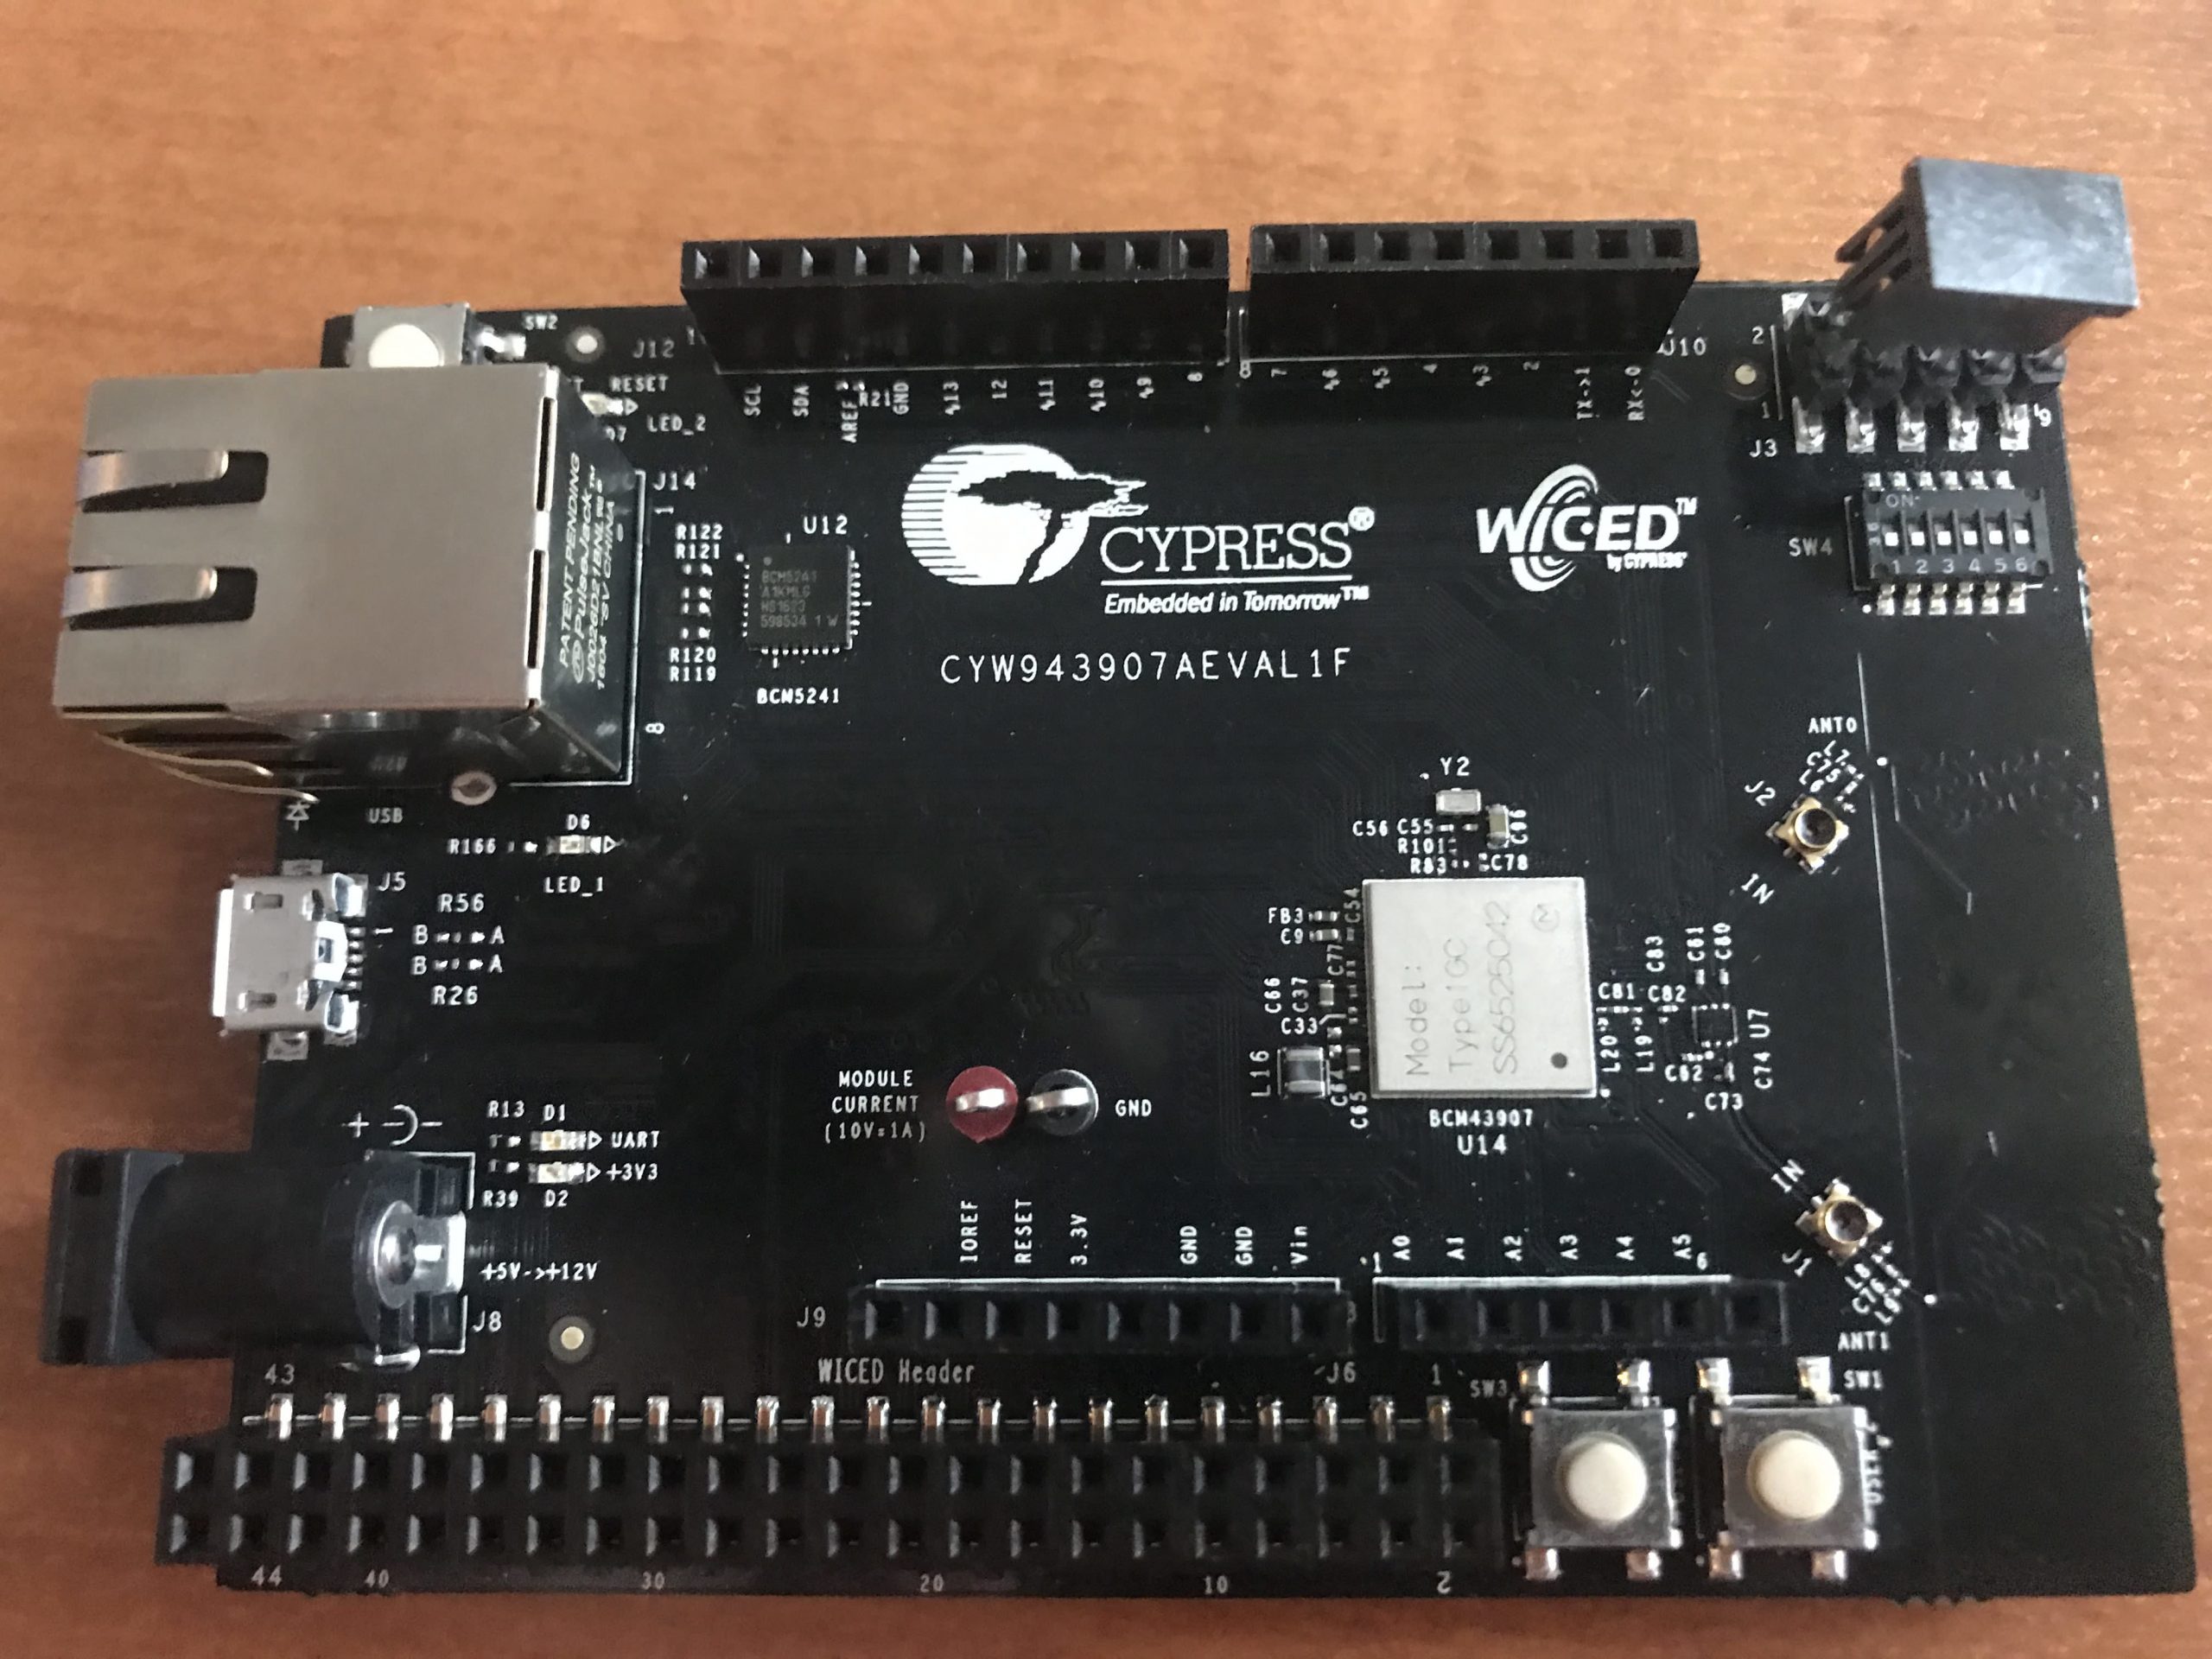
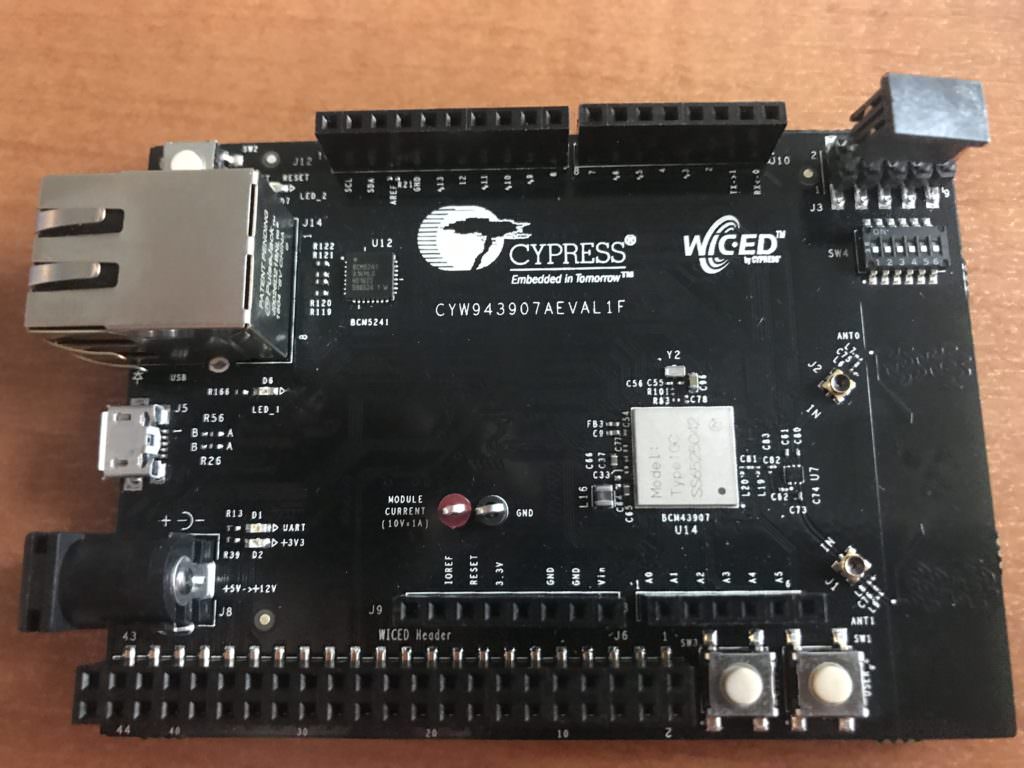
The CYW934907AEVAL1F is an development kit for the Cypress 43907 MCU+WiFi module.  The WICED CYW943907 board can do dual band (2.4 and 5Ghz), 802.11 a/b/g/n,  Ethernet and a whole bunch of other stuff.

WICED CYW943907

The first firmware that I wrote in WICED Studio:

  • Sets up an ISR to unlock a semaphore when the interrupt occurs
  • Initialized WICED_GPIO_9 to be an input and connected to an ISR … this is also known as Arduino D2
  • Setup the I2C Master Hardware in the 43907
  • Wait for a semaphore (from the ISR)
  • Read the I2C register 0xAA from the MBR

The only trick in the firmware is that I read the I2C with a “do” loop until I get a valid result, meaning that the MBR3 has woken up.

#include "wiced.h"
#define I2C_ADDRESS (0x37)
#define BUTTON_REG (0xAA)
wiced_semaphore_t buttonPress;
/* Interrupt service routine for the button */
void button_isr(void* arg)
{
wiced_rtos_set_semaphore(&buttonPress);
}
/* Main application */
void application_start( )
{
wiced_init();	/* Initialize the WICED device */
WPRINT_APP_INFO(("Started\n"));
wiced_result_t result;
wiced_rtos_init_semaphore(&buttonPress);
// WICED_GPIO_9 is the MBR3 Interrupt Pin
wiced_gpio_init(WICED_GPIO_9,INPUT_PULL_UP);
wiced_gpio_input_irq_enable(WICED_GPIO_9, IRQ_TRIGGER_FALLING_EDGE, button_isr, NULL); /* Setup interrupt */
/* Setup I2C master */
const wiced_i2c_device_t i2cDevice = {
.port = WICED_I2C_2,
.address = I2C_ADDRESS,
.address_width = I2C_ADDRESS_WIDTH_7BIT,
.speed_mode = I2C_STANDARD_SPEED_MODE
};
wiced_i2c_init(&i2cDevice);
/* Tx buffer is used to set the offset */
uint8_t tx_buffer[] = {BUTTON_REG};
uint8_t buttonStatus;
while ( 1 )
{
wiced_rtos_get_semaphore(&buttonPress,WICED_WAIT_FOREVER);
// Do this until the MBR3 is alive.  It goes into deep sleep and wakes when you
// send the first command.
do {
result = wiced_i2c_write(&i2cDevice, WICED_I2C_START_FLAG | WICED_I2C_STOP_FLAG, tx_buffer, sizeof(tx_buffer));
}
while(result != WICED_SUCCESS);
result=wiced_i2c_read(&i2cDevice, WICED_I2C_START_FLAG | WICED_I2C_STOP_FLAG, &buttonStatus, sizeof(buttonStatus));
WPRINT_APP_INFO(("Button State = %X\n", buttonStatus)); /* Print data to terminal */
}
}
Once that is programmed I program and test the firmware.

Testing WICED CYW943907

In the next article I will modify all of this firmware and make the WICED CYW943907 send data via HTTP to the Cloud.

Cypress Development Kits & the GE Mega Hackthon

Summary

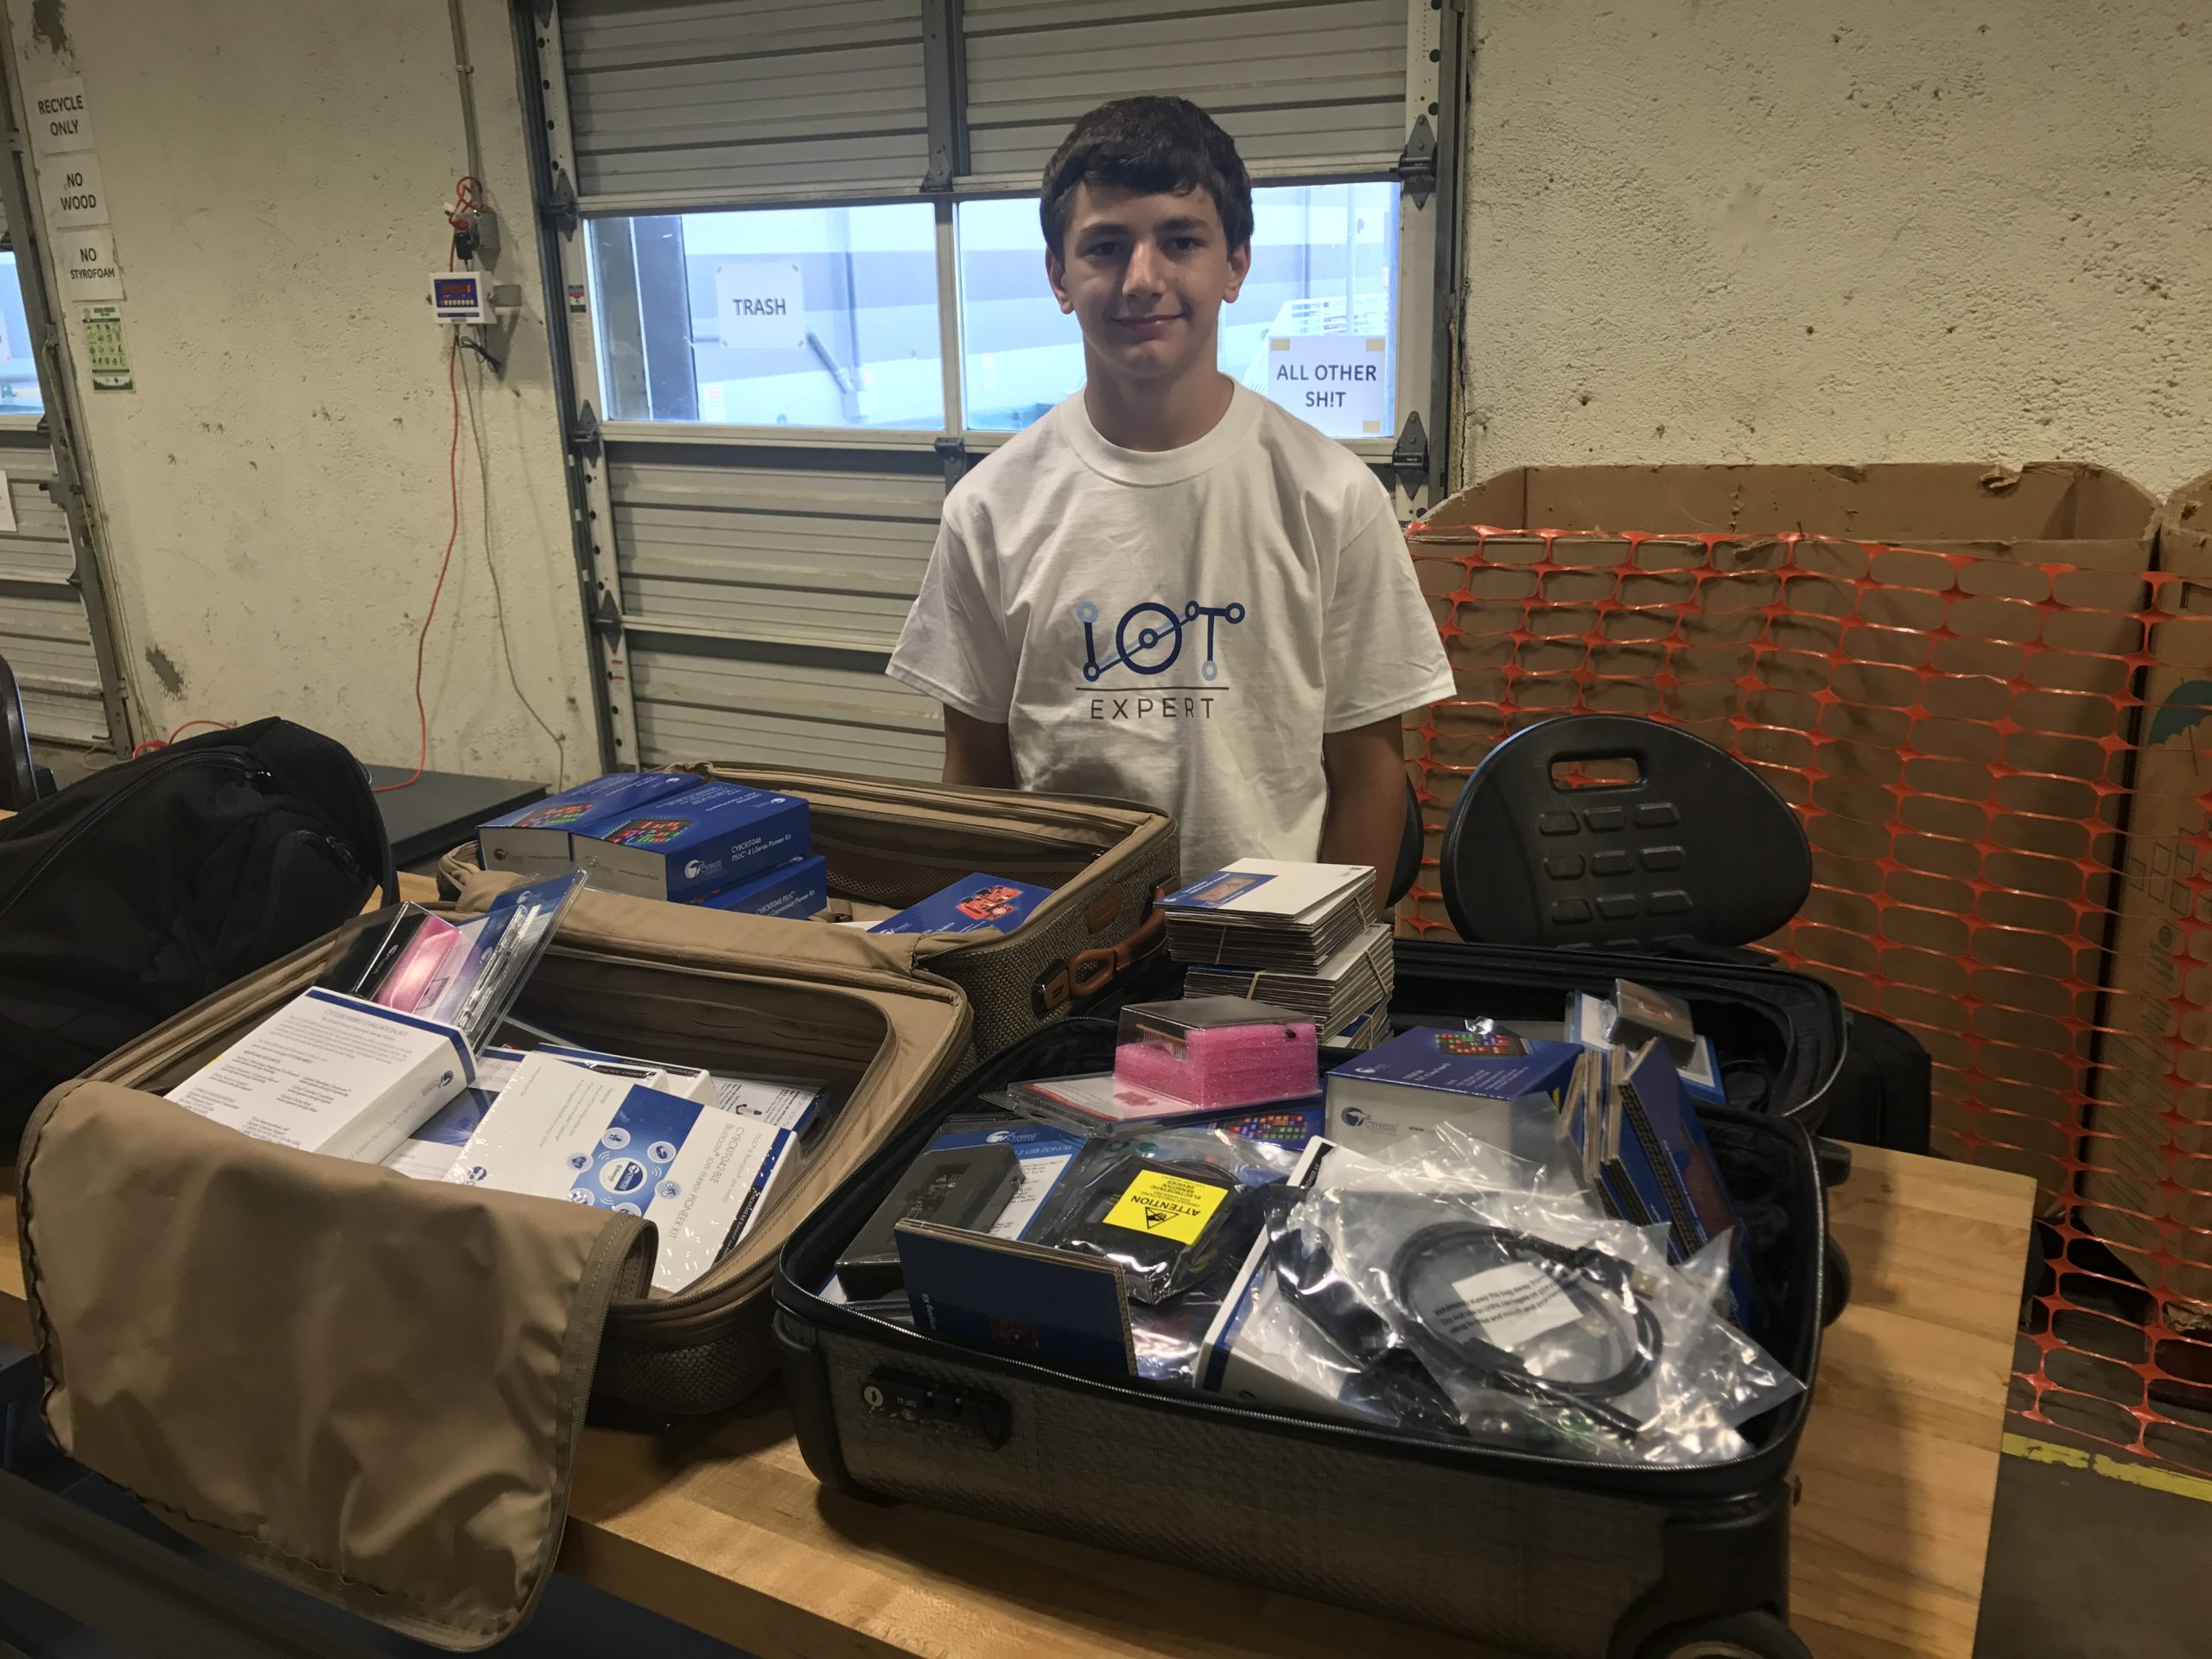
I spent this weekend attending the GE Mega Hackathon at GE FirstBuild.  First Build is a Maker Space-ish place in Louisville that is sponsored by GE and Louisville Speed School.  The Hackathon was called “Hack the Home” and was a two day thing where teams of makers built stuff for the house… generally by modifying GE white goods. Nicholas, my lab assistant, and I brought a bunch of Cypress Development Kits for people to use… then we helped them modify the kits to put them in their hacking projects.

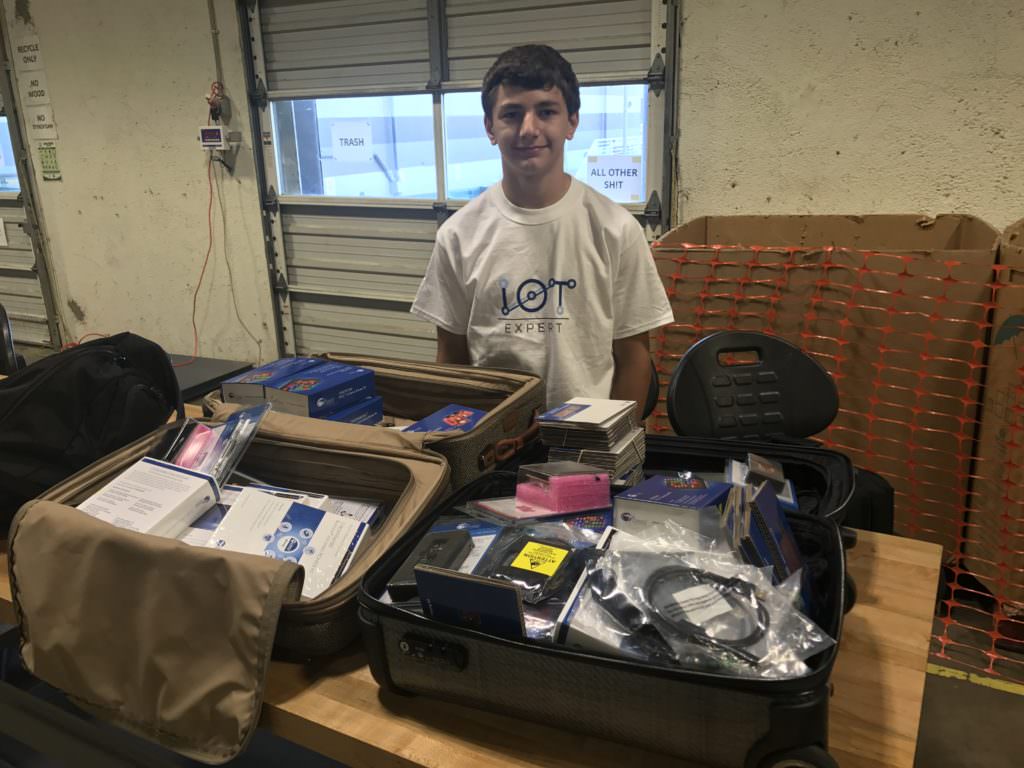
Nicholas with the pile of Cypress Development Kits Cypress Development Kits

At the table next to us were two guys from OnShape which is a cloud based 3-d drawing application.  It is super cool and free to use for non-comercial applications.  Nicholas is totally into 3-D printing and has been using Tinker CAD, which is cool… and free… but is still mostly a toy.  OnShape on the other hand is a fully featured pro package.  Philip, one of their applications engineers, helped Nicholas get going.

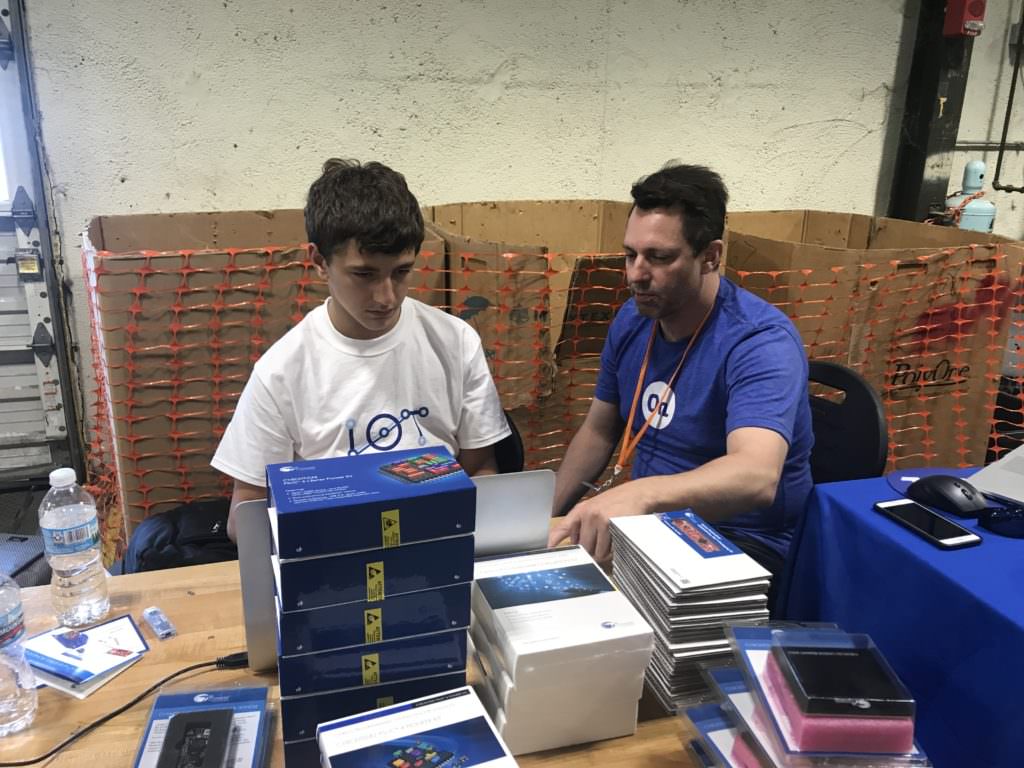
Nicholas & OnShape

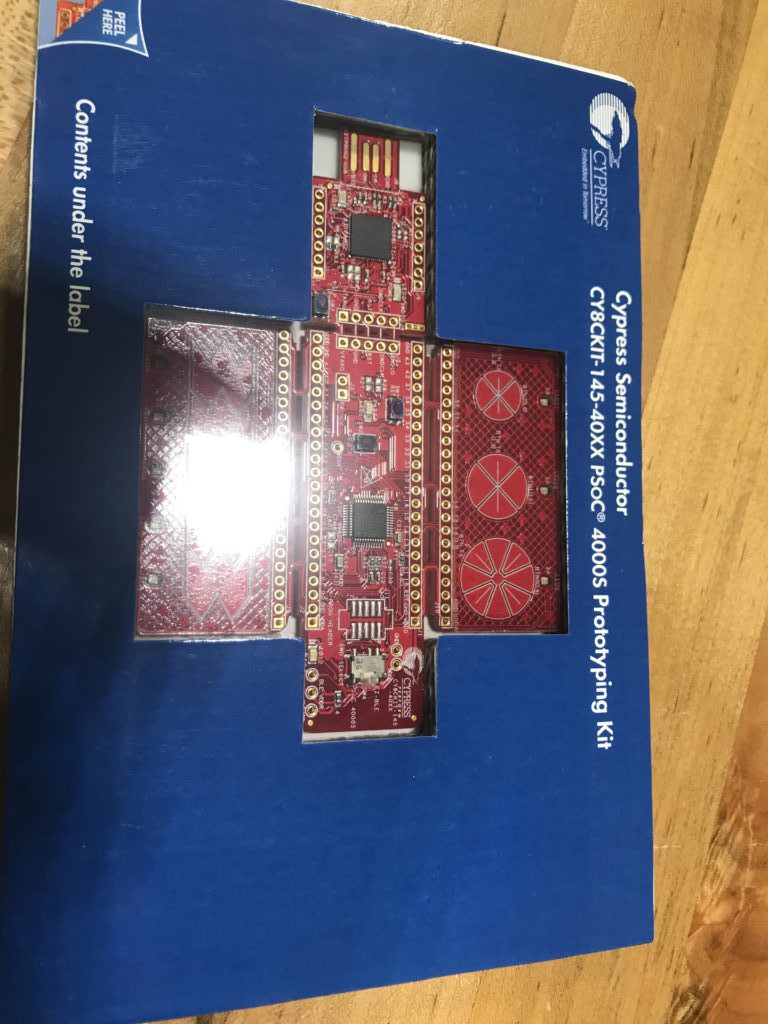
I brought a bunch of different Cypress Development Kits, but what got people really interested was CapSense.  I had three different Capsense kits which fired peoples imagination…. first, the CY8CKIT-145 (which I have written extensively about) has three buttons and a slider… plus LEDs and a Bluetooth module on the back.

CY8CKIT-145
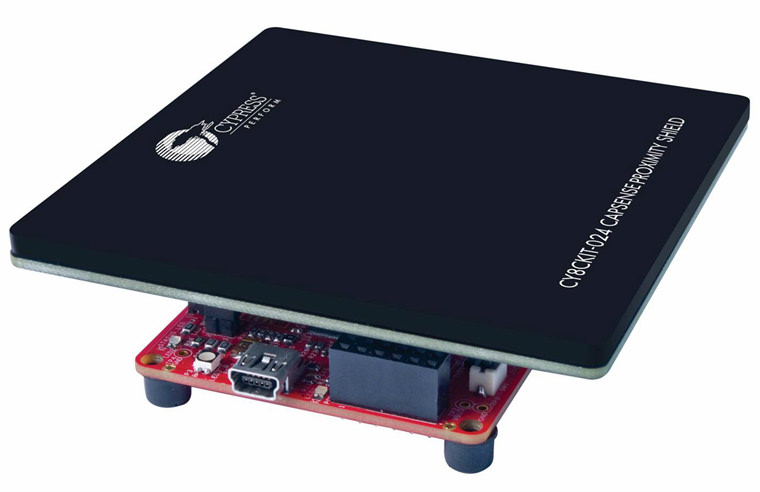
The CY8CKIT-024 Proximity shield which works with most any of the Pioneer kits.

CY8CKIT-024

And finally the CY3280 MBR3 development kit.  This has 4 capsene buttons, a buzzer and a proximity loop… in an Arduino shield format factor.  To talk to the shield you use I2C.

CY3280 Cypress Development Kits

What is really cool is that you don’t have to write firmware as you just configure it with EZ-Click.

EZ Click

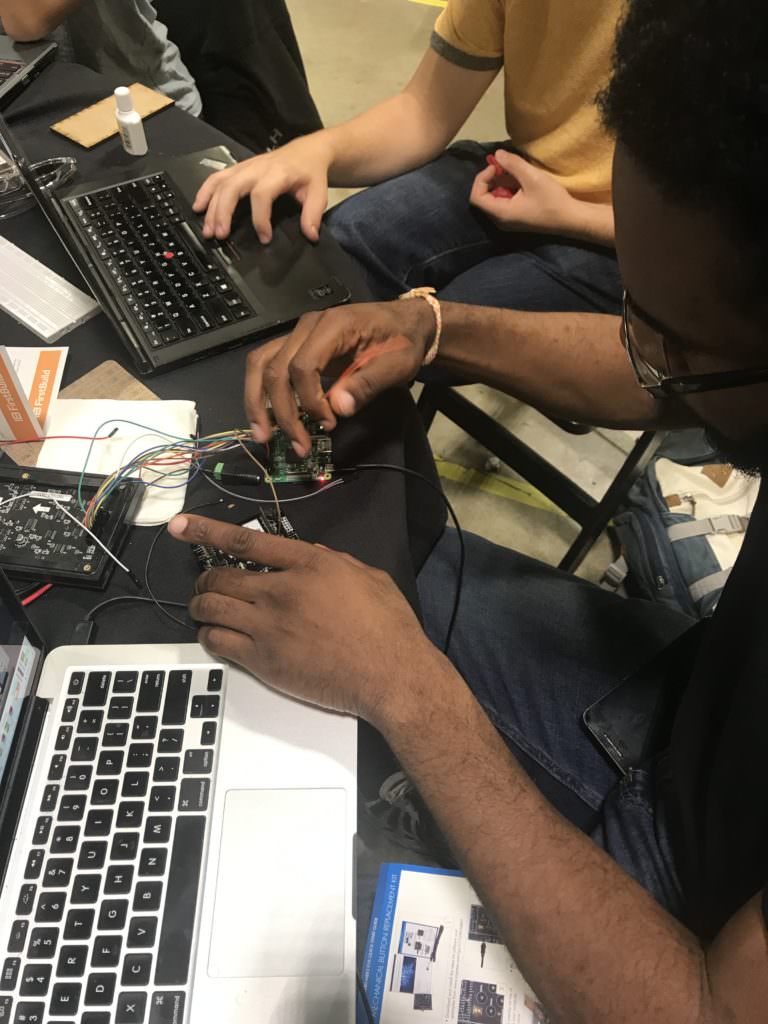
Several people used it, including this guy who was talking to it with a Raspberry Pi.

CY3280

One of the team used a CYW943907AEVAL1F talking to a CY3280 Capsense talking through cloud to a Particle Photon.  I helped them with the firmware, which I will go through in detail in the next article.