Summary
In the last article I wrote about using a CY3280 MBR3 Shield on a WICED WiFI 943907AEVAL1F development kit at the GE MegaHackathon. In the next article I will show you the WICED HTTP firmware that I wrote to connect to the Particle Photon which they were using (I have written about Particle Photon before). Obviously, I like Particle Photon because it is a WICED 43362 WiFi Radio. In this article, I am going to show you how to get a Particle Photon going with the Tinker firmware. Then test it with the iOS app, the web console and finally using CURL. The CURL is just a mechanism to send HTTP Posts to the Tinker firmware, exactly what I will do in the next article on the WICED development kit.
Configure the Particle Photon
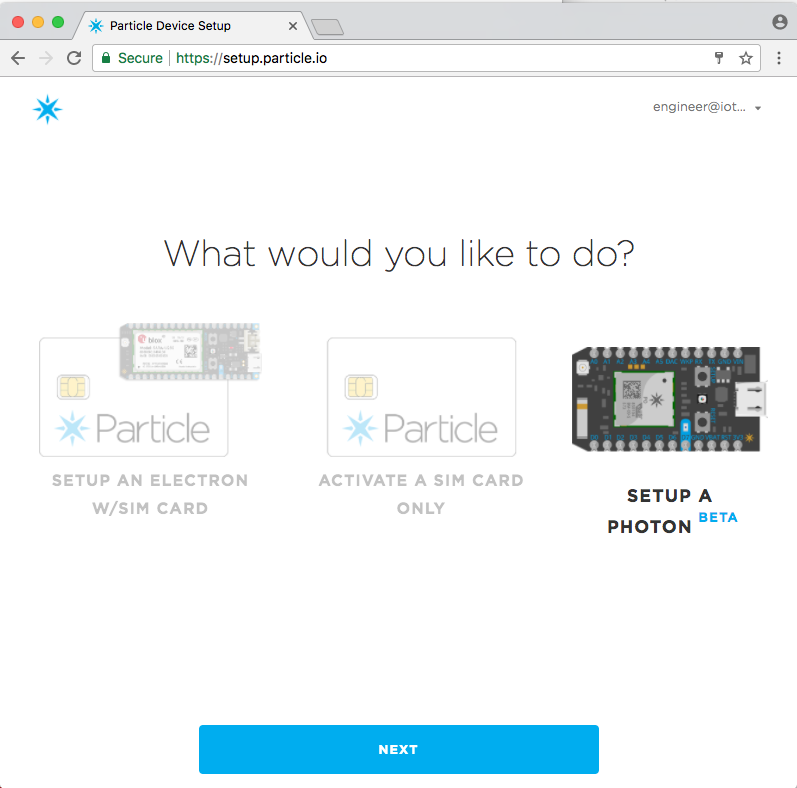
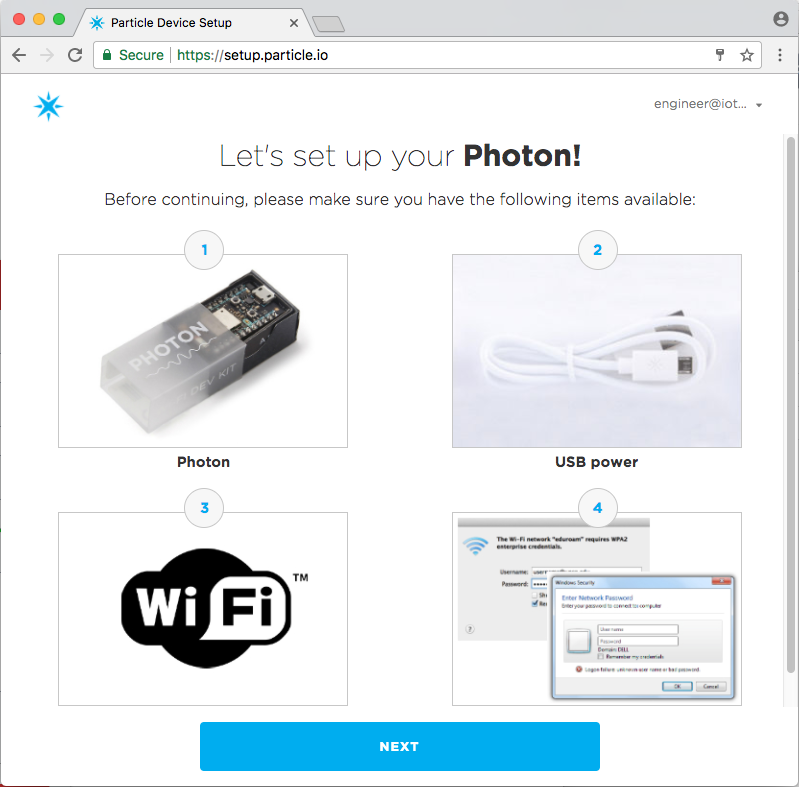
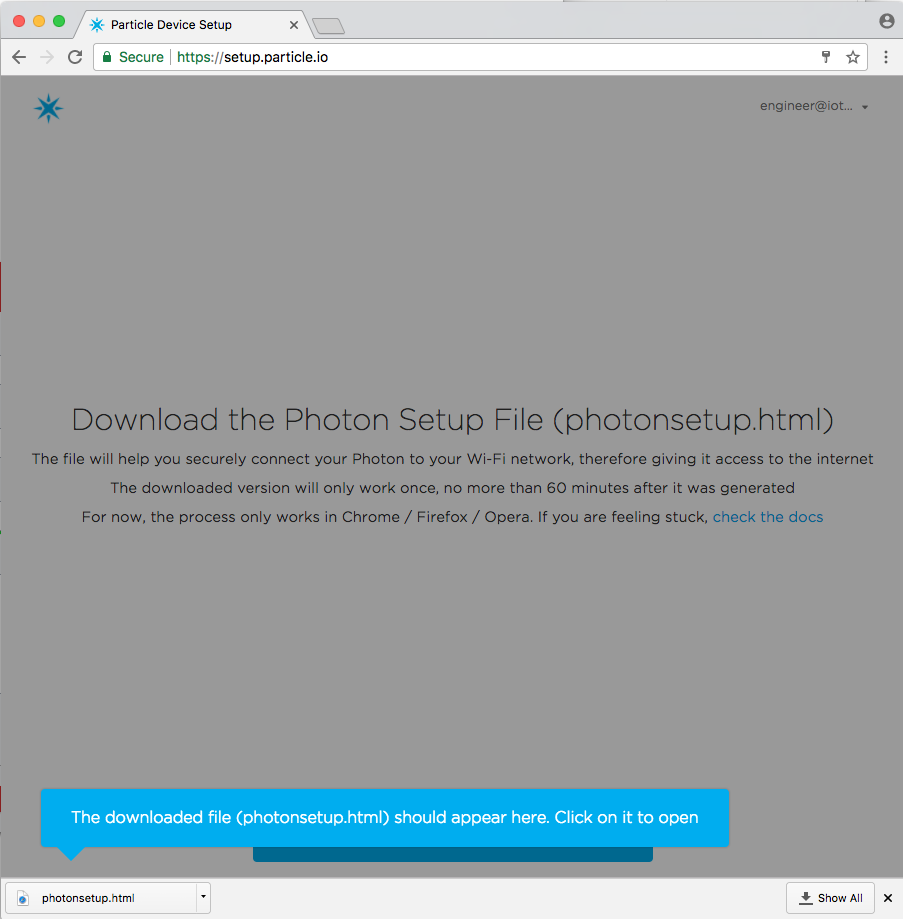
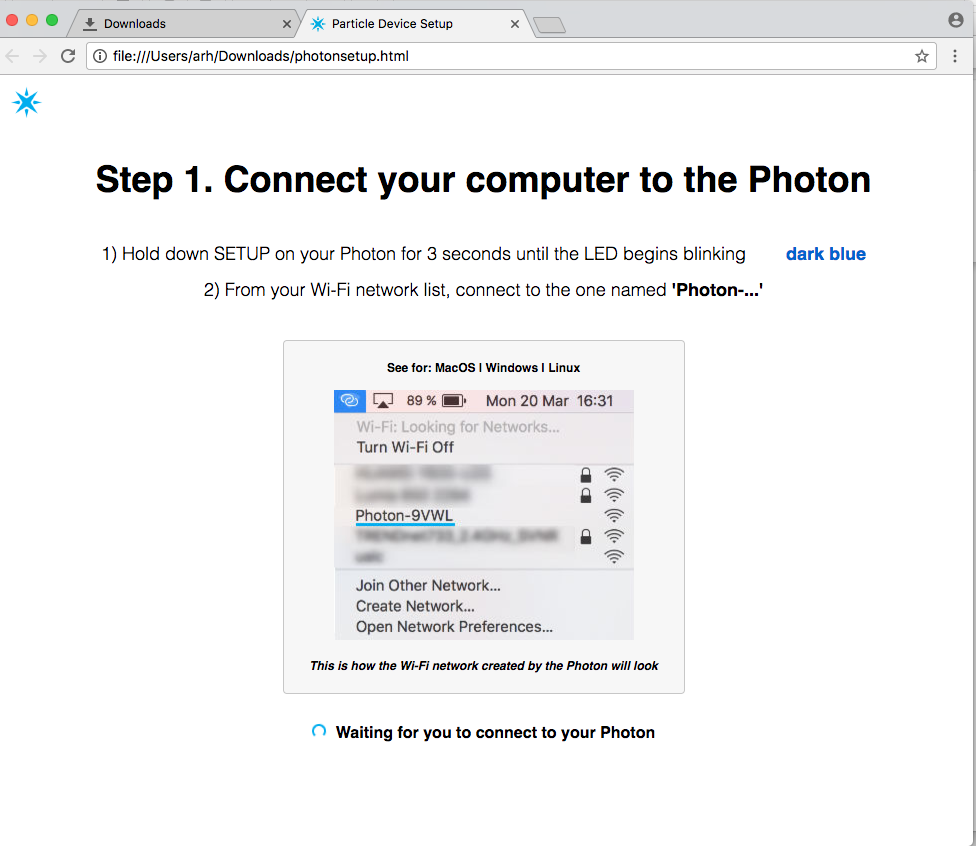
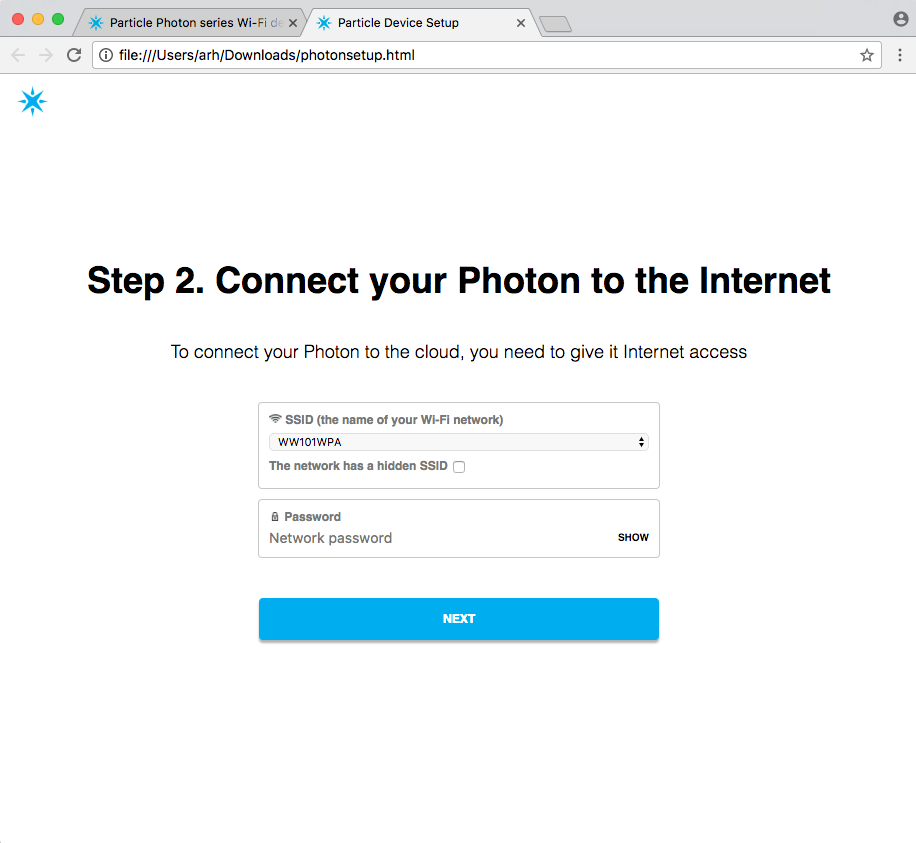
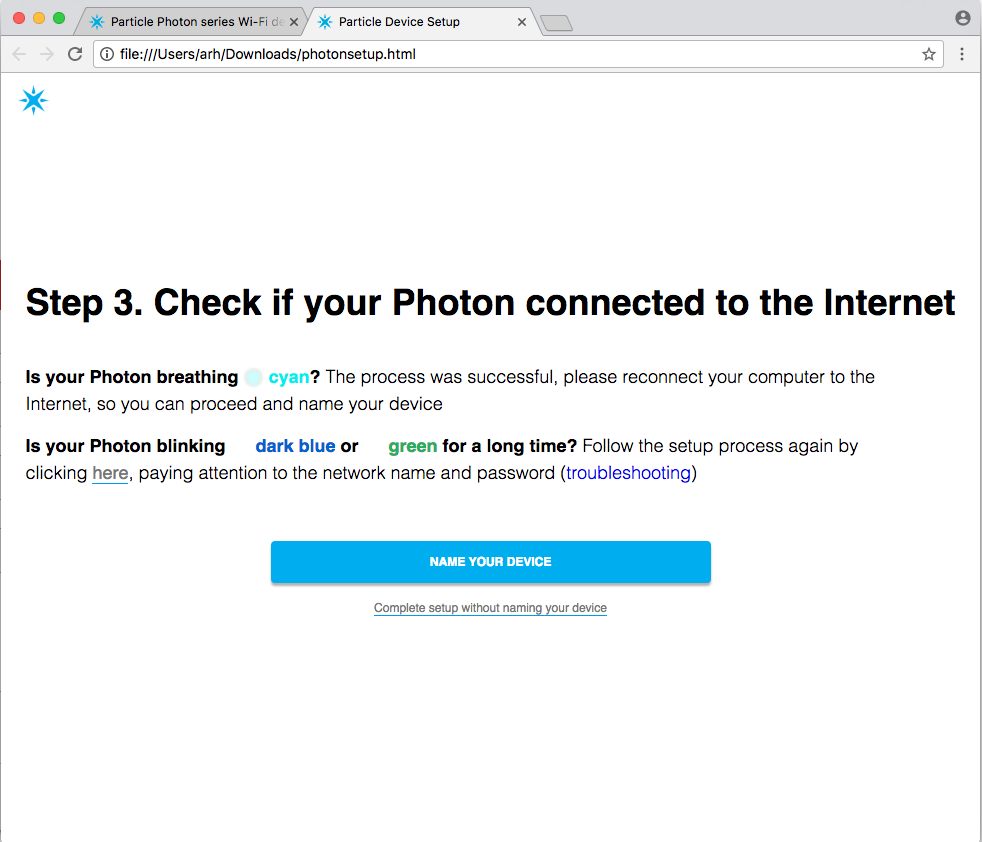
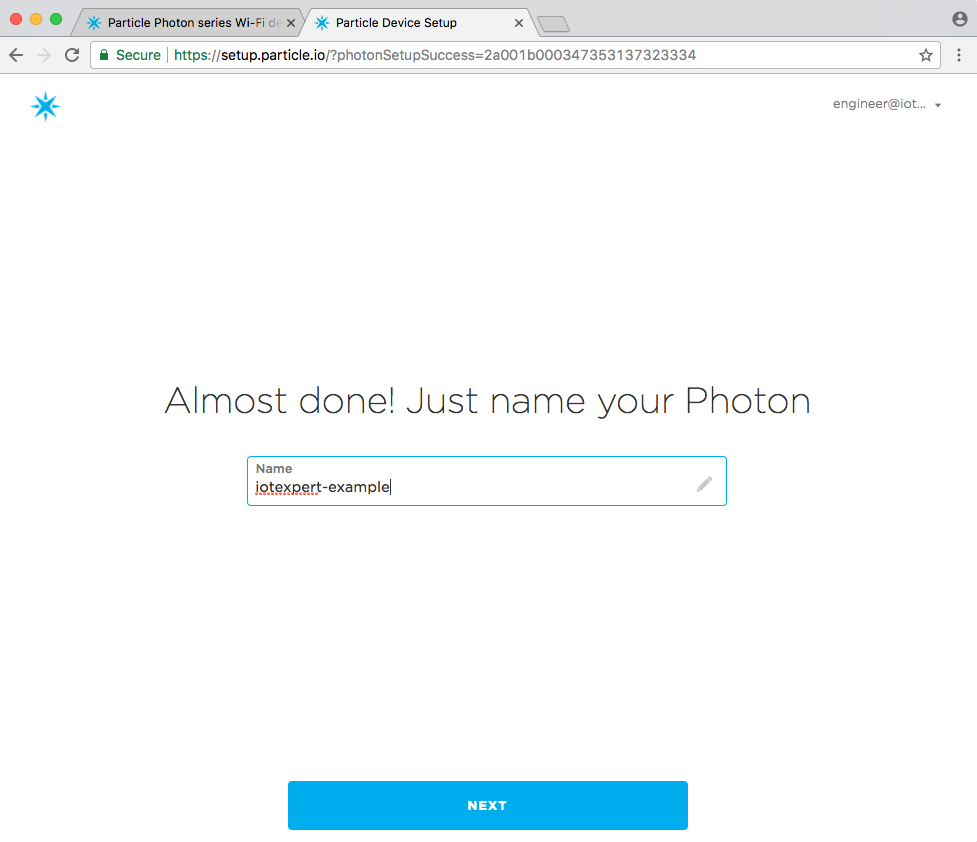
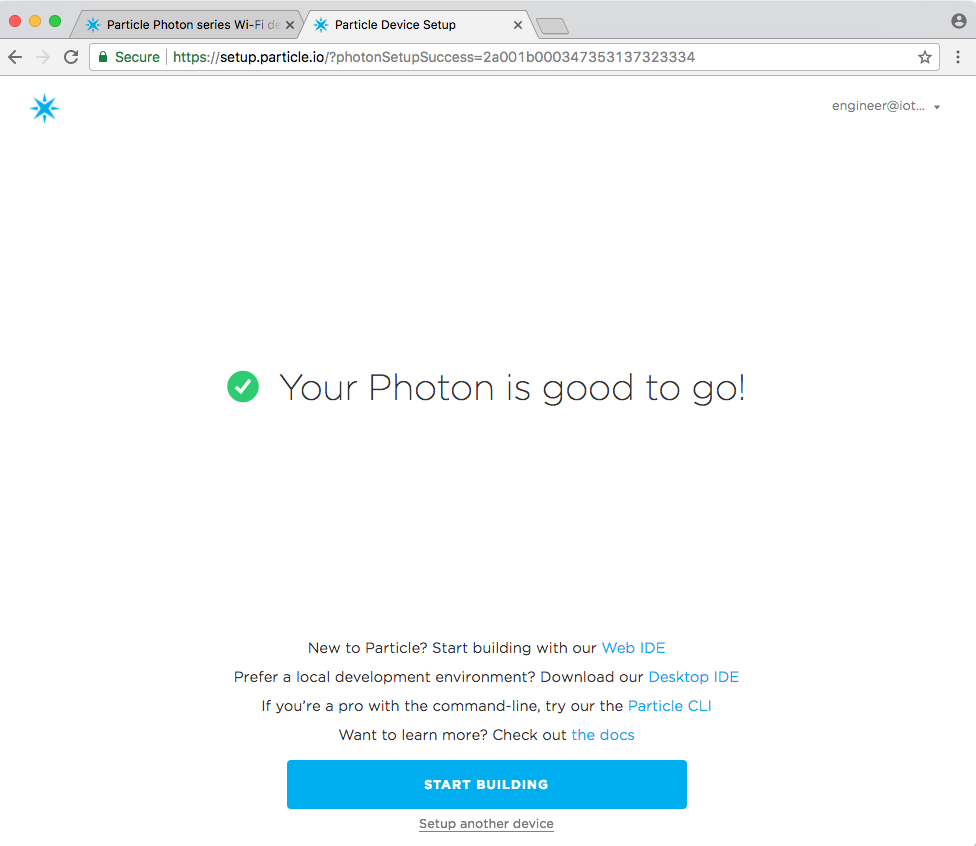
When you get a fresh Particle Photon out of the box you need to get it introduced to your WiFi network, and attached to your console. To do this, start by going to setup.particle.io and following the process.
Testing with iPhone App
One you have “claimed” your Particle Photon and it is connected to the network, then you can talk to it with the Particle iOS app. Here is what it looked like when I started the App on my phone. You can see the device called “iotexpert-example” (remember that is what I named it from above). The “Elkhorn_creek” Photon is the one that I wrote about in this article.

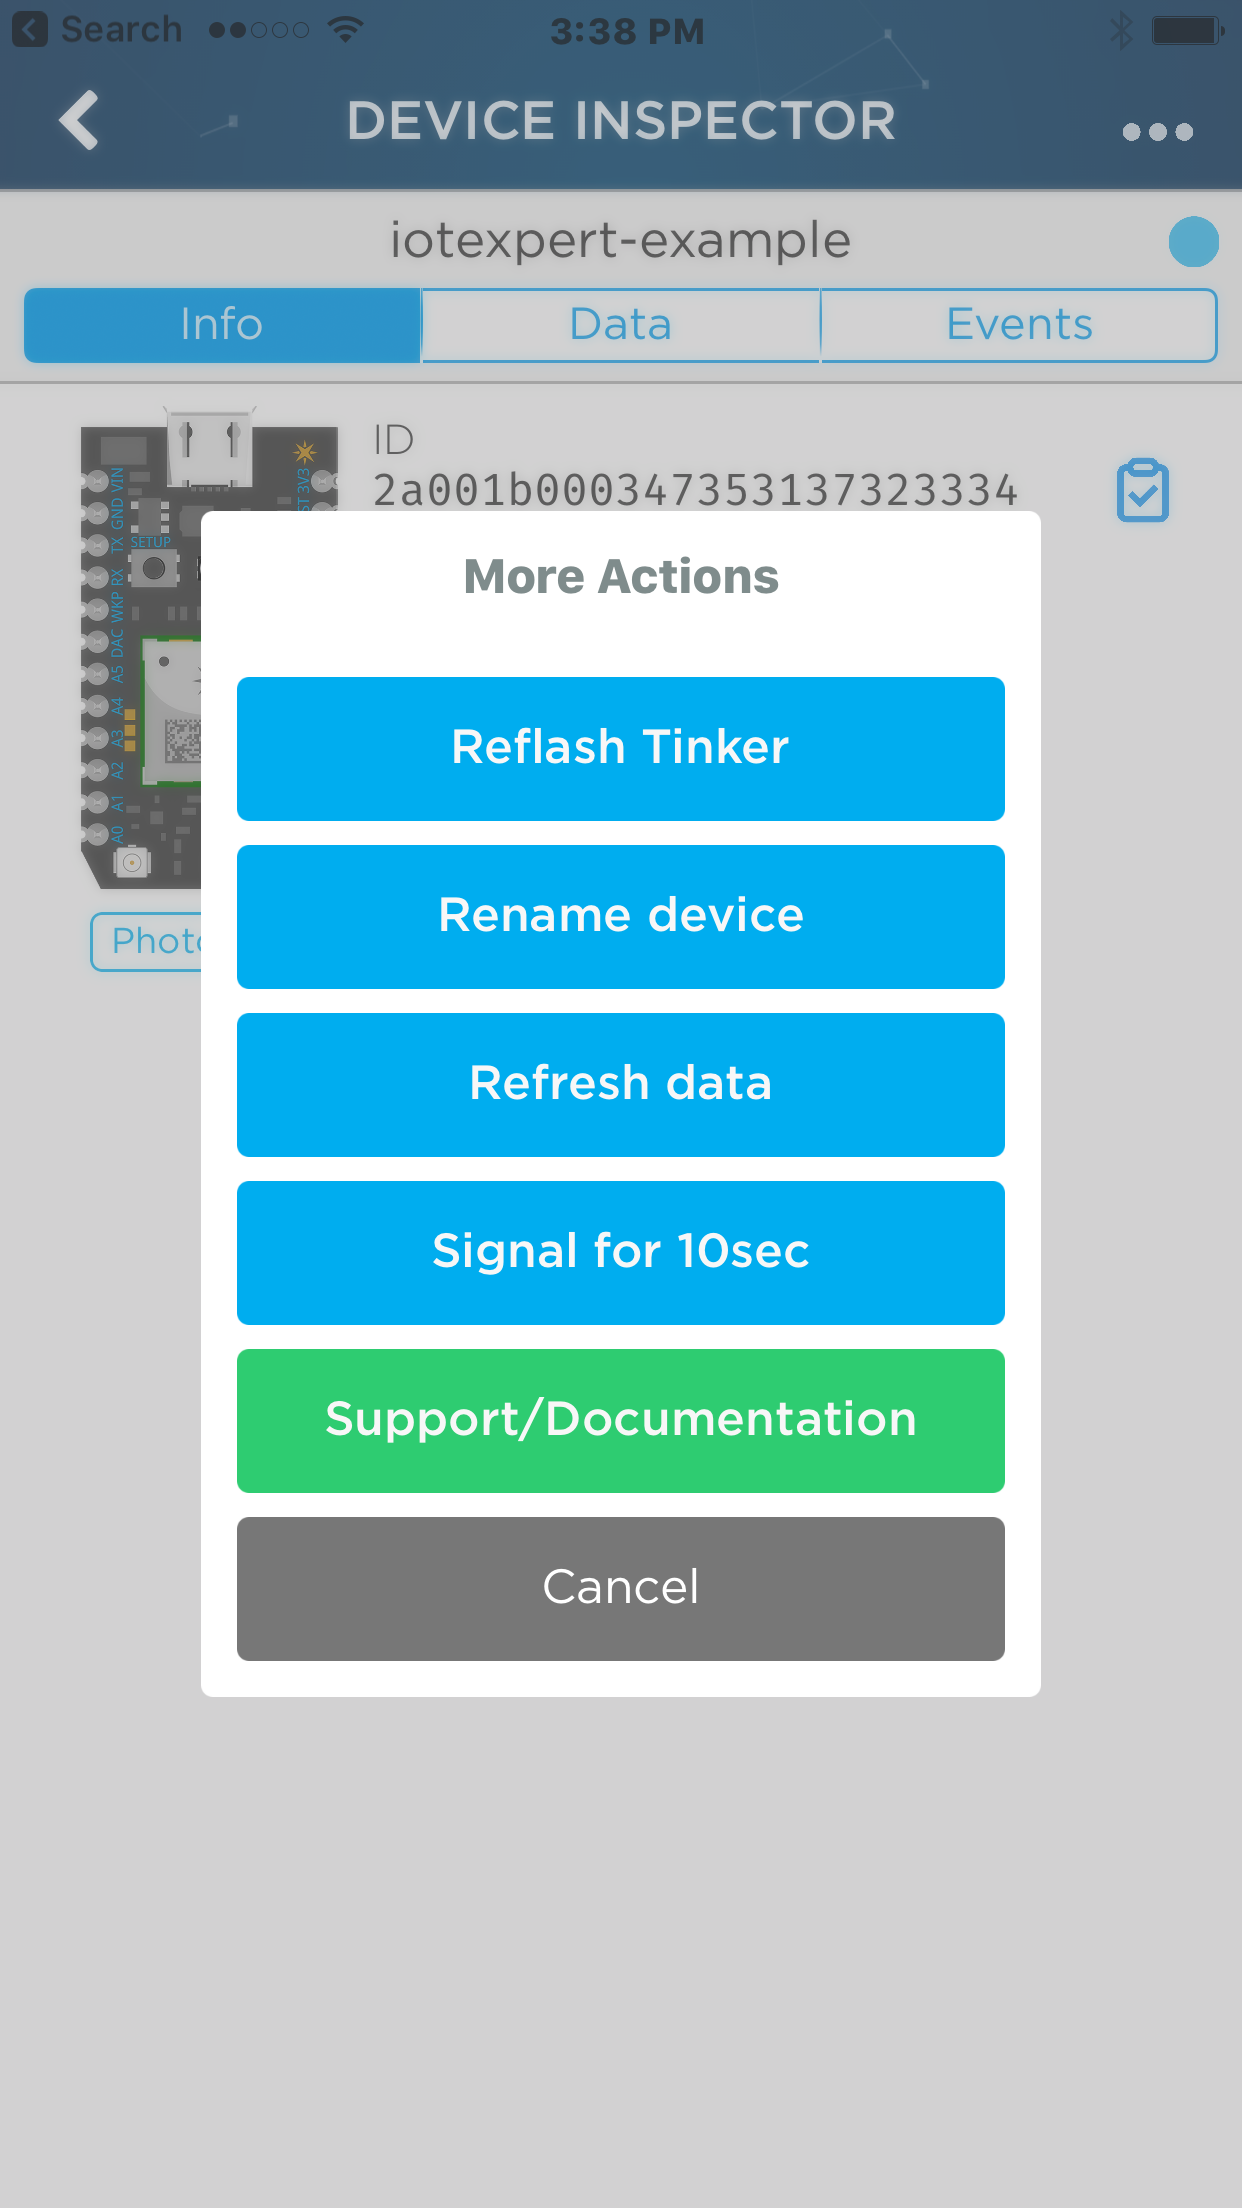
Although the console says that I have the Tinker Firmware on the app, I wanted to make sure, so I use the iOS App to re-flash the Tinker Firmware. You can do this by clicking the new device, then press the little “…” at the top right of the screen. Finally click “Reflash Tinker”. It is awesome how fast that happens.
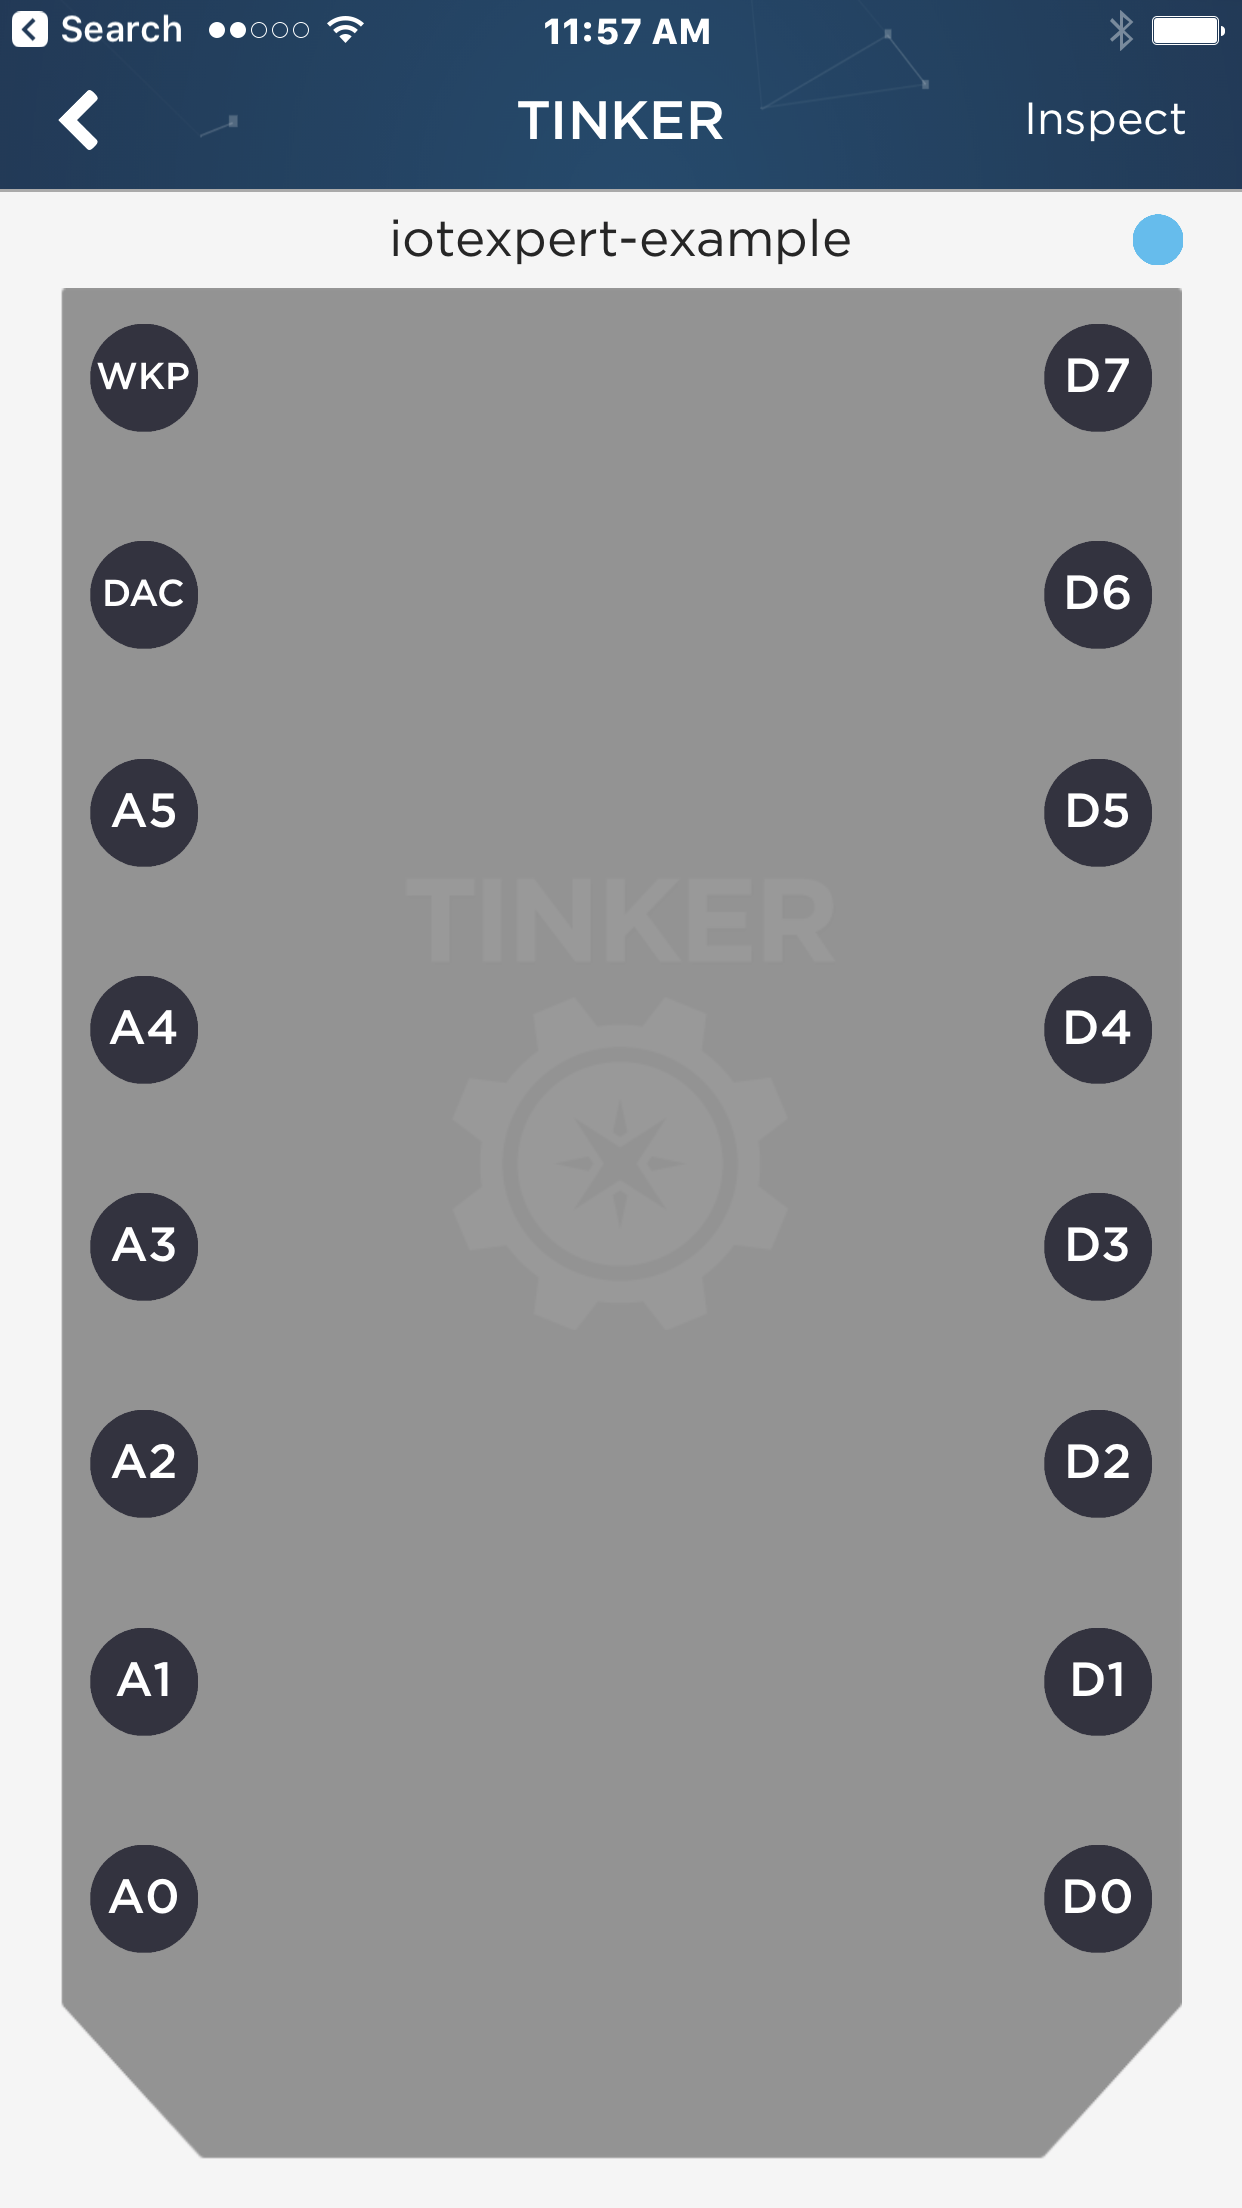
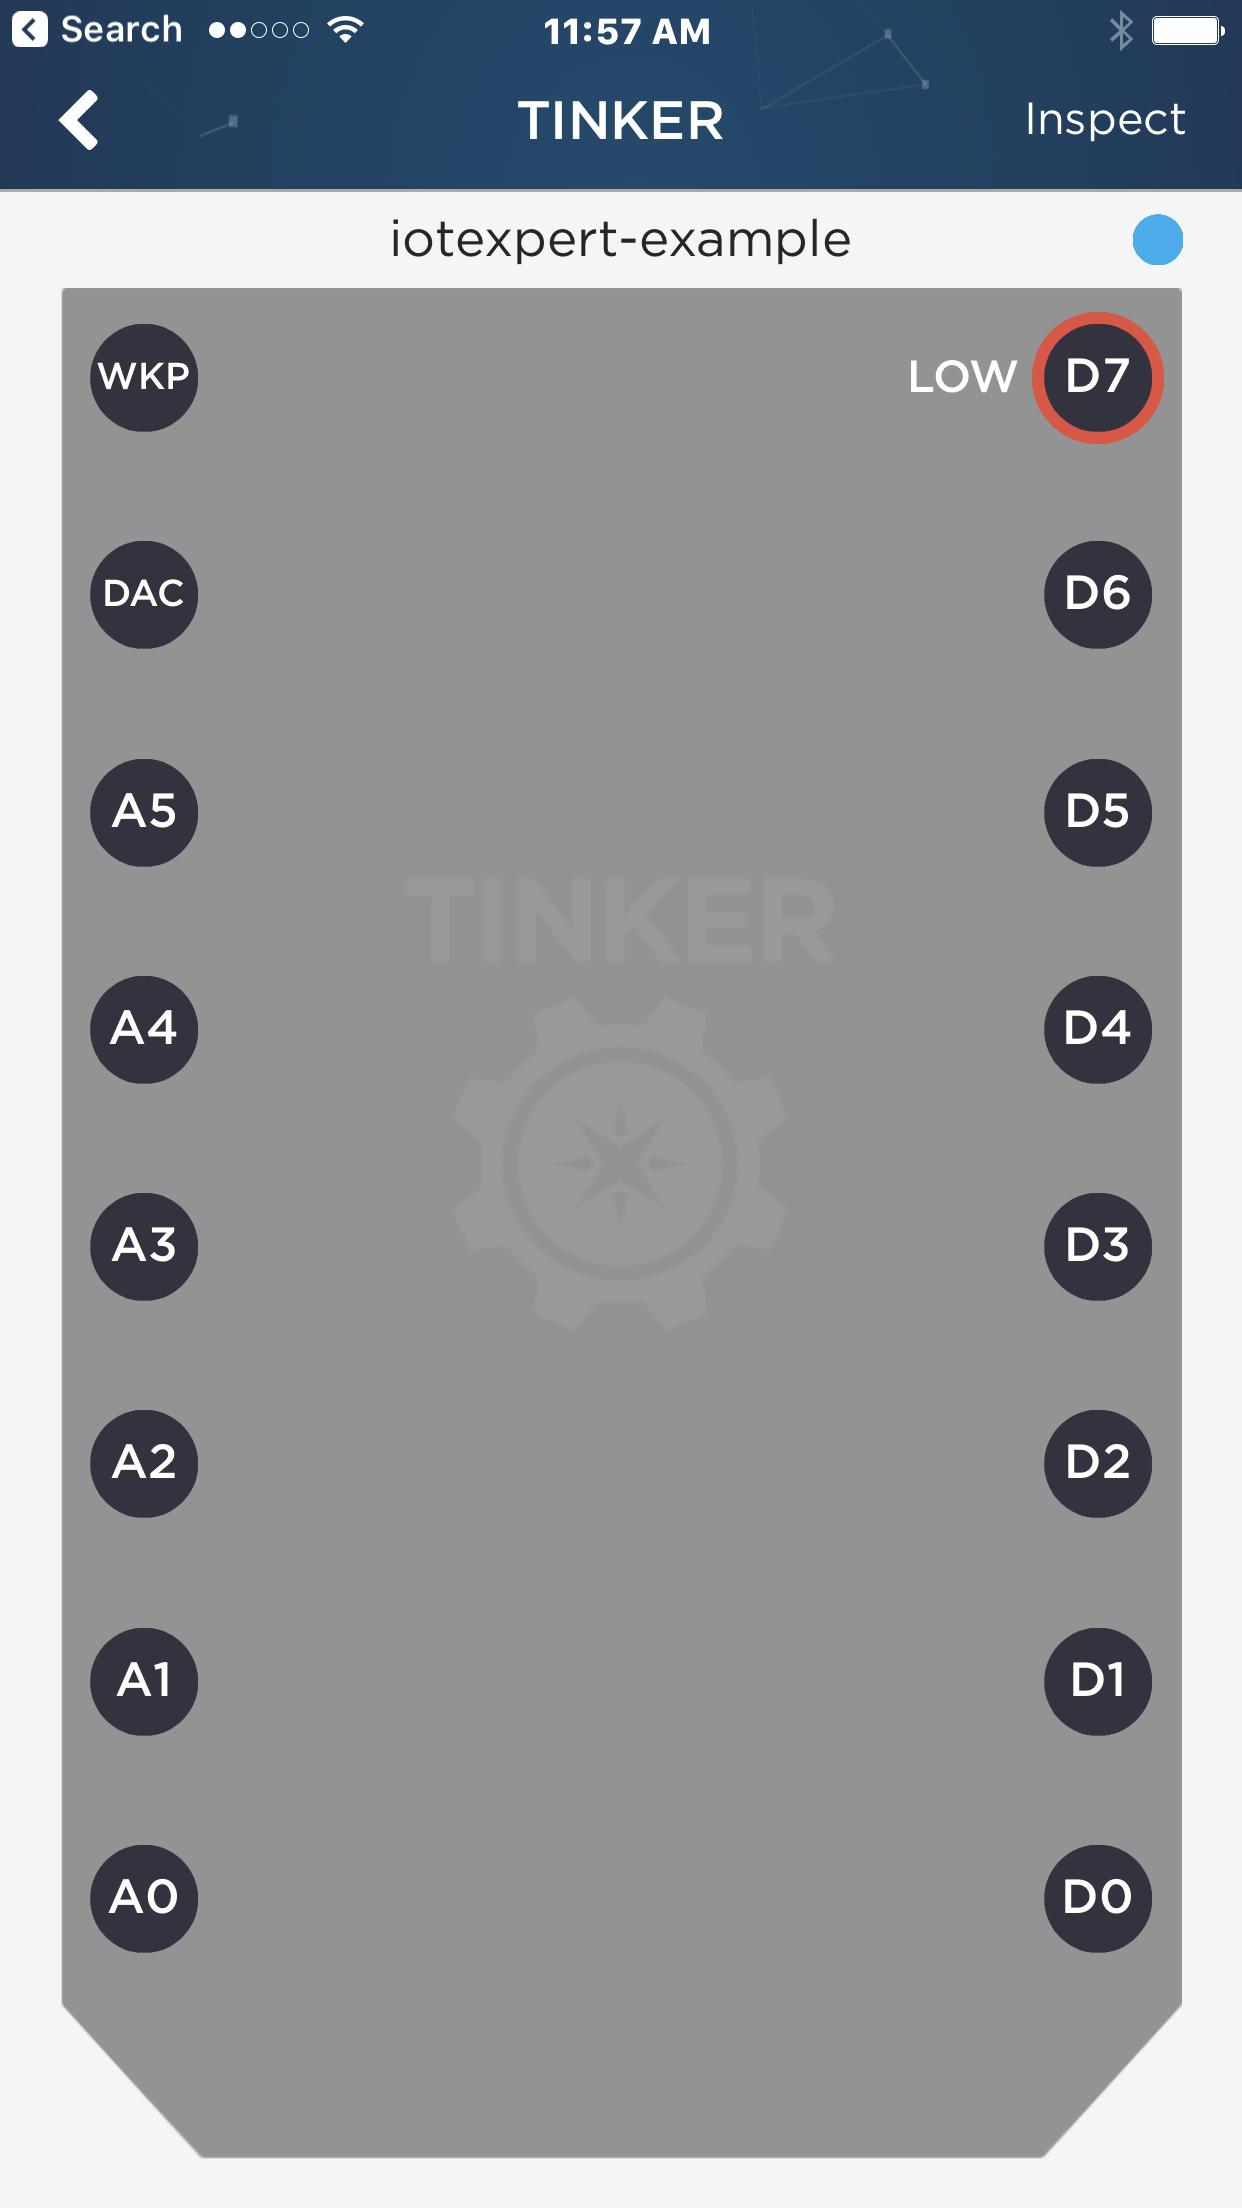
Once I am sure about the version of the Tinker firmware, I test to make sure that things are working correctly. First I click on “D7”
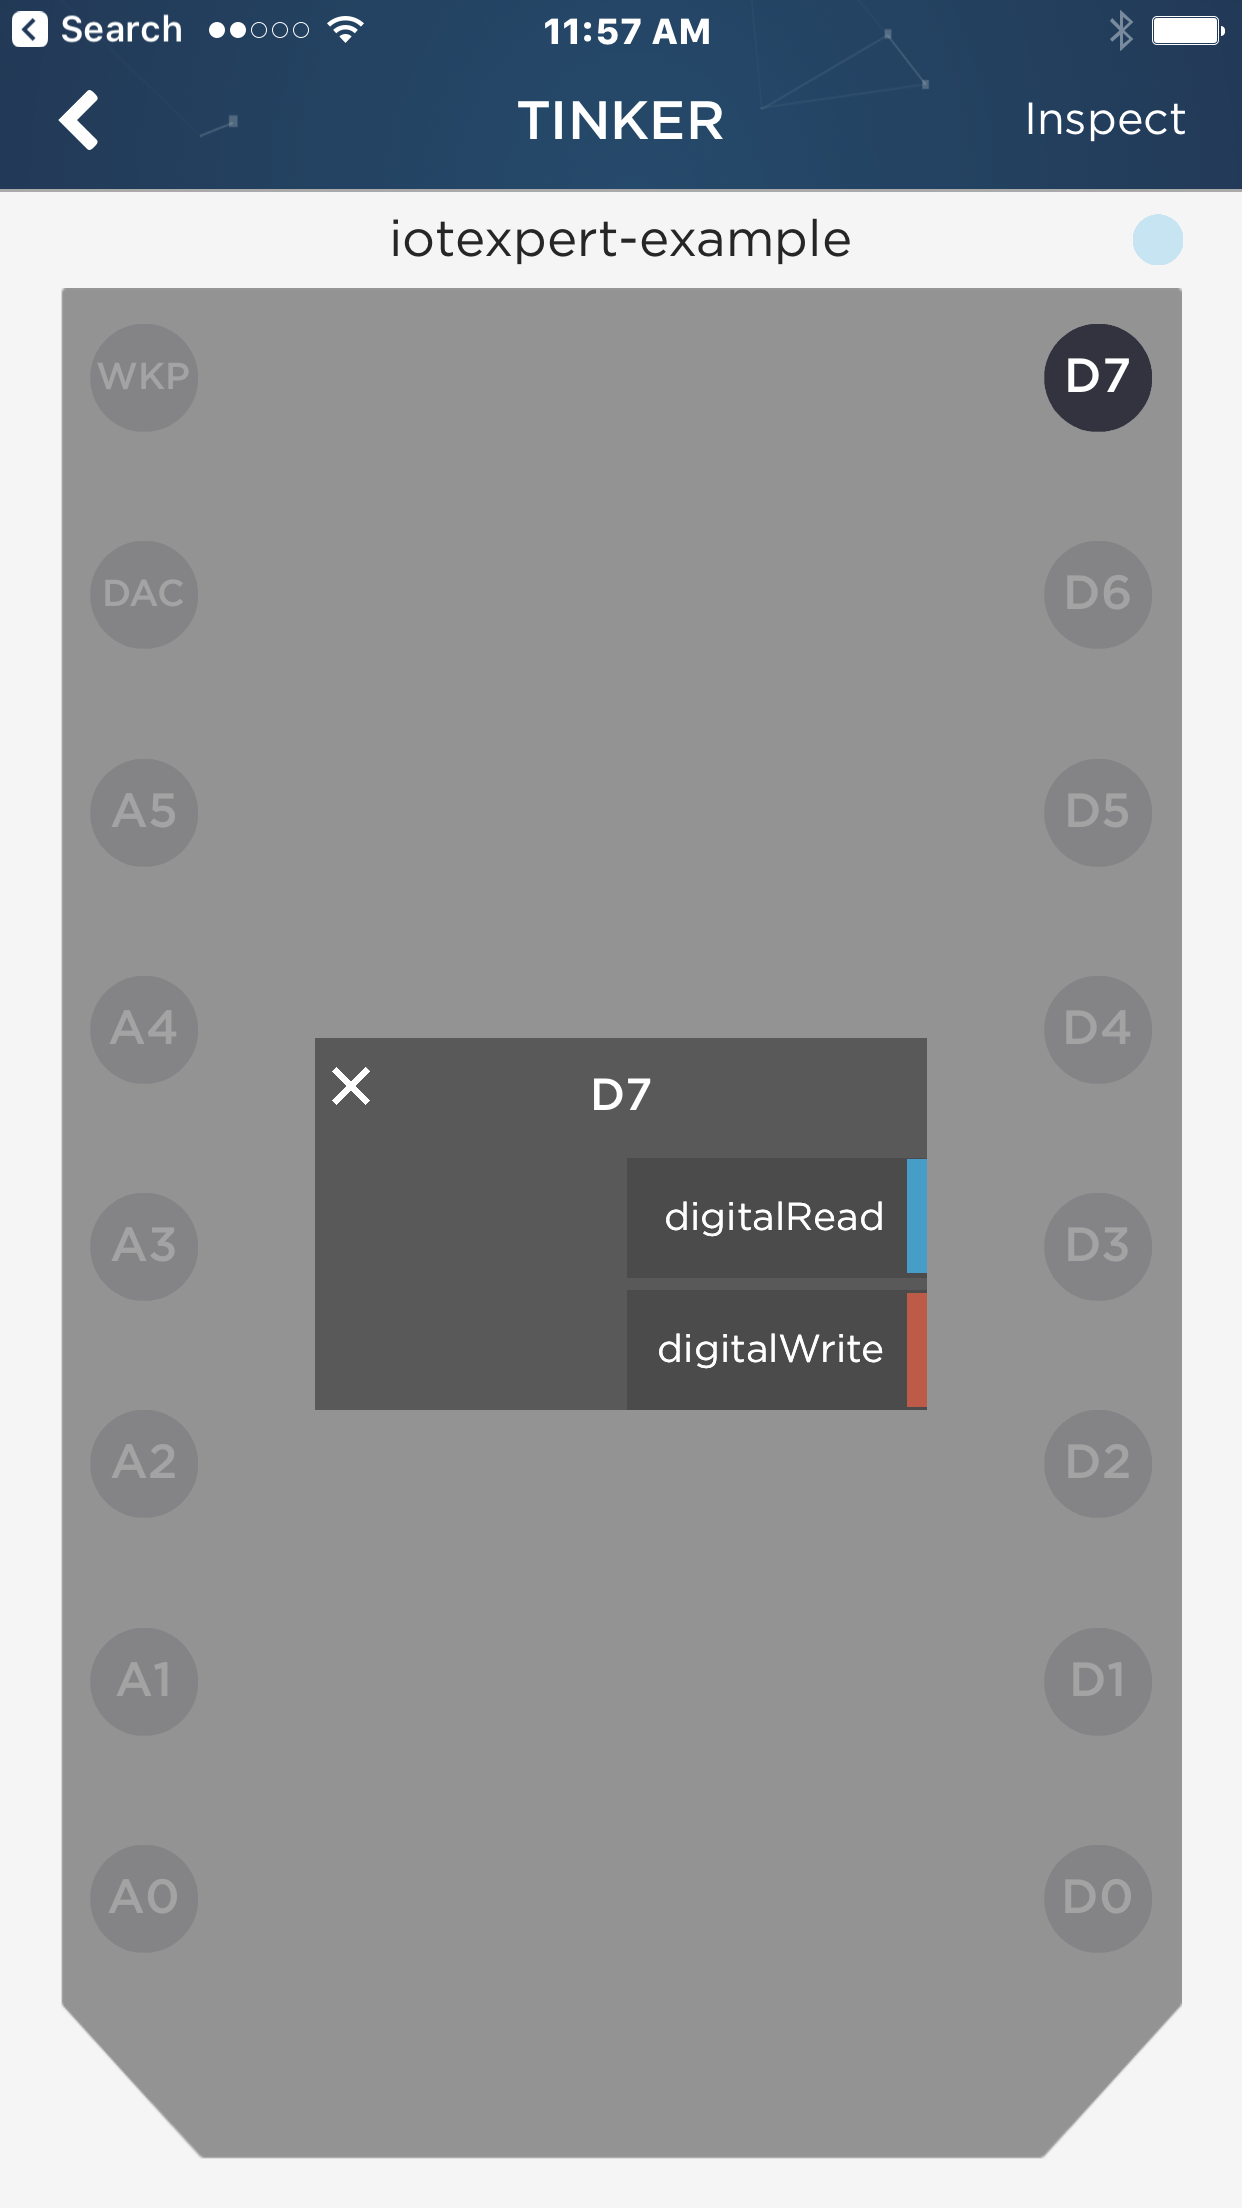
Which brings up this screen where you can select digitalRead and digitalWrite.
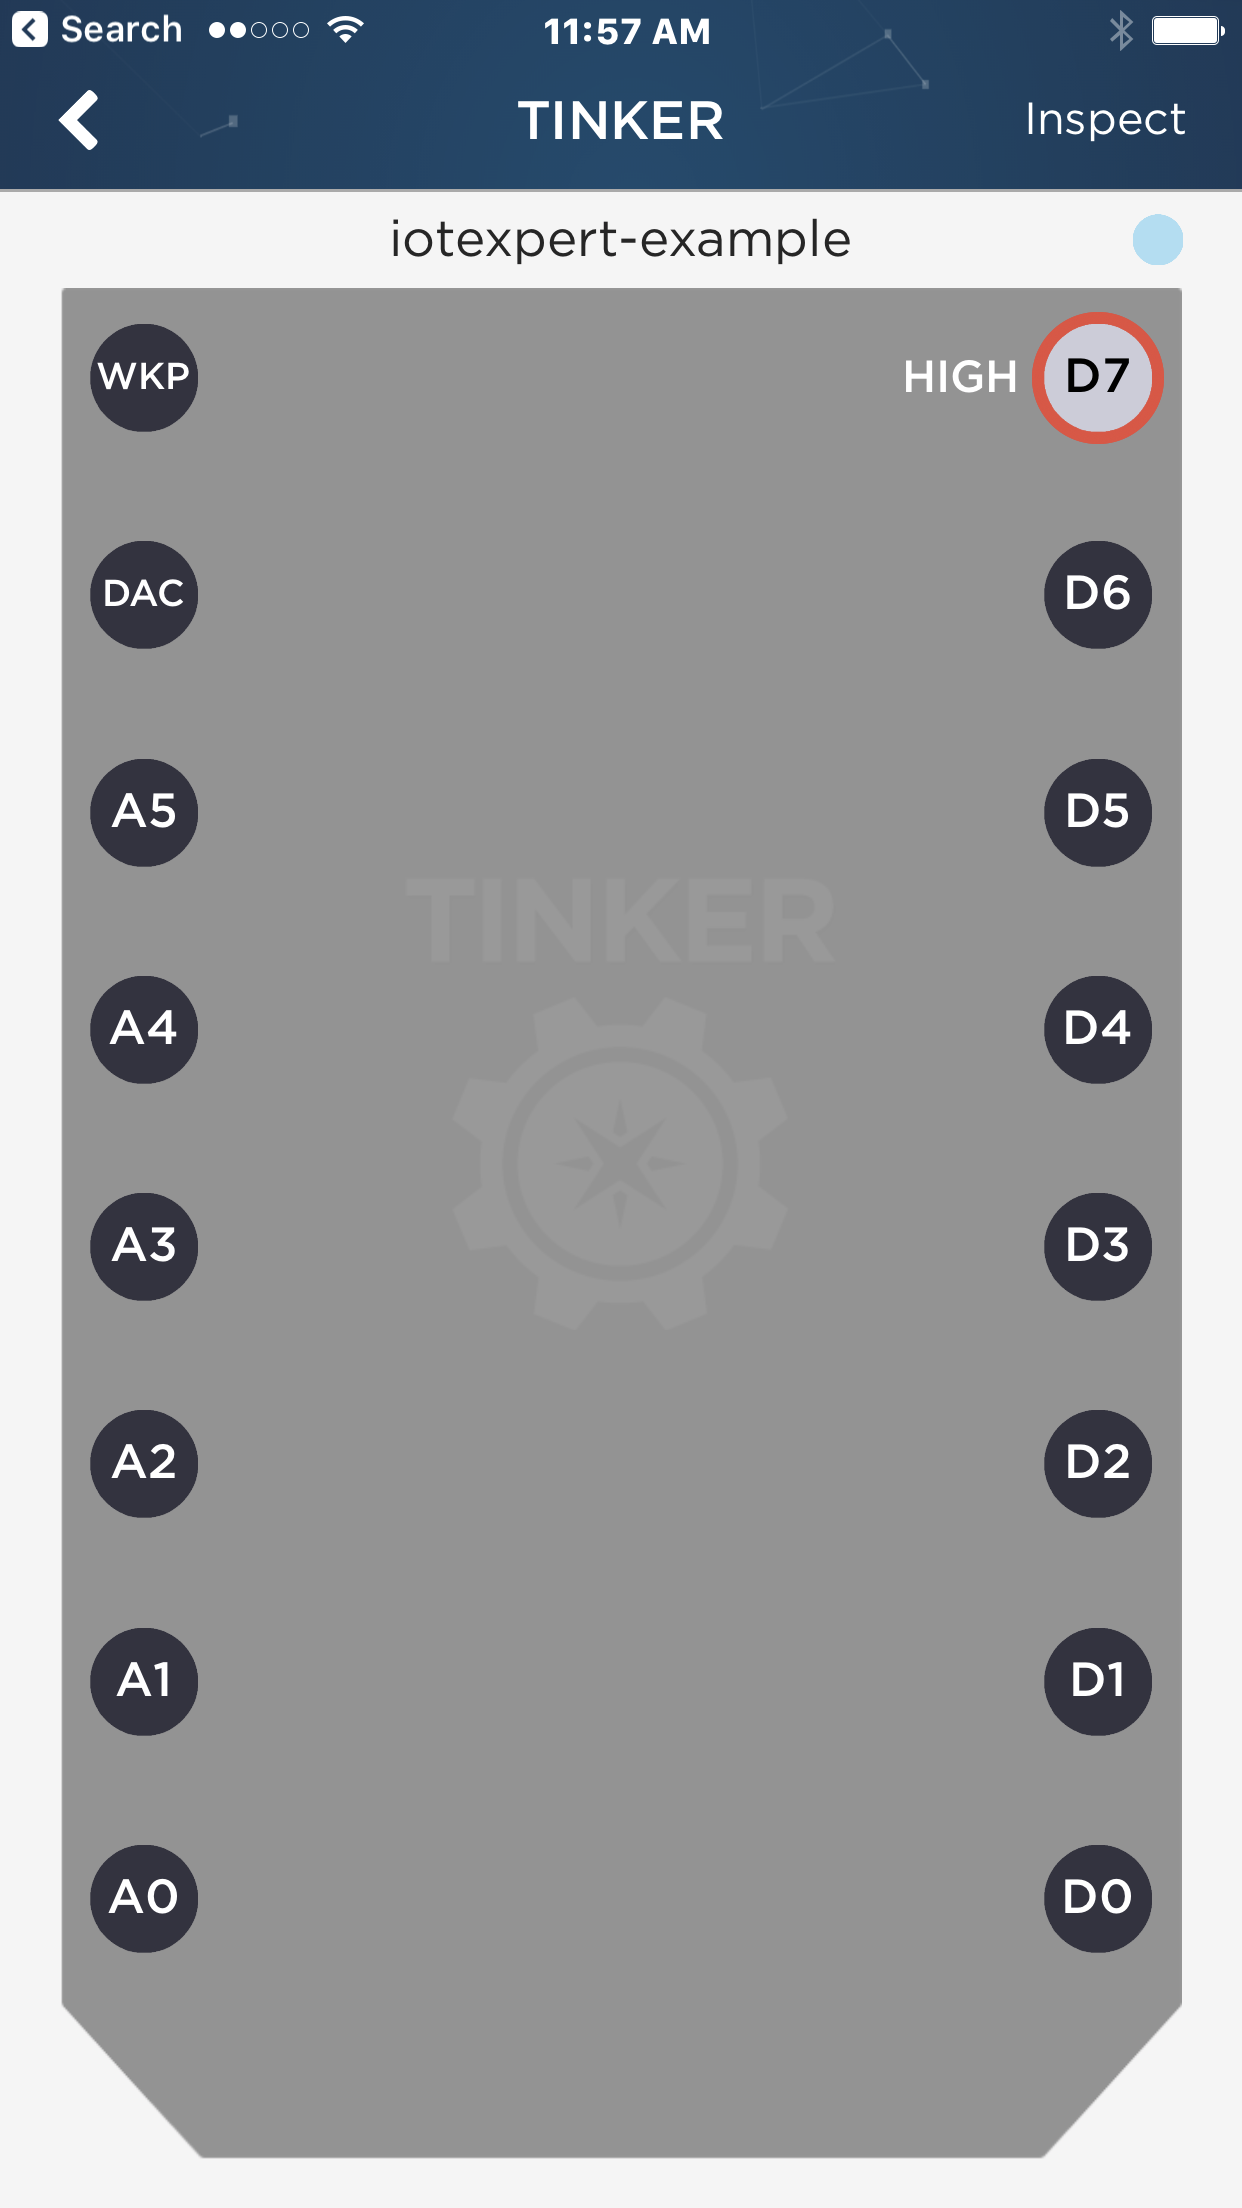
Then when you press the button it will switch from high to low and vice versa.
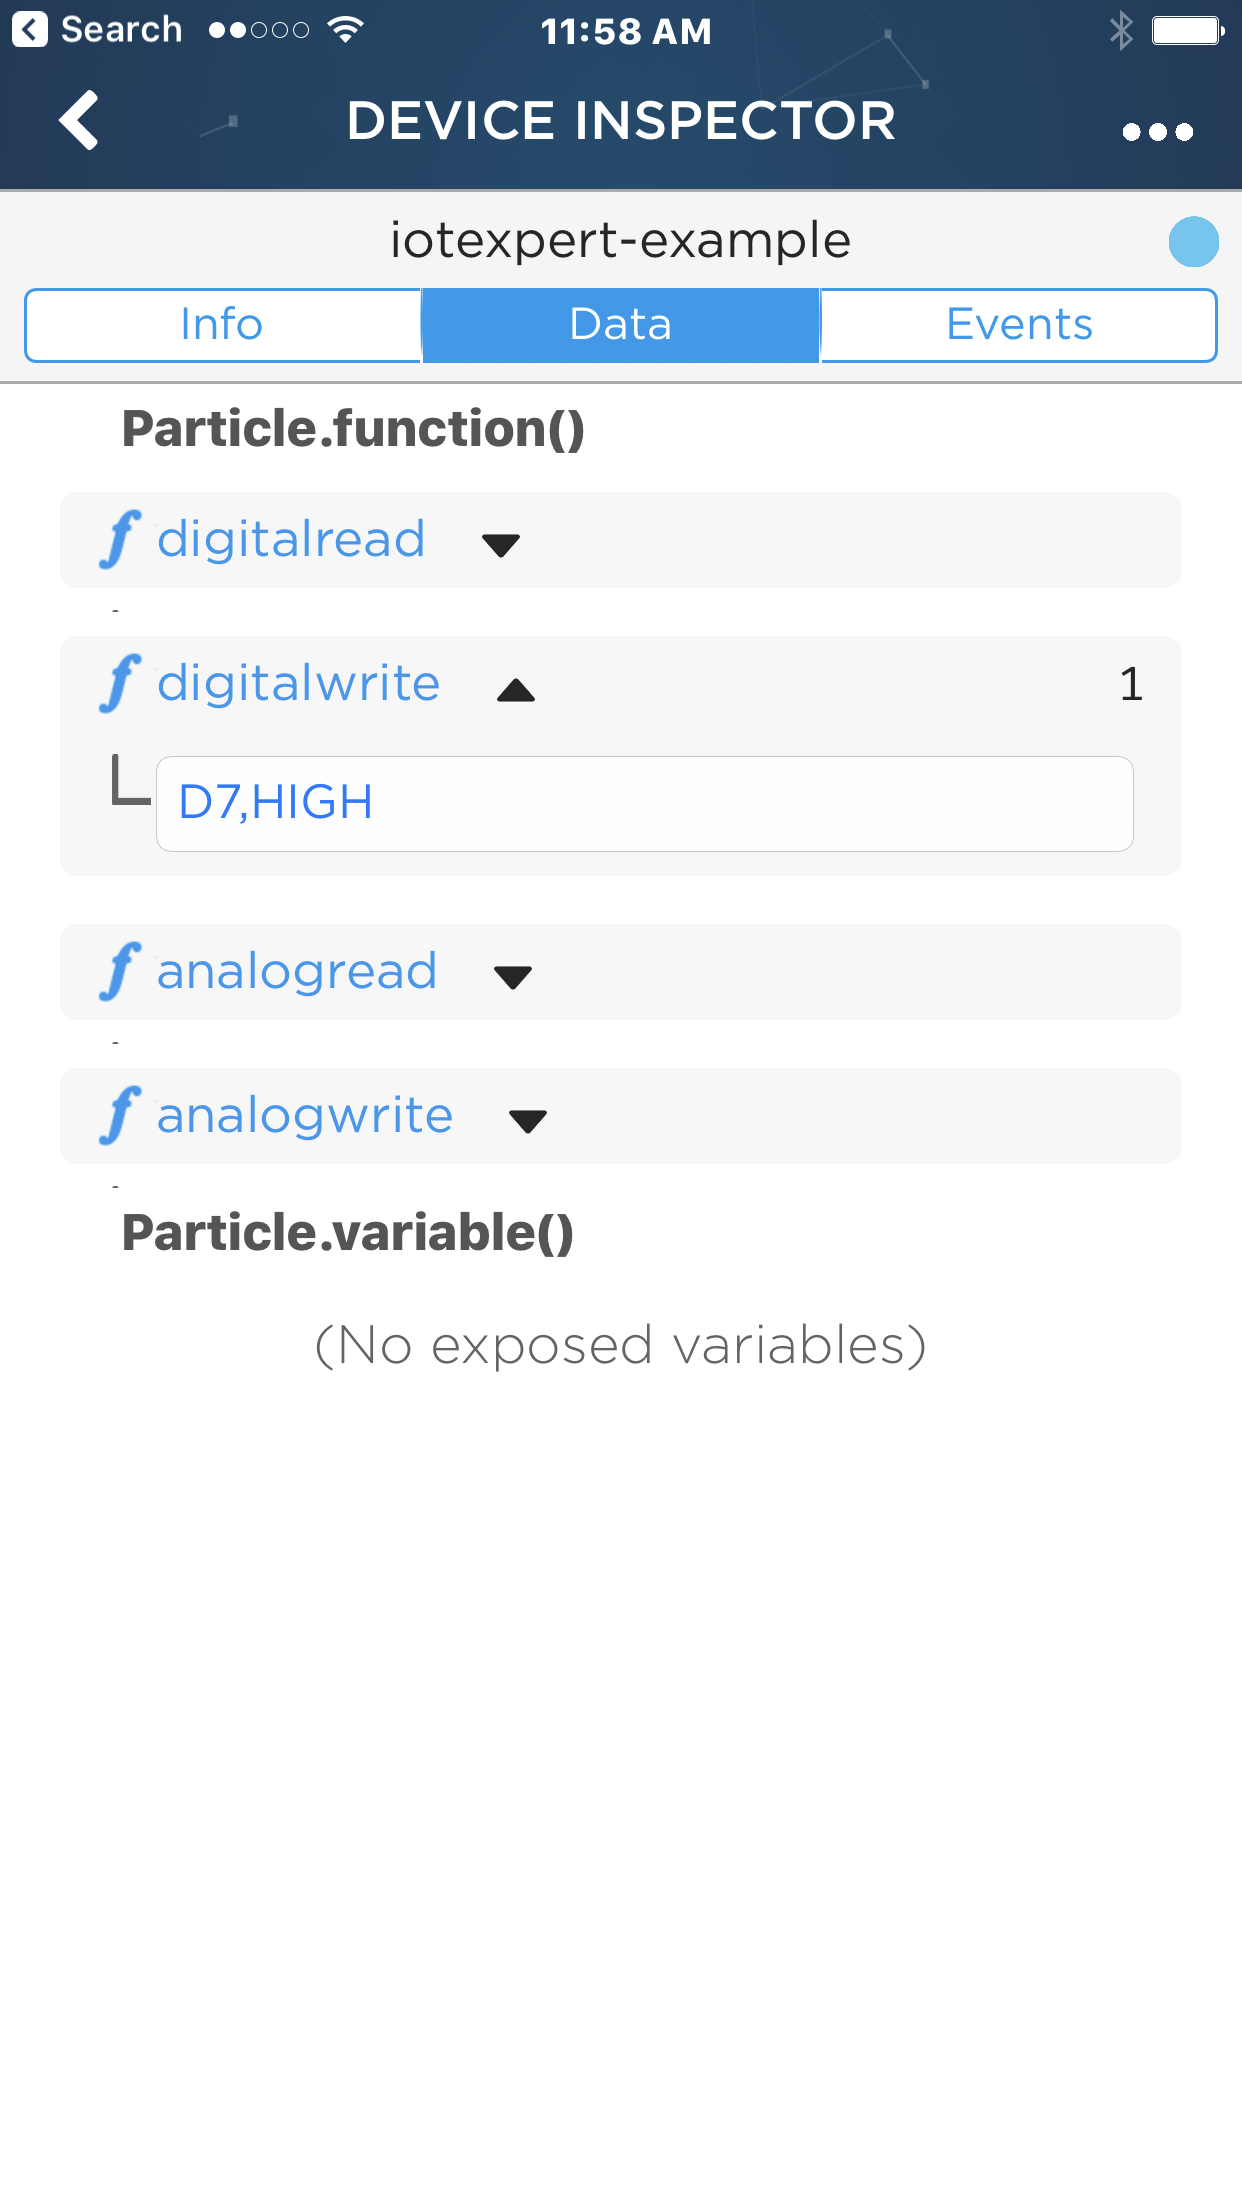
You can also call the API directly by pressing “inspect” then “Data”
Particle Photon Console
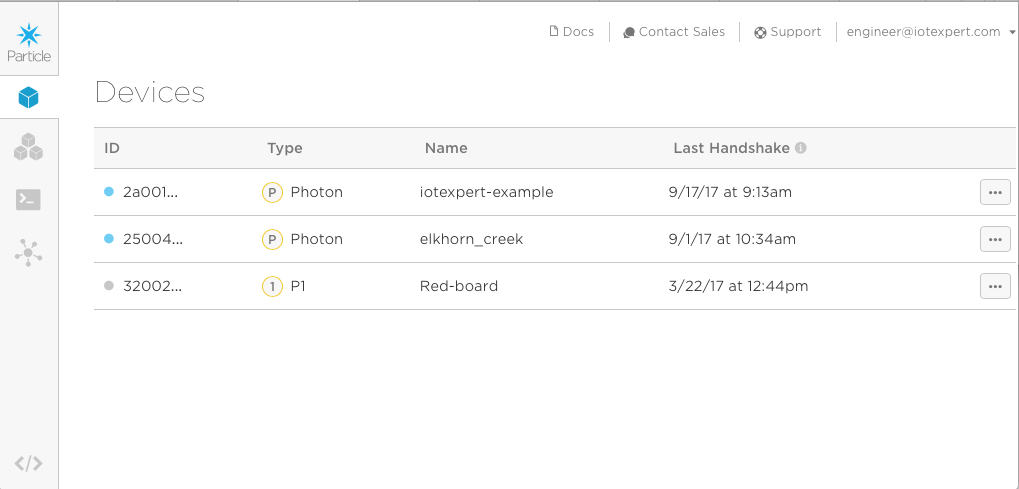
In addition to using the iOS App, you can also interact with the Photon using the console.
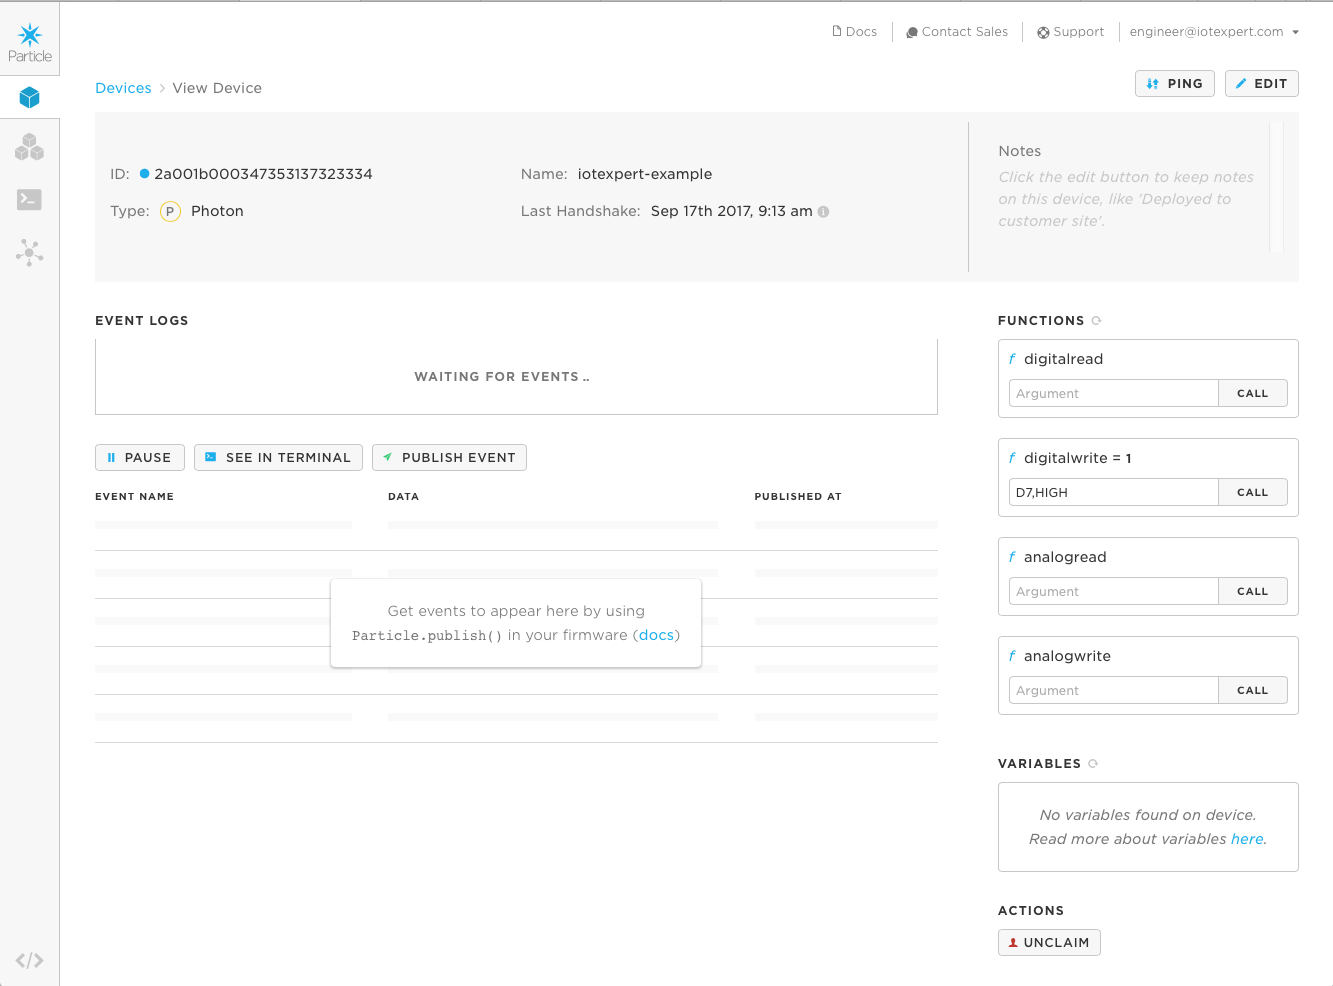
When I click on the “iotexpert-example” it brings up this screen where I can run the Tinker firmware functions. In this case I ran “digitialwrite” with “D7,HIGH” which turns on the LED on the Photon.
Testing the Particle Photon with CURL
The Particle Cloud exposes an API which lets you send Restful API requests to specific devices. The Unix tool CURL lets me type command line requests (which I will mimic in the next Article using WICED). The first command that I send is and HTTP GET which will return a JSON document that describes the configuration on my Photon.
curl https://api.particle.io/v1/devices/iotexpert-example?access_token=1311f67269d6
You can see the device name etc in the JSON below. It also shows that the Tinker firmware has four function built into it.
{
   "id":"2a001b000347353137323334",
   "name":"iotexpert-example",
   "last_app":null,
   "last_ip_address":"69.23.226.142",
   "last_heard":"2017-09-17T15:38:56.406Z",
   "product_id":6,
   "connected":true,
   "platform_id":6,
   "cellular":false,
   "notes":null,
   "status":"normal",
   "current_build_target":"0.5.3",
   "variables":{

   },
   "functions":[
      "digitalread",
      "digitalwrite",
      "analogread",
      "analogwrite"
   ]
}
Then I can send a HTTP POST using Curl to turn on the D7 LED.
curl https://api.spark.io/v1/devices/2a001b000347354/digitalwrite -d access_token=1311f67269d66b -d params=D7,HIGH
You can see the Blue LED right next to D7 turns on.

Particle Photon Tinker App
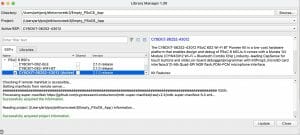
I wondered where the Tinker App API was documented? It turns out that the App is available in Particle library. You can search by typing “tinker”

The section of code that matters is here. The function takes a “String” and parses it. It demands that the 2nd character be a PIN number between 0 and 7. The first character be a capital “D”. Then you need to have a “HIGH” (in caps) or a “LOW” (in caps)
/*******************************************************************************
 * Function Name  : tinkerDigitalWrite
 * Description    : Sets the specified pin HIGH or LOW
 * Input          : Pin and value
 * Output         : None.
 * Return         : 1 on success and a negative number on failure
 *******************************************************************************/
int tinkerDigitalWrite(String command)
{
	bool value = 0;
	//convert ascii to integer
	int pinNumber = command.charAt(1) - '0';
	//Sanity check to see if the pin numbers are within limits
	if (pinNumber< 0 || pinNumber >7) return -1;

	if(command.substring(3,7) == "HIGH") value = 1;
	else if(command.substring(3,6) == "LOW") value = 0;
	else return -2;

	if(command.startsWith("D"))
	{
		pinMode(pinNumber, OUTPUT);
		digitalWrite(pinNumber, value);
		return 1;
	}
	else if(command.startsWith("A"))
	{
		pinMode(pinNumber+10, OUTPUT);
		digitalWrite(pinNumber+10, value);
		return 1;
	}
	else return -3;
}
In order to access the digitialwrite function via the network, they publish it (and some others).
/***
 * All the based tinker functions are registered. You can add you own code.
 ***/

// This #include statement was automatically added by the Spark IDE.
#include "Tinker.h"

void setup() {
	//Register all the Tinker functions
	Spark.function("digitalread", tinkerDigitalRead);
	Spark.function("digitalwrite", tinkerDigitalWrite);
	Spark.function("analogread", tinkerAnalogRead);
	Spark.function("analogwrite", tinkerAnalogWrite);
}

void loop() {
}
When I first thought about the Tinker firmware I thought that it must be reasonably complex. But it is not because it takes advantage of the Particle cloud functionality. All in all what they did is very elegant and simple..
Now that it looks like my Particle Photon is working, in the next article I will show you WICED firmware to read the CapSense buttons and then Turn On/Off the LED on the Photon.

No comment yet, add your voice below!