Last weekend was one of those times I felt like jabbing an icepick in my ear. My “simple” project of cooking a beef brisket turned into a cascading series of pain. What do brisket and IOT have to do with each other? Here is the story: A beef brisket needs to be smoked for no less than 12-15 hours. This is a total PITA without some computer help as by far the most important variable in doing this right is the temperature of the Pit. To solve this, I use the Cyber-Q from BBQ Guru.
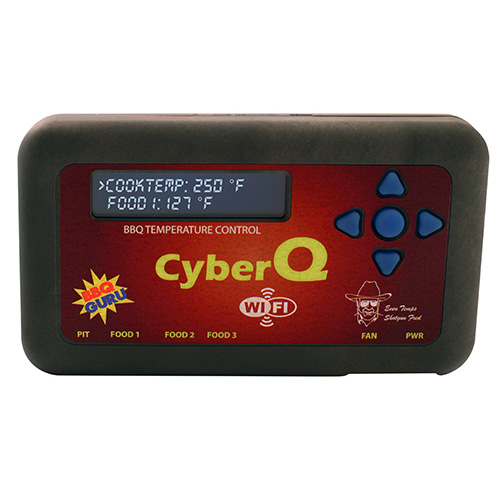
This little box has
- 4x thermocouple based temperature probes (one for the “pit” and 3 for the BBQ)
- A Fan controlled by a PID
- WIFI with a build-in web server
This box turns your smoker into an IOT device. What it really means is that you can pay very little attention to your smoker and it will stay within a few degrees of the target. Which is awesome. It can also be attached to your network so that you can monitor it from wherever you are (assuming you are willing to poke a hole in your firewall).
On Saturday I get up at 4:00AM to start the Brisket, but when I plug in the Cyber-Q the damn thing won’t attach to my freaking WIFI network. With this box, this happens to me approximately 50% of the time. I start and stop it a half a dozen times with the hope that it will attach, but to no avail which causes me nothing but frustration. The WIFI at my house is protected using WPA2 Personal and all I can figure is that the Microchip WIFI chipset in the Cyber-q is flaky but I suppose that it could also be the Meraki AP.
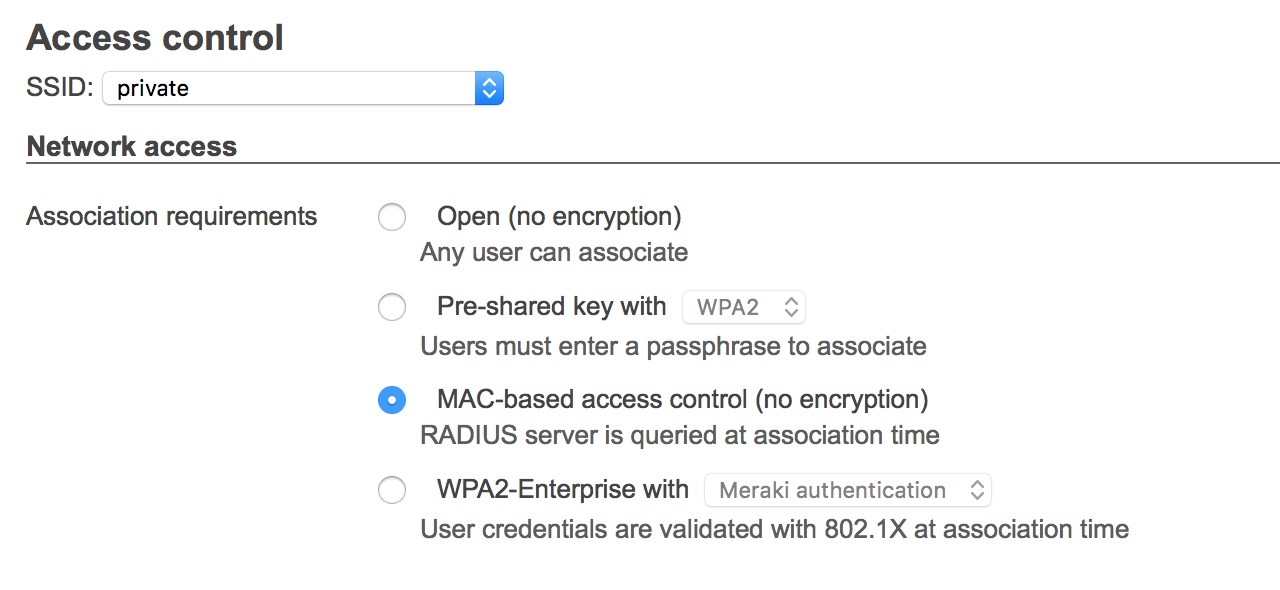
To attempt to fix the problem I decide to create an open WIFI network and attach the Cyber-Q to it. That works fine, but now I have an open network which is mostly OK since I live out in the country, but it is still annoying. When I created the new SSID I noticed that Meraki allows for MAC based access control using a RADIUS server.
That is cool now all I have to do is figure out how to build a RADIUS server. Actually, I need to start by figuring out what RADIUS server is.
It turns out that RADIUS stands for Remote Authentication Dial In User Server. The “Dial In” part of the name gives you the hint that it has been around for a long time. Basically a RADIUS server was built to perform three functions, Authentication, Authorization and Accounting in dial up networks. When someone dialed in the RADIUS server validated the password, gave them access to the network and then kept track of their usage. Since the days of dial-up, RADIUS servers have undergone the out of control process of creeping functionality and they now support a frightening number of possible setups.
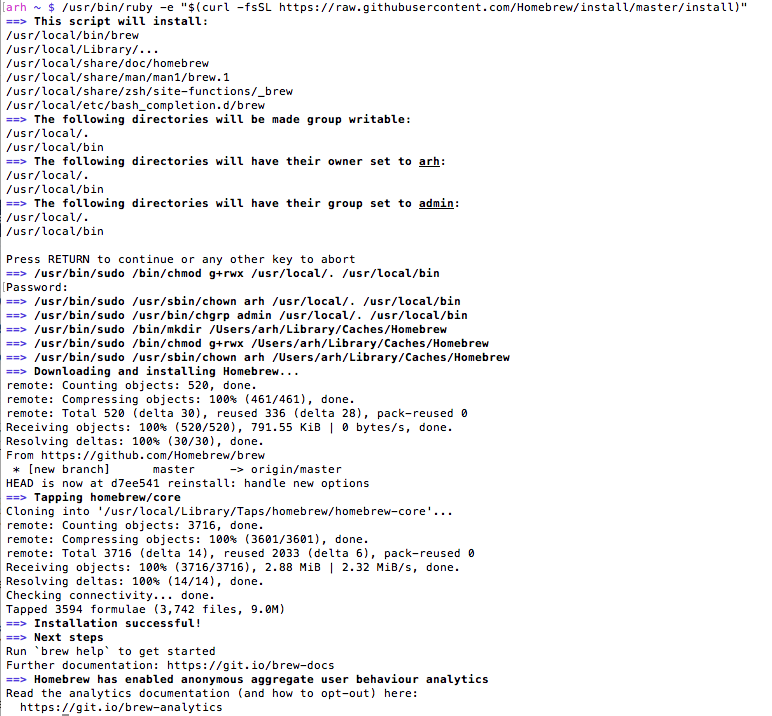
My fist step in this journey was to look around on the internet and find a suitable RADIUS server. FreeRadius seems to be the most popular tool around and it runs on my mac server. When I looked on their website, there was no prebuilt version… go fish. I started the process of getting Free Radius to build, but when I was looking around for a solution to one of the install problem I found “HomeBrew” which claims to be the missing package manager for Mac. To install Brew you just need to run
/usr/bin/ruby -e "$(curl -fsSL https://raw.githubusercontent.com/Homebrew/install/master/install)"
After that I can use brew to install FreeRadius using the following command:
brew install freeradius-server
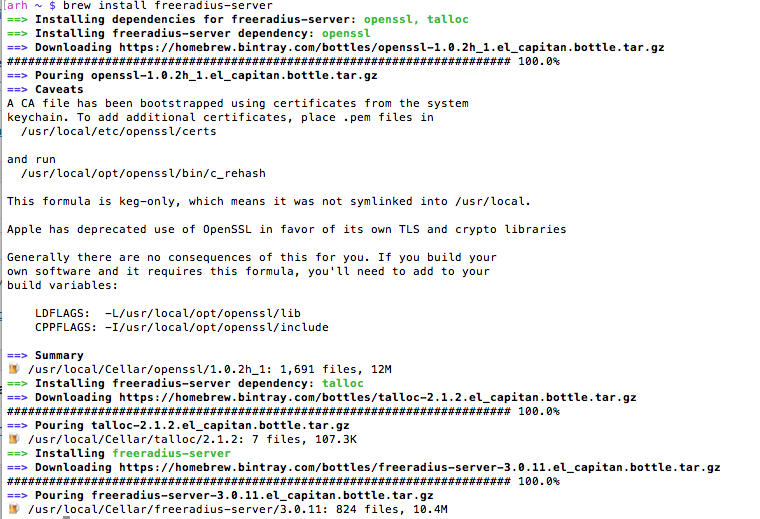
After running the brew command you will have a built version of FreeRadius in /usr/local/Cellar/freeradius-server/3.0.11
So how does it work? When a device tries to attach to the network, the Meraki will query the Radius server to see if their is a user/password combination that matches the mac address of the device. To make this work I just add a username/password to the …/freeradius-server/3.0.11/etc/raddb/users file so that it looks like this:
001ec020425a Cleartext-Password := “001ec020425a”
The “001ec020425a” is just the MAC address of the Cyber-q.
The next step is to tell the Mac OS-X to start the Radius server when it boots. To do this you need to create “plist” file with the right stuff in it to make the Launchd start the daemon when the Mac boots. There is a tutorial on the web here.
The first step is to create a file called org.freeradius.radius-server.plist and put it into the directory /Library/LaunchDaemons. The file just contains instructions to the launchd to start the radiusd (daemon) when the mac starts. Here is the file:
<?xml version="1.0" encoding="UTF-8"?>
<!DOCTYPE plist PUBLIC "-//Apple//DTD PLIST 1.0//EN" "http://www.apple.com/DTDs/PropertyList-1.0.dtd">
<plist version="1.0">
<dict>
<key>Label</key>
<string>org.freeradius.radius-server</string>
<key>Program</key>
<string>/usr/local/Cellar/freeradius-server/3.0.11/bin/radiusd</string>
<key>RunAtLoad</key>
<true/>
</dict>
</plist>
After that you need to run:
- sudo launchctl load org.freeradius.radius-server
Then
- sudo launchtl start org.freeradius.radius-server
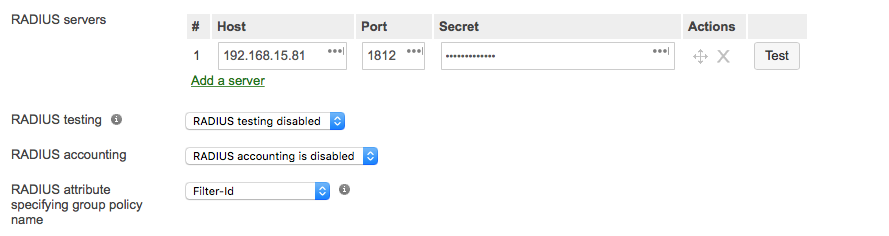
Now that I have a radiusd running I need to tell the Meraki about it. To do that I change the SSID setup
There are a few problems with this setup.
- The devices that are attached to the open WIFI broadcast in the open
- It is easy enough to change the MAC address of device and then hack your way onto the network.
- Any broadcast packets from the private network are broadcast in the open on the WIFI network
But none of these problems are serious enough given that I am in “gun range” of anyone who is within “hacking range.”

No comment yet, add your voice below!