In the previous posts, I gave an introduction to Zwave, described the overall system architecture, and demonstrated the installation of the HomeTroller Zee. In this post, I will describe the installation of the GE Zwave lightswitch and its connection to the Zwave network. The GE switch is made by a company called Jasco – which claims to be a privately owned company that “develops cutting-edge consumer products” for GE.
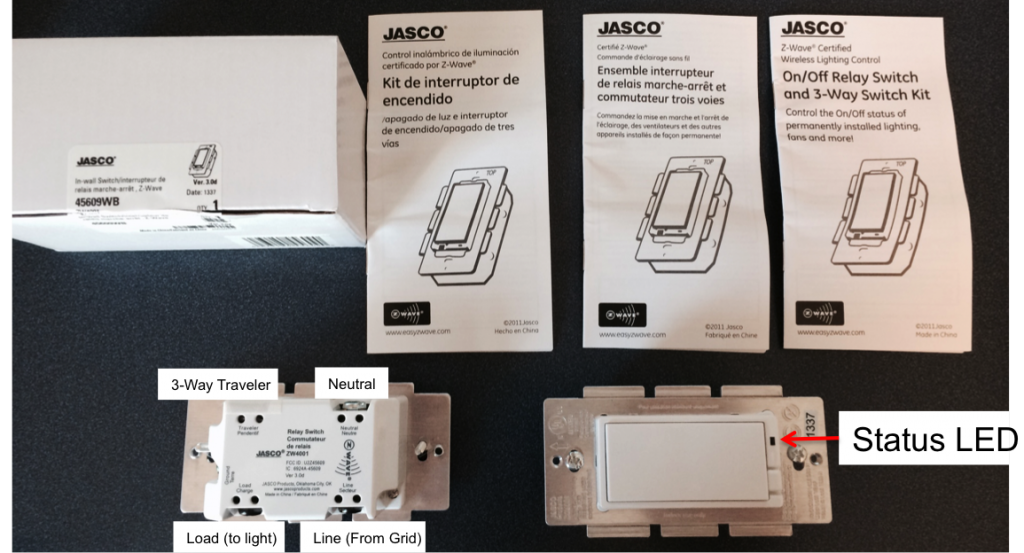
First, the lightswitch box. It contains well written instructions in three languages and the switch. The picture below shows two switches (so that I can show the front and the back of the switch in the same picture).
The next step, and the most important thing for me to do today is fervently avoid getting shocked while doing the installation. You would think that an electrical engineer would have enough sense not to install the switch without first turning off the breaker, but I always figure that I can get away without doing it HOT, a plan that invariably misfires. So, today I will start by turning of the breaker – something that I recommend you do as well.
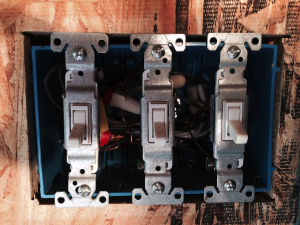
In my barn there is a group of three light switches on the “narrow” form factor. For my installation I will replace all three switches as I could only find (at Lowes) a cover plate with 3 wide holes. The switch on the left will be the barn lights (the one that gets left on my by son all the time). The other two I will replace (for now) with dumb switches that cost $2.
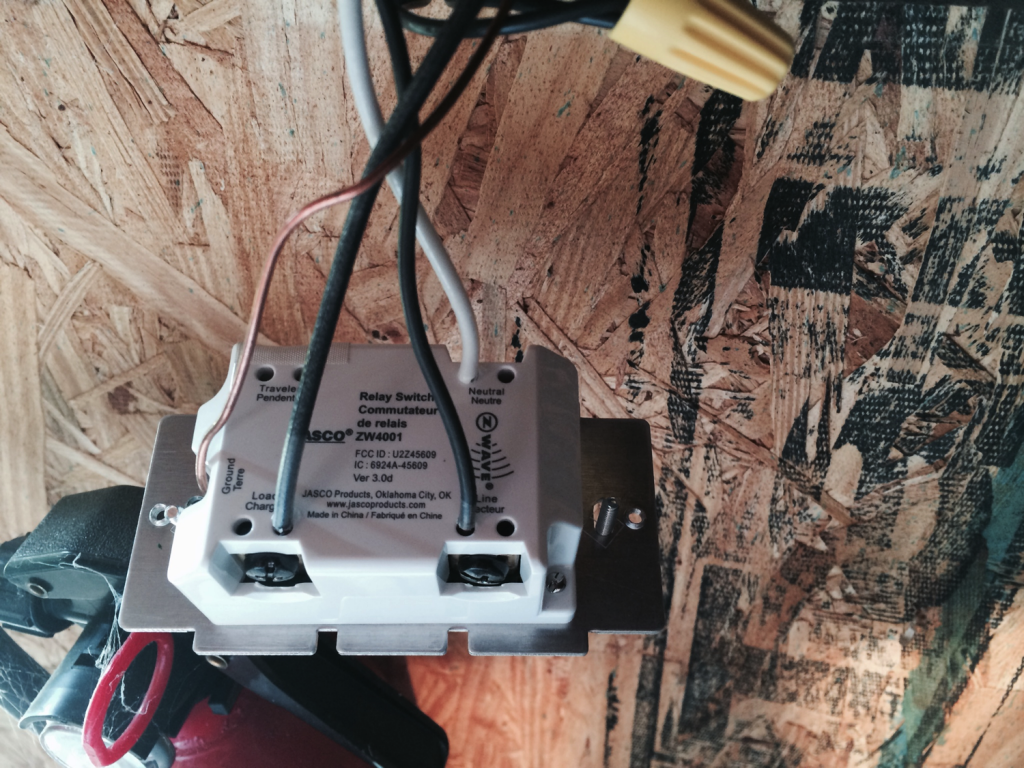
The next step is to install the Zwave switch. The original light switch has three connections, one bare copper ground, one “hot” wire from the line, and one wire going to the lights. The Zwave switch has four terminals, three of them are the same as the original switch and one is the added “neutral”. In order for the switch to operate it requires power and neutral to run the Zwave microcontroller – hence the need for the neutral. I created the new neutral connection wire by wire-nutting a new wire to the inside of the box attached to the pre-existing neutrals. I used a multi meter (with the power still on) to find the “hot” line side of the light switch. This was confusing as you can see from the picture the switch was installed upside down (your can faintly see the “off” label in the wrong place).
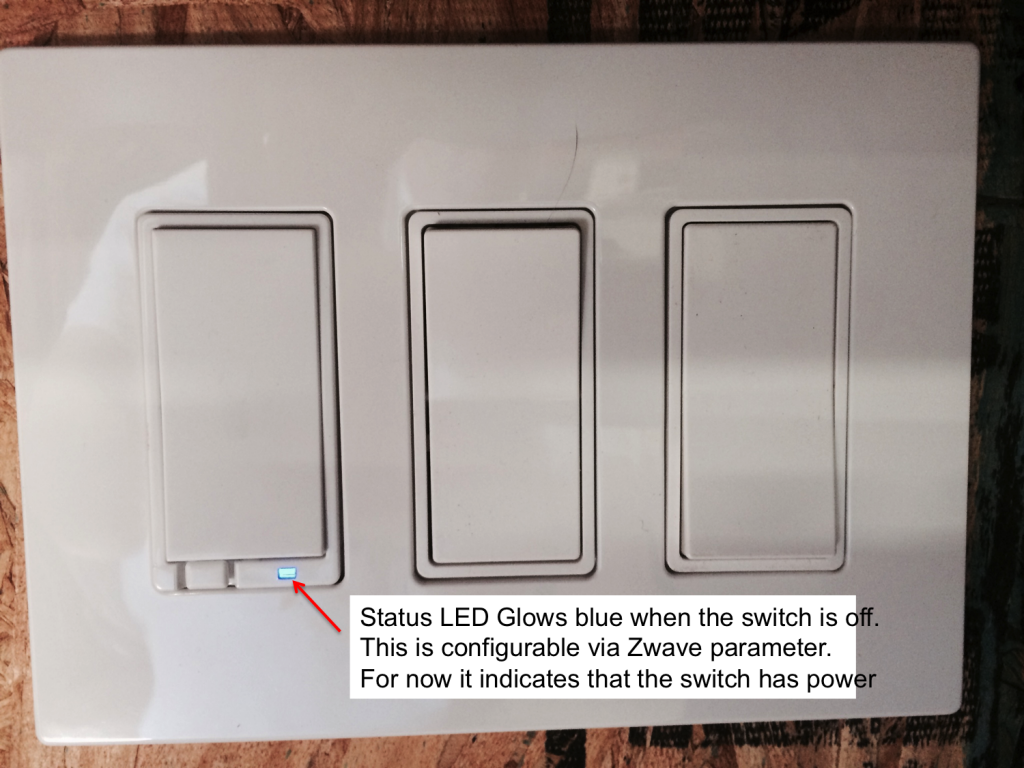
Once you have the switch wired, reassemble your box and turn the breaker back on. You should see the status LED glowing blue.
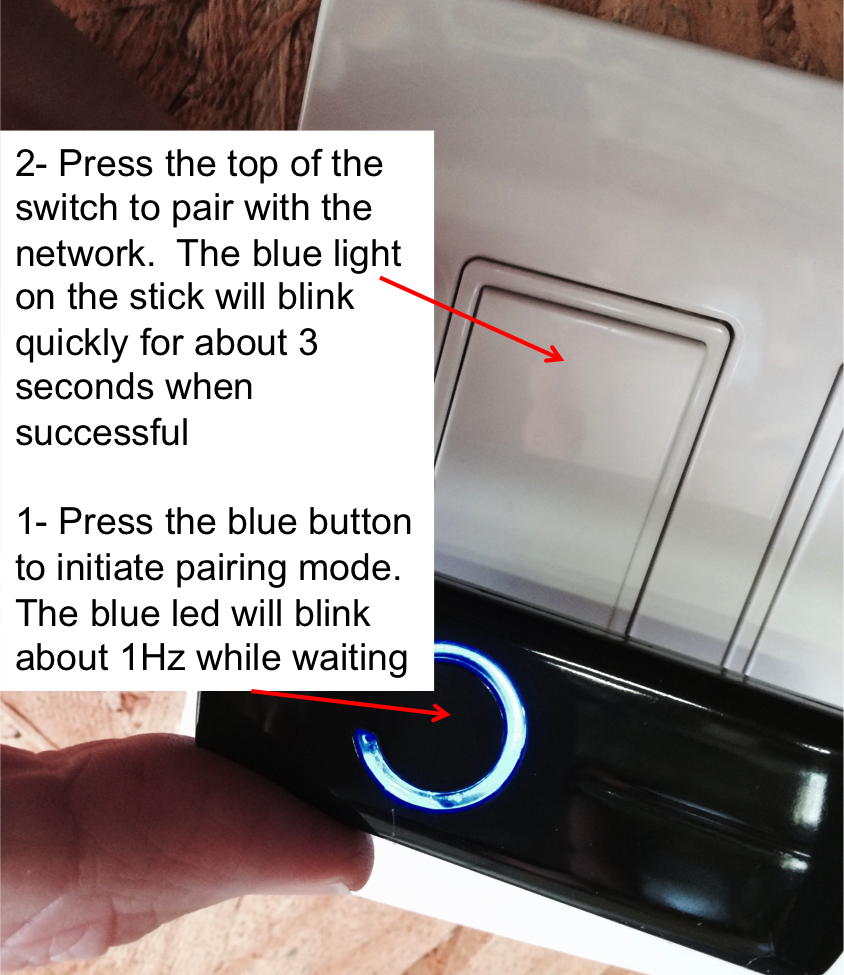
The next step is to pair the Zstick with the light switch. There is a battery in the Zstick that needs to be charged in order for this step to work. After I unboxed the HomeTroller, I plugged the ZStick into a USB port for about an hour to charge the battery. In order to launch the pairing process, start by pressing the button on the Zstick (it will then start blinking at about 1 Hz). Then press the top of the light switch (like you are turning it on). The light on the Zstick will then blink rapidly for about 3 seconds, then go back to blinking at 1 Hz. The rapid blinking indicates a successful pairing. Once you have them paired, press the Zstick button once to end pairing mode. If you had multiple devices (for instance if you were an installer) you could do more pairing before going out of pairing mode.
The next post will describe the process of reading the information from the Zstick into the HomeTroller.
Index
Description
Home Automation with Zwave and the HomeTroller Zee (Part 1)
An Introduction to Zwave
Home Automation with Zwave and the HomeTroller Zee (Part 2)
Installing HomeSeer
Home Automation with Zwave and the HomeTroller Zee (Part 3)
Installing the switches
Home Automation with Zwave and the HomeTroller Zee (Part 4)
Building the Zwave network
Home Automation with Zwave and the HomeTroller Zee (Part 5)
The HSTouch Server
Home Automation with Zwave and the HomeTroller Zee (Part 6)
Zwave in the garage
No comment yet, add your voice below!