Pattern Agents are running a crowd funding effort for ThingSoC TSoC4L … help them here
Summary
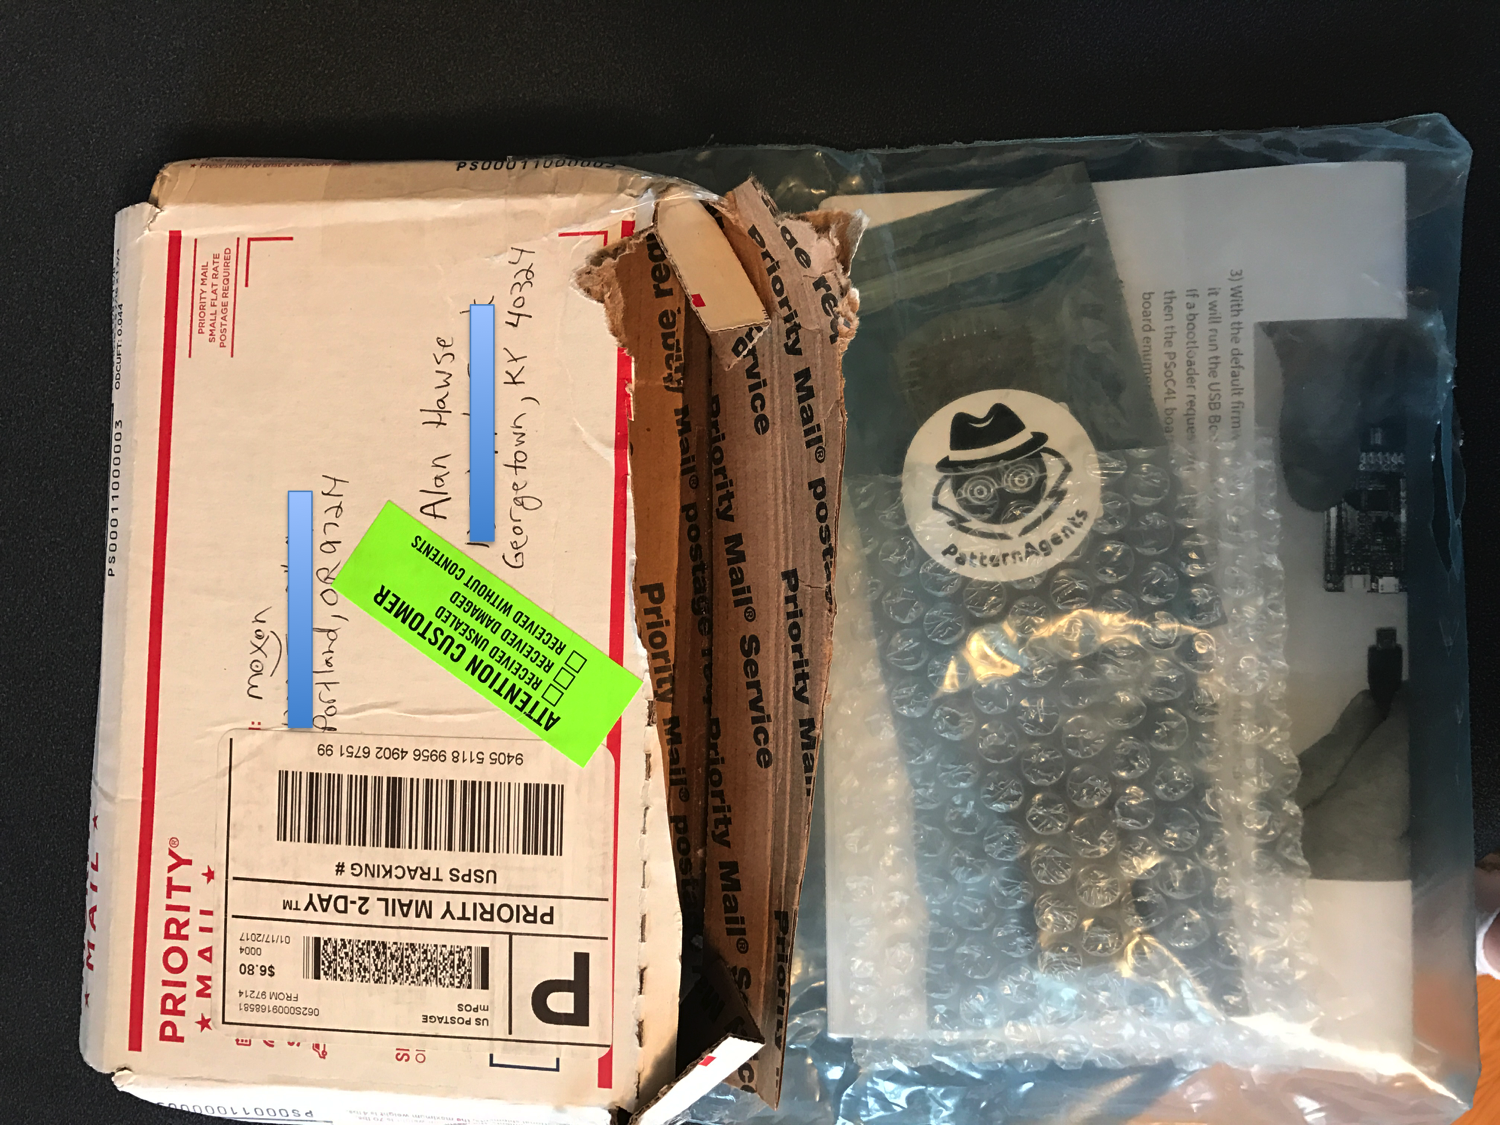
Last week I got a box in the mail from my friend Tom Moxon in Oregon. He runs a company called Pattern Agents. I was excited when I saw the box because I love new development kits. I was even more happy when I opened the box and found a ThingSoC PSoC4L kit.
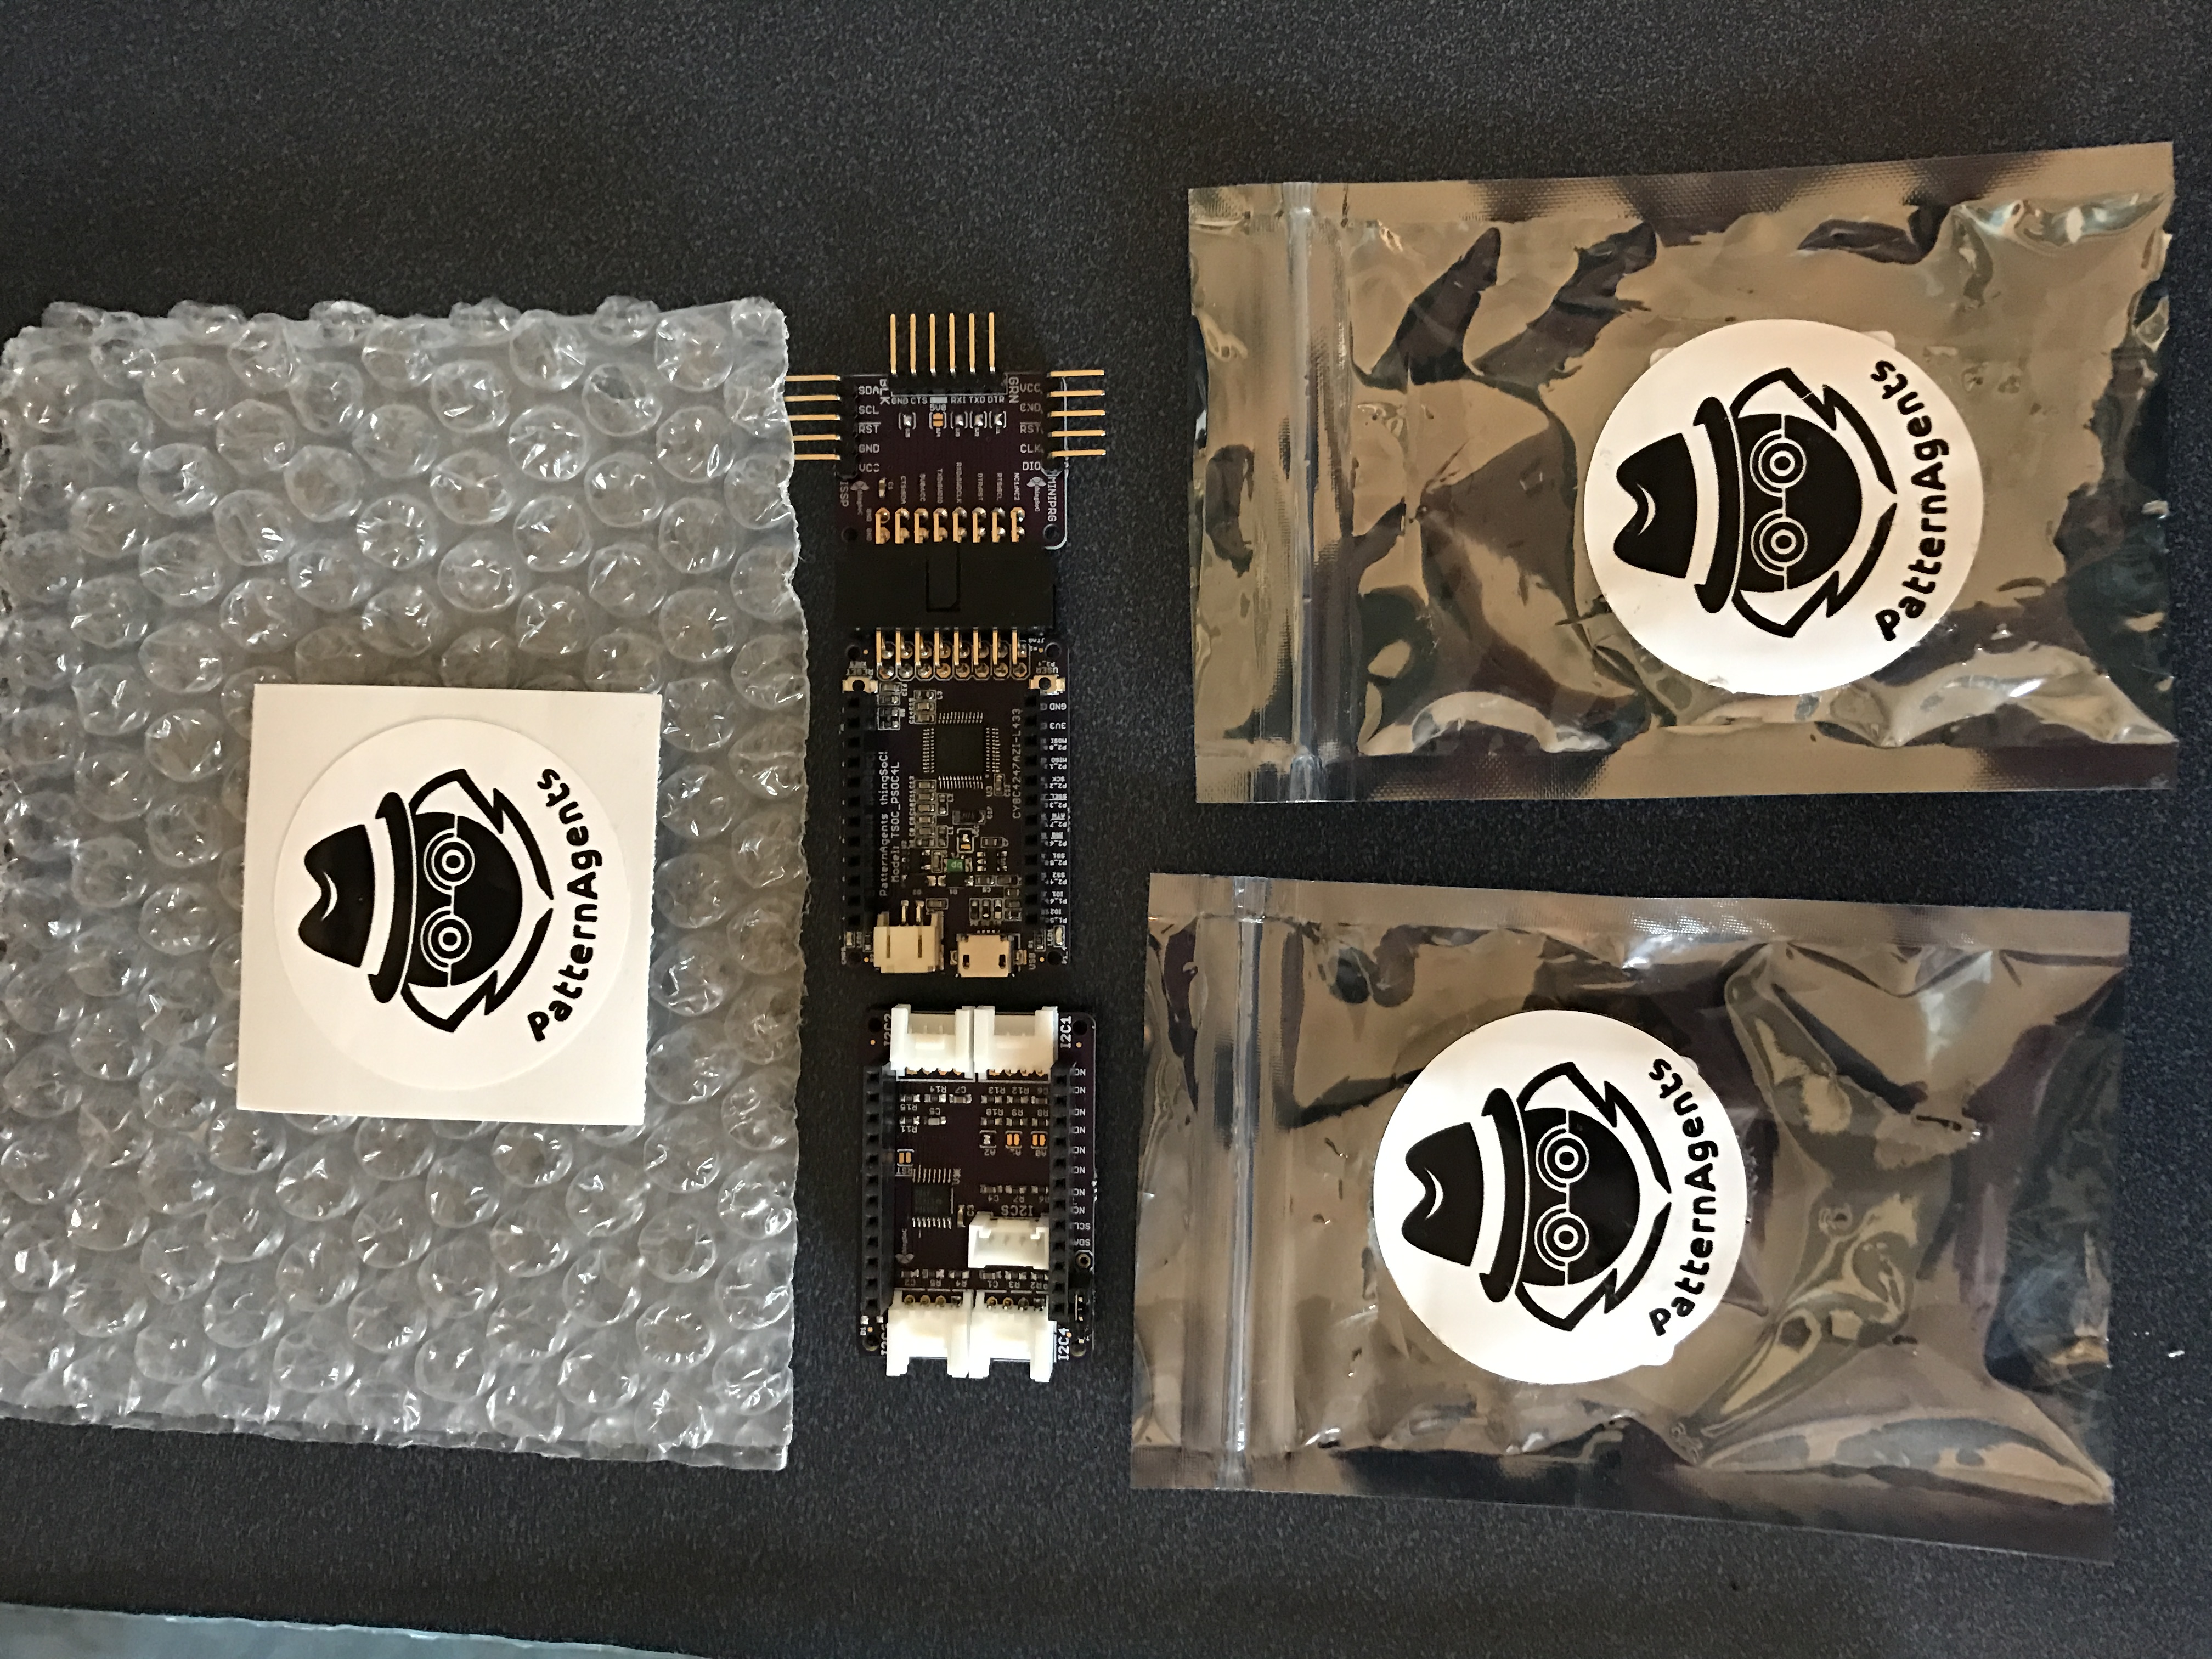
Tom sent me three boards
- A ThingSoC PSoC4L
- A MiniProg Adaptor
- A ThingSoC I2C Hub
ThingSoC PSoC4L
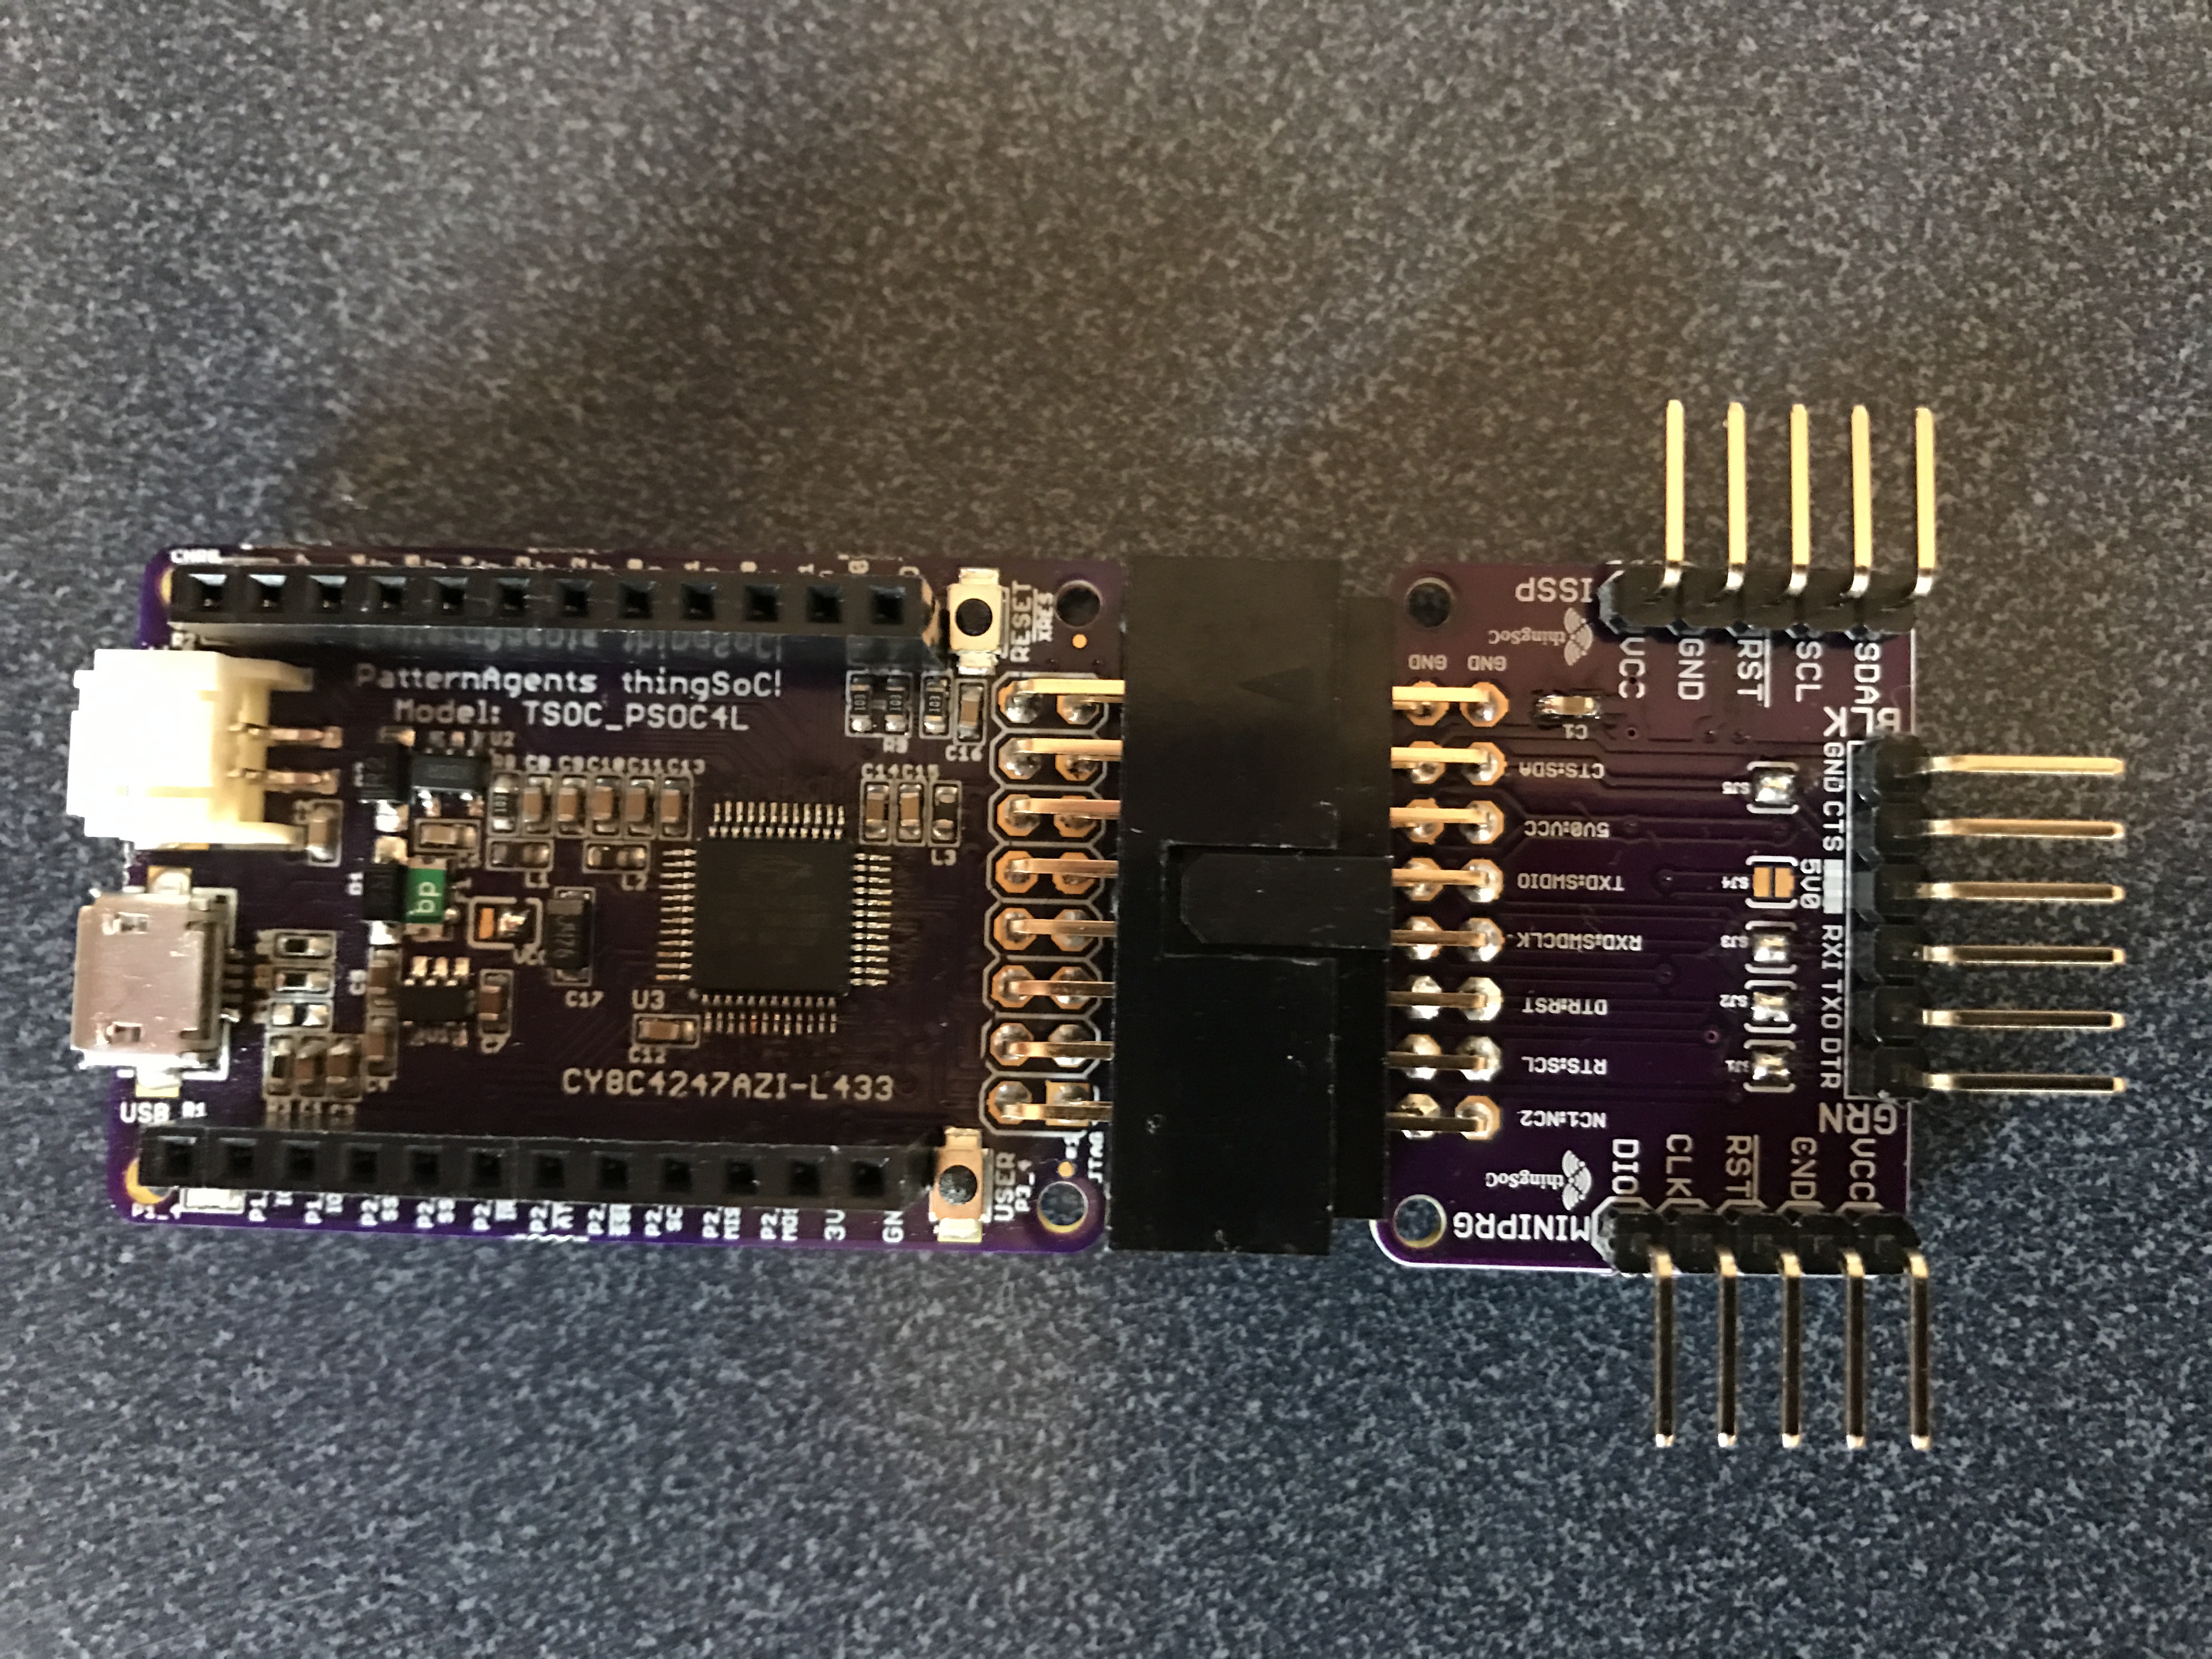
The ThingSoC complies to a new open source stackable footprint called the ThingSoC Open Source Socket. This ThingSoC board is driven by a PSoC4L. The PSoC4L is the largest and most capable of the PSoC4 family. This chip “completed” the high end of the PSoC4 family by adding more IOs, more Flash, more RAM and a USB controller. The PSoC4L serves as the base MCU in the stack as well as providing a bridge to the PC via a USB <–> UART Connection. The board also has a connection for a 3.7V LiPo battery to power the system. In the picture below you can see the base board (on the left) with the programmer attachment (on the right). The programmer attachment lets you attach a MiniProg-3 or a Uart Bridge or an ISSP connection (like a MiniProg-1).
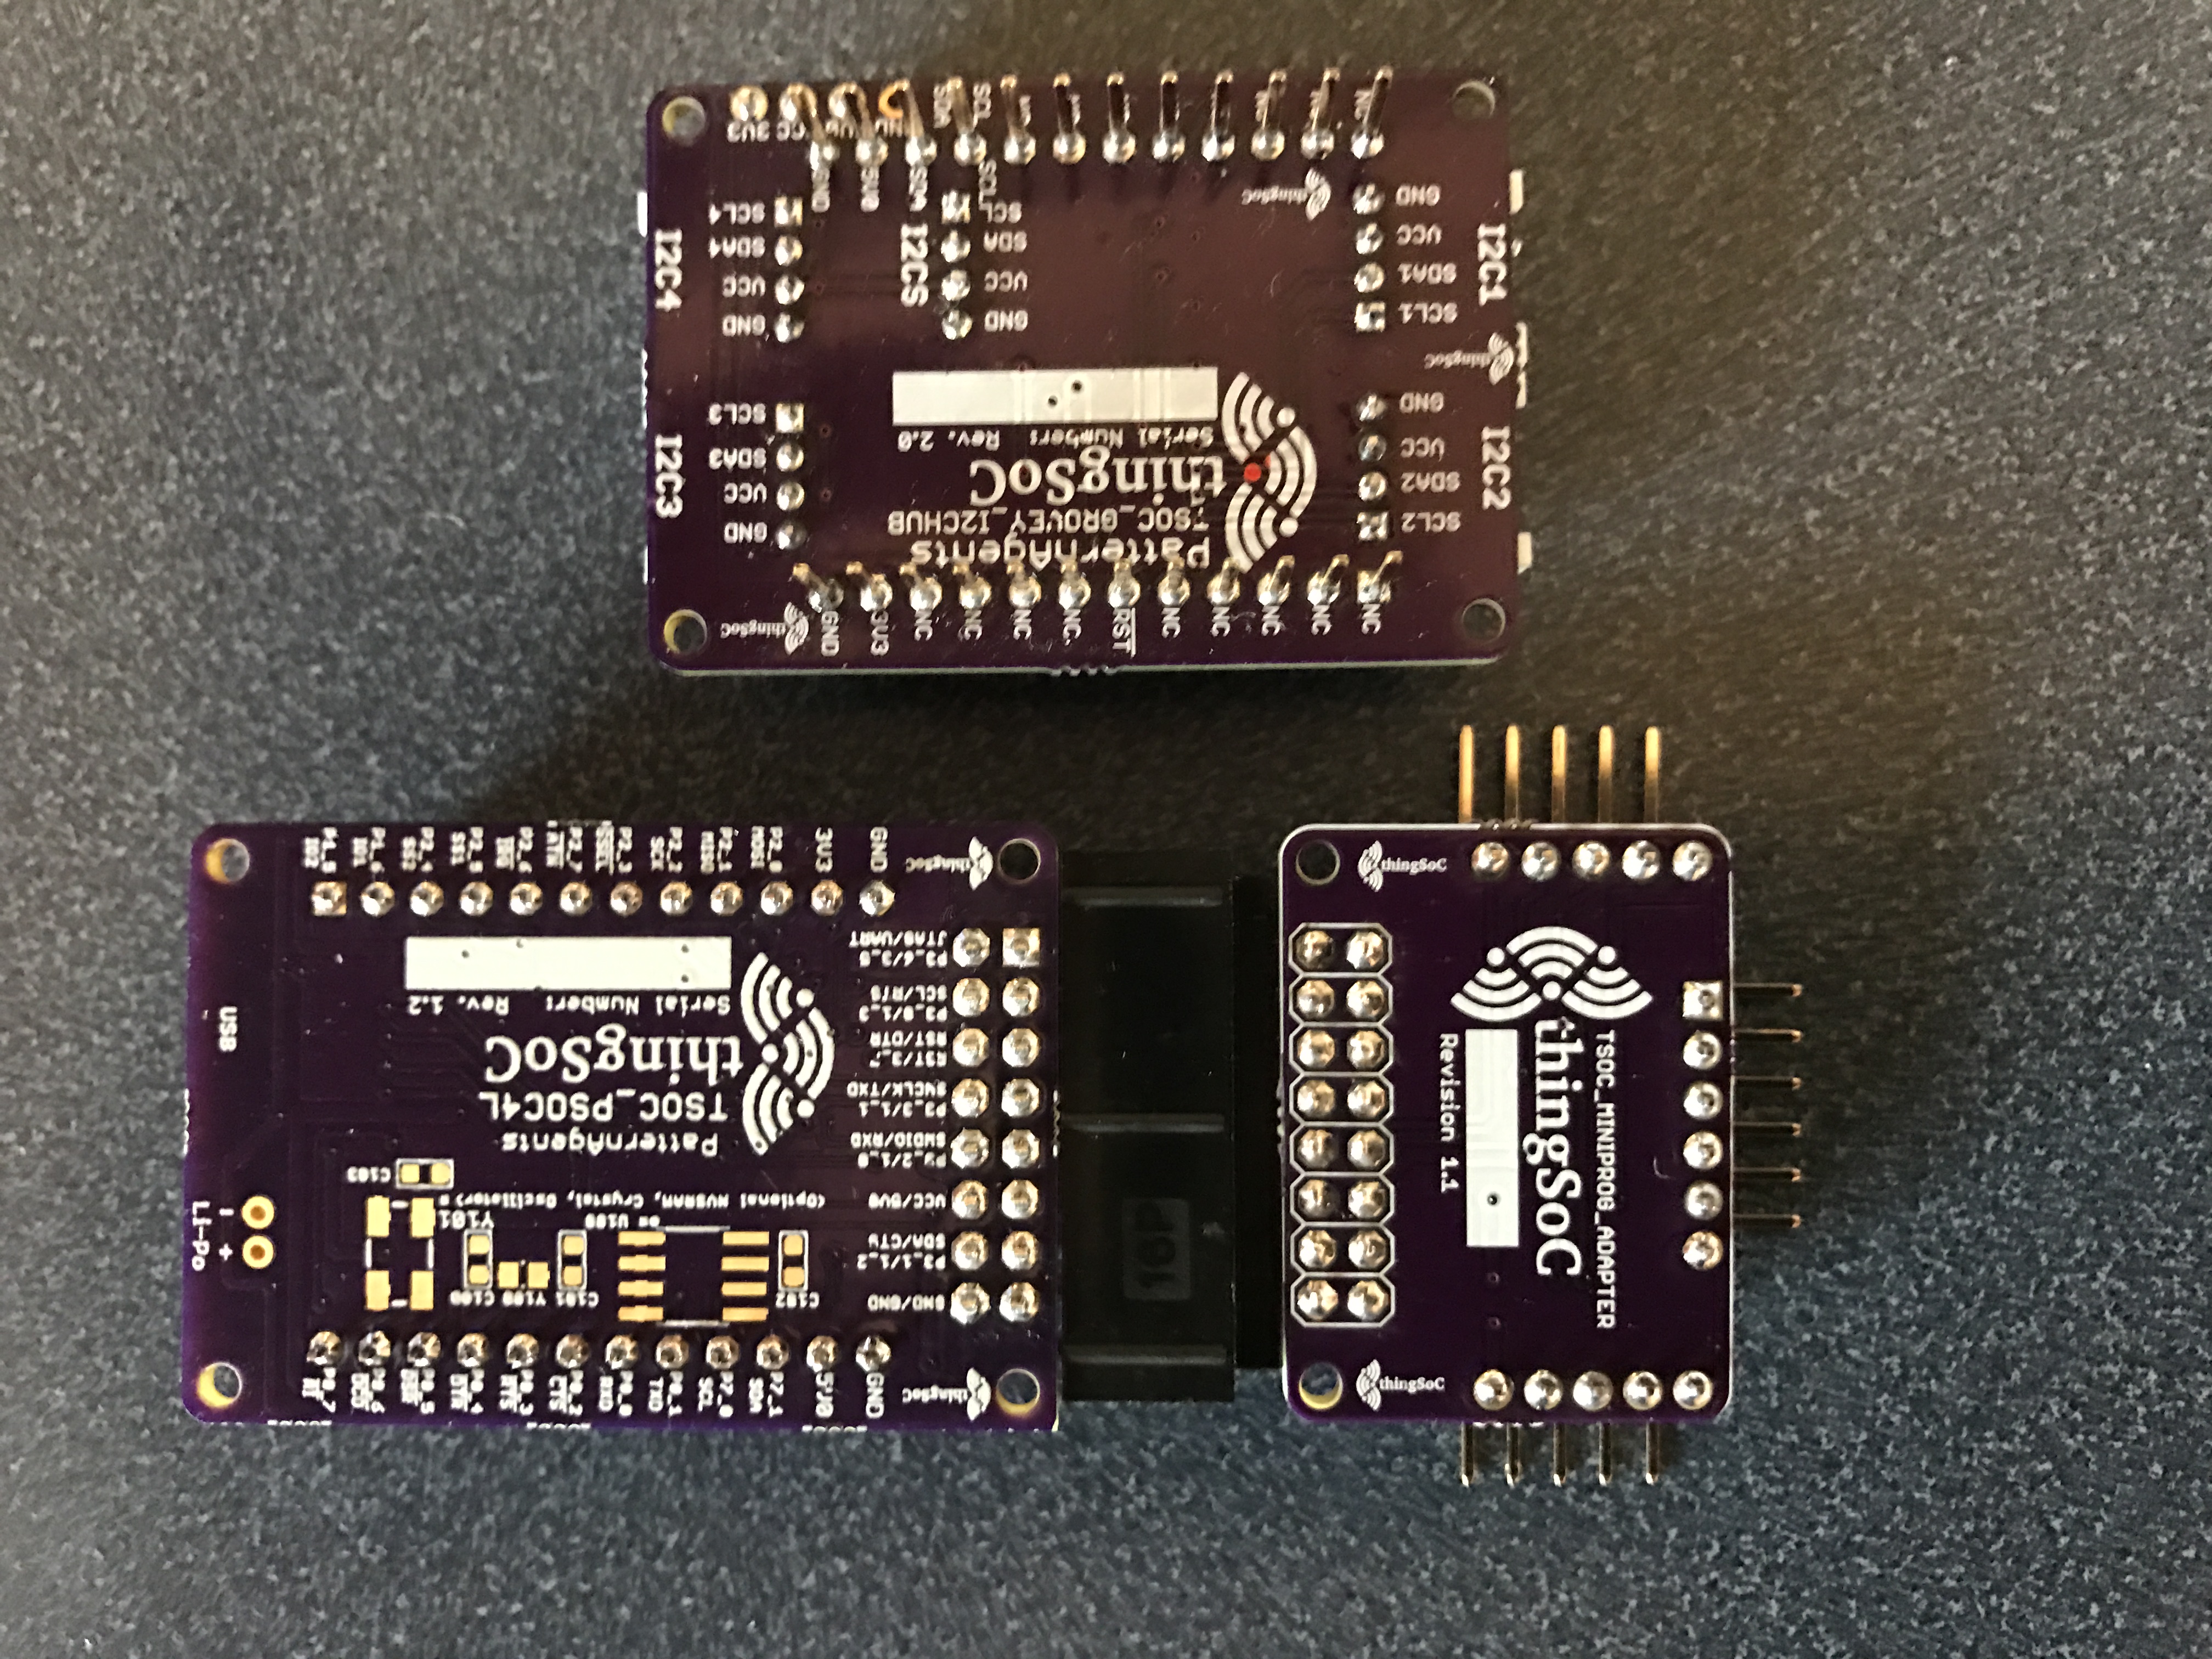
Here is a picture of the backs of the boards. On the back of the ThingSoC PSoC4L board you can see a place to solder a Cypress NVSRAM as well as a footprint for a Watch Crystal.
The Blinking LED
The first thing I did with the board (and no, reading the instructions wasn’t the first thing) was program the chip to blink the LED. Obviously with a PSoC the best thing to do was make a schematic with a PWM driving the USER LED pin:
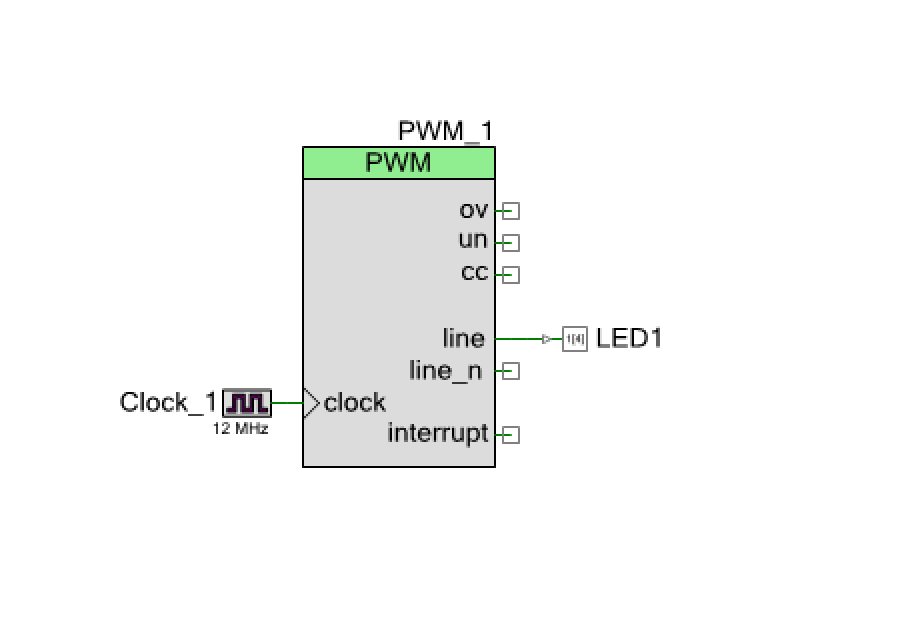
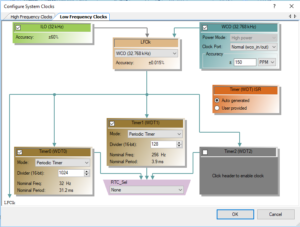
I used the default clock of 12MHZ, then I used the PWM pre divider to get the frequency down to something that I could see.

Lastly, I wrote a tiny bit of firmware to get things going. Notice that I use the CySysPmSleep to put the CPU to sleep. It never wakes up from this sleep (because there are no interrupt sources to wake it up). But, if it did, it would go right back to sleep because of the loop.

After programming the board, the LED started right up. That is good as it means everything makes sense.
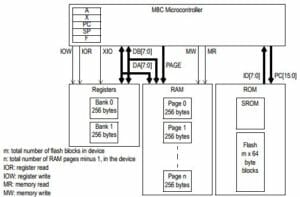
When I programmed the Blinking LED project I overwrote Tom’s default firmware which is called “RISC”. In the next post Ill talk more about the architecture of the ThingSoC PSoC4L.
You can find all of the projects in the TSoC Series at my GitHub ThingSoC repository git@github.com:iotexpert/ThingSoC.git
Index
Description
ThingSoc: TSoC PSoC4L Development Kit from PatternAgents
Introduction to ThingSoC
ThingSoC PSoC4L: Using & Debugging the PSoC4 Clock
Debugging a beta firmware problem
ThingSoC: The TSoC GROVEY I2CHUB : I2C Hub/Switch
Evaluating the ThingSoC I2C Hub
ThingSoC: Multiple I2C Displays
Using the I2CHUB and U8X8 Library
A project using ThingSoC I2C Hub & 4 OLED Displays
No comment yet, add your voice below!