Summary
In the previous article I showed you all of the components of the Particle Photon Ecosystem. All that is cool. But what can you build? I have written extensively about the Elkhorn Creek in my backyard, and the system that I built to monitor the water level. As part of that series of articles I explained that I have a 4-20ma current loop that turns pressure into water level read here . In this article I will:
- Attach the Photon to my Creek System Current Loop
- Write the Firmware in the Particle Cloud IDE to publish W
- Send events to the Particle Cloud & monitor
- Use Webhooks to send the data to ThingSpeak.com
Attach Particle Photon to Creek System
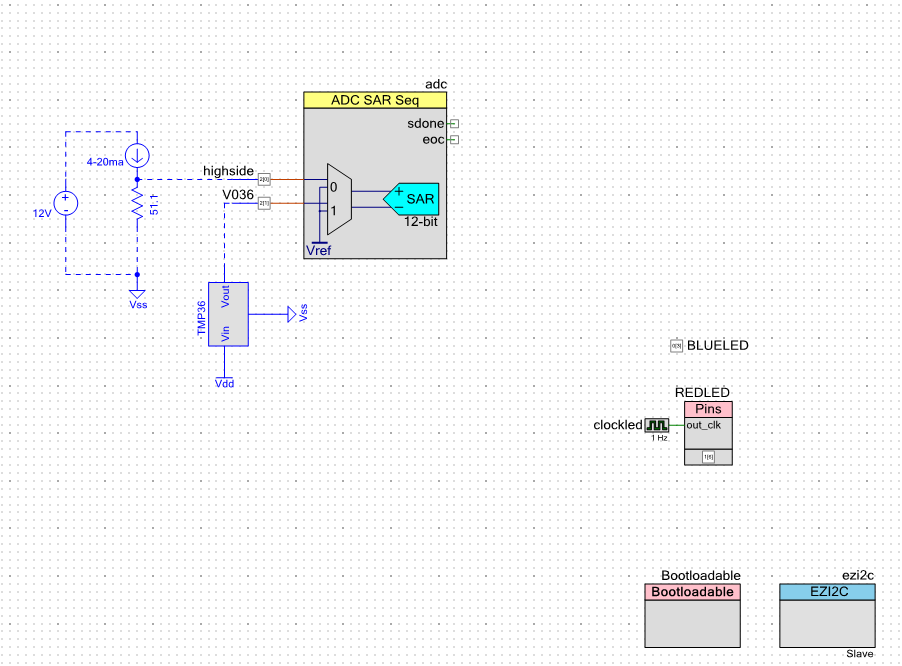
To interface to a 4-20mA current look you just attach it to a 51.1 ohm resistor to serve as a trans-impedence amplifier. Here is the PSoC Creator schematic for the board: Using this schematic, the system will generate a voltage between (51.1 Ohms * 4ma = 204.4mV) and (51.1Ohm * 20mA = 1022 mV). This voltage can then be attached to an Analog To Digital Convertor, then converted digitally into a Pressure, then a water depth.
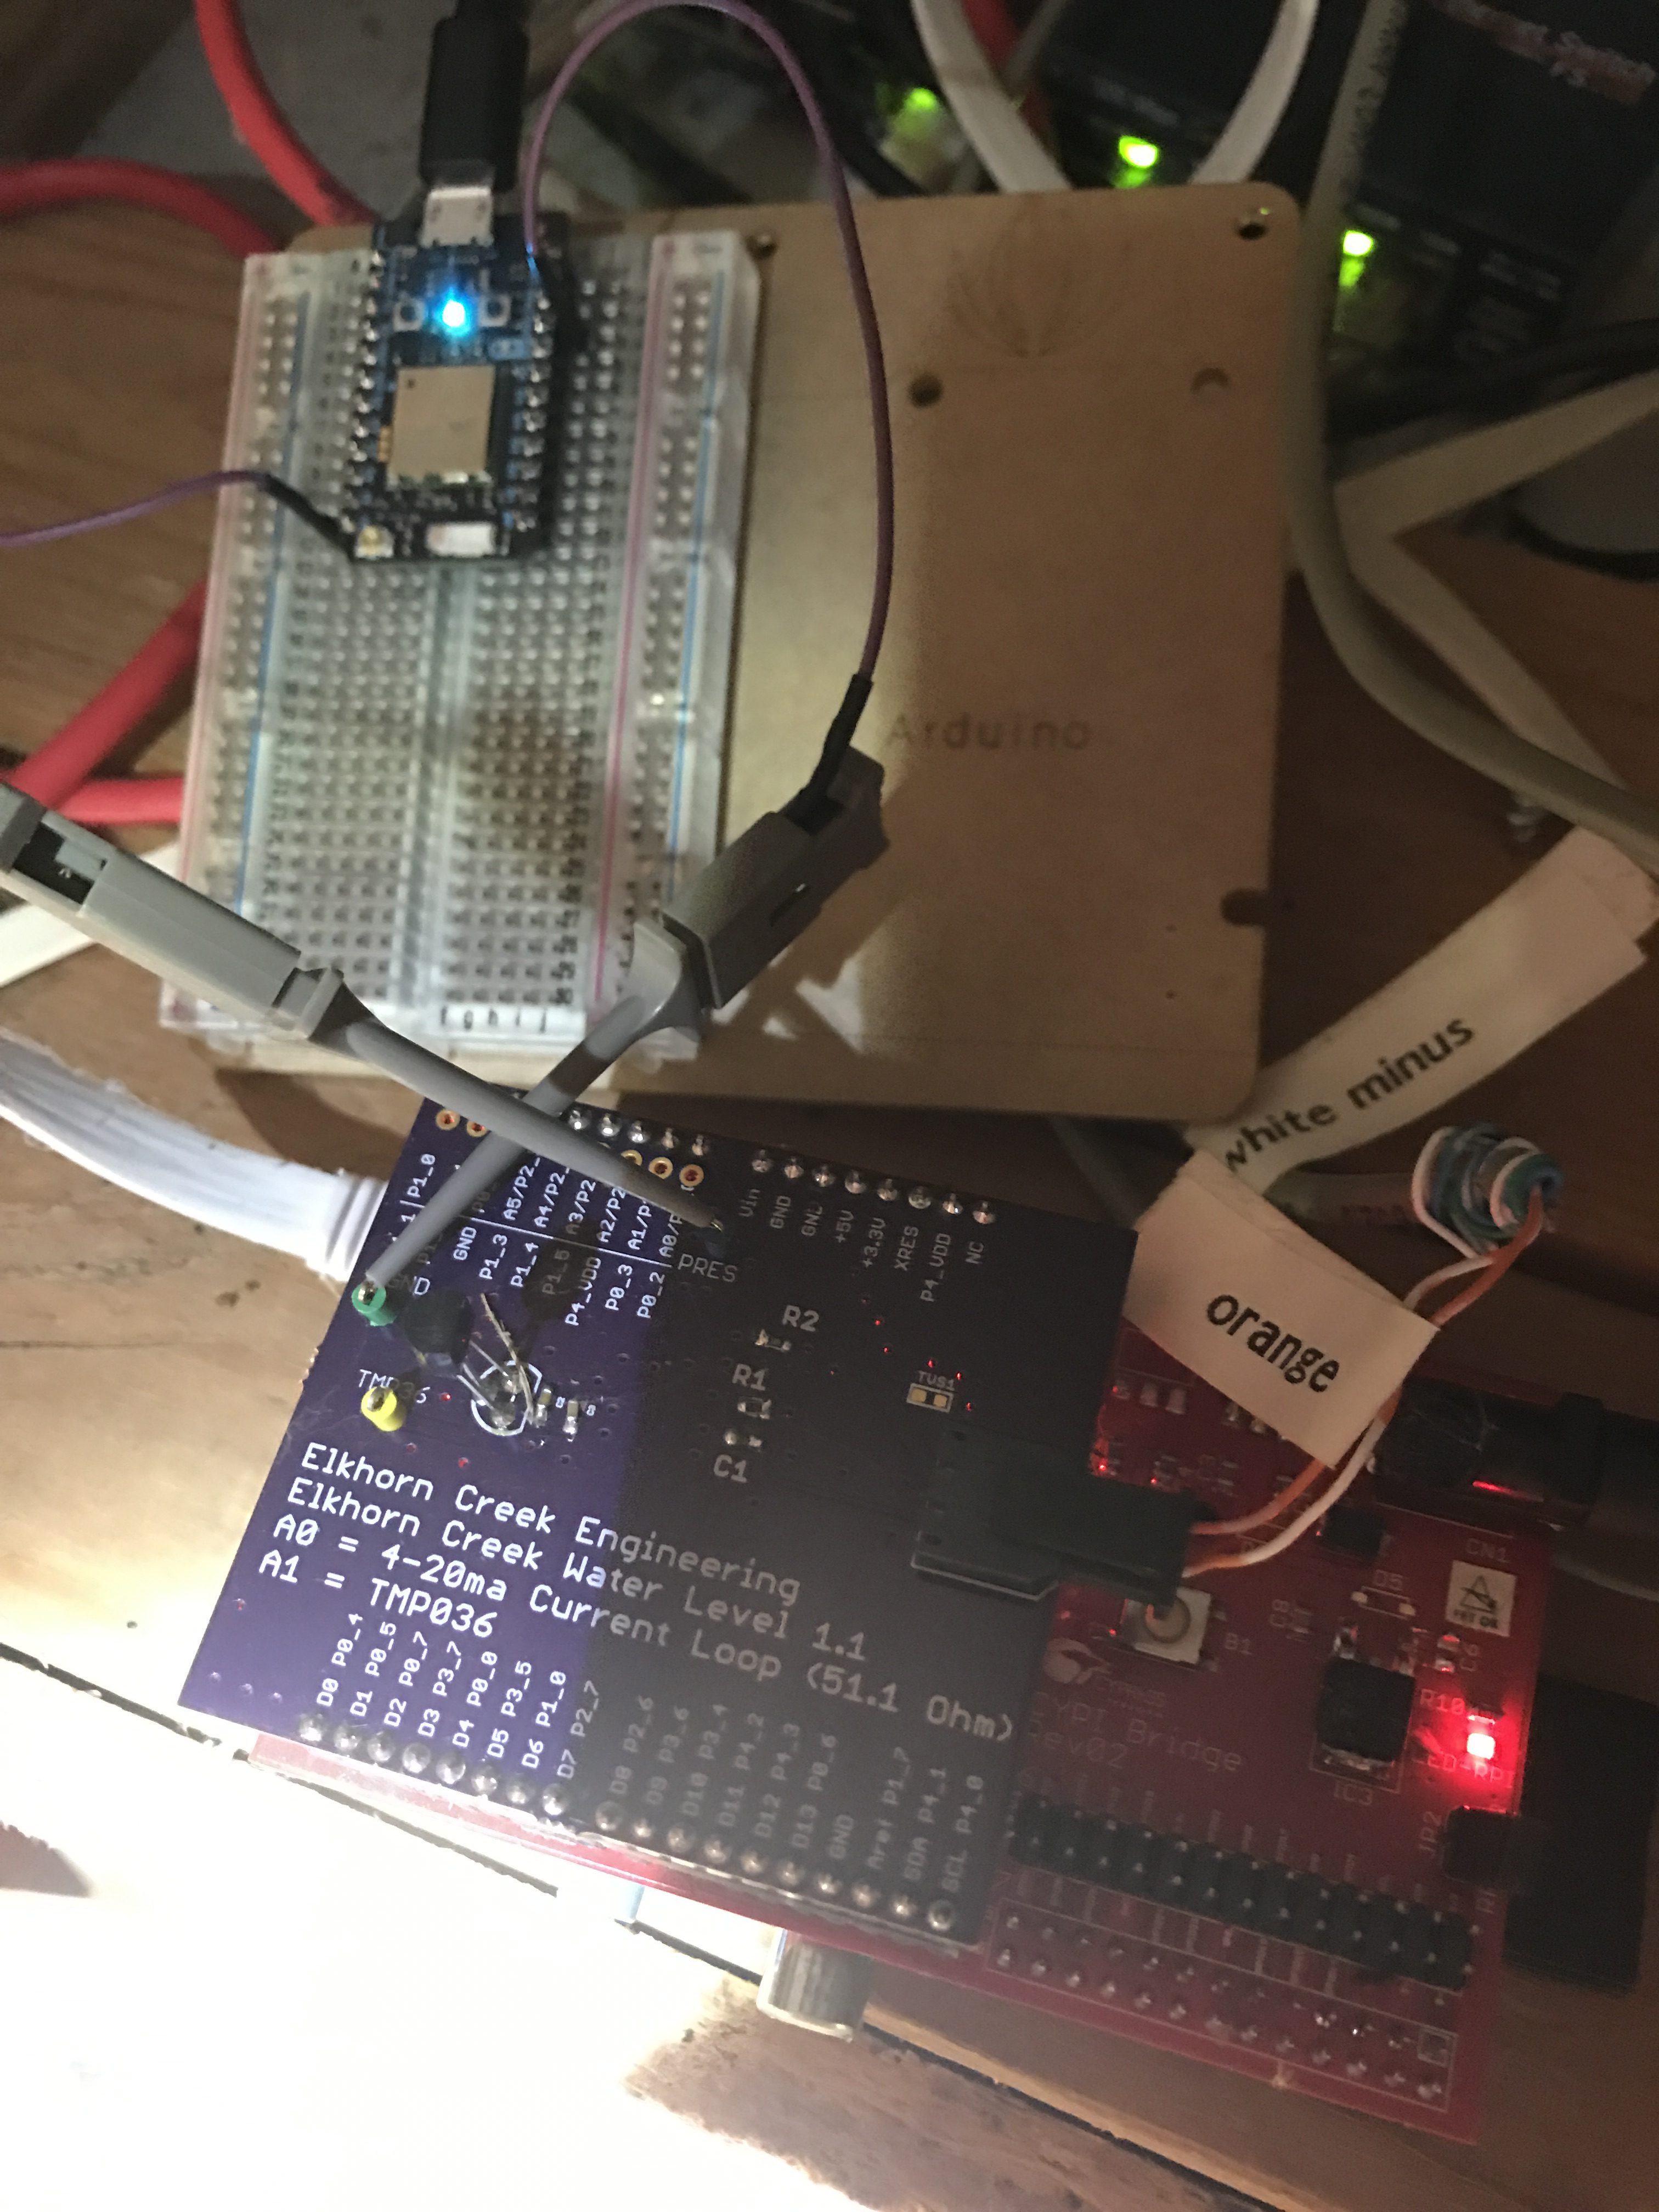
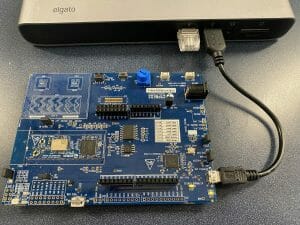
I decided that the easiest thing to do with the Particle Photon was to attach the pin A0 to the highside input. This was easy as I put a loop on the Creek Board. The loop is labeled “PRES”. The picture is a bit ugly as I was standing in the dark in the rafters of my barn. Sorry.
Particle Photon Firmware
When you look at the main loop of the firmware, lines 23-40 it does three things
- Reads the ADC voltage on Pin A0
- Applies an Infinite Impulse Response Filter (IIR) with coefficients of 7/8 and 1/8. This is low pass filter.
- Turns the voltage into depth. This is done by turning (4-20ma) into (0-15 psi) then PSI into Feet
Then, on lines 34-39, I use the system time to figure out if it is time to publish again. I publish every “INTERVAL”.
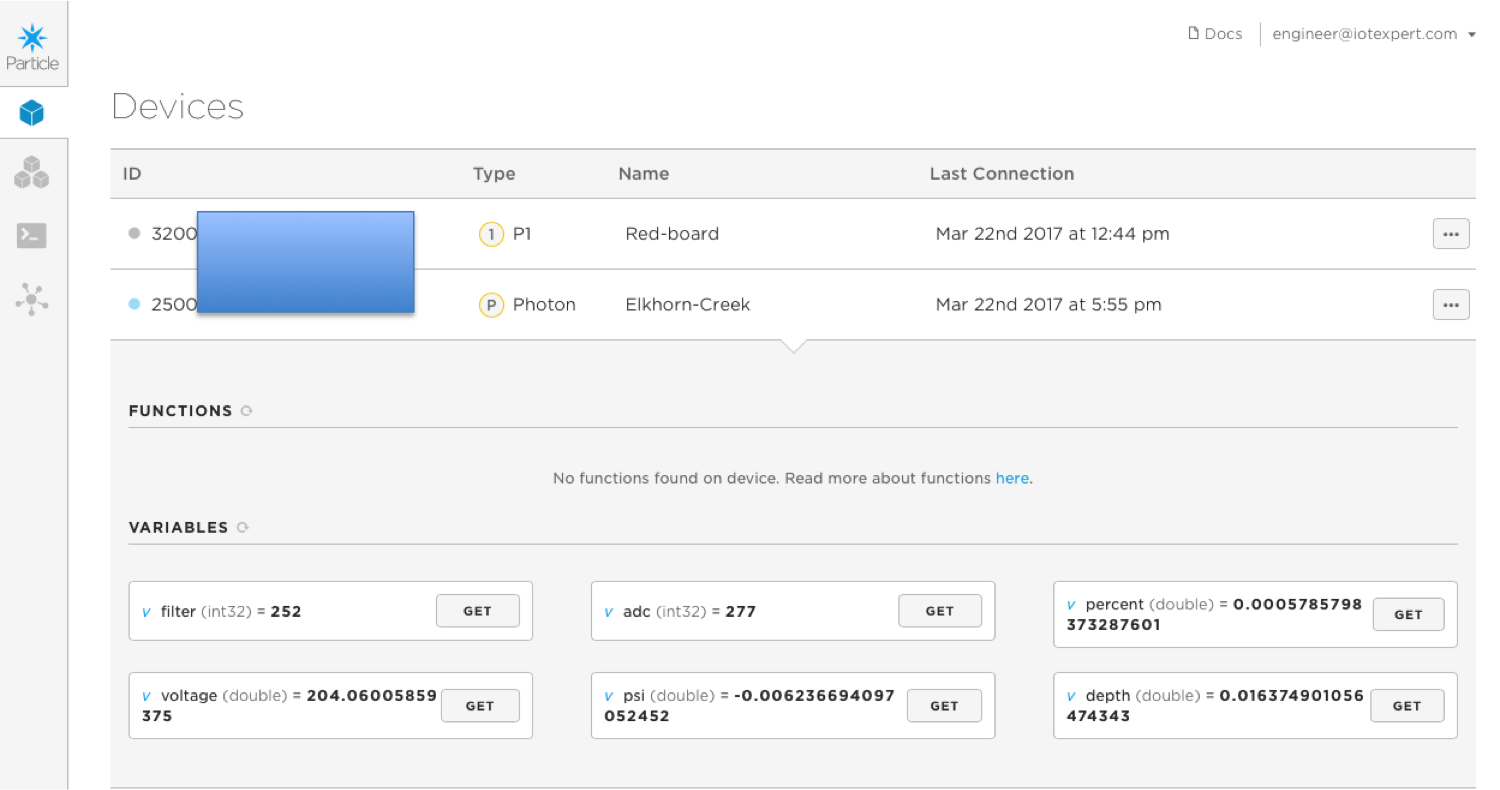
In order to test the Particle Cloud interface to the Photon, I setup all of the intermediate calculation of depth as “Particle.variable”s which allows me to inspect them remotely.
uint32_t nextTime; // when do you want to publish the data again
const uint32_t INTERVAL = (5*60*1000); // every 5 minutes in milliseconds
const double  MVPERCOUNT = (3330.0/4096.0); // 3300mv and 2^12 counts
uint32_t current;
uint32_t filter=0;
double depth;
double percent;
double psi;
double voltage;
double percentTemp;

void setup() {
    nextTime =  millis() + INTERVAL;
    // setup variables so that they can be polled
    Particle.variable("filter",filter);
    Particle.variable("adc",current);
    Particle.variable("percent",percent);
    Particle.variable("voltage",voltage);
    Particle.variable("psi",psi);
    Particle.variable("depth",depth);
}

void loop() {

   char buff[128];

    current = analogRead(A0);
    filter = ((filter>>3) * 7) + (current>>3); // IIR Filter with 7/8 and 1/8 coeffecients
    voltage  = ((double)filter) * MVPERCOUNT; // Convert ADC to Milivolts
    percent = ( voltage - (51.1*4.0) ) / (51.1 * (20.0-4.0)); // 51.1 ohm resistor... 4-20ma
    psi = percent * 15.0; // Range of pressure sensor
    depth = psi / 0.53; // Magic 0.53psi per foot

   if(millis() > nextTime)
   {
        sprintf(buff,"%.1f",depth);
        Particle.publish("CreekDepth",buff);
        nextTime = millis() + INTERVAL;
   }
}
Sending Events to the Particle Cloud & Monitor
Once I flashed the firmware with the very cool Over-The-Air Bootloader, I go to the Particle Console and click on my device. As soon as I do that I see the “Particle.variable”s that I defined in the firmware. One by one I press “get” and after a second the data is displayed on the screen. I am not exactly sure how the exactly works, but it is cool.
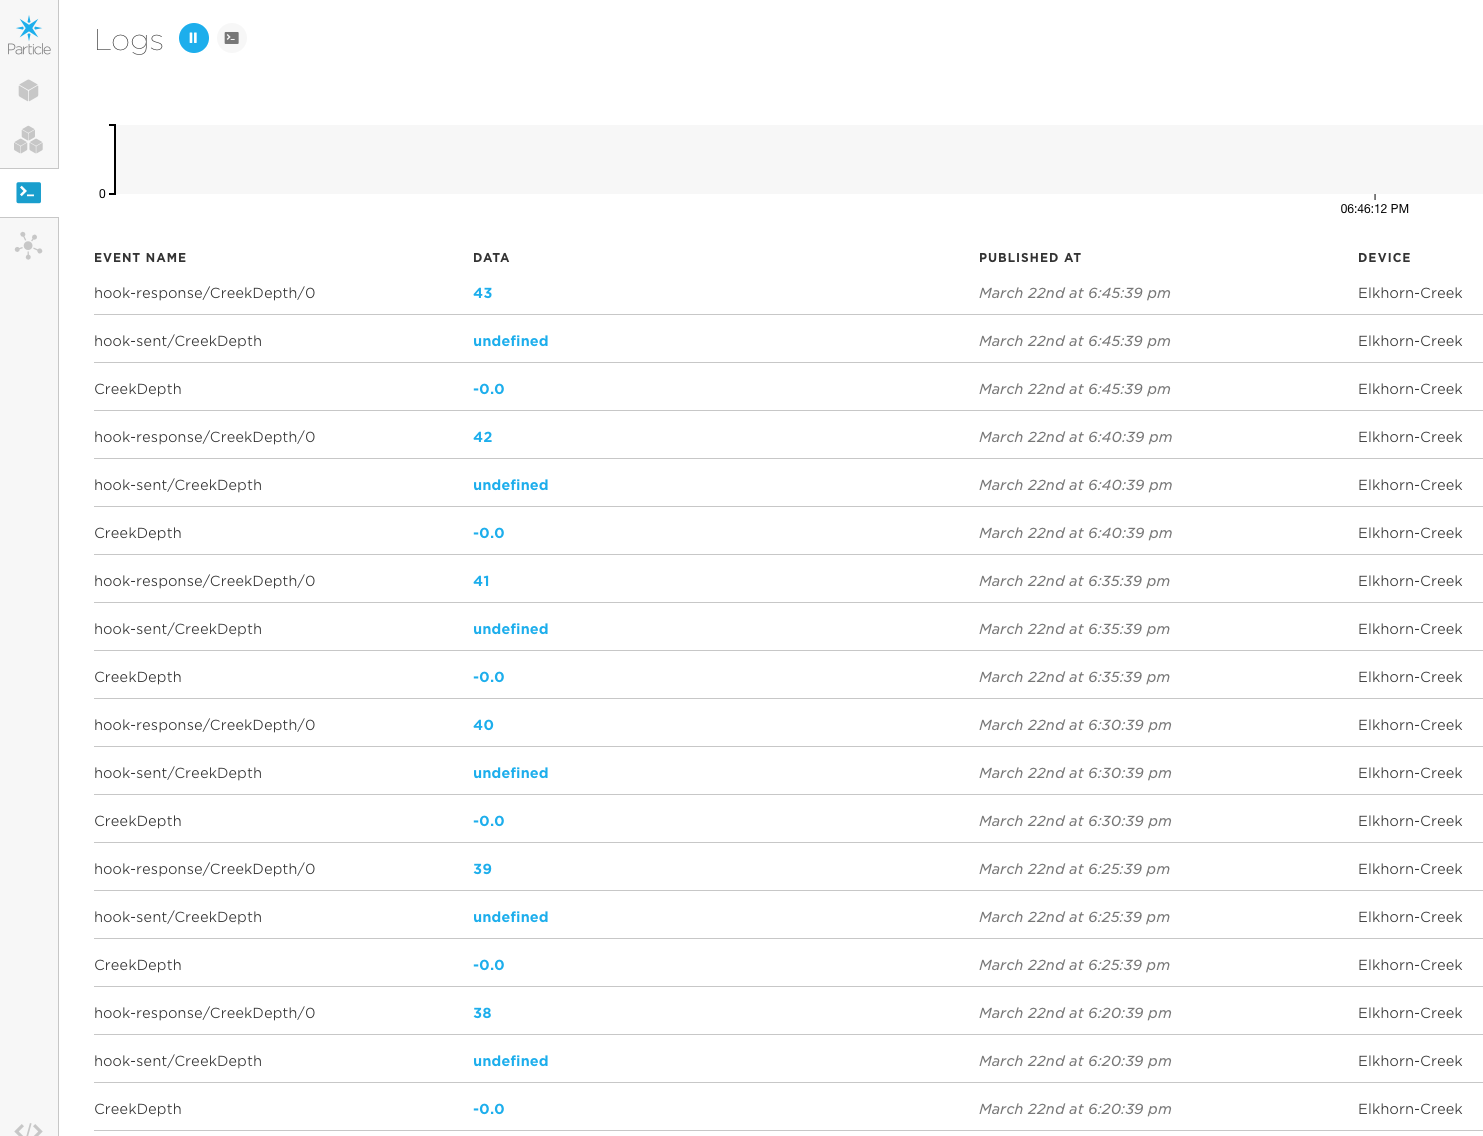
After inspecting the variables, I go the Logs page and look to see what the events are. You can see that every 5 minutes (about) there is an event called “CreekDepth” with a -0.0 or so. That is good as it means that the Particle Photon is publishing regularly. The answer is 0.0 (or about 0.0) as the Elkhorn Creek if not doing anything right now. The other events are part of the web hook that I setup (and will talk about in the next section).
Using WebHooks to send data to ThingSpeak.com
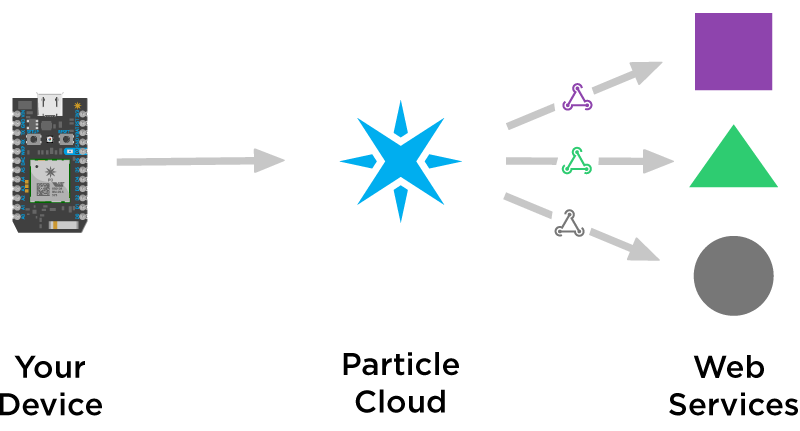
Unless I am missing something, the Particle Cloud does not store your actual data. They do have a mechanism to take Events from your devices and trigger a “WebHook”. This is basically a RESTFul API call to another cloud.
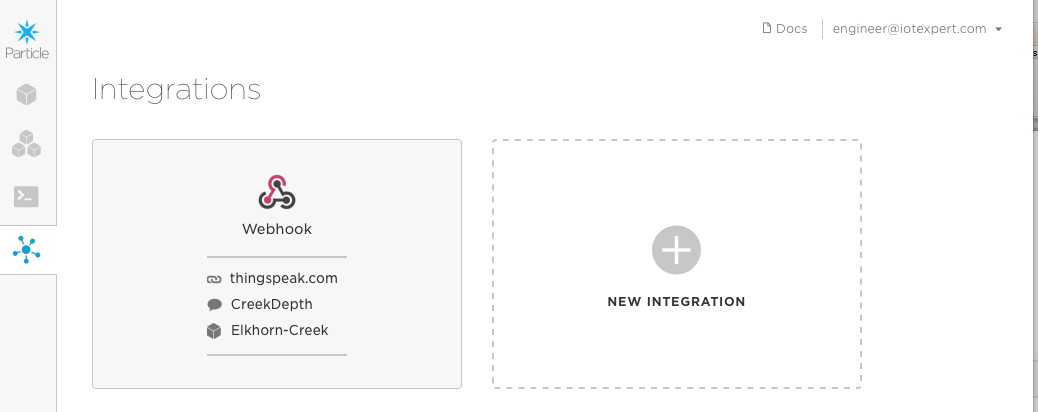
They call these “integrations” and you configure them on the Console. When you press “Integrations” you end up with this screen which gives you the option of editing a current webhook or creating a new one.
When you click on “new integration” it gives you the option of connecting to Google, Microsoft Azure or Webhook. I havent tried Google or Azure so for this article Ill stick with a Webhook.
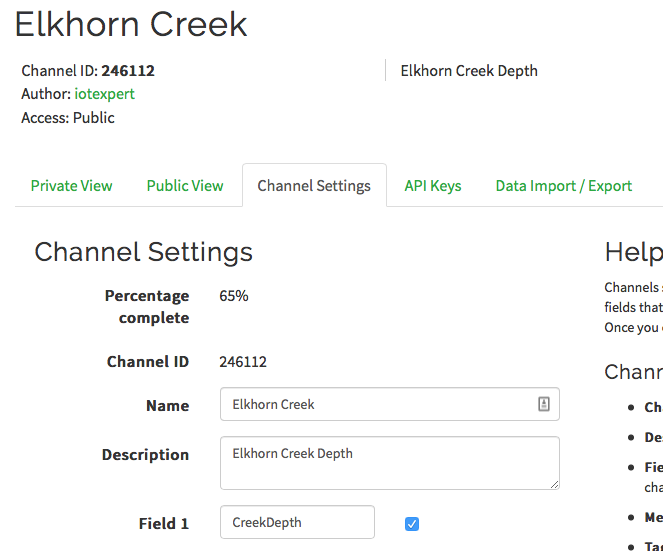
I started with a WebHook to the ThingSpeak Cloud (because they show a nice example in the documentation). ThingSpeak is run by the MathWorks people (same as Matlab). They call ThingSpeak “an open IoT with Matlab Analytics”. OK sounds cool. In order to use it to collect and display data I start by creating a new account. Then I click on the “New Channel” button to create an “Elkhorn Creek Depth” channel. On this screen I say that there will be only one field “CreekDepth”.
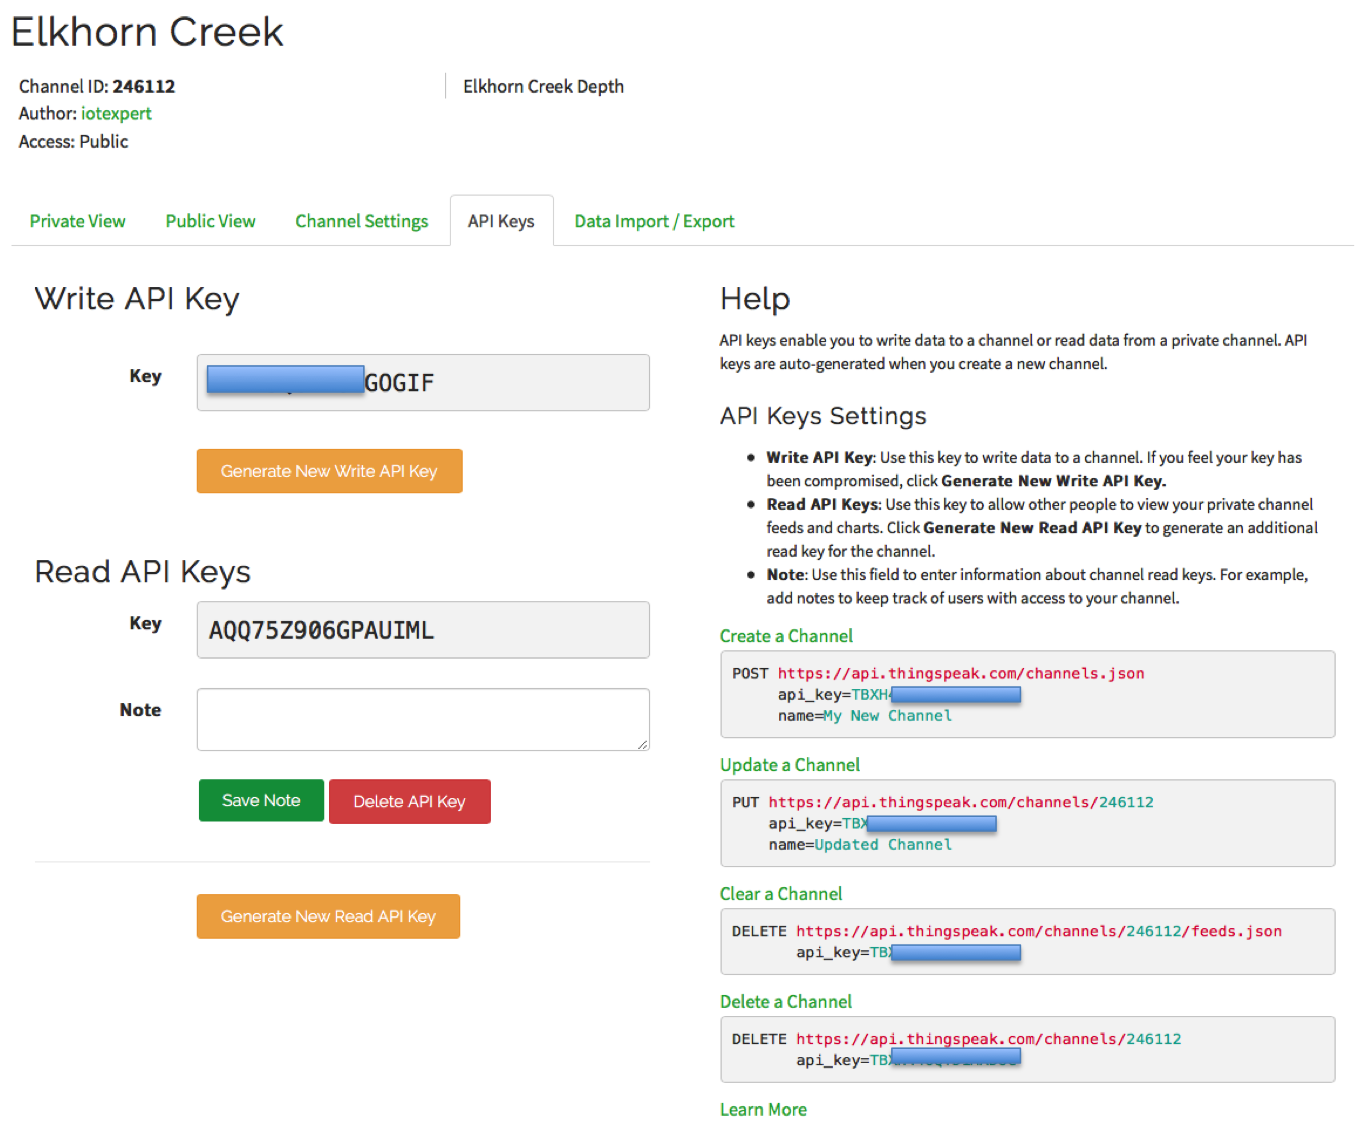
In order to write data into this channel you need to have the API keys which give your Restful API call the authority to write into the database. Press “API Keys” and you will see this screen.
Now that I have an active channel (and I know the channel number and API write key) I go back to the Particle Cloud Integrations tab and create a Webhook.
Each time the “CreekDepth” event occurs, the Particle Cloud will do an API call to the ThingSpeak cloud and insert the new data. On the ThingSpeak Cloud there is a chart of the data, and a handy-dandy way to insert the chart into your webpage. Here it is for the Elkhorn Creek showing the last 6 hours of data which is flat at the time of this writing, but maybe when you read this page it will be raining in Kentucky and you will see something interesting.
I guess at this point I have a number of questions which I will leave to the future:
- Exactly what is the form of the request made to the ThingSpeak cloud?
- What is the mapping between the event –> API Request
- What is the protocol for Particle.variables?
- How does the Microsoft integration work?
- How does the Google integration work?
- How do I save power on the Photon?
I suppose Ill leave these questions to future posts. If you have other questions leave them as I comment and Ill take a crack at trying to figure them out.


2 Comments
Wow nice work you have there.
I am fairly new to PSOC 4 BLE and I am trying to learn how to bootload from microcontroller to microcontroller thru I2C.
Do you think it is possible for a microcontroller (wifi-ready exp. Particle photon) to become the host and receive the application thru wifi then bootload it to PSOC 4 BLE (the target) over I2Ck to upgrade its own application?
Your help will be greatly appreciated. Thank you !
Sure
The source code for the serial bootloader is in the PSOC Creator directory.
I ported it to Raspberry Pi… it was a snap as it is standard C.
I dont see any reason why that port would be difficult