Summary
In this article I will show you how to install and use the remote sensing inputs for the Keithley 238-500-15 Programmable Load.
The Problem
In a previous article I talked about a power supply that I was working on. In that design, I will be taking 20V@3A from a USB Type-C power supply and turning it into 5V@12A for use to drive a PSoC and a bunch of LEDs. For testing the setup, I use a Keithley 2380-500-15 Programmable Load that I got from Mouser. The device is really cool as it can be programmed to provide constant current, constant resistance, constant power or constant voltage. For this test, I am using the 2380-500-15 as constant current load to pull current out of the Infineon IRDC3894 development board which produces 1.2v@12A.
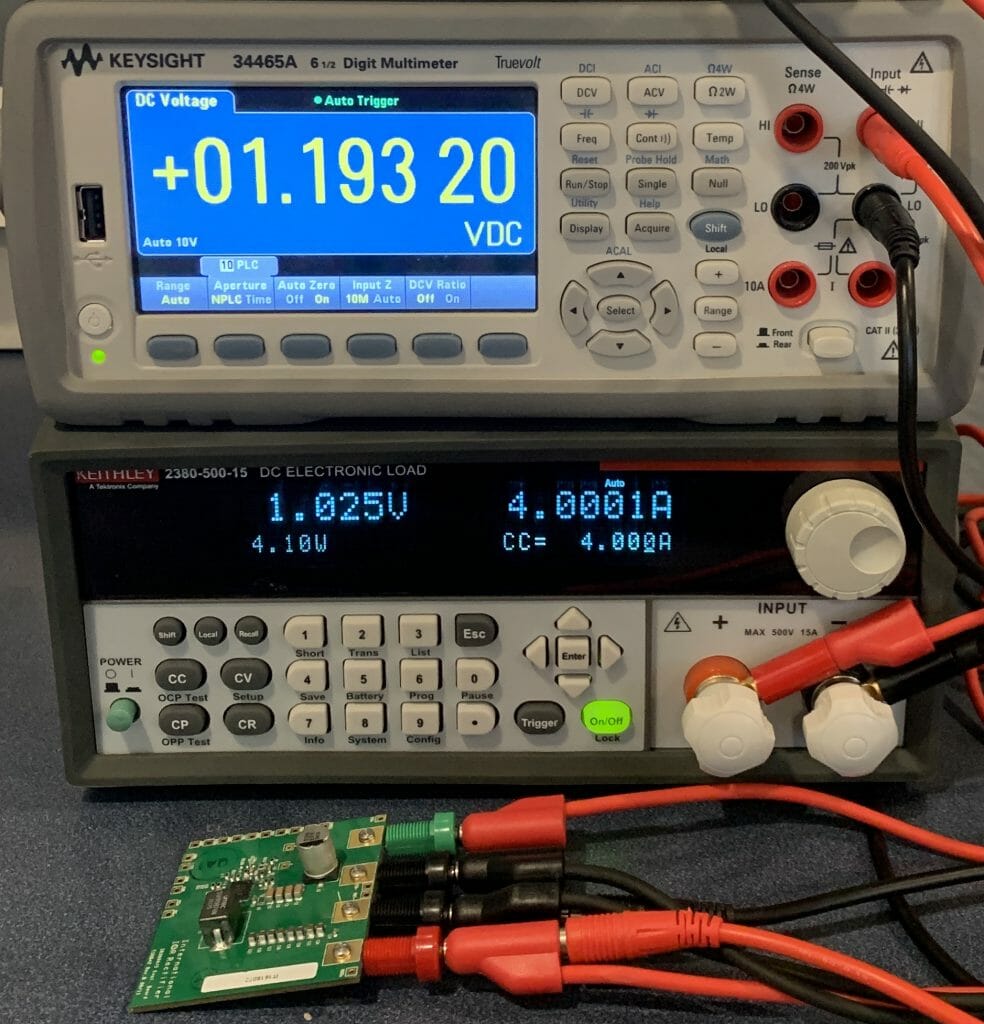
In my first setup I got this result: The board is generating 1.2V (which you can see on the top DMM). And the 2380-500-15 is showing 1.204V. The same, thats good.

But, when I turn on the current to 1A you can see that the 2380-500-15 is showing 1.15V. What happened? Is the power supply drooping?
![]()
And it gets worse at 4A
So, I posted on the Tek Forum, and the excellent Tek engineer Andrea C. gave me an answer and posted a nice picture. The problem is that my test wire to the 2380-500-15 has resistance and the voltage is dropping through the test wire. You mean test-wires have resistance 🙂 Here is the picture that she posted.

The Solution
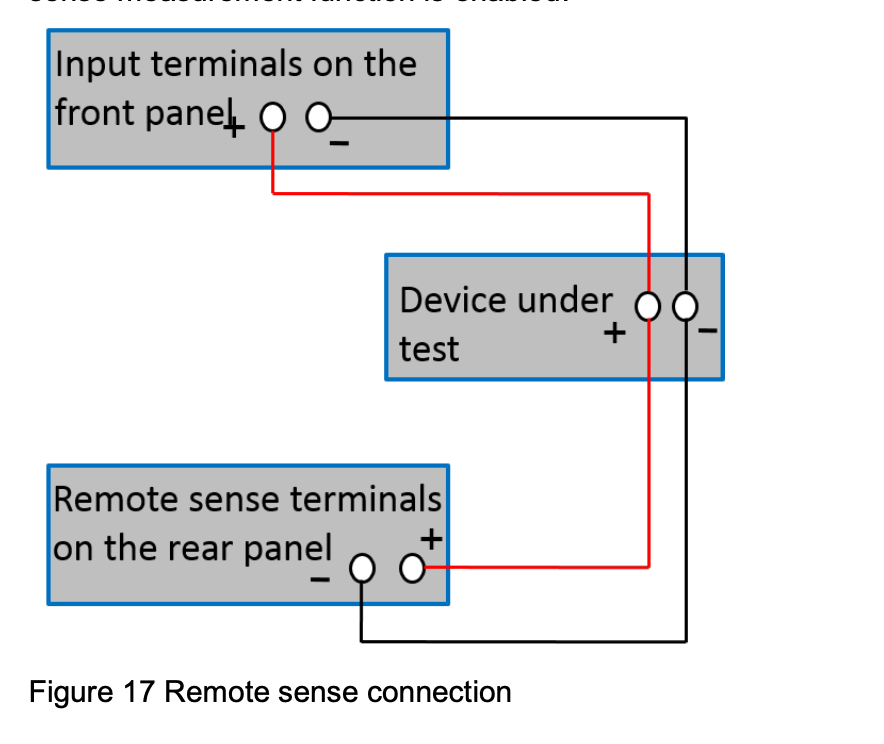
So, what is the answer to this problem? Remote sensing which will display the voltage at the source instead of at the end of the wire. In the world this method is more commonly called “4 terminal sensing” or “Kelvin Sensing”
The 2380 is capable of using this method. And it is described (poorly) on page 52 of the user guide. Here is the picture:
To make this work you need to do two things
- Attach two wires on the back panel sensing connection
- Switch the load into remote sensing mode.
Back Panel
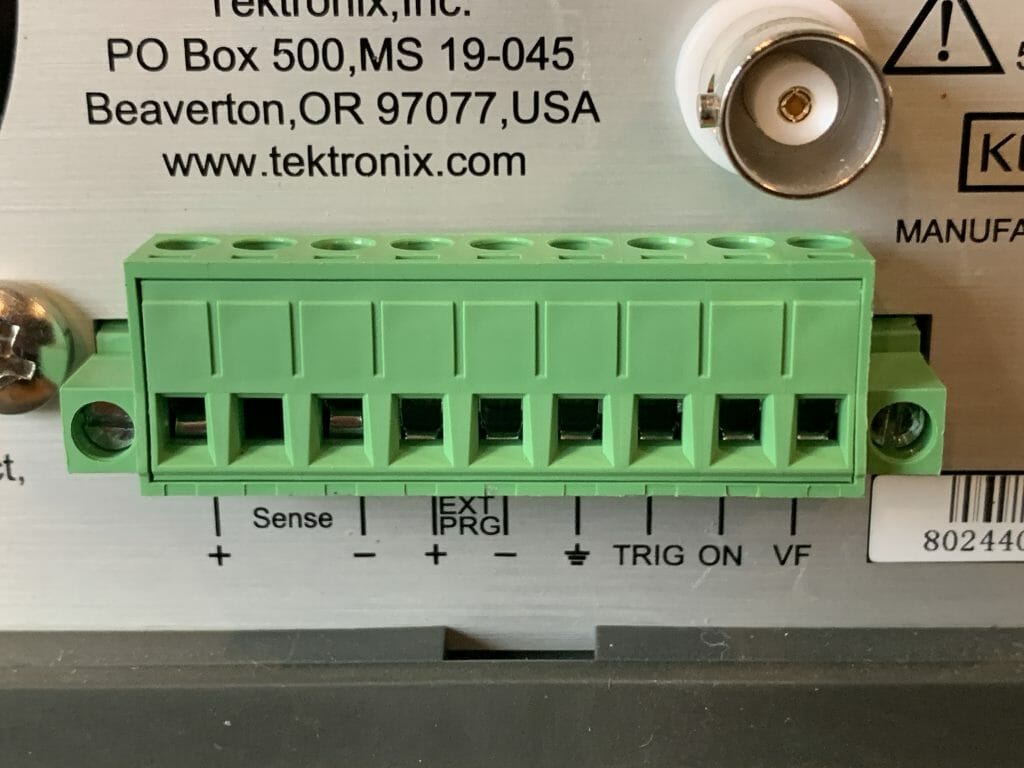
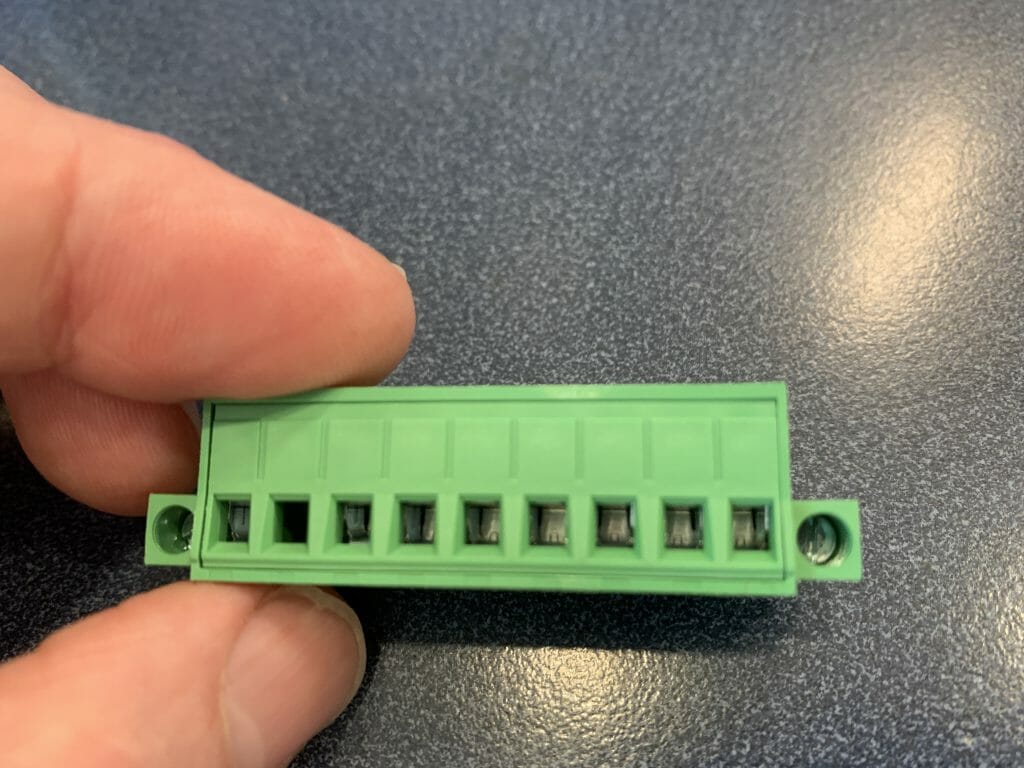
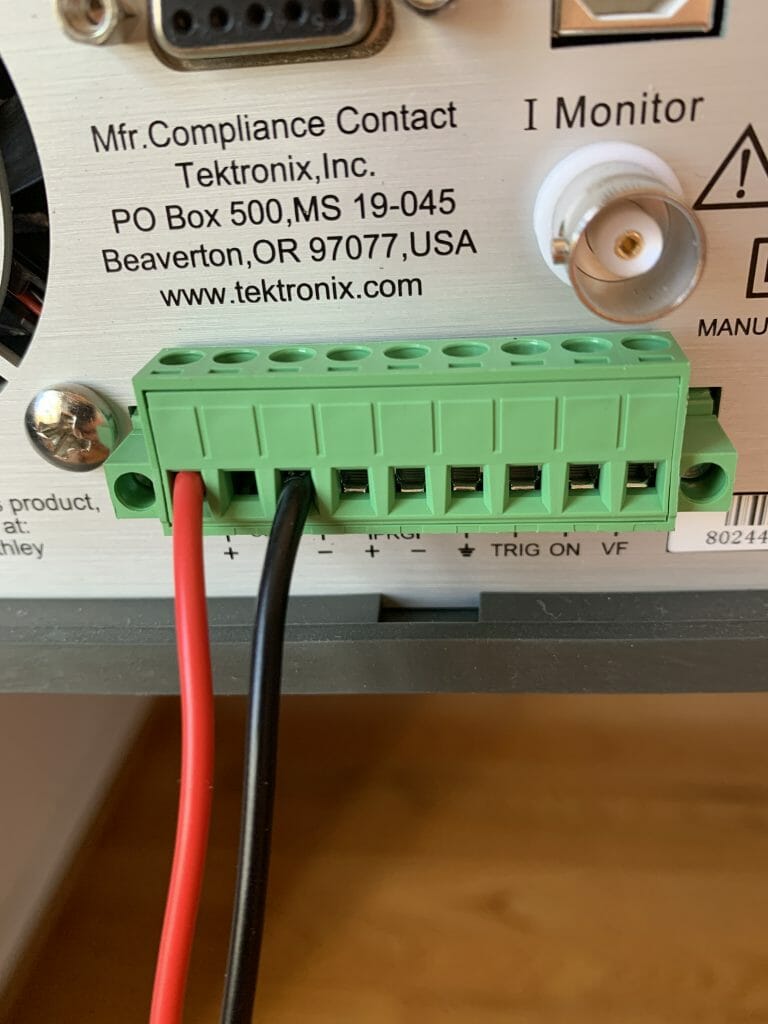
When you look at the back panel you see this crazy terminal block. The first thing you notice is that some of the screw terminals are blocked by the BNC connector. And the angle for putting a screw driver isn’t great.
But, if you loosen the two flat head screws on the far left and right of the green connector, you will be able to pull it out. It has a little bit of “snap” so you need to pull on it a bit (just with your fingers so you don’t break it). You will then be able to see into the connector.
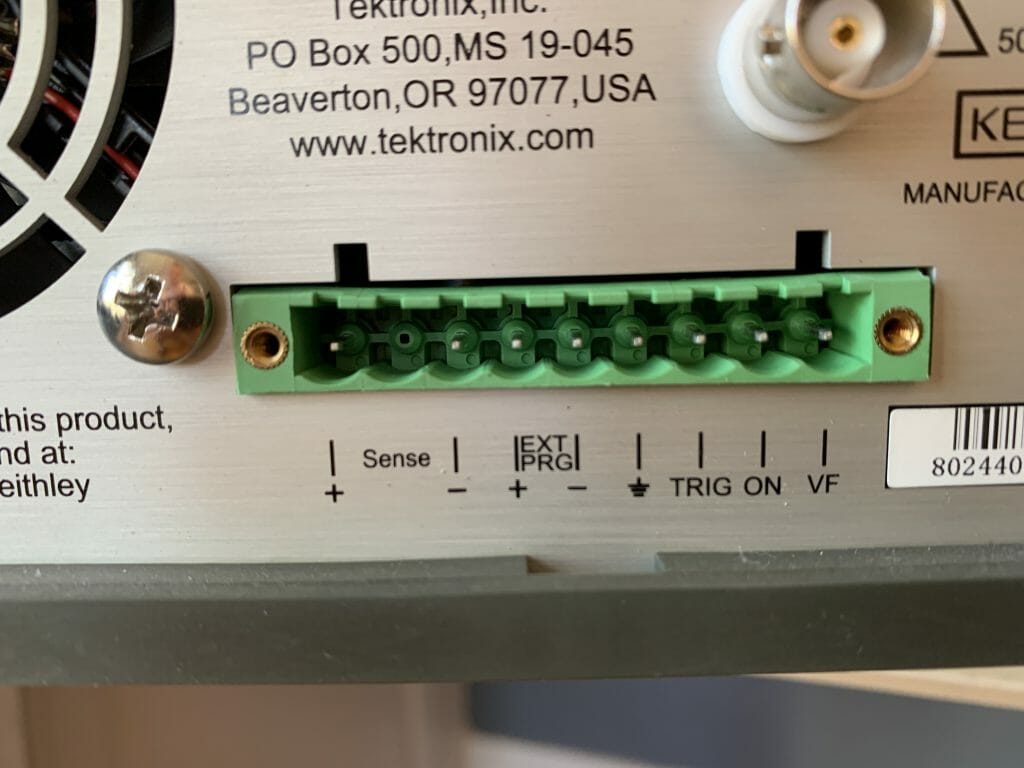
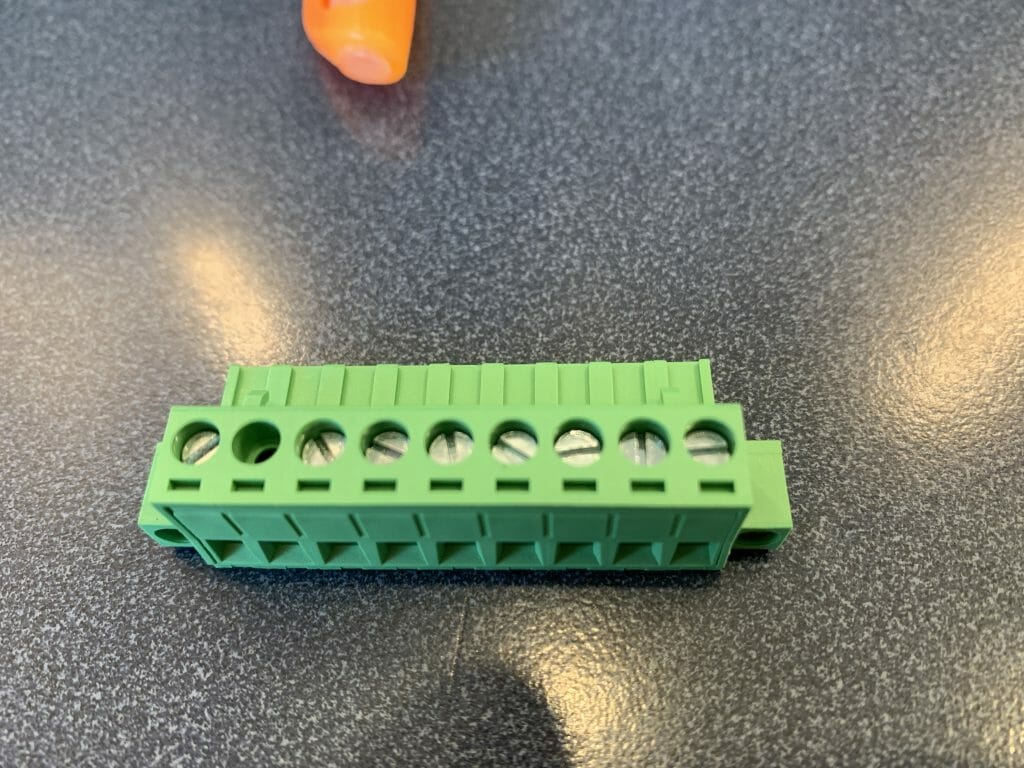
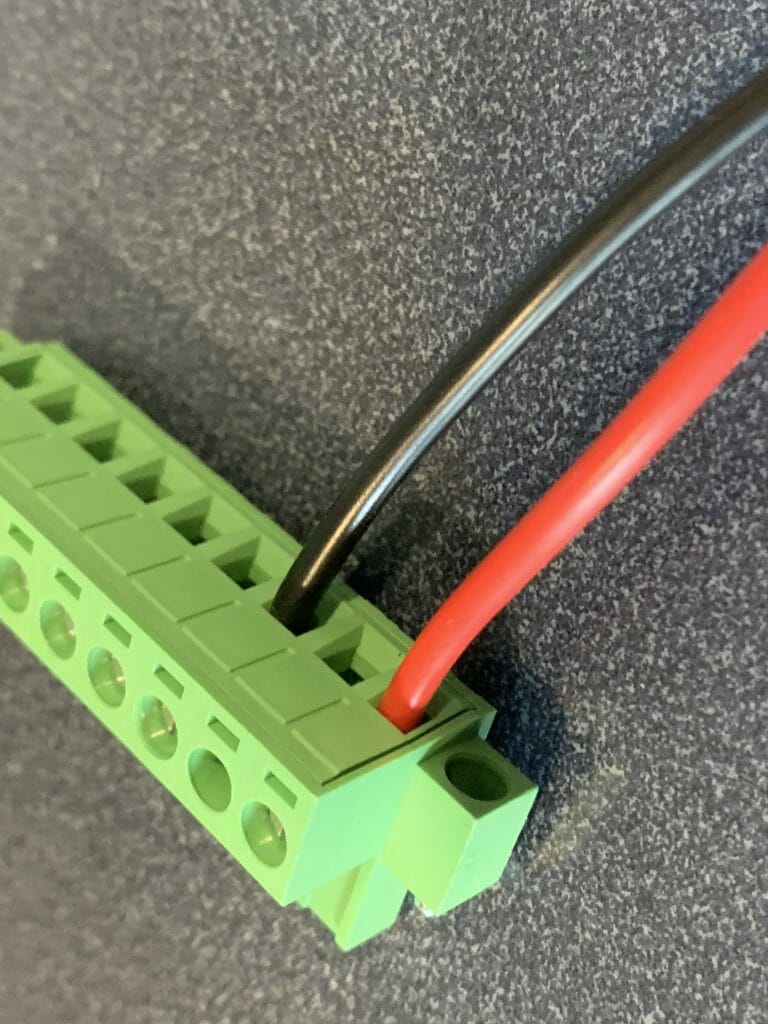
Here is what the green connector looks like once it is removed.
Notice that each of the terminals have a screw to tighten the corresponding wire.
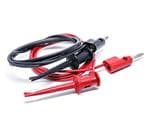
In order to hook to the screw terminals you need a cable. I bought this one from Mouser
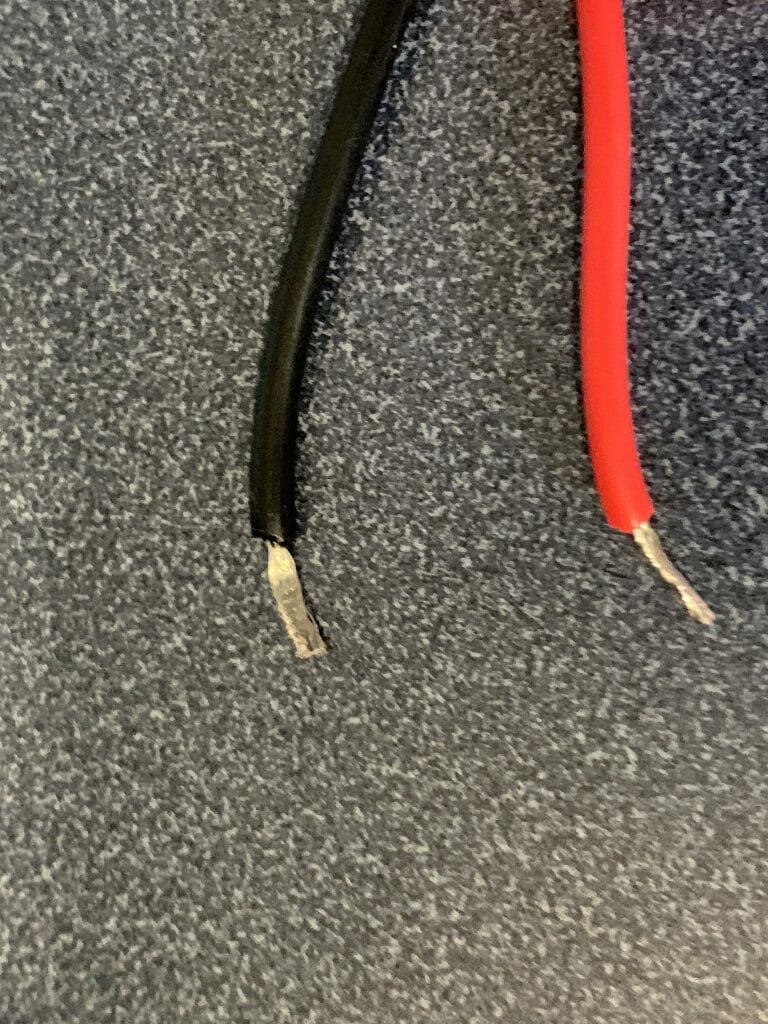
Then I clipped off the Banana plug, and tinned the ends of the wire with solder (you can see the black wire is a bit flattened because I took this picture after I unhooked the wire)
Then screwed the wires into the connector
Finally screwed the connector back into the meter.
Enable Remote Sensing
To enable remote sensing, the documentation tells you what to do:
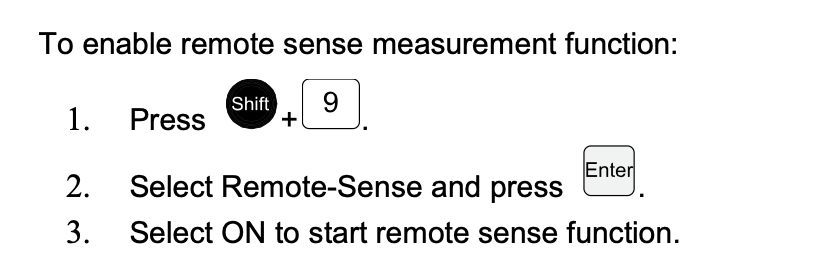
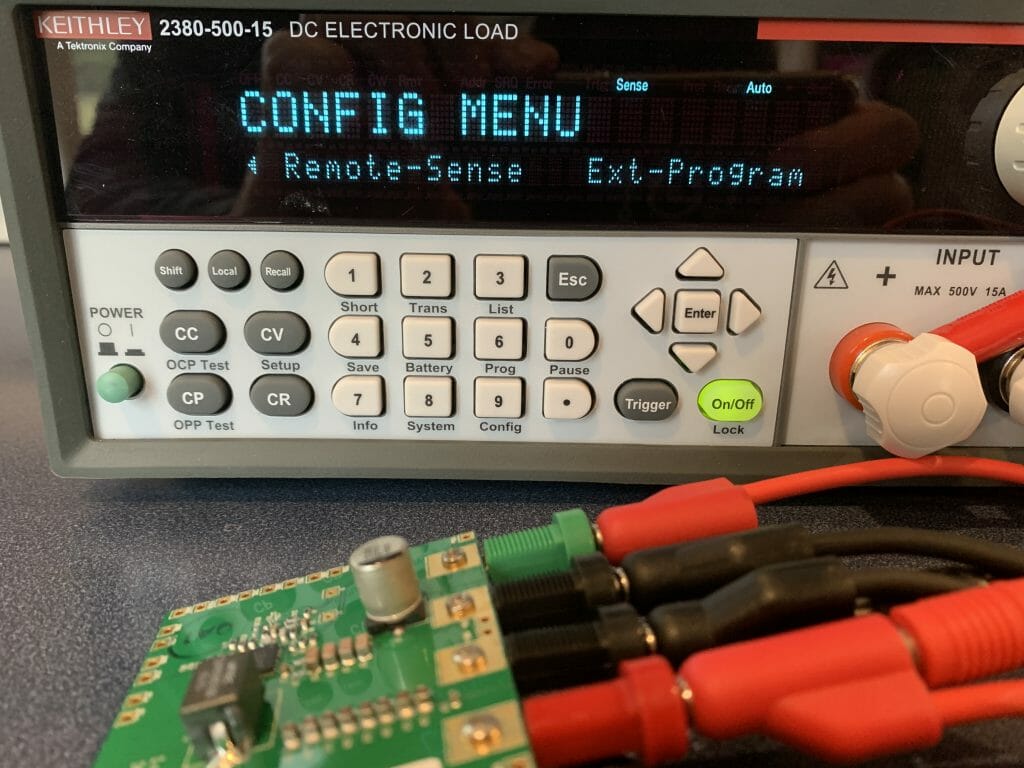
Here are pictures of the screens. When you press Shift-9 you get this screen. You need to press the “right arrow” to go to the next screen.
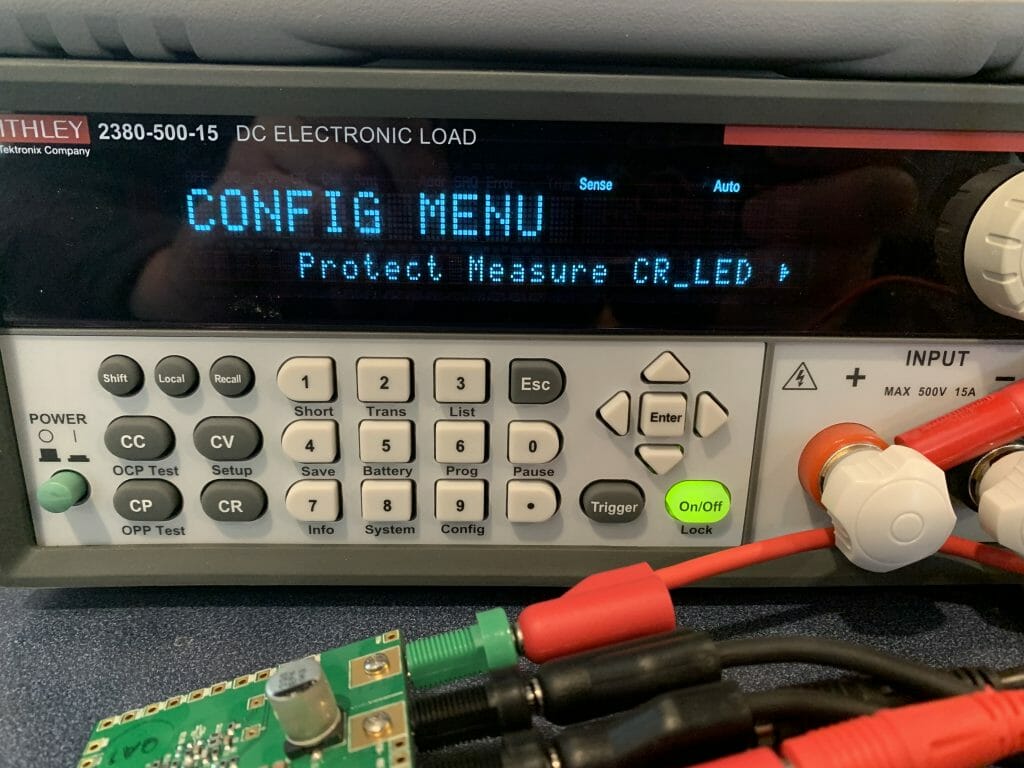
Select the “Remote-Sense” and press enter.
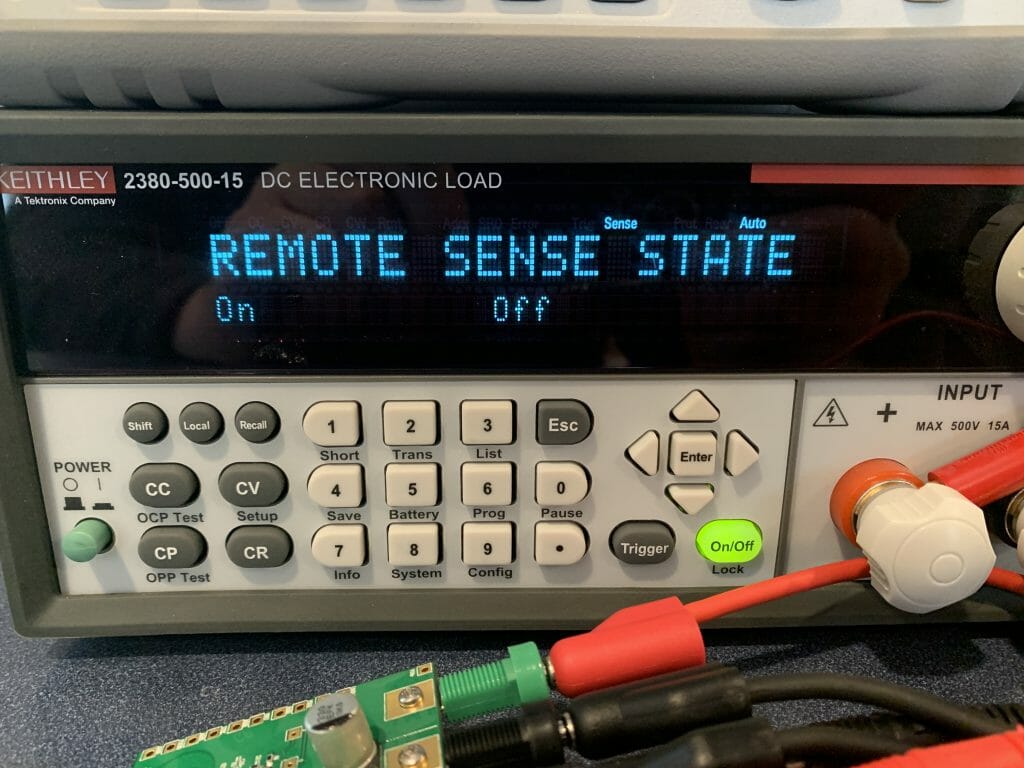
Use the left/right arrow to select “On” and press the “Enter”
Results
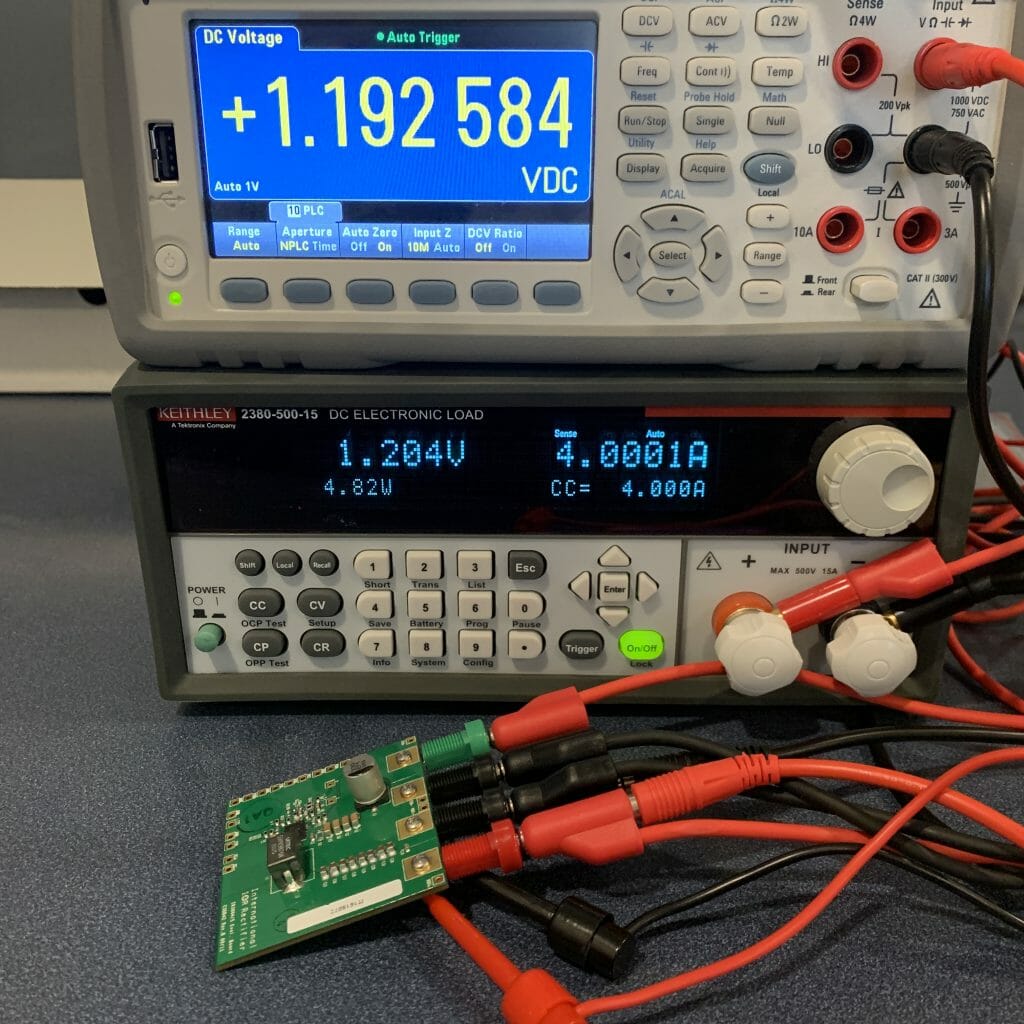
Now it displays “1.204V” which matches the DMM (well pretty close)
No comment yet, add your voice below!